


When the alarm goes off at 5:45am in my sleeping bag, it's not always easy to get up (especially when it's 20 degrees outside), but it is definitely always worth it. My favorite time to shoot is just before the sun rises, when the sky turns a soft pink and there is a glowing ember of light just out of view.
When it comes to aiming for that early morning light, a little bit of preparation can go a long way. I usually capture my best images when I have taken time to scout my location beforehand and dial in on the exact times of sunrise/twilight, as well as weather. It's also helpful to have an end result in mind before that first beam of light breaks from the horizon, when the side-lighting is prime and pure gold. Sometimes you may have a particular subject in mind, or you may want to capture just the sunrise itself. Taking time to compose your image beforehand can allow you to get creative when the light peaks.


The sky turns a soft pink and there is a glowing ember of light just out of view.

When traveling, it is easy to get focused on one aspect of your surroundings - that vast valley or the blue of the ocean - but don't forget about the other visuals that make up that moment.
Play with point of view — try shooting one scene in three different ways. What were the colors of the architecture? Did you stop at a street-side food stand? Whether you are looking up, down, or narrowing in on a specific detail, those images will be remarkably unique to one another, while still capturing threads of the same story. For example, the images below were all taken in the same neighborhood, but show different parts of my experience.


It is easy to get focused on one aspect of your surroundings... but don't forget about the other visuals that make up that moment.

To communicate scale in an image, include a recognizable object or element. For example — frame a person, vehicle or cabin within a surrounding landscape. This gives your audience a better understanding of the dimension they are dealing with.


To communicate scale in an image, include a recognizable object or element.

Yes, still acknowledge the sweeping landscapes, but there are also countless details that make up your trip. Look for interesting color combinations, textures and materials, and signs of aging or growth. Try shooting straight on or directly overhead to help minimize distracting perspective lines, allowing the eye to focus on your subject in the image. Or if there's a clean background, include negative space around your subject to help draw the eye to the detail. When it comes to editing — crop in tight so the subject or group of objects you're photographing fills the entire frame, bringing attention to the colors, patterns, and textures.


If there's a clean background, include negative space around your subject to help draw the eye to the detail.

Tip 05 · Jon Taylor Sweet
Pack the right (and light) gear.


Sometimes it is helpful to leave my heavy dSLR at home and shoot solely on my handy iPhone. Knowing that there are some limitations with my phone's native camera, I am always sure to bring along my mobile lenses — Moment Wide Lens and Moment Tele Lens.
Perspective is important. It allows the opportunity to gather a certain feeling, emotion, and/or story to an image. In the images below, you'll see two different spots from across the globe shot with these two different mobile lenses. The environments are drastically different but the lenses have allowed unique perspectives in incredible places. For example, in the photos of Thailand below - the telephoto shot gives you more details in both the river and the mountains - while the wide shot provides more scale.


The environments are drastically different, but the lenses have allowed unique perspectives in incredible places.

Always keep your camera handy — you never know what you are going to get. I live to capture those in-between moments that would otherwise go unnoticed. This way, you get to photograph people when they're in their own little world — off wandering around thinking about where to drive next, or goofy laughs. If your camera is always within reach, you've got a better chance at these little human glimpses of friends or family. Bonus points if it's been a long day of hiking or traveling and everyone is starting to get delirious as you set up camp - that's when the fun stuff starts.


It's been a long day of hiking or traveling and everyone is starting to get delirious as you set up camp — that's when the fun stuff starts.

Find and document movement — you are traveling, after all. When I am shooting movement I rarely watch my camera, but instead my subject. I set my frame up before they enter in and start shooting right before they come into it. This usually leads to a great mid-air jump or perfectly timed spin.
I also try to give minimal direction — when you allow your subject to be free in their own movement, the shot always feels more powerful.


When you allow your subject to be free in their own movement, the shot always feels more powerful.

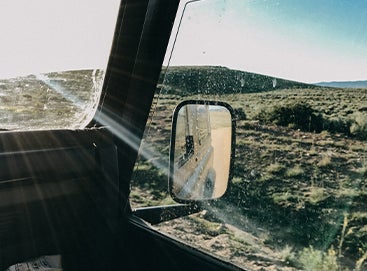
When shooting during the golden hour, think 360°. Where is the light coming from - and where is it hitting? Do you want to silhouette your subject or turn around for the light hitting the hillside? Below, I will explain flood light, 45-degree lighting, and back lighting. I may get a bit technical, but follow along with me...
When letting the sun flood into the lens, it will create a soft glow and flooding of light, but if one blocks the light, there will be a stark contrast in the images with rimmed light elements. In this specific case with the image above, my wife, Maggie, stepped into a shadow to capture me skating right between Halfdome and the sun.

This image was taken at sunrise. We placed ourselves in the center allowing the sun to both silhouette us and underexpose the images to allow the clouds to come in. When shooting into the sun, I always try to have the highest f-stop possible to give the backlight a soft glow.

This image was taken from a moving car with the light at a 45-degree angle with the sun over his right shoulder. 45-degree lighting is a compromise between side lighting and backlighting, allowing the light to have glow and texture. In this shot, I kept my F-stop fast, at 1.7, and my shutter speed low to allow for shutter to drag causing the background to blur.

This image is another example of 45 degree lighting. I wanted to show the vastness of the coast but still having the golden effect of the sunset. I climbed higher than Maggie allowing her to sink into the frame, positioning her and the sun to flow over her shoulder. This allowed for soft lighting on her face with strong lines and texture in the water and mountains in the distance.
When shooting during the golden hour, think 360°. Where is the light coming from... and where is it hitting?

Don't forget what matters most: the people you share the experience with. Welcome the real-life candids along with the posed — they are the photos that will matter the most in a few years.
Try stepping back - take a few strides away from the warm glow of your friend crew to witness the scene as bystander. The distance pulls it into context and gives you an opportunity to pause in gratitude for being there. Embrace the imperfectness of a candid (if you catch someone mid-chew, even better).


Welcome the real-life candids along with the posed — they are the photos that will matter the most in a few years.
Where will your travel photos take you?
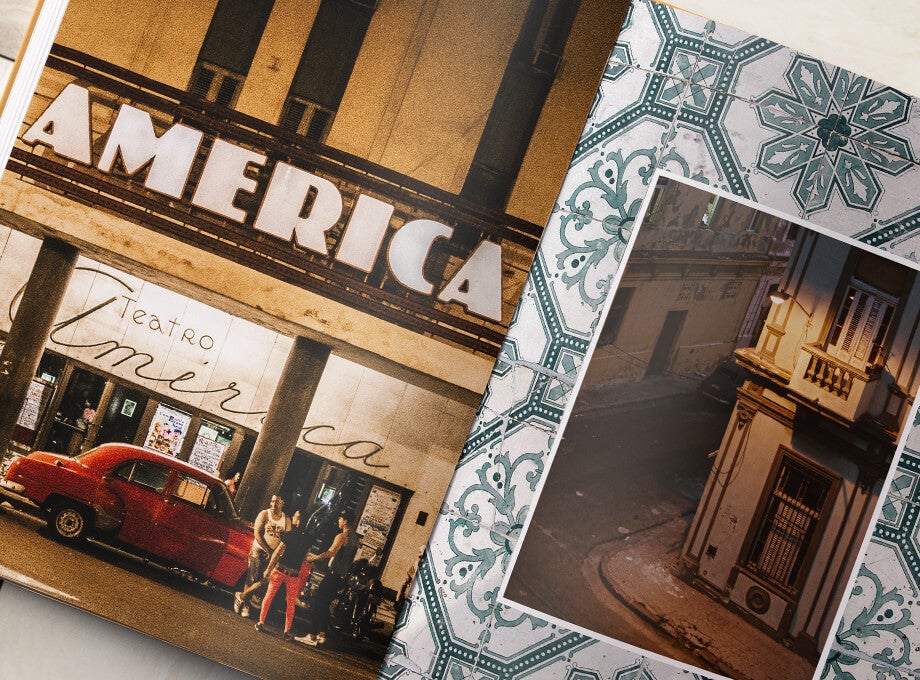
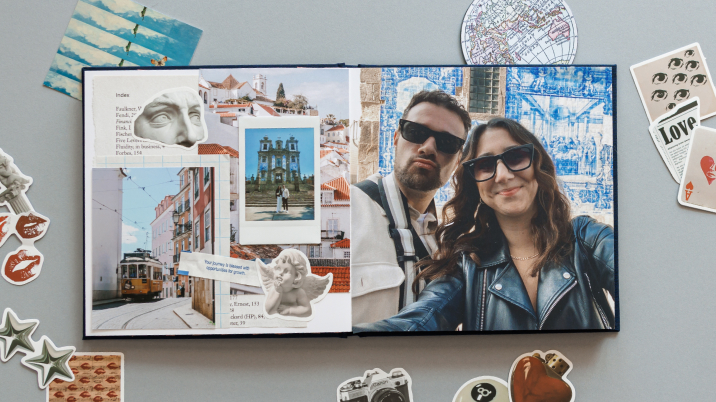
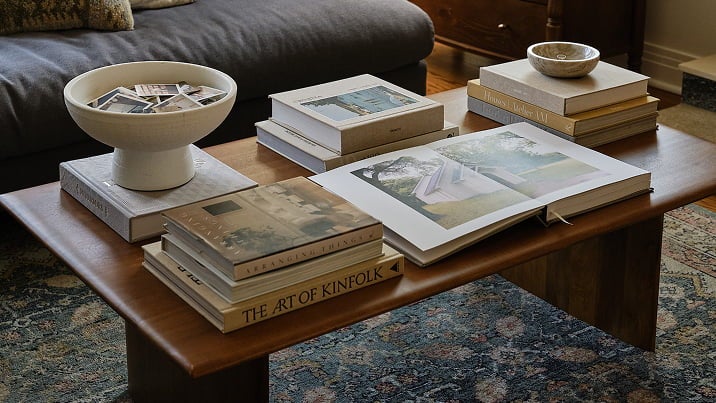
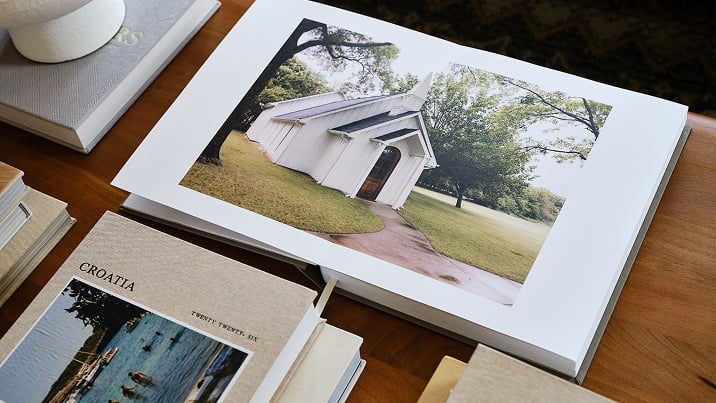
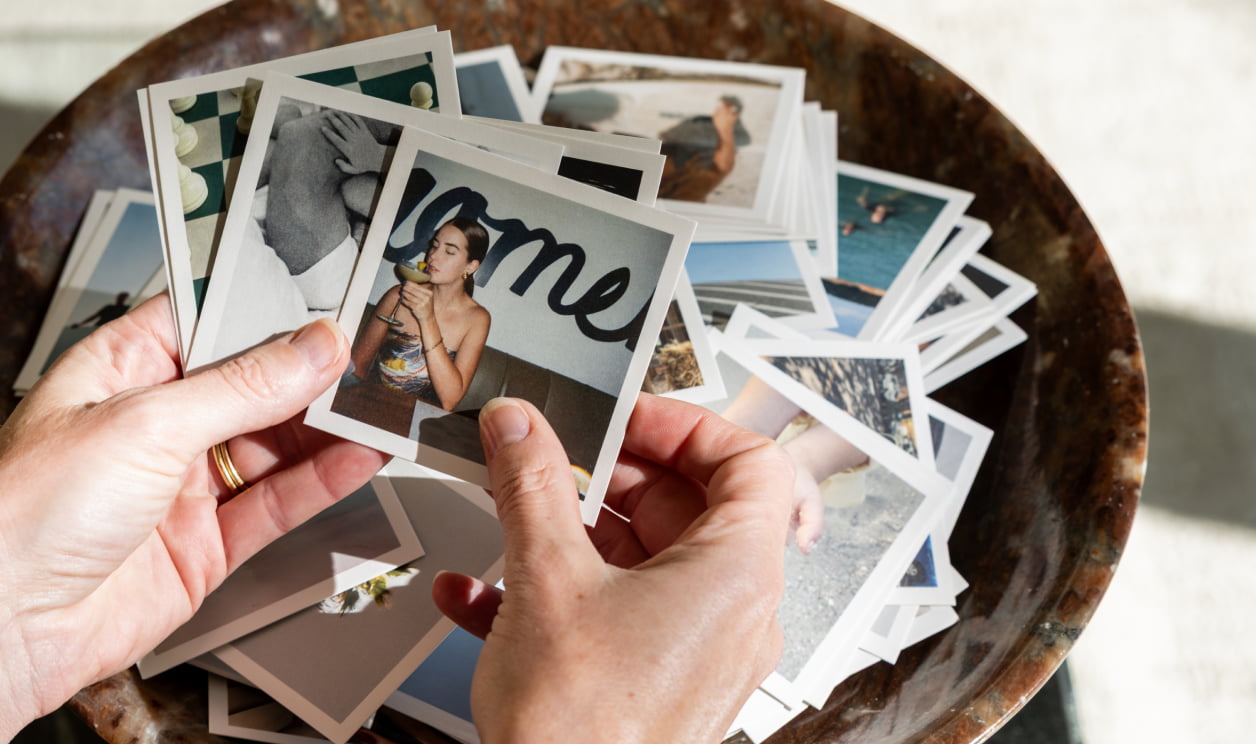
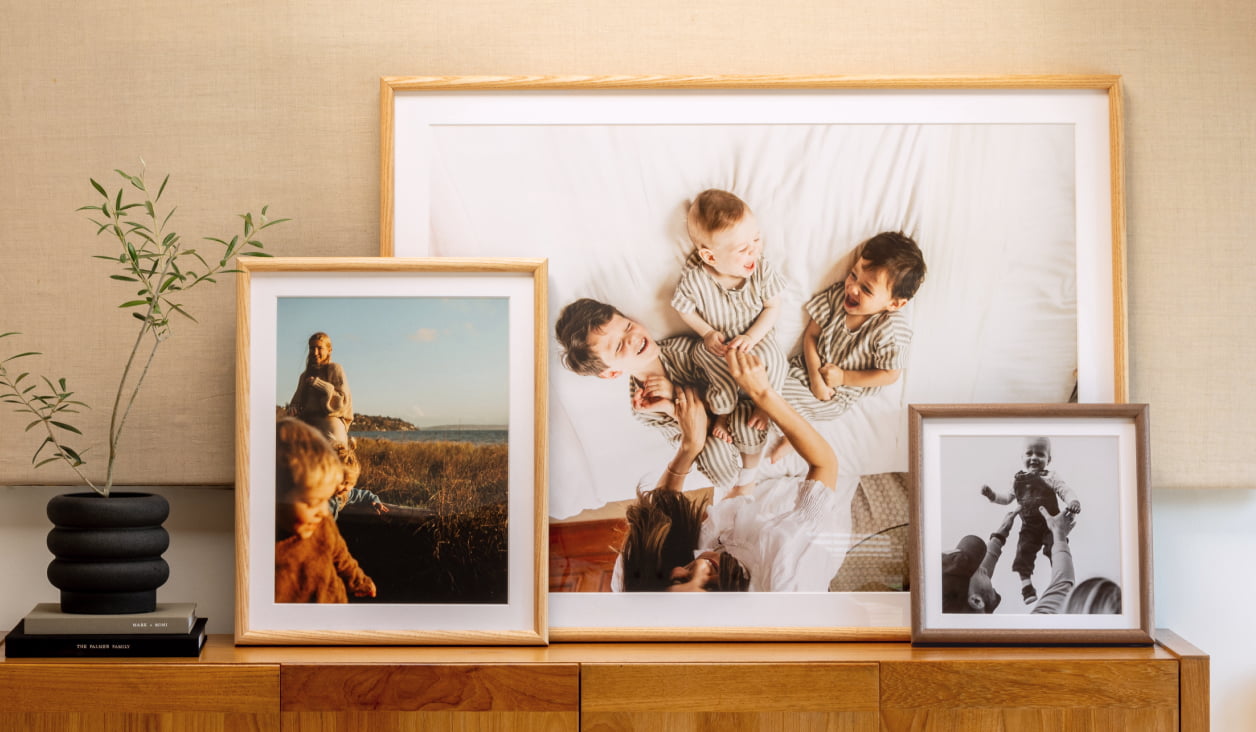
With these travel photography tips in your pocket, there's just one thing left to do. Put the journeys in print to create tangible reminders of every mile and moment. (It's the next best thing to a one-way ticket!)
Oh, and those travel photos? We'd love to see them. Share your adventures with @artifactuprising or #tellon.