


Getting Started
Your camera isn't an overcomplicated piece of technology. It's an extension of your creative vision.
Photography isn't about looking at a 2-inch screen on the back of your camera. Those weren't even around until a few years ago. And while they do allow a certain amount of positive functionality, we must also acknowledge how tempting it is to become totally reliant on those little screens, and to see our entire photographic endeavor through a 2-inch window. That window is like a Person-to-Camera dictionary - imagine how much better you could work if you simply internalized the camera language. Your art can be so much bigger than 2 inches if you'll let it.
Here are some basics we've pulled together to help you grow that art & feel in control when behind the lens.

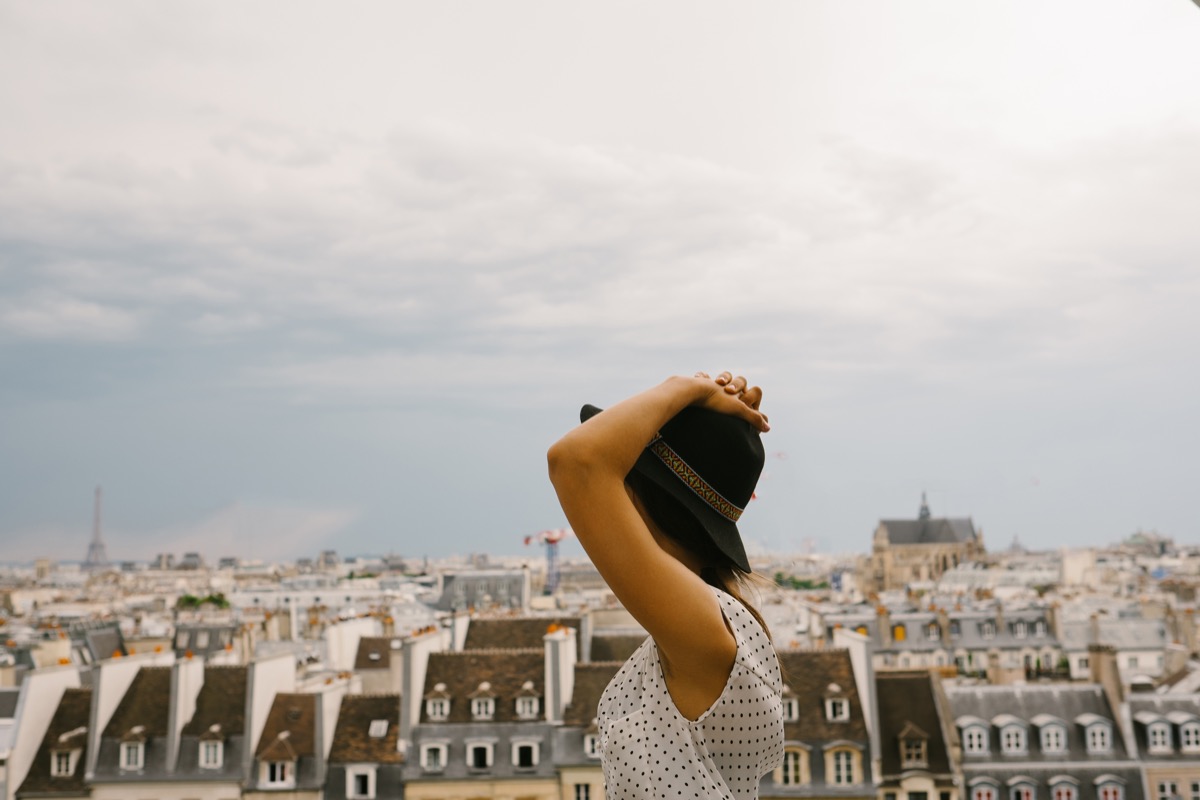
Logan Cole / ISO: 100 / Aperture f3.2 / Shutter Speed 1/1250

Logan Cole / ISO: 320 / Aperture f4 / Shutter Speed 1/800
But First, Your New Vocabulary
Shutter Speed – The amount of time your camera's shutter is open. Measured in seconds, your image changes based on the length of time that light is exposed to the camera sensor. (i.e. 1/30 denotes the shutter was open for one-thirtieth of a second.)
Aperture – Aperture works in conjunction with your Shutter Speed - they both control the amount of light let in. Aperture is the size of the lens opening, allowing light to reach the sensor. The aperture is important to keep in mind when creating depth of field (see next tip). Aperture is popularly called the "f-stop" (i.e. f2.8)
Depth of Field – Depth of field is created by controlling where you choose to focus your camera. When properly used, this can help you either isolate your subject from the background and foreground or give sharp detail to all the information within the frame.
ISO – Your camera's direct relationship with sensitivity to light. As a rule of thumb, use a lower ISO (100 - 250 etc) in brighter conditions and a higher ISO (1600 - 3200 etc) in darker settings.
Tip 01
Near or Far: Define the Details With Depth of Field

Fer Juaristi / ISO: 100 / Aperture: f1.4 / Shutter Speed 1/4000
Try it yourself.
01. Your aperture settings play a leading role in determining your depth of field and will vary depending on the distance from your subject. With depth of field, your subject can stand out from the background or create a sharp overall focus to the photo.
02. A shallow depth of field will ensure that your subject is in perfect focus and the rest of the image is softer/blurry. In the image above, the grass is the only thing in focus. To achieve this look, select a low aperture like f1.4.
03. A deeper depth of field will put everything in focus - the foreground, middle ground & background. Increase your aperture to a larger number like f22. The more you increase your aperture, the greater the range of what will be in focus.

Logan Cole / ISO: 640 / Aperture: f4 / Shutter Speed 1/400

David Guenther / ISO: 100 / Aperture: f2.8 / Shutter Speed 1/1250

David Guenther / ISO: 3200 / Aperture: f5.6 / Shutter Speed 1/250

David Guenther / ISO: 100 / Aperture f1.4 / Shutter Speed 1/640

David Guenther / ISO: 3200 / Aperture: f5.6 / Shutter Speed 1/2000

Kristen Marie Parker / ISO: 160 / Aperture: f1.4 / Shutter Speed 1/125

Fer Juaristi / ISO: 50 / Aperture: f1.4 / Shutter Speed 1/1500
David Guenther / ISO: 200 / Aperture: f3.2 / Shutter Speed 1/400

Kristen Marie Parker / ISO: 800 / Aperture: f1.8 / Shutter Speed 1/200

David Guenther / ISO: 100 / Aperture: f2.8 / Shutter Speed 1/1600

Ben Brinker / ISO: 200 / Aperture: f3.5 / Shutter Speed 1/160
Tip 02
Your Camera's Sensitive Side: Master ISO
Yan Palmer / ISO: 400 / Aperture: f4 / Shutter Speed 1/250
Try it yourself.
01. Set your camera to Manual Mode and choose a stationary subject in a fairly light, day-lit room.
02. Set your ISO to 400, shutter speed to 1/60 and aperture to f/4.
03. Change ISO to 800. Review image, is it brighter than your first photo?
04. Change ISO to 200, is it darker than your first photo?
05. Now, keeping your aperture and shutter speed the same, try to select an ISO that gives you a correct exposure. Put simply: If it's a sunny day, chances are your ISO outdoors will be in the 100 range, if it's cloudy outdoors ISO 400, if you're indoors between 800 - 3200. Careful, the higher your ISO the more grainy the image will be (lower quality).

Kristen Marie Parker / ISO: 100 / Aperture: f1.4 / Shutter Speed 1/2500

Samm Blake / ISO: 400 / Aperture: f8 / Shutter Speed 1/100

Samm Blake / ISO: 400 / Aperture: f5.6 / Shutter Speed 1/200

Yan Palmer / ISO: 400 / Aperture: f4 / Shutter Speed 1/125

Yan Palmer / ISO: 200 / Aperture f2.8 / Shutter Speed 1/125

Kristin Rogers / ISO: 500 / Aperture: f2.8 / Shutter Speed 1/320
Tip 03
Don't Be Afraid of the Dark: Shoot in Low-Light Conditions

Samm Blake / ISO: 6400 / Aperture: f5 / Shutter Speed 1/320
Try it yourself.
01. Flip the notch on your camera to the Tv/S mode (shutter priority). Set your shutter speed to a slow speed like 1/15, then set your ISO to right around 3200.
02. Stabilize your camera. Get clever - you can use a tripod, table, floor, whatever will keep your camera steady.
03. Think slow shutter speed. Remember the longer the shutter is open, the more light and motion the camera can capture from the environment. If your image is too dark, choose a slower shutter speed, and vice-a-versa.

Max Wagner / ISO: 1600 / Aperture: f1.4 / Shutter Speed 1/200

Brinson Banks / ISO: 800 / Aperture: f1.4 / Shutter Speed 1/100

Roger Ellsworth / ISO: 3200 / Aperture: f1.4 / Shutter Speed 1/80

Ben Brinker / ISO: 400 / Aperture: f3.2 / Shutter Speed 30 seconds

Dan O'Day / ISO: 1000 / Aperture: f4.0 / Shutter Speed 1/2500

James Frost / ISO: 400 / Aperture: f1.8 / Shutter Speed 1/100
Bonus Points: Find Balance
When shooting indoors, you will find varying amounts of light. When faced with these stark contrasts, expose for what matters most - don't let your camera decide for you. In Tyler's image below, the mother and child are the focus (not the detail on the surrounding wall). The ISO is lower because there is enough light in the other room to create a glow while the outline of the other room stays dark and creates a frame for the photo.
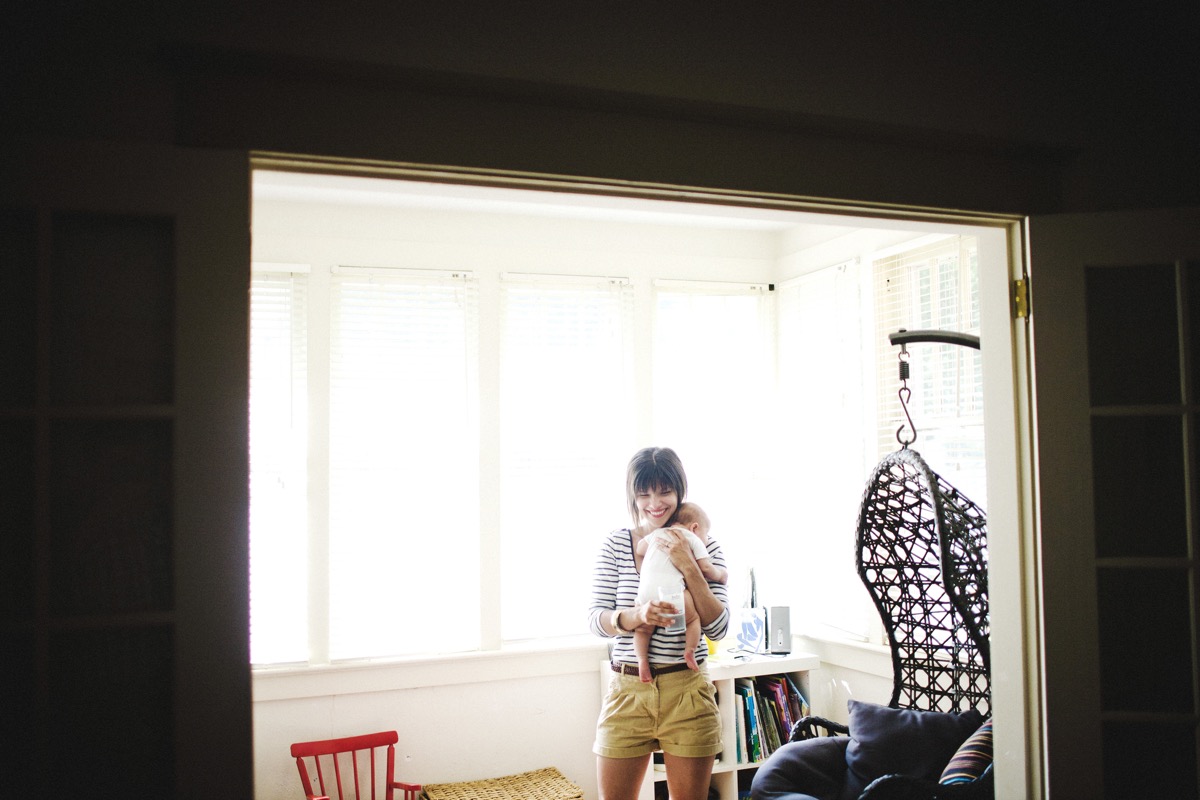
Tyler Branch / ISO: 200 / Aperture: f1.8 / Shutter Speed 1/640
Tip 04
Get the Right Light: Use the Hand Test

Ben Brinker / ISO: 200 / Aperture: f4 / Shutter Speed 1/1600
Try it yourself.
To find the direction of your light source, like the sun for example, hold your hand out in front of you so you can see your palm then rotate your body and hand in a 360 degree circle. As you are spinning, you will notice the light and shadows hitting your hand. There is a point in the circle where your hand starts to glow, that is your best light. Once you've found your desired light, you can shoot your hand to compare the camera screen to what you see in front of you. Adjust your settings to achieve desired results before you shoot your subject.

Yan Palmer / ISO: 400 / Aperture f2.8 / Shutter Speed 1/6

David Guenther / ISO: 800 / Aperture f5.6 / Shutter Speed 1/1000

Kristen Marie Parker / ISO: 125 / Aperture: f1.4 / Shutter Speed 1/400
Bonus Points: Identify Your Light Source
Directional: When shooting indoors, look for the stream of natural light. In Posy's image below, she takes advantage of the loss of light toward the edge of the photo - which is also known as "Fall Off". These life-like shadows create a wide dynamic range.

Posy Quarterman / ISO: 160 / Aperture: f2.5 / Shutter Speed 1/320
Spot Lit: When aiming to capture a spot lit image, look for those direct sources of light that appear and create contrast on your subject (i.e. light beams through a tree or shadows created from a building). By positioning your subject in these pockets of light like Dan did in the image below, you can create a spot lit effect that will highlight just your subject and create a drastic fall off to darken everything else in the frame.

Dan O'Day / ISO: 400 / Aperture f2 / Shutter Speed 1/8000
Back Lit: Back Lit images & golden hour go hand-in-hand - typically, you can only capture them at sunset or sunrise. Place your subject in front of the light & shoot towards the bright. Be sure to expose for your subject matter - in David's image below, he made sure to adjust his settings so that his subject was well lit.

David Guenther / ISO: 400 / Aperture f1.8 / Shutter Speed 1/3200
Tip 05
On the Move: Capture Motion Blur

Brandon Wehman / ISO: 100 / Aperture: f7.1 / Shutter Speed 1/8
Try it yourself.
01. Select Shutter Priority Mode and set your camera to a slow shutter speed around 1/80 to begin.
02. Set ISO to 400. If it's bright out - set ISO to 100. In Shutter Priority Mode, the camera will choose the aperture for you.
03. Make sure your full attention is on your subject (you don't want to miss the motion)! As they are running through your frame, keep your camera very still, focus on your subject, and click the shutter button. If your subject was running fast enough, they will turn out blurry. To get more blur, you will want to lower your shutter speed and corresponding settings.

Kristen Marie Parker / ISO: 200 / Aperture: f1.4 / Shutter Speed 1/100

Yan Palmer / ISO: 400 / Aperture: f4.0 / Shutter Speed 1/15

Ben Adams / ISO: 200 / Aperture: f2.8 / Shutter Speed 1/40


