


Maybe the ocean is your main muse, or perhaps you can't help but click the shutter 28 times when the sunset rolls around. Equal parts patience, perspective, and a little bit of luck – the best landscape photographs can take you right back to where you once stood. We sat down with globe-trotting adventure photographer Chris Burkard to find out just how he captures those award-winning snaps (and how you can too!).
Chris Burkard brings us through his 9 best landscape photography tips that you won't want to leave home without. Take it away, Chris!
Tip 01
Watch for the Golden Hour
This is the very best time of day to shoot. As the sun sets, the light grows softer and is not as harsh on your subjects. Colors are more vibrant. Contrast is greater. And the light can create a dramatic environment, making it the perfect time to get creative with your shots. Have fun with silhouettes, shadows, sunset shots and angles.
But they call it the golden hour for a reason so be sure not to waste any time — the sun always seems to set faster than you expected.


Tip 02
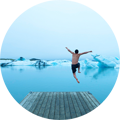
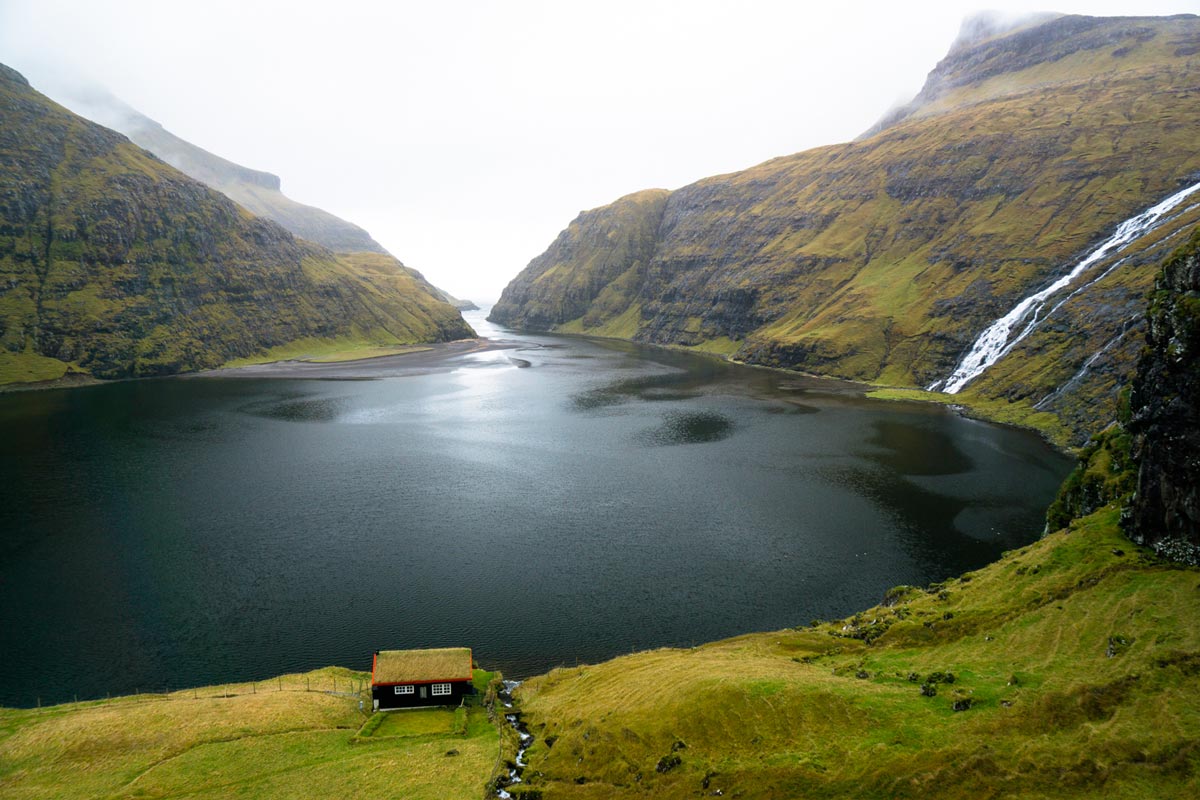
Create Perspective With People
Including a human element in a landscape photo offers the viewer perspective and helps them relate to the grandeur of the setting. This approach helps the viewer physically engage with the photo by placing themselves in that frame as if they were there. It also clearly shows the scale and dynamic of the landscape in comparison to the person.
Looking for bonus points? Keep an eye out for bright and vivid clothing — it helps clearly define the subject to stand out in the landscape.


Tip 03
Reflect to Expand
Water reflections add incredible perspective and dynamic to a photograph. The composition of your photograph benefits from the added symmetry. Just be sure to avoid windy days — instead aiming for calm days when the water will be smooth. Look for angles that will reflect as much of the landscape as possible.
Best part? This look is easy to achieve... even with your smartphone camera.


Tip 04
Switch Up Your Focus
We're used to seeing the world at eye level. One of my favorite landscape photography tips is to add a little variety to your photographs by switching up your focus. Create a bird's eye view by hopping up on a rock (or, if you're lucky, stand at the edge of a canyon). Or focus on the foreground, setting your camera or smartphone on the ground to create a low angle frame.
There is much to see beyond eye level.

Tip 05
Look Wider (With A Wide Angle Lens)
For those larger-than-life places and spaces, don't leave home without a wide angle lens. Whether in my home of California or out on the road, I'm rarely caught without my 16-35mm f/4 lens.
Shooting from your smartphone? Try Olloclip.

Tip 06
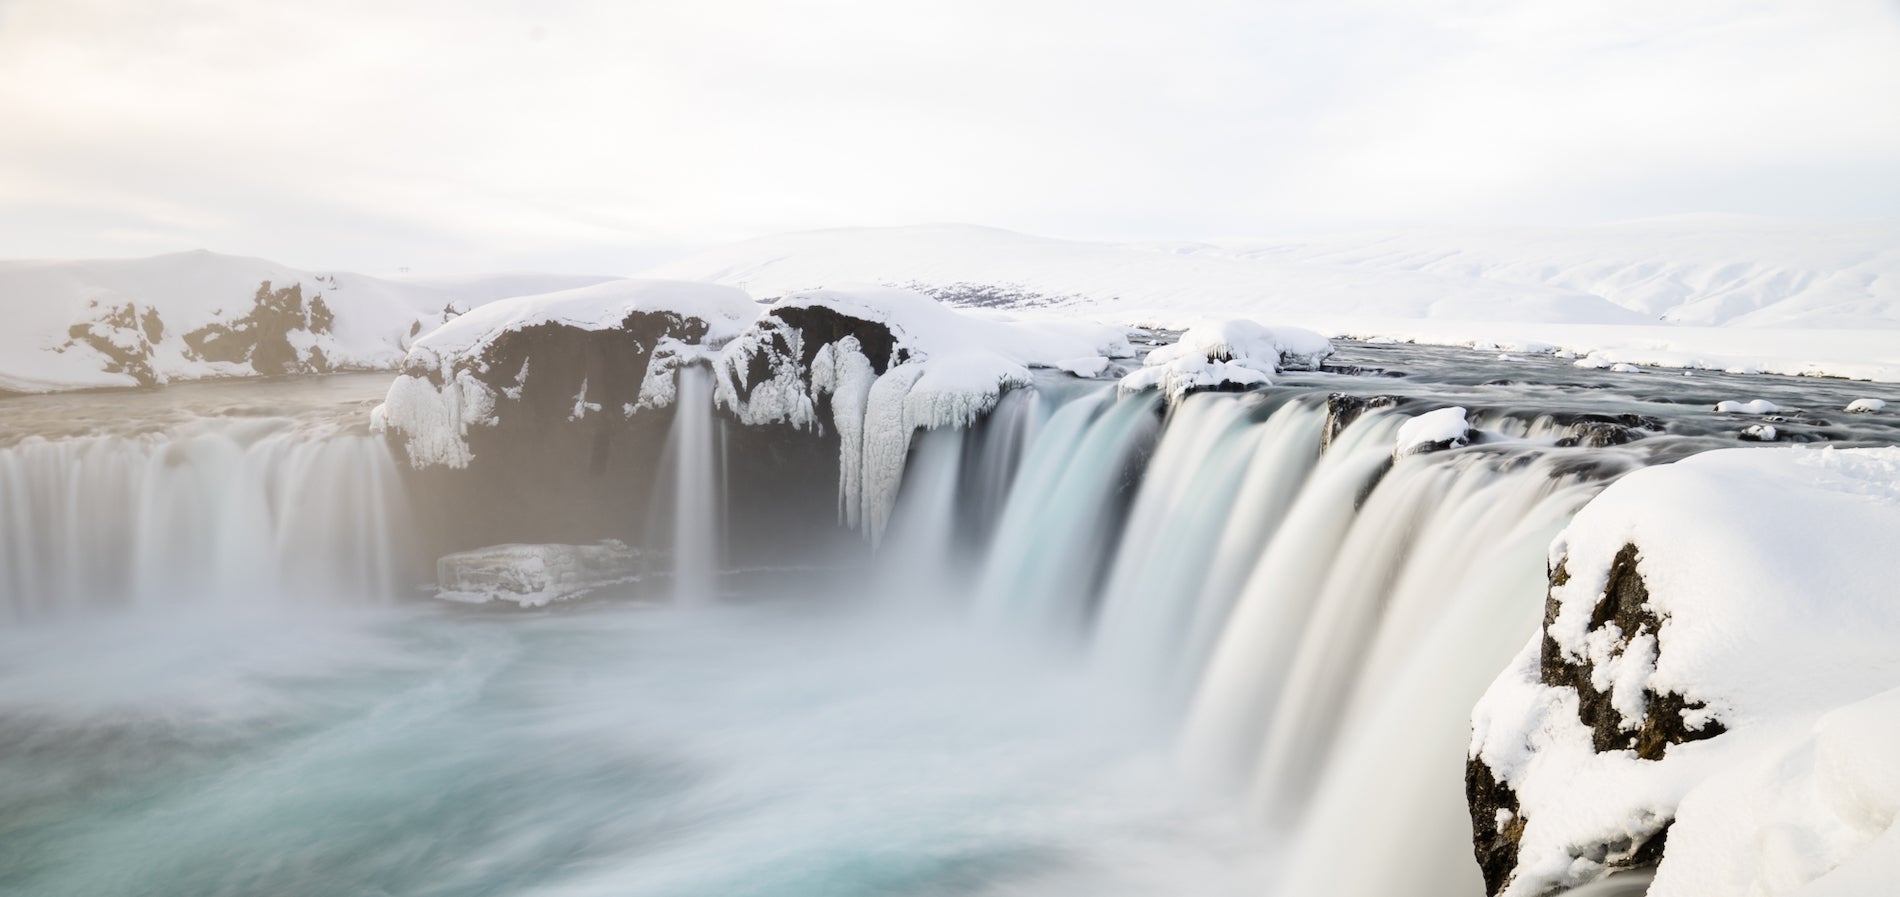
Lengthen Your Exposure
Long exposures are a great way to get creative with your shots, allowing for motion to come alive in your photos. This is especially apparent with moving water. To achieve this look, you will need a dSLR camera. Take a moment to slow down your shutter speed, usually down between 5 and 30 seconds long. Waterfalls, beach shores and other subjects benefit from this technique. Don't forget a tripod, or you'll end up with blurry photos. Don't have a tripod? Try stabilizing your camera on a steady rock in a pinch!


Tip 07
Light It Up
When the evening rolls around, grab your headlamp (or a flashlight) to create an added layer of interest in your photos. There are a few landscape photography tips that can help you achieve the looks in the photos below. With a headlamp, ask your subject to hold as still as possible for the beam to show as a straight light instead of being fuzzy or hazy (a tripod also comes in handy here). Depending on your location, you can also use the headlamp to light up the landscape in front or around you, or simply point it at the sky for a sweet light beam effect.
My favorite go-to light trick? Add a light source inside your tent and photograph your camp at dusk. Bonus points if your tent sits on a mountain top, sandy beach, or – if you're feeling adventure – on the edge of a cliff!


Tip 08
Search For The Stars
For the technical at heart, go big. Stars are one of my favorite things to shoot! Bring a tripod, keep your F-Stop wide open and play around with the different shutter speeds that will show difference in star trails (long to short or even tack sharp stars). Bump your ISO as high as you can without introducing noise — which tends to range from 1600 - 3200. Try and shoot on nights when the moon is bright, and shy away from cities or towns so as not to catch the glow from lights and street lamps.

Tip 09
Catch Air
Don't forget to pack a wide angle lens for those aerial shots. When in a plane or a helicopter, shoot at a fast shutter speed and use a polarizer to cut glare from water and pop the overall image. When shooting aerial photography, you have the opportunity to capture a perspective that is completely unique and out of the ordinary. Mountains, rivers, and landscapes assume an entirely different shape and form that can very easily take your breath away.


Many landscape shots can be done without bells and whistles, but a few things I keep on-hand when traveling are... Goal Zero Chargers so I never run out of power, Nemo Camping Gear to ensure a good night's rest (and some epic tent shots), Peak Design Camera Straps to keep my camera safe, Induro Tripod for those long exposures, and Sony cameras to capture it all - I recommend the following makes: a7ii, 16-35mm f/4, 24-70mm f/4, a7s, and 16-50mm.
Ready to get out there? Put these tips to action and for further inspiration, tag along with Chris on Instagram or learn more on his site.
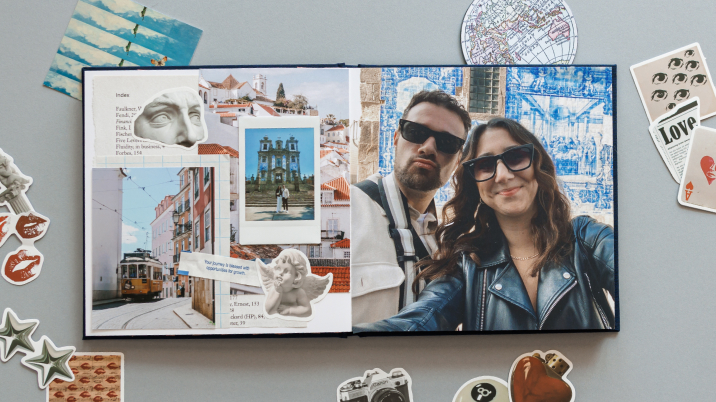
Have your photos? Create a travel photo book.