


Tip 01
Make A Dynamic Scene

Shooting images at night with a bright subject such as a fire can be difficult to achieve a balanced even exposure. Consider using either a dimly lit source, in this case a slowly burning fire or a flashlight. Having this natural source can add some warmth to an otherwise cold looking scene.
Tip 02
Extend Exposure
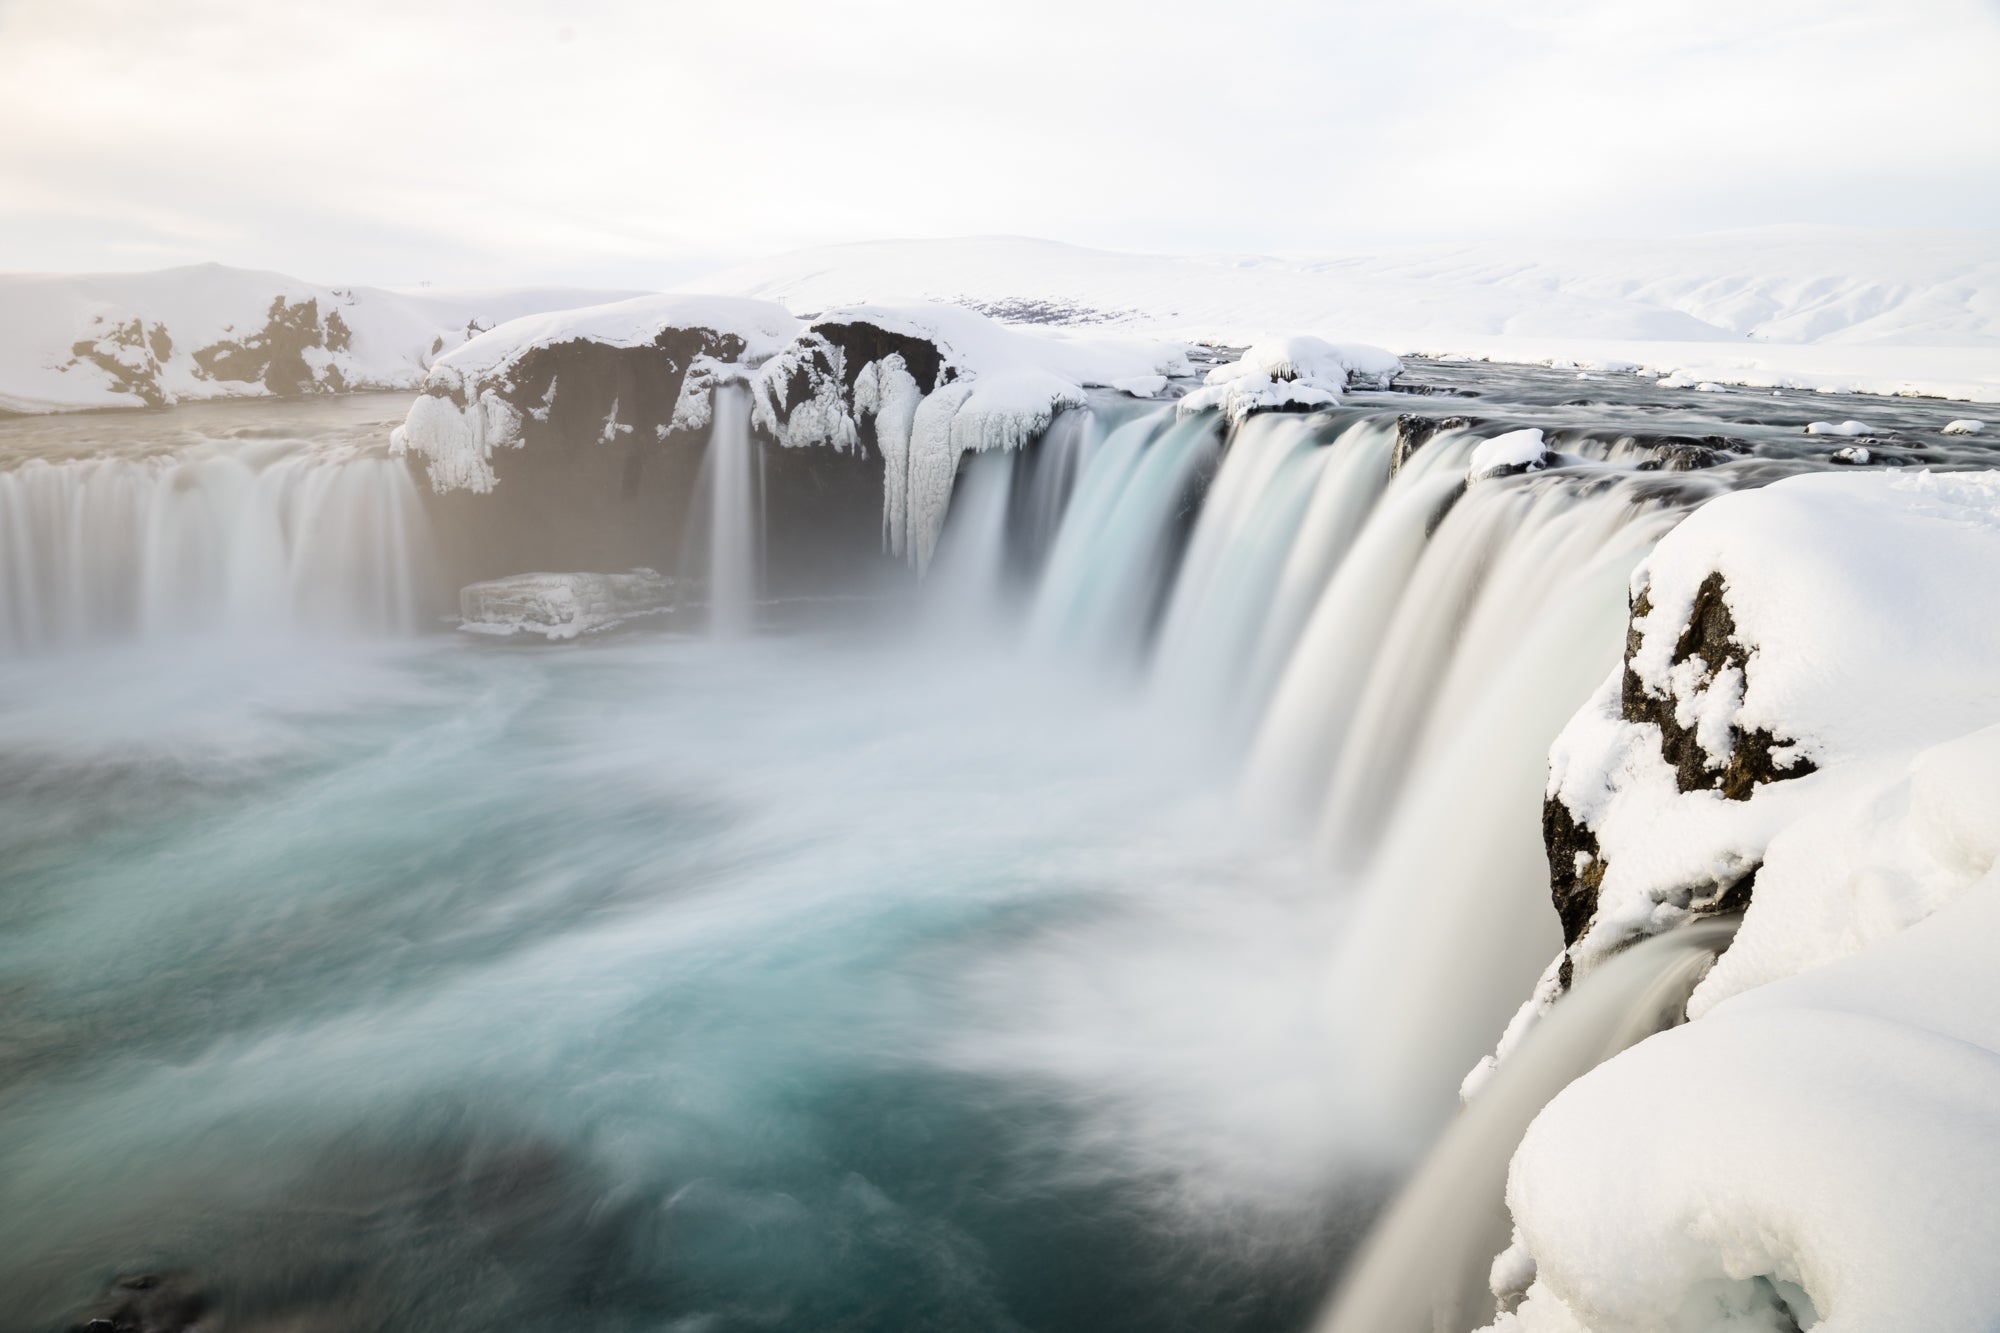
Long exposures are a great way to get creative with your shots – they allow for motion to come alive in your photos. This is especially apparent with moving water. To achieve this look, slow down your shutter speed to between 5 and 30 seconds long. Waterfalls, beach shores and other subjects benefit from this technique. Don't have a tripod? Try stabilizing your camera on a steady rock in a pinch!
Tip 03
Seek Out the Stars
To create a photo where you can see thousands of stars in one frame, shoot on a night when the moon is bright (and stay away from cities or towns so that you don't catch the glow from street lamps.) In this case, the more remote — the better!
Tip 04
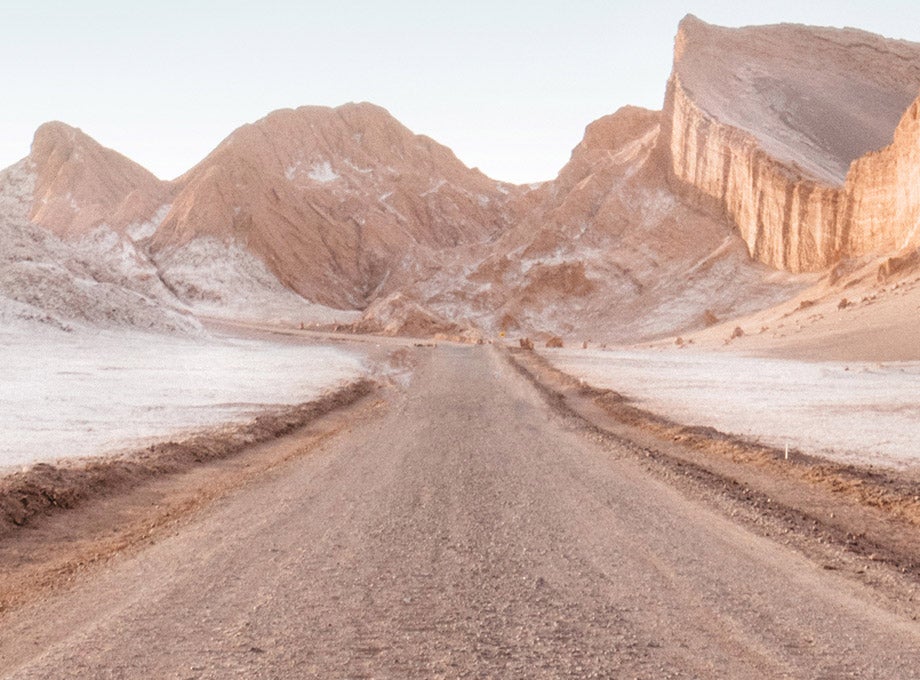
Catch Air
Don't forget to pack a wide angle lens when you're looking to create an aerial shot. When you're up somewhere high, you have the opportunity to capture a perspective that is completely unique and out of the ordinary. Mountains, rivers, and landscapes assume an entirely different shape and form that can very easily take your breath away.
Tip 05
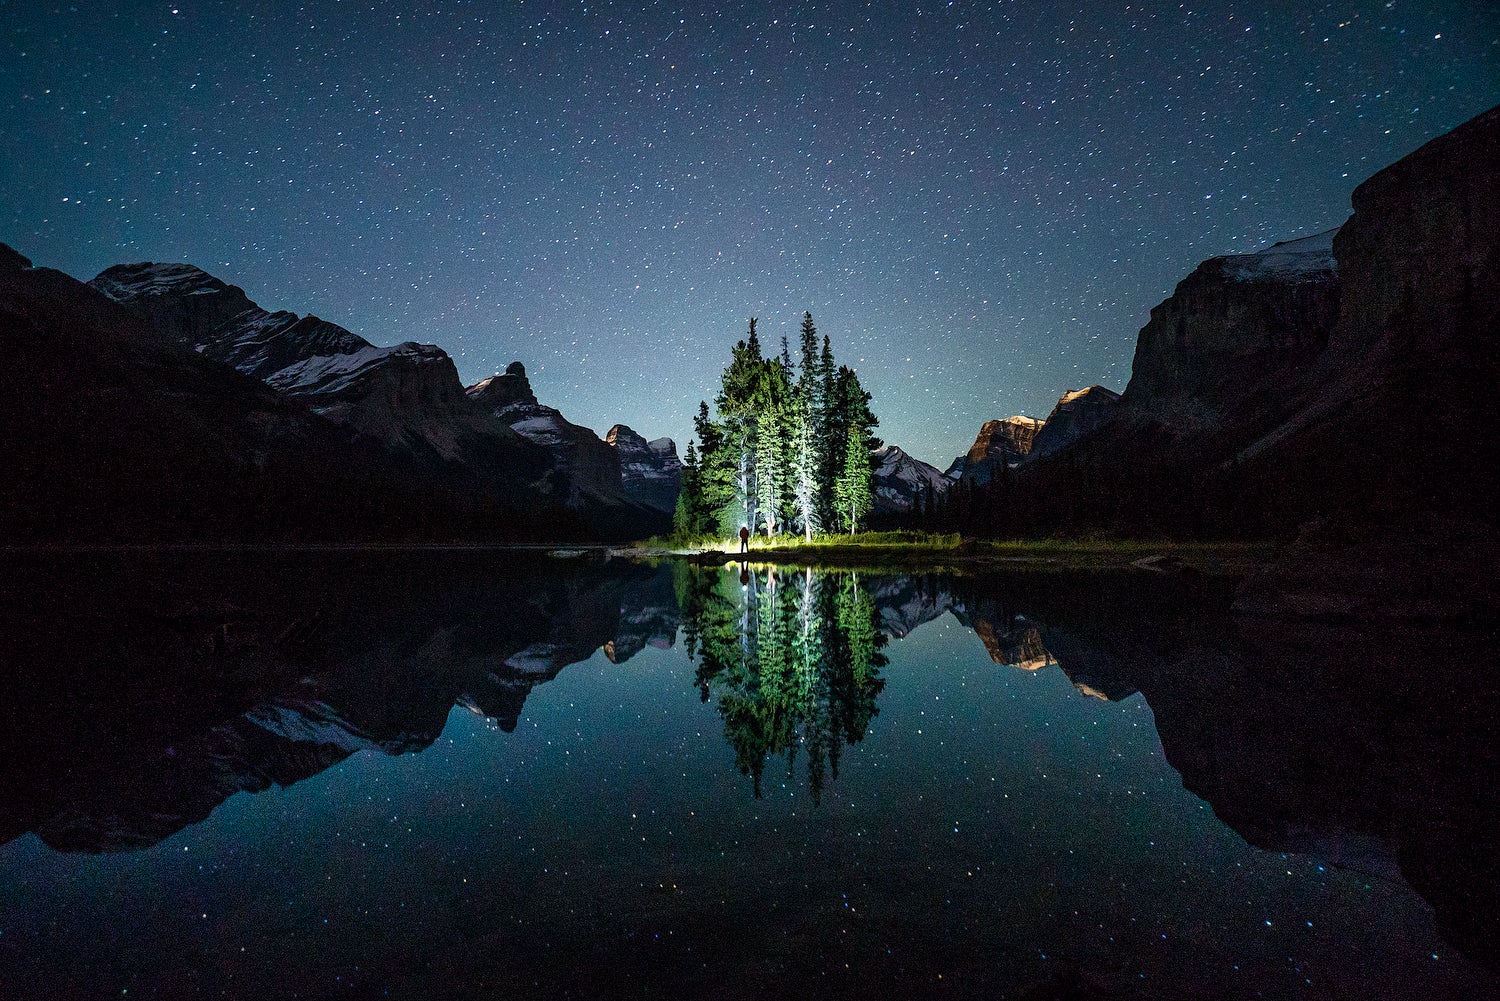
Tip Create Light in the Dark
Harnessing natural light is an intricate art of its own and can allow for a visually engaging photo that emphasizes your subject and creates depth within the image. I always try to use the sky to contrast whatever light (city lights, camp fires, etc.) is present within the scene. It’s best to shoot during dusk time to harness as much ambient light in the sky as possible while also conveying the sense of “darkness” which is surrounding your lit subject. Shooting during this time also will help you avoid over-exposing the brighter subjects or under-exposing the darker surrounding areas.
Tip 06
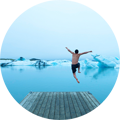
Use People As Perspective
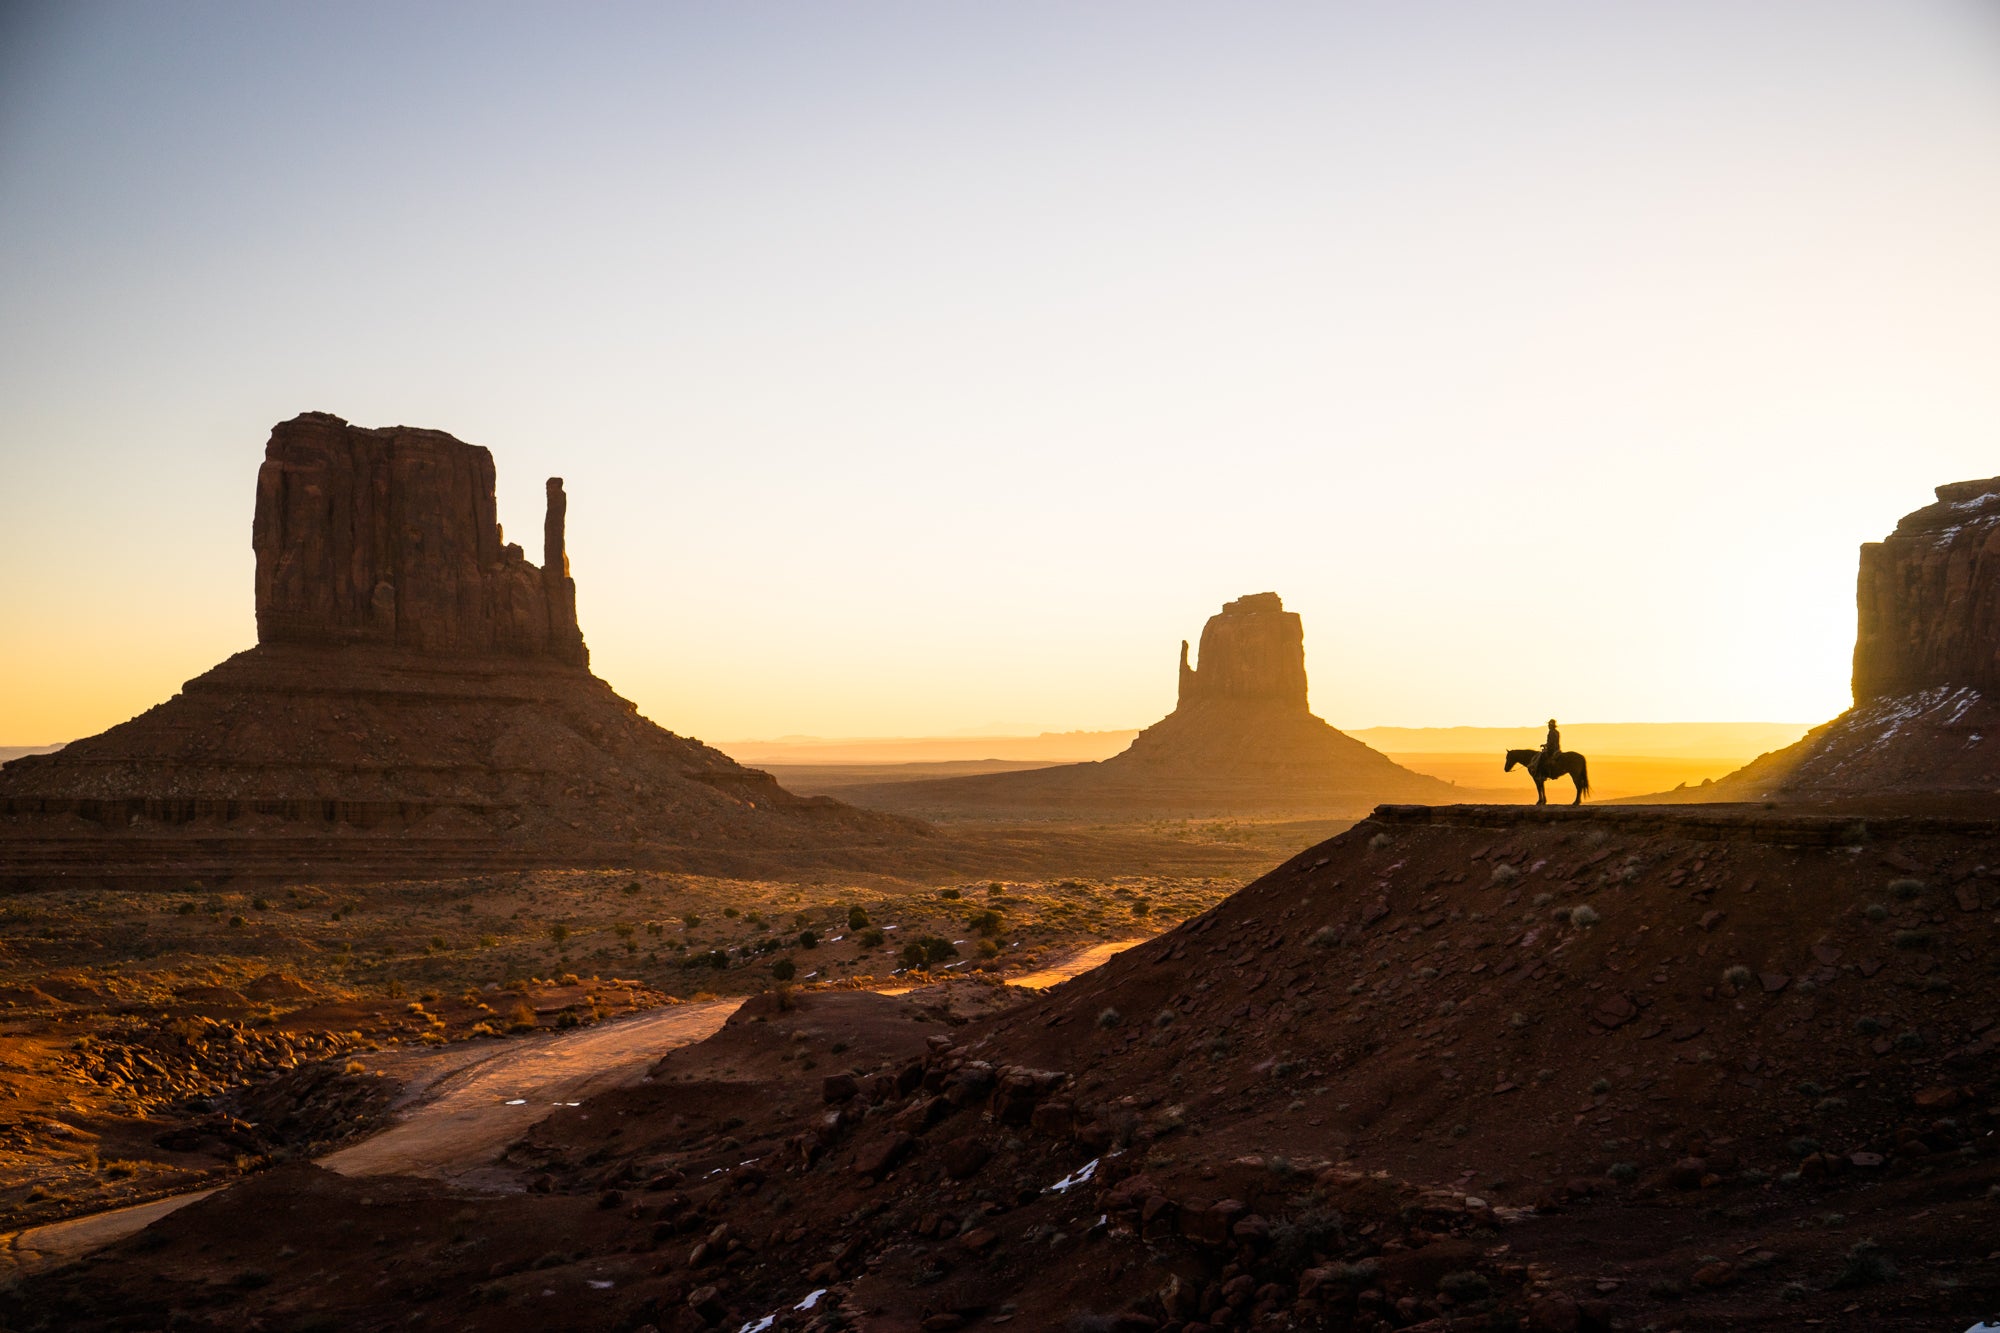
Including a human element in a landscape photo offers the viewer perspective and helps them relate to the grandeur of the setting. This approach helps the viewer physically engage with the photo by placing themselves in that frame as if they were there. It also clearly shows the scale of the landscape in comparison to the person.
Looking for bonus points? Keep an eye out for bright and vivid clothing on the person – it helps the subject to stand out in the landscape.
Tip 07
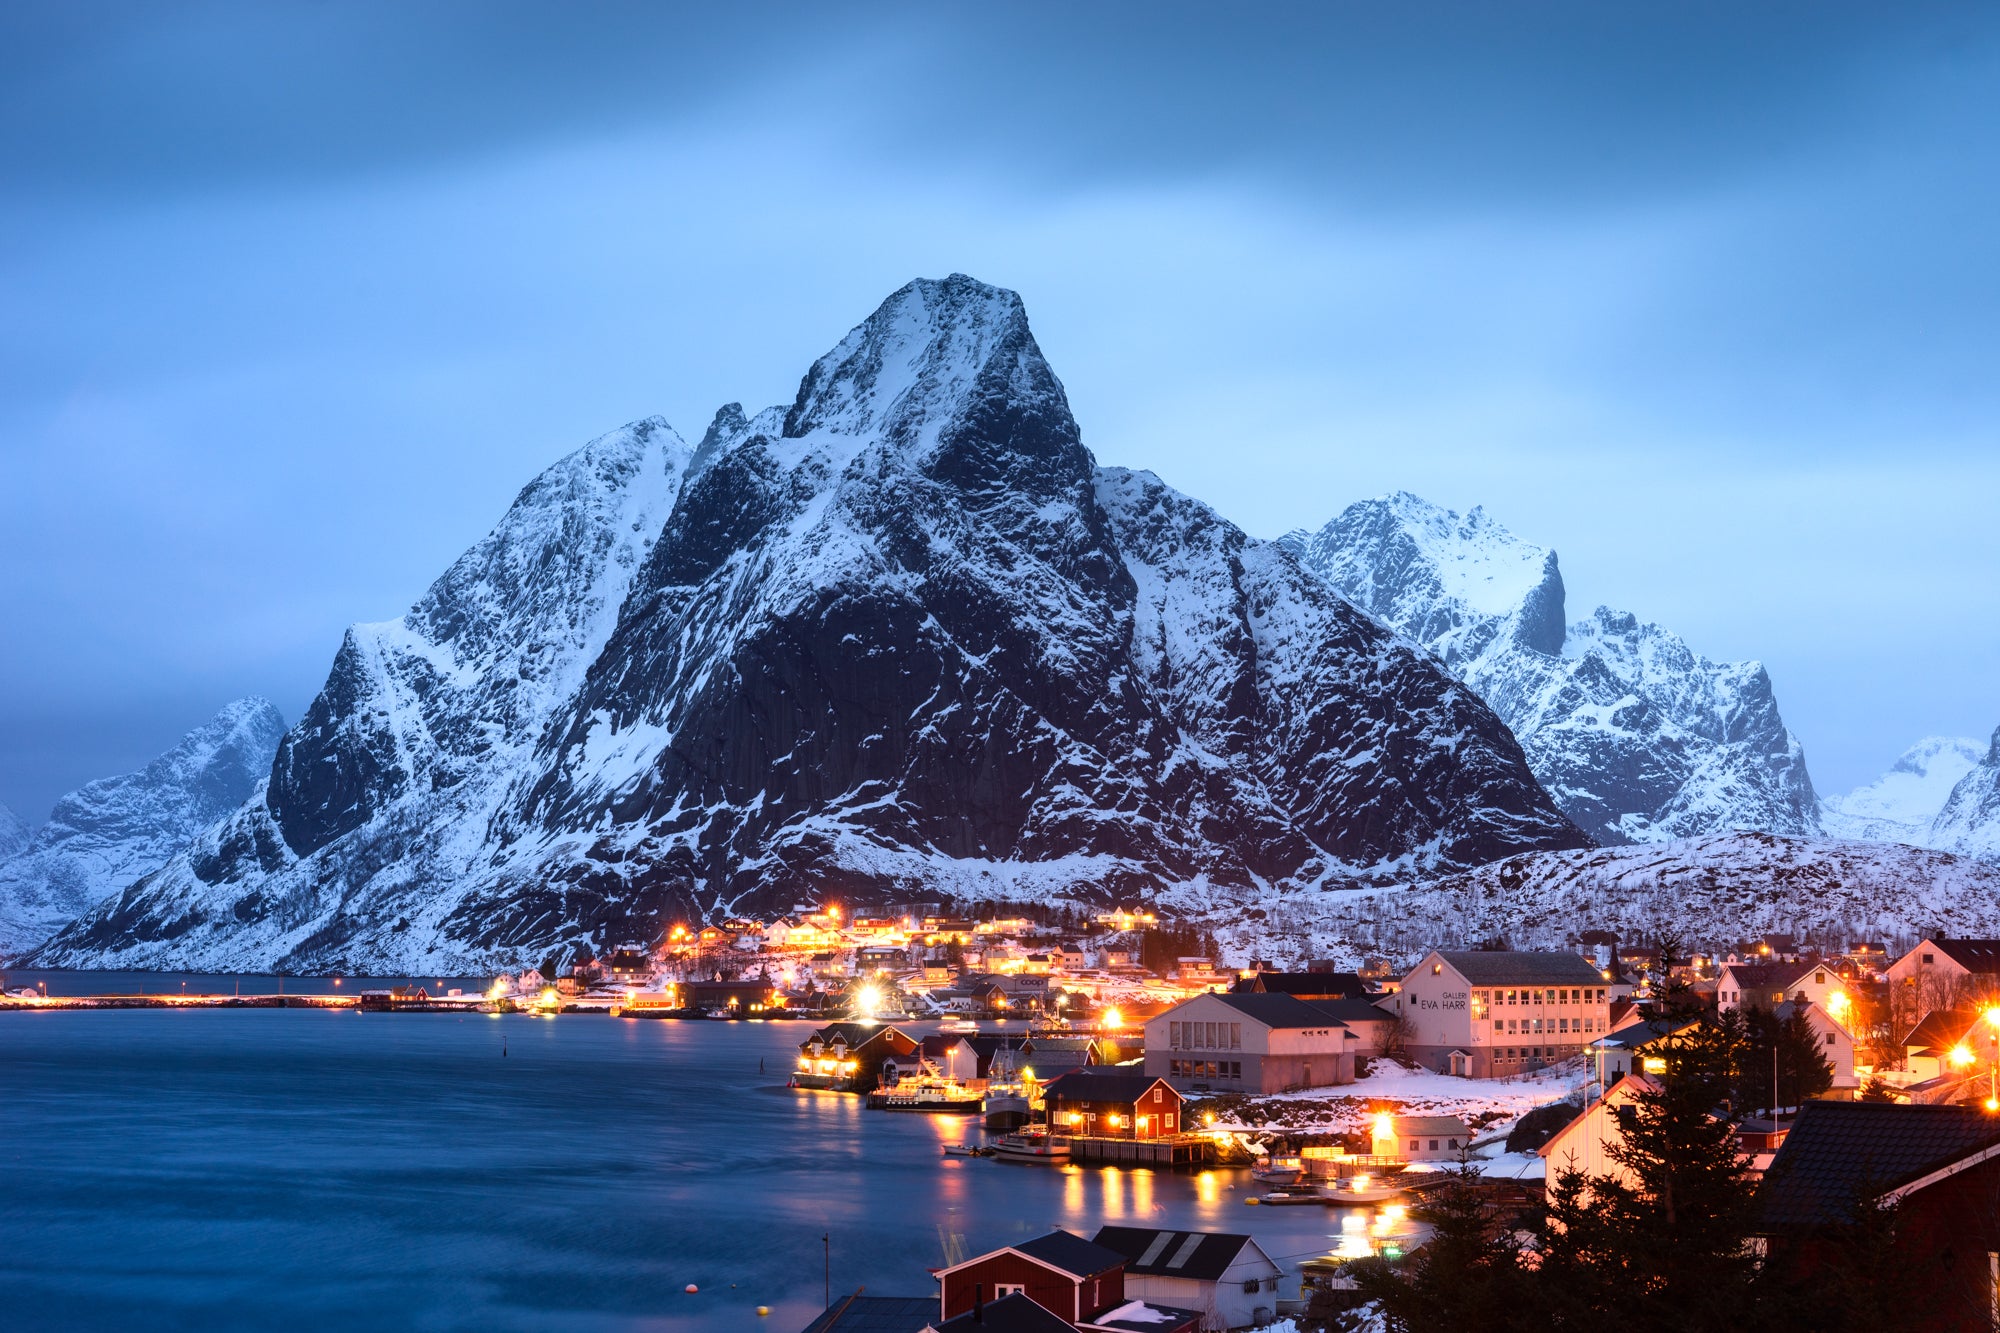
Utilize Drones
Often times, you can't get the perspective that you may have envisioned with your own two feet, so using a drone as a tool is a great option. In this case, in a remote fjord in Norway, hiking wasn't an option but a drone allowed me to get a similar perspective!
Tip 08
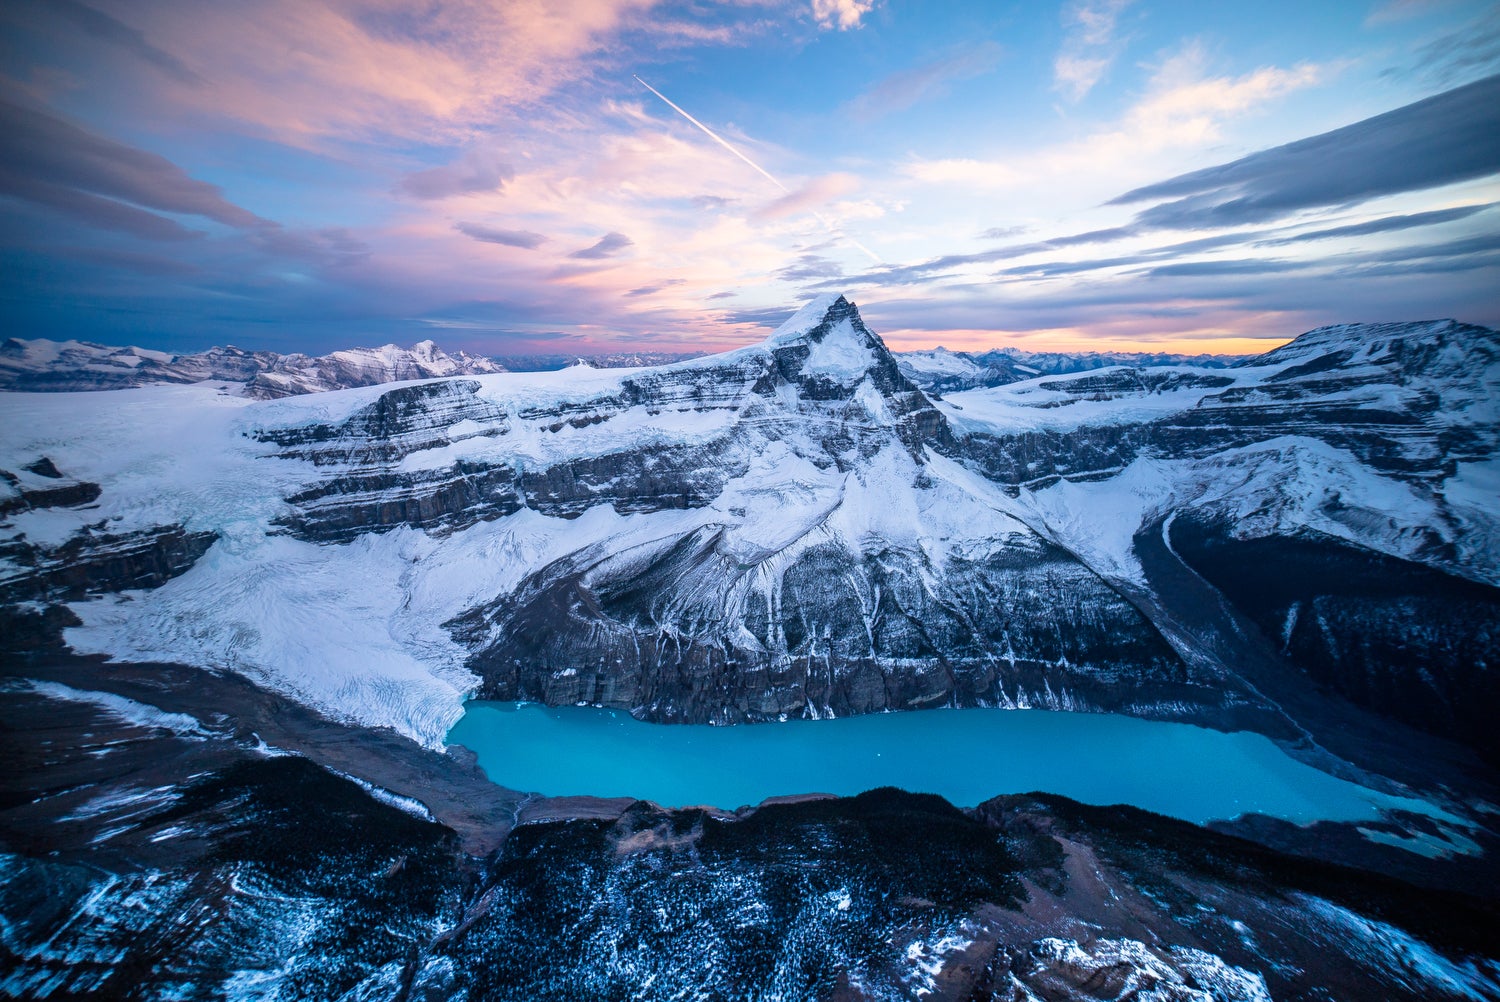
Get Higher
There's a big difference between 2,000 and 20,000 feet. When you're at a height of 20,000 feet, braided rivers take on a life of their own. Mountains become abstract shapes. The scale of your world becomes a more defined form, while at the same time — becomes more approachable through the medium of your camera. In many ways, photographing landscapes and subjects from the air has become my biggest passion. And if there is ever a subject you wish to really see from every angle, I suggest calling a local small airplane pilot and exploring it for yourself!
Tip 09
Over, Under
Over unders (where the camera is between the water and air) require a special type of housing port called a dome to produce, but they can really open up the possibilities when shooting water photography. Being able to capture both the world above and below water (at the same time) has allowed me to show what a playground the Earth really is.
By using a dome, it pushes the water line further away from the camera — allowing you to more easily capture what lies above and below that line. Using an extremely wide angle lens also helps make this easier. There are a variety of dome port attachments for your iPhone that simulate this same effect!
Tip 10
Go Underwater
On the topic of water...shooting in the sea opens up another world of photography. Many iPhones today are waterproof, and there are countless housings to make your phone reach these depths. One of my favorite subjects to capture underwater are waves breaking in action. The image above was from a bodysurfing project in Tahiti back in 2012 — it shows the movement and fluidity of water so clearly.
About the Author
Known for awe-inspiring photos of untamed landscapes, Chris Burkard is an avid explorer, committed preservationist, award-winning photographer, and global influencer. His unique visionary perspective is exemplified through a portfolio of powerful shots, each of which inspires a deep reconsideration of the human relationship with nature. Follow his adventures at @chrisburkard.