


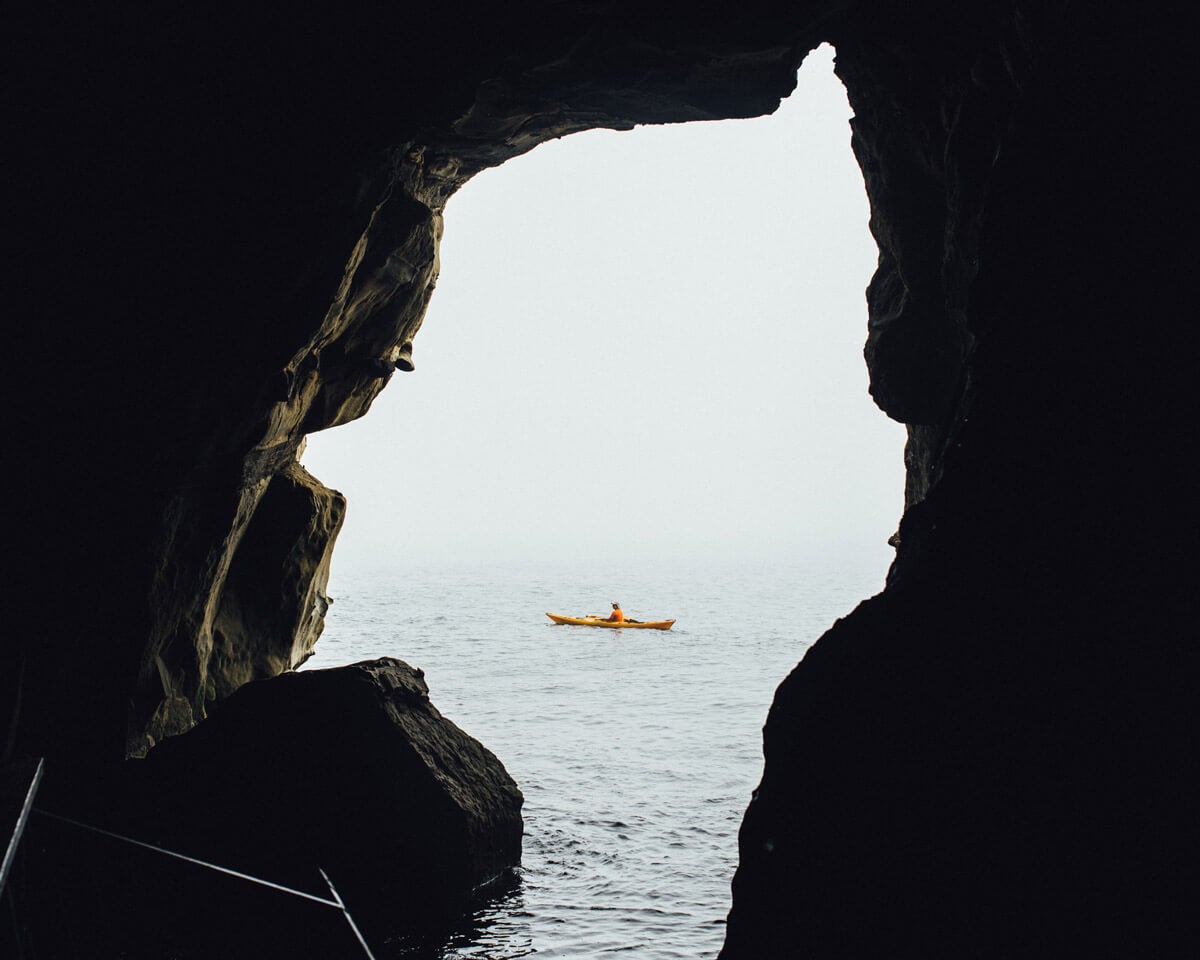
Tip 01
Create Perspective
With Lauren Wells

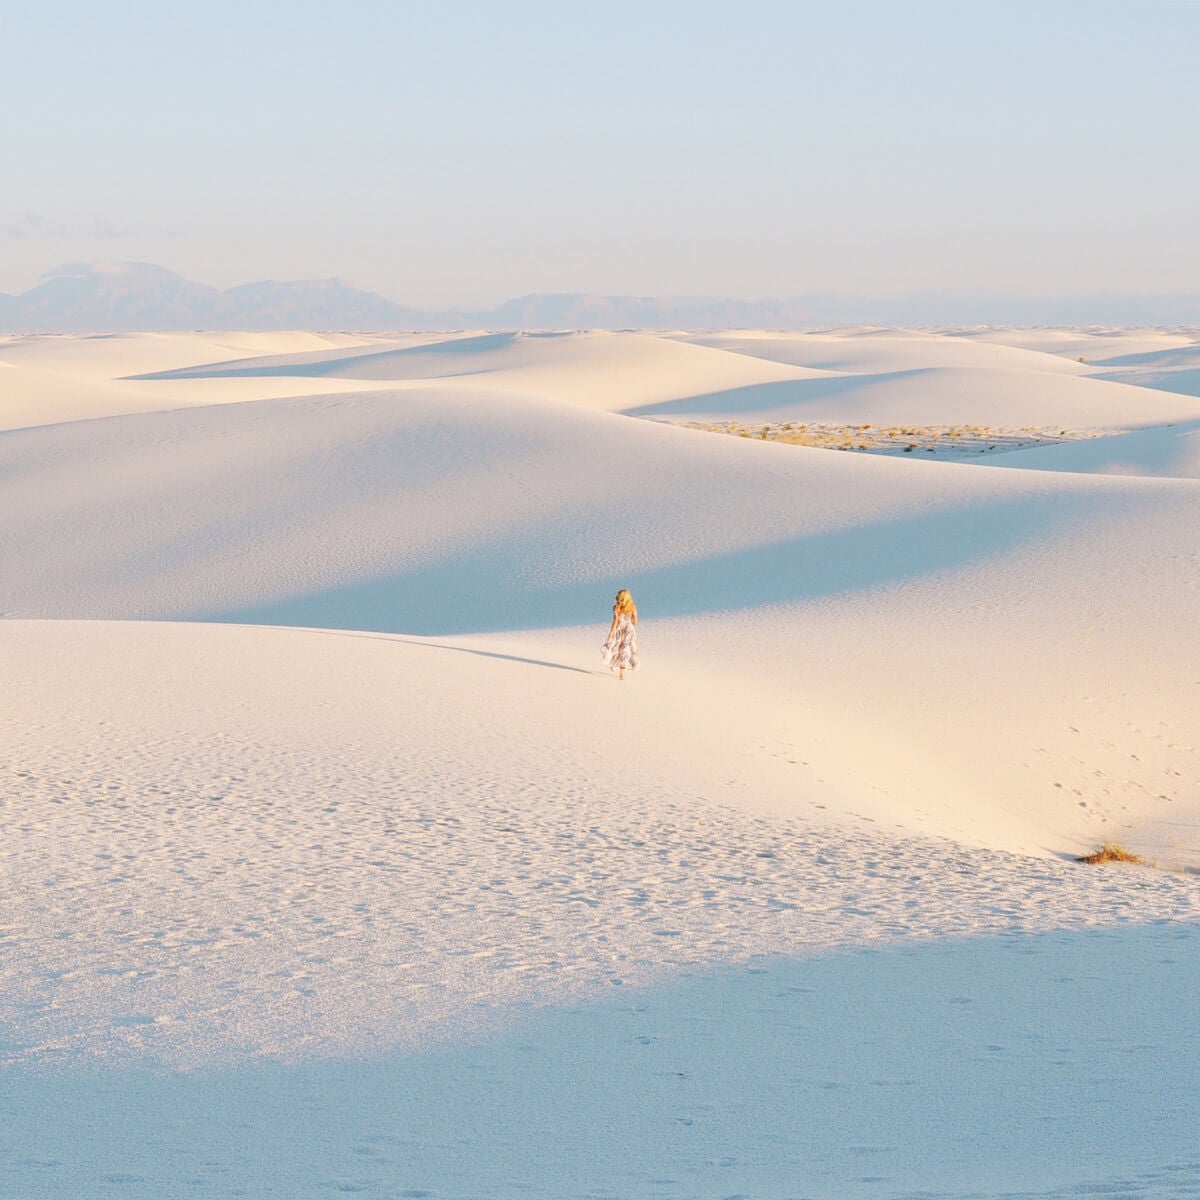
My go to camera is my iPhone, and I have found that I'm able to show a range of depth using it. I tend to have my subject walk away from the camera or towards it because I like having movement in my photos. If I'm in a wide open space, I'll position a human in the distance to show a long range. You can create perspective (and therefore depth) by highlighting something or someone in the distance. When my subject is up close, I'll double tap to focus on them (which brings out the details of what I'm trying to highlight).
Camera of Choice: iPhone 7
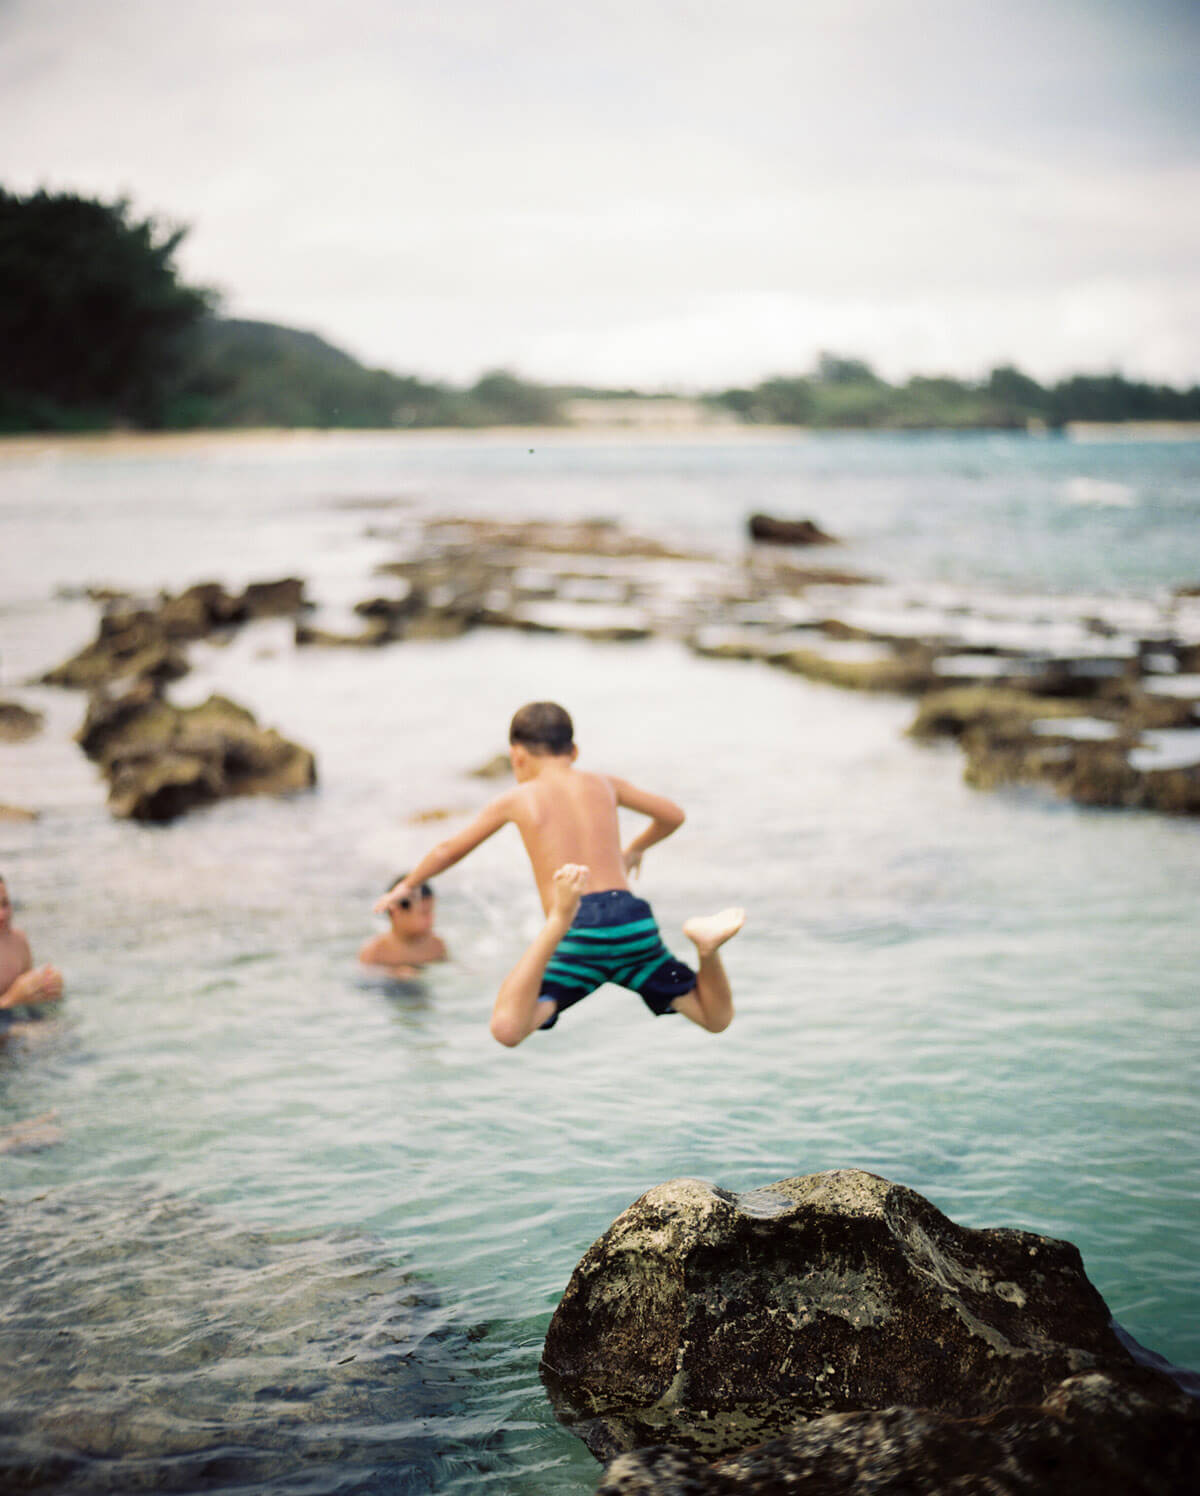
Tip 02
Leave It to Your Phone
With Samantha Kogle


I bring my phone with me wherever I go - mostly to make sure I capture all of the moments of my daughter, Willa, growing up. I'm lucky because the iPhone 7+ makes it really easy to achieve depth of field with the new portrait mode. For this setting to work its magic, make sure to be in direct/good light and then focus on your subject. If your subject is relatively still (this can be challenging with a toddler), it will create that depth of field look by the simple click of the shutter. So easy! I'll take a handful of shots of one moment, and then I'll go back and see if any of the images turned out how I was intending to capture. Kids are so unpredictable, so it's good to give yourself lots of options.
Camera of Choice: iPhone 7 Plus
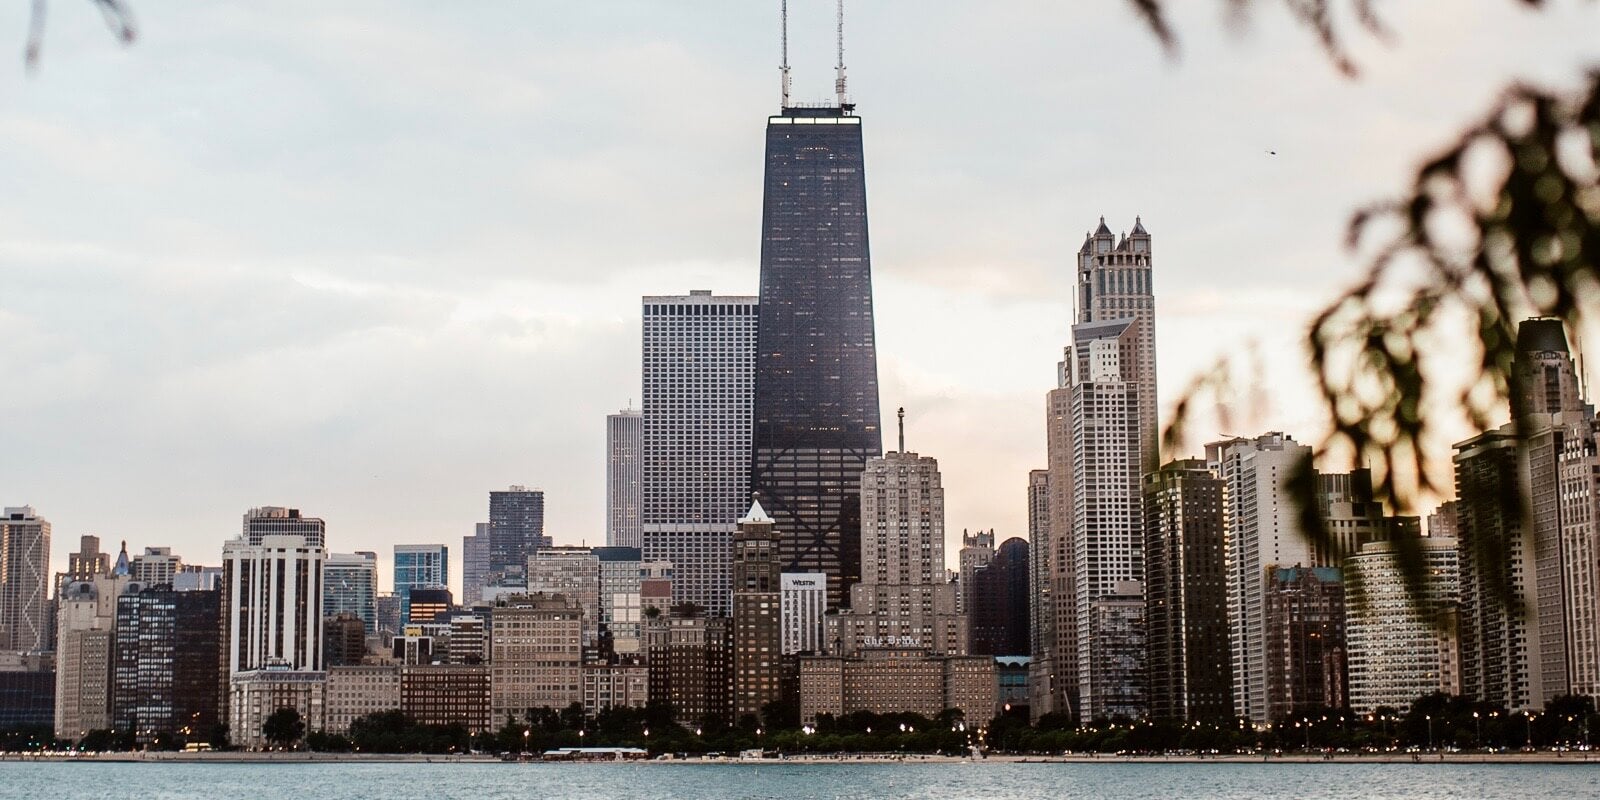
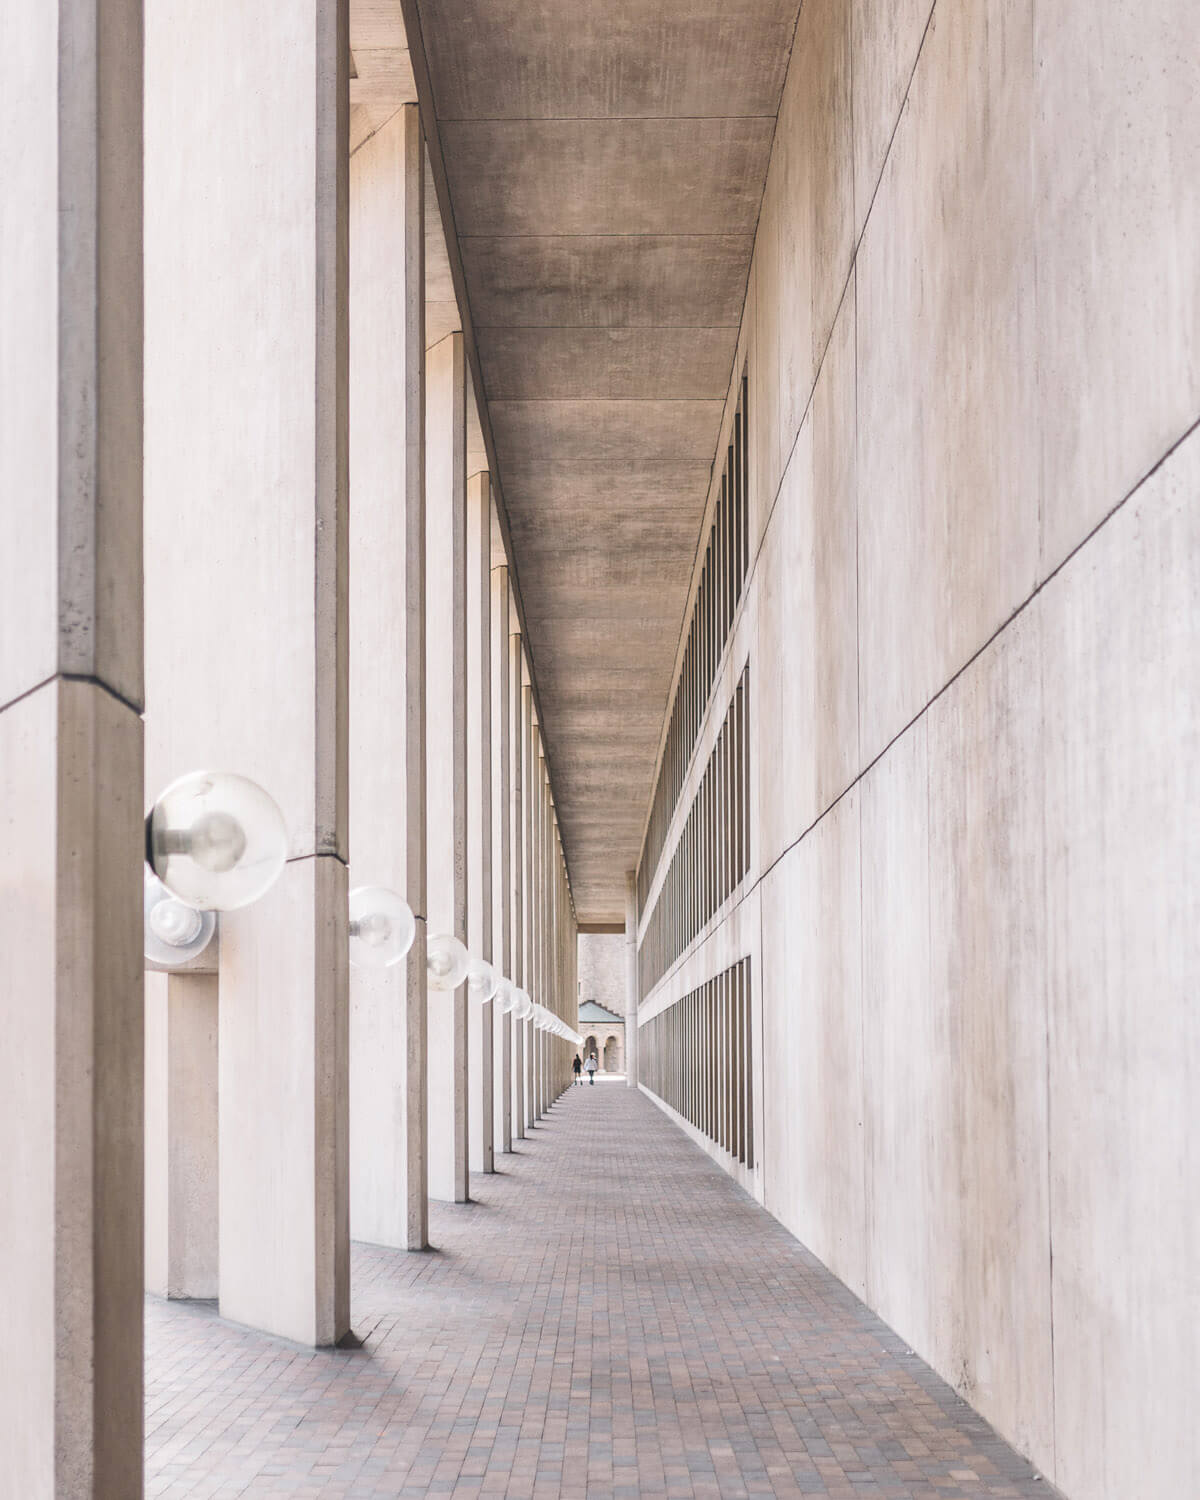
Tip 03
Aperture is Everything
With Andrew Ling
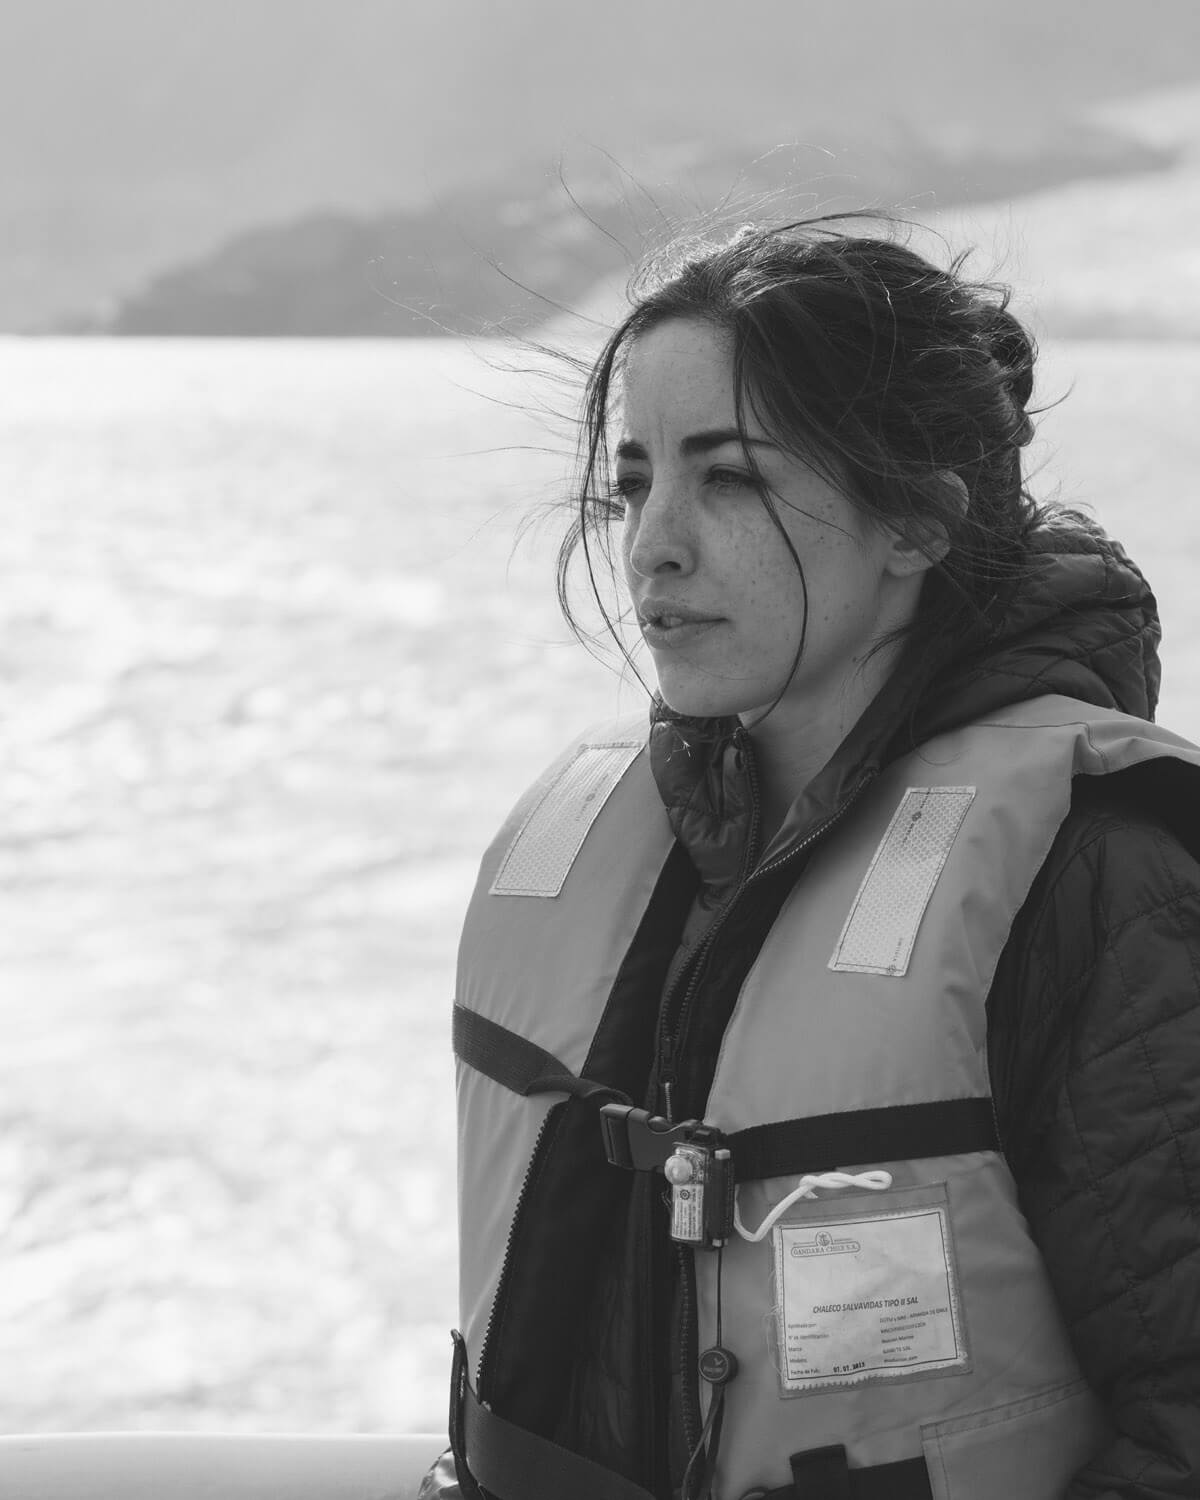

When shooting on a DSLR camera, aperture will be one of your best (and most confusing) tools to achieve depth of field. Simply put - aperture controls the amount of light let into the camera. I've found that there are two important things to keep in mind. A larger aperture (ex: f1.8) will allow more light to reach the camera sensor and a smaller aperture (ex: f11) will allow less light to reach the sensor. The larger aperture (ex: f1.8) will create a greater depth of field (more blurry background behind your focus/subject). The aperture you will want to select will depend on the look you're going for and if the lighting conditions allow for the aperture you want to use. Finally, you will want to keep in mind the distance between you, your subject, and the background. Each step changes the final outcome of the photo.
Camera of Choice: Canon 5D Mark IV
Tip 04
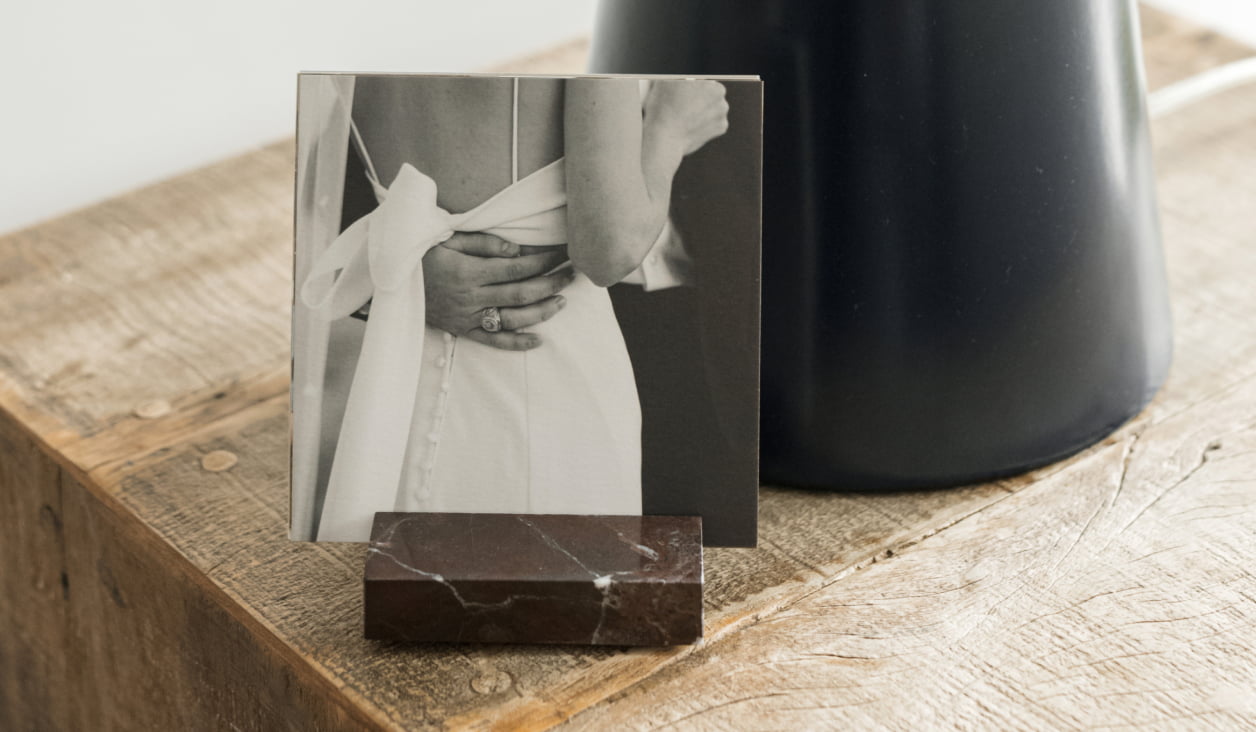
Show Off Your Subject
With Jonathan Canlas
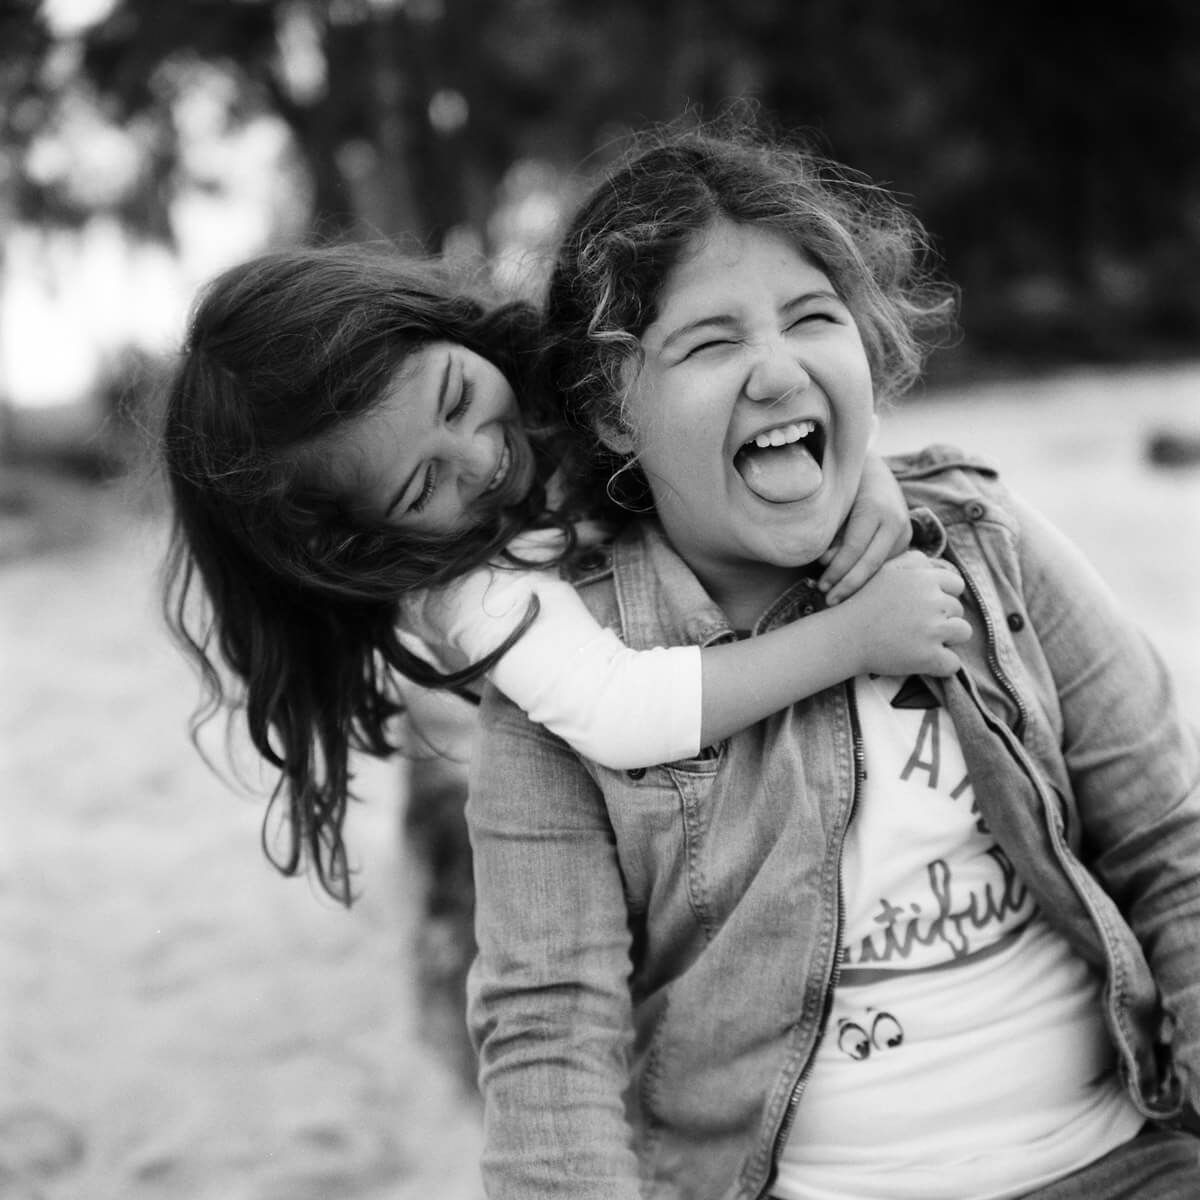
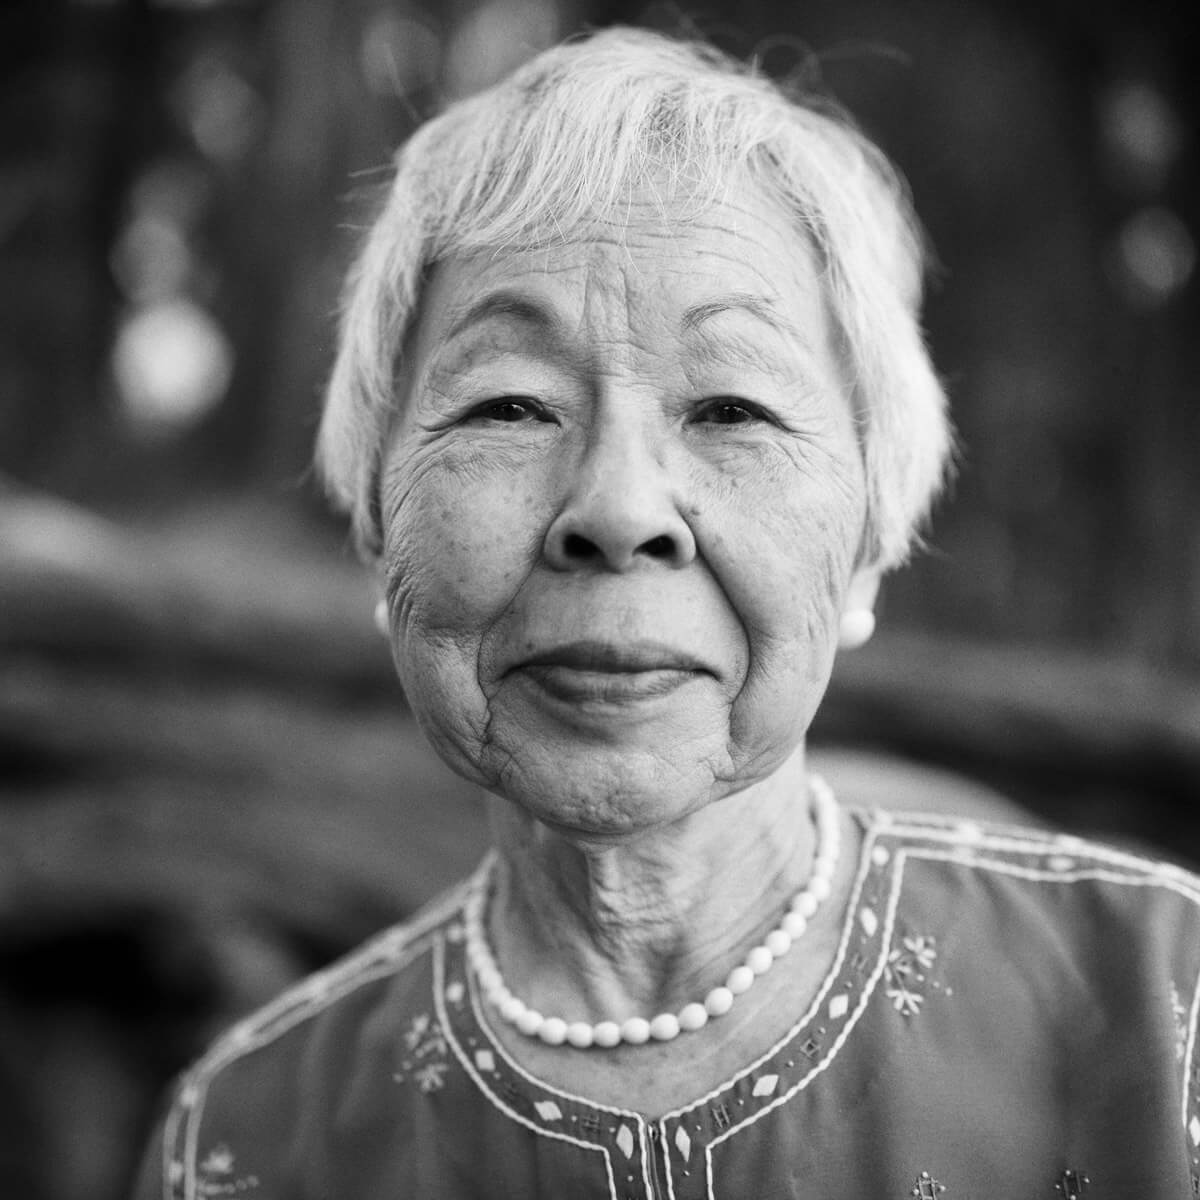
When it comes to depth of field, there are three things that factor in to making it happen: 1. distance from the subject, 2. focal length of lens, and 3. f-stop (relative aperture). The closer you are to your subject, the less depth of field you will have. And on the flip side, the further you are from your subject, regardless of f-stop chosen, you will have more depth of field. When shooting portraits, I always pull my subject 5 feet away from the background (this will work in any situation regardless of the background). The closer your subject is to the background, the more the background will be in focus, and on the flip side, the further they are from the background, the more out of focus the background will be. This allows you to separate your subject and depending on the f-stop you choose, it will throw the background out of focus.
Camera of Choice: Rolleiflex 2.8f
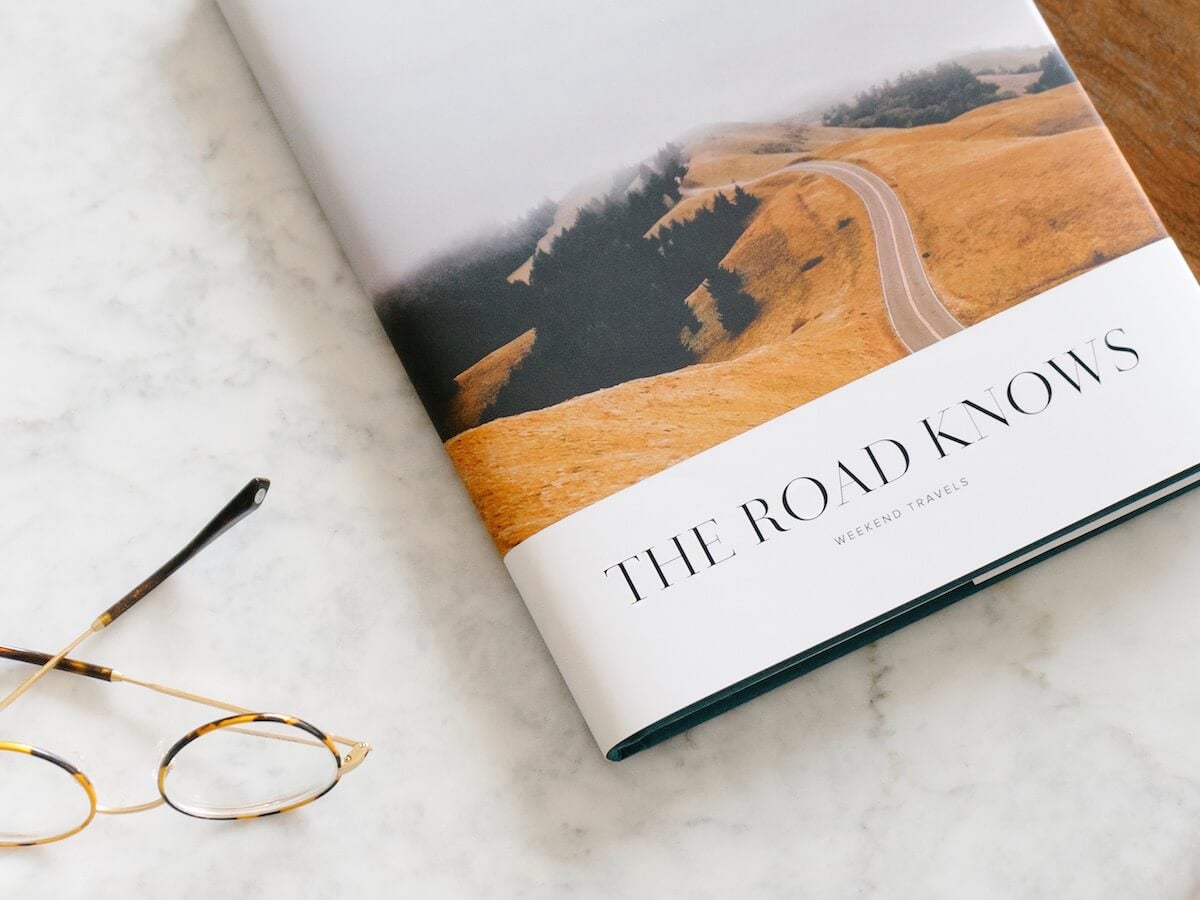
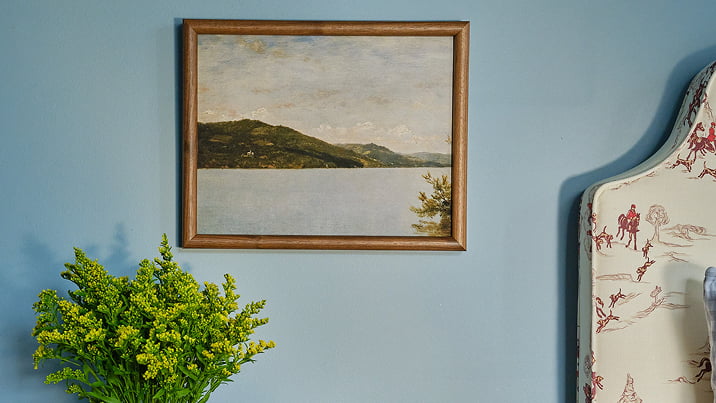
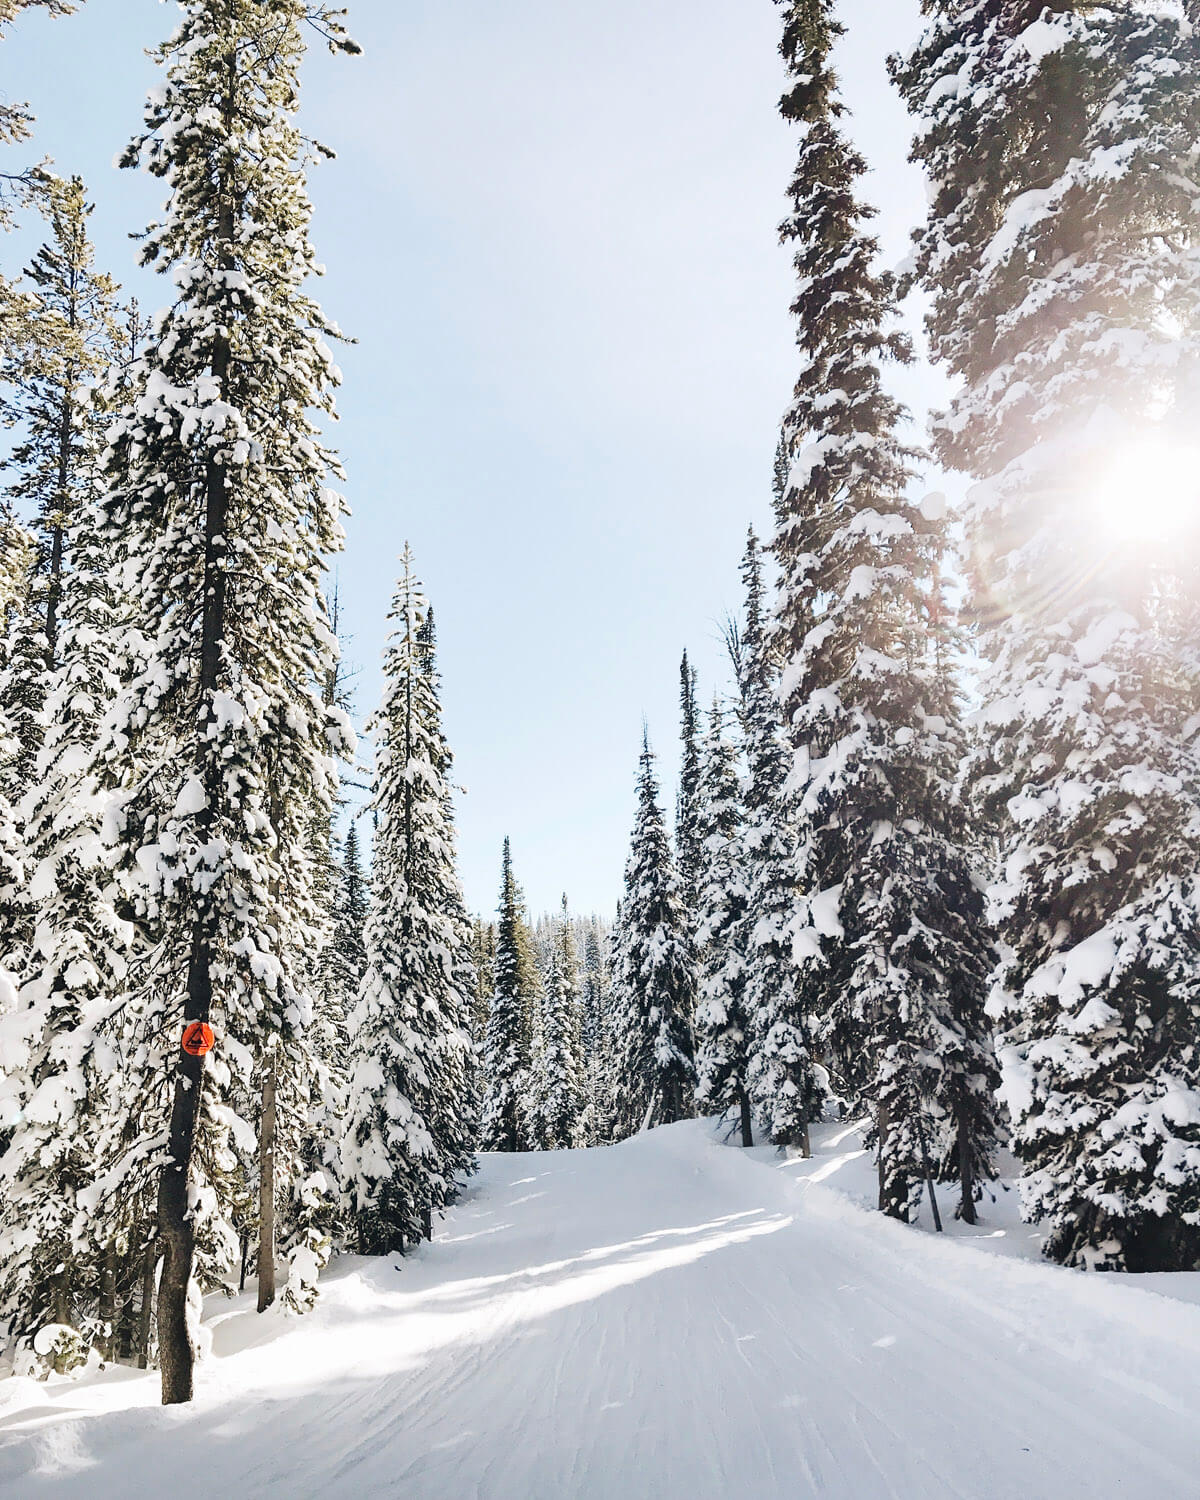
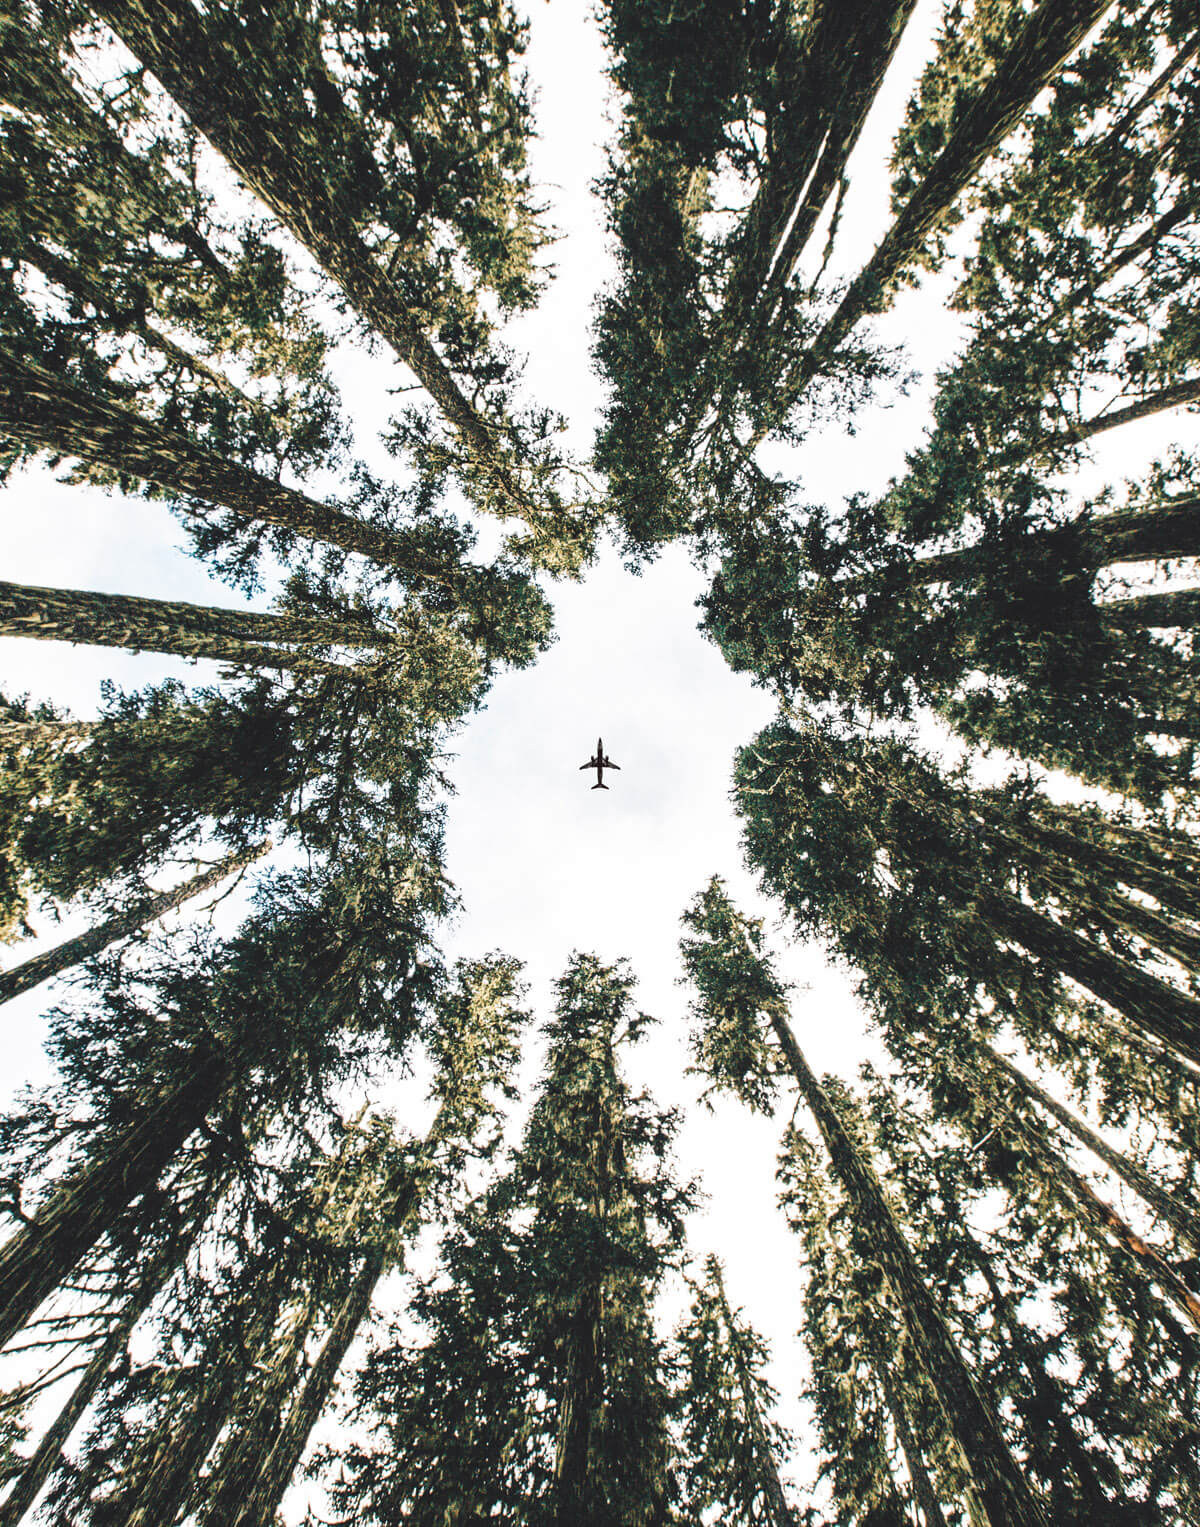
Tip 05
Go the Distance
With James Carpenter
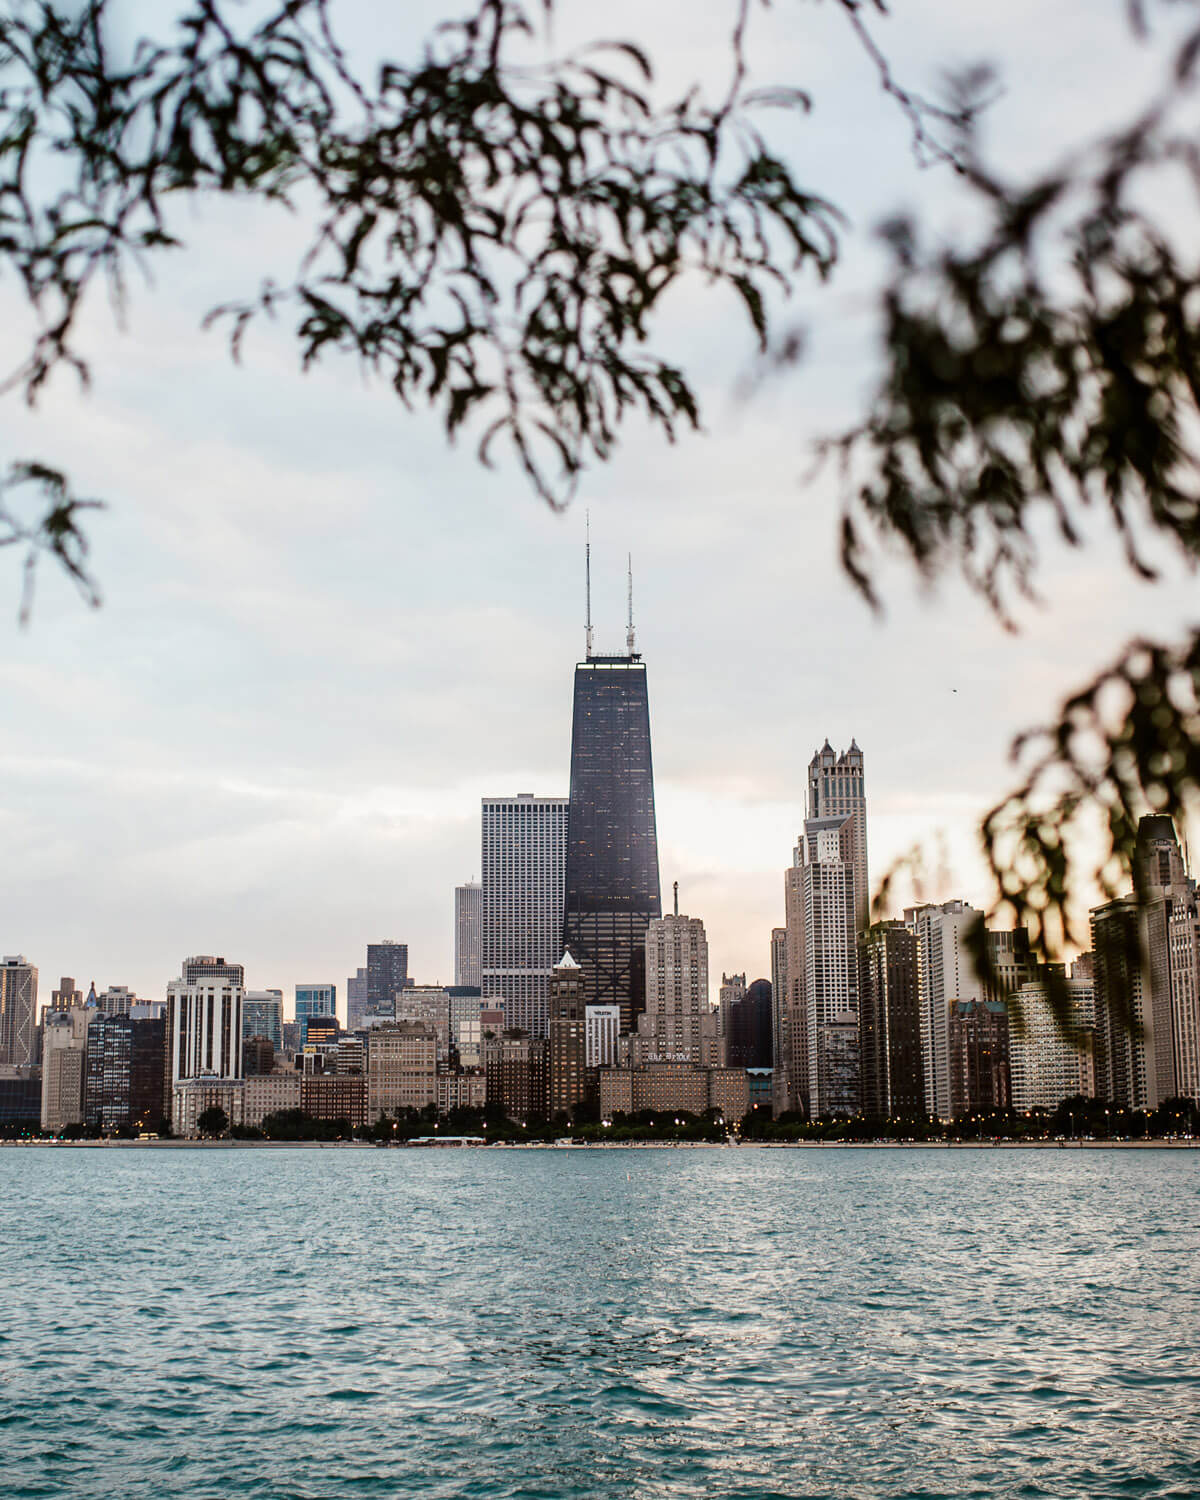
When I'm shooting landscapes, I prefer a deeper depth of field in order to see more and show much more detail — giving the viewer the sense of being within the landscape. To do this, I make sure that I am focusing on the object that is the furthest away, not the closest (this will make all of the detail in your image sharp). This deeper depth of field also requires a higher aperture (f16), which creates a smaller space for the light to be let in — because of this, you'll need a longer exposure. This ends up allowing the entire image to be in focus — leading to the sense of a never-ending-landscape. When I do these longer exposures, I make sure I use a tripod to avoid shakiness.
Camera of Choice: Nikon D610