


Tip 01
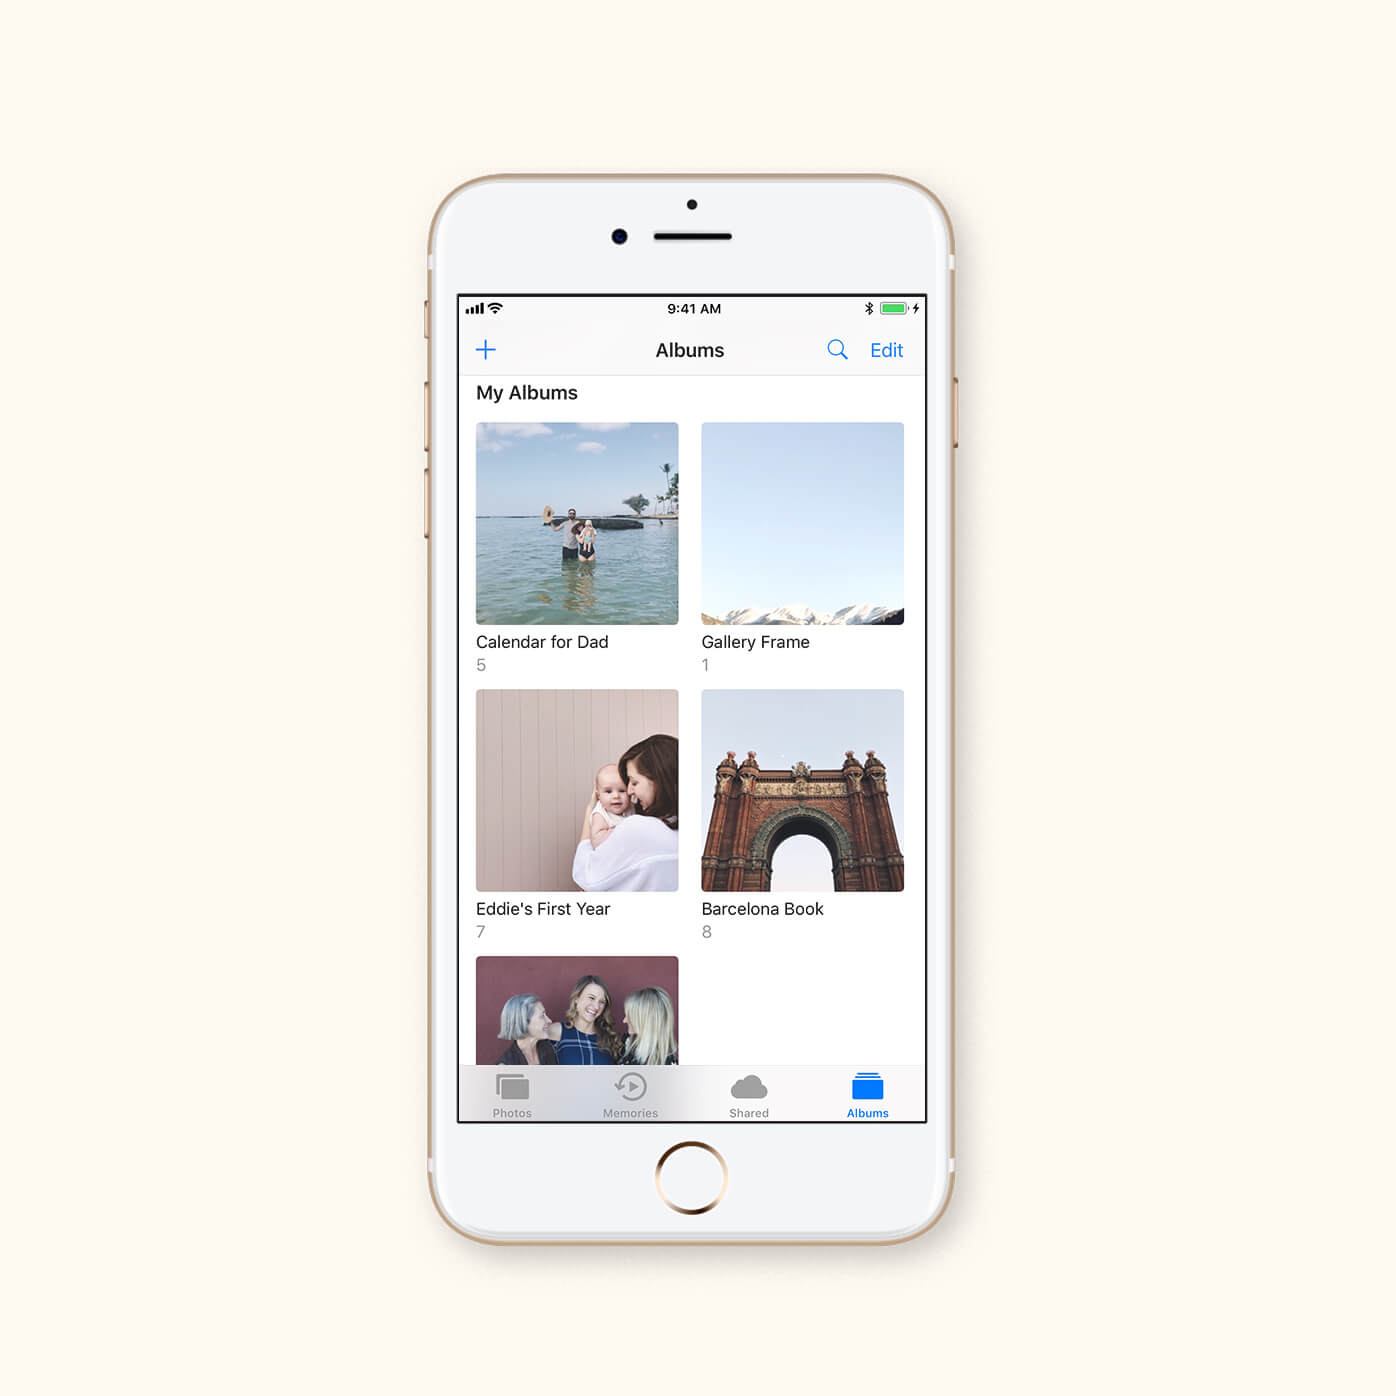
Get Organized
Set yourself up for success and make sure your photos are organized before adding them into our editor. Do this ahead of time by creating specific albums in your camera roll with the names/themes of photo projects you want to create. When you’re ready to make your project, you’ll be able to directly choose from that album source — all of your photos will be organized and ready to put into print.
Tip 02
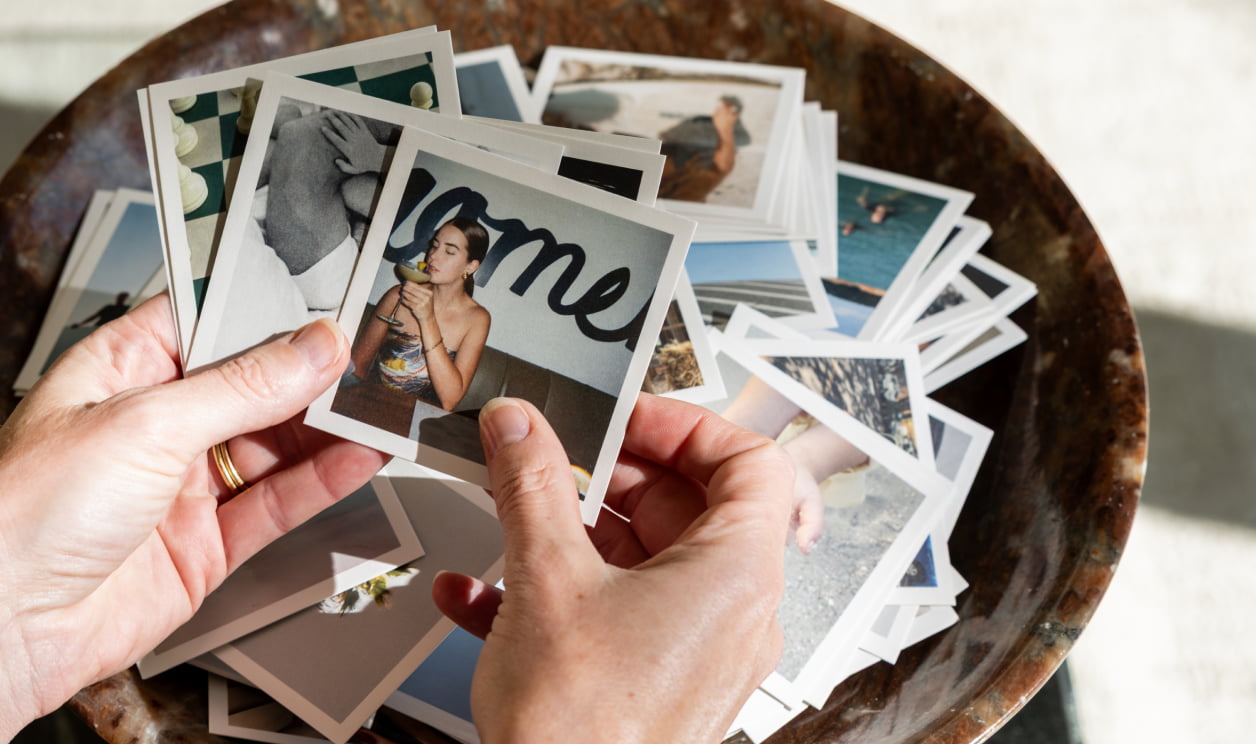
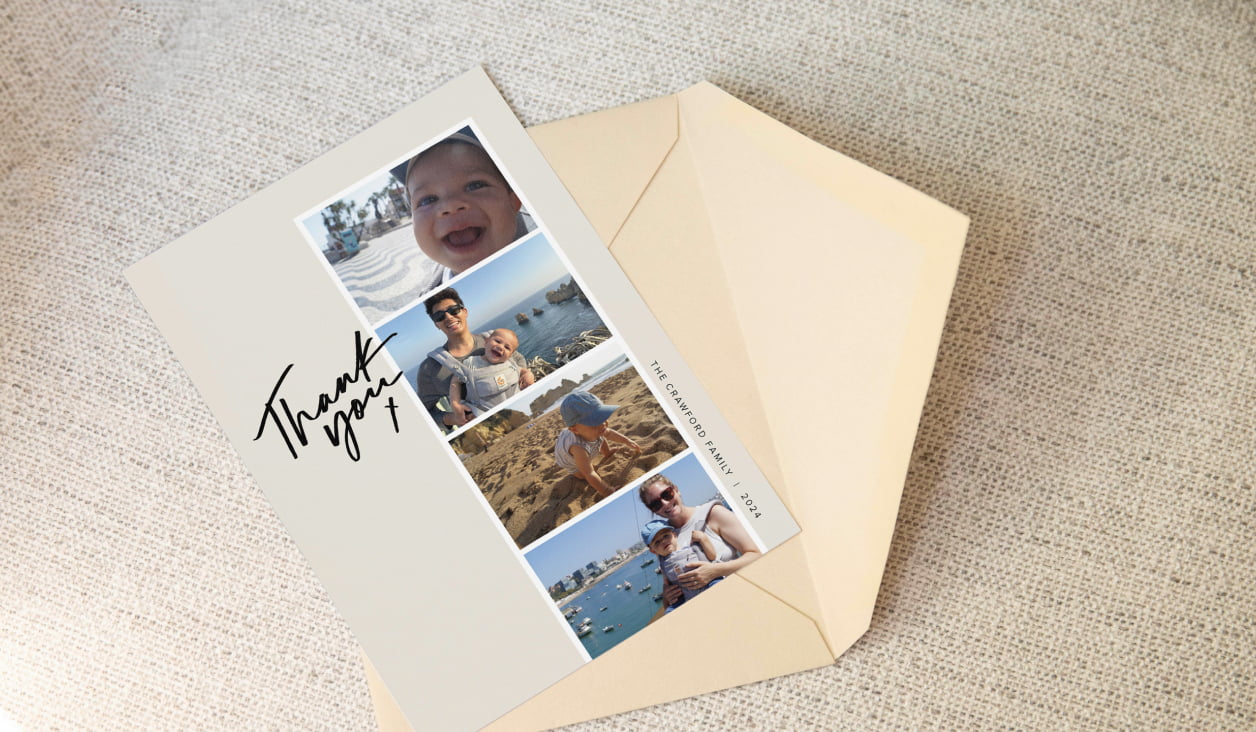
Tell A Story
When adding photos into your albums in anticipation for printing, put thought into the story that you want to tell. Are you outlining the first year of your little one? Reliving that pinch-me-please trip? Go through your photos and selectively add the ones that lend to the story. That way, you’ll spend less time deciphering what to print.
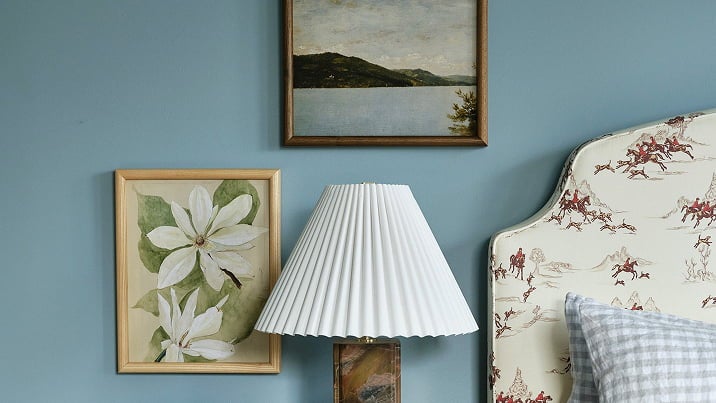
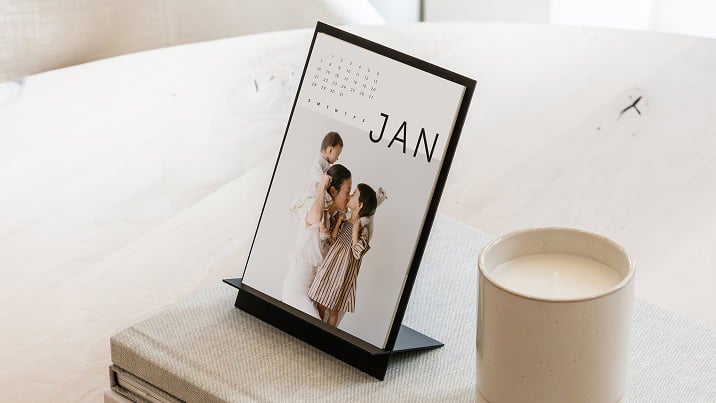
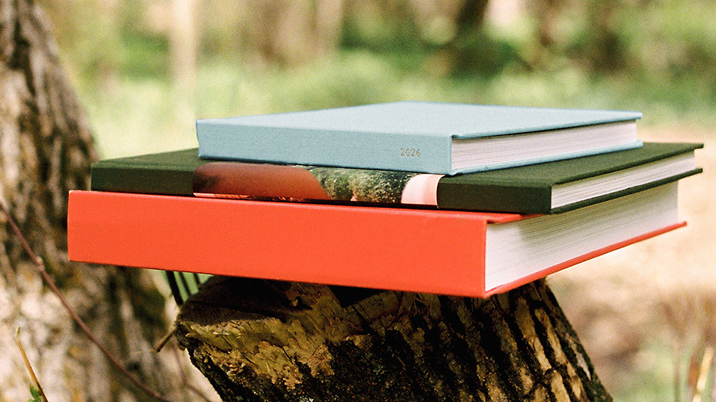
Tip 03
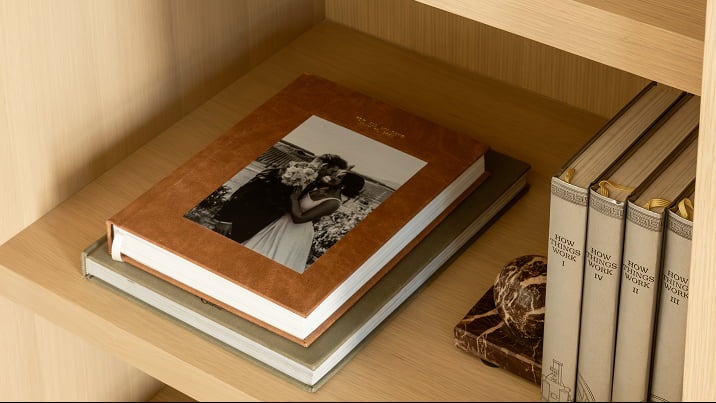
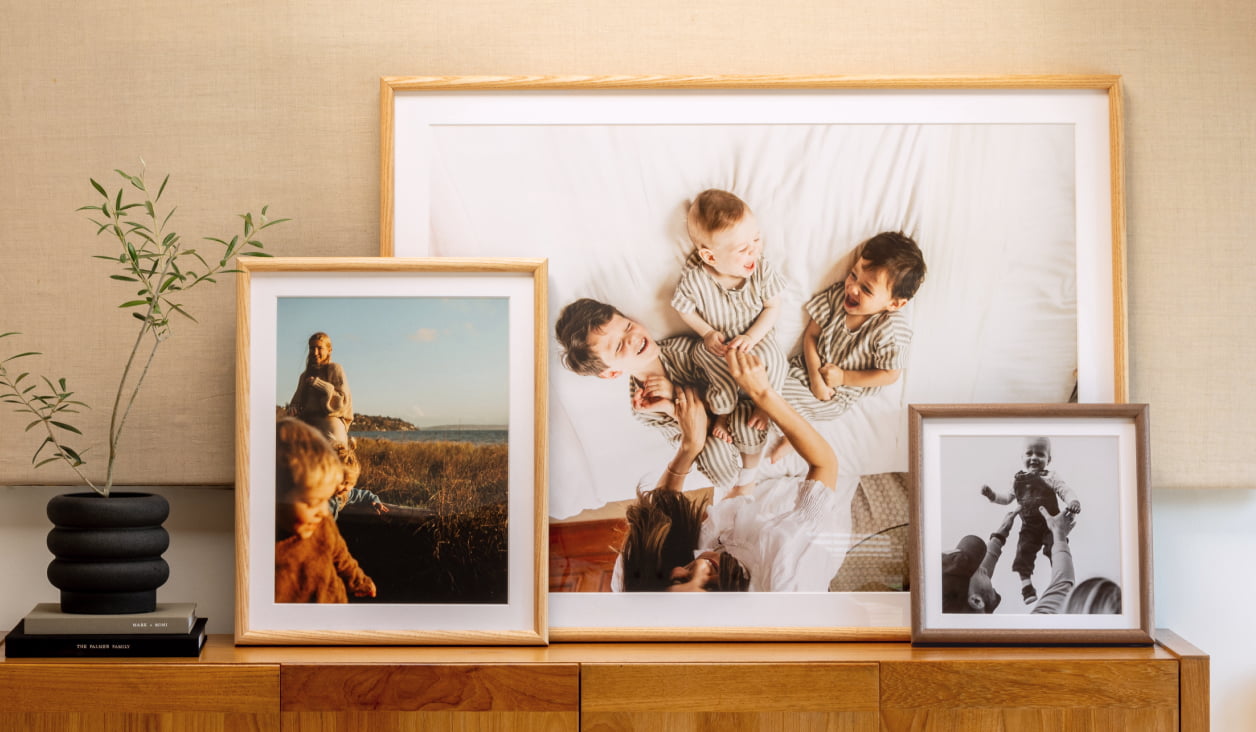
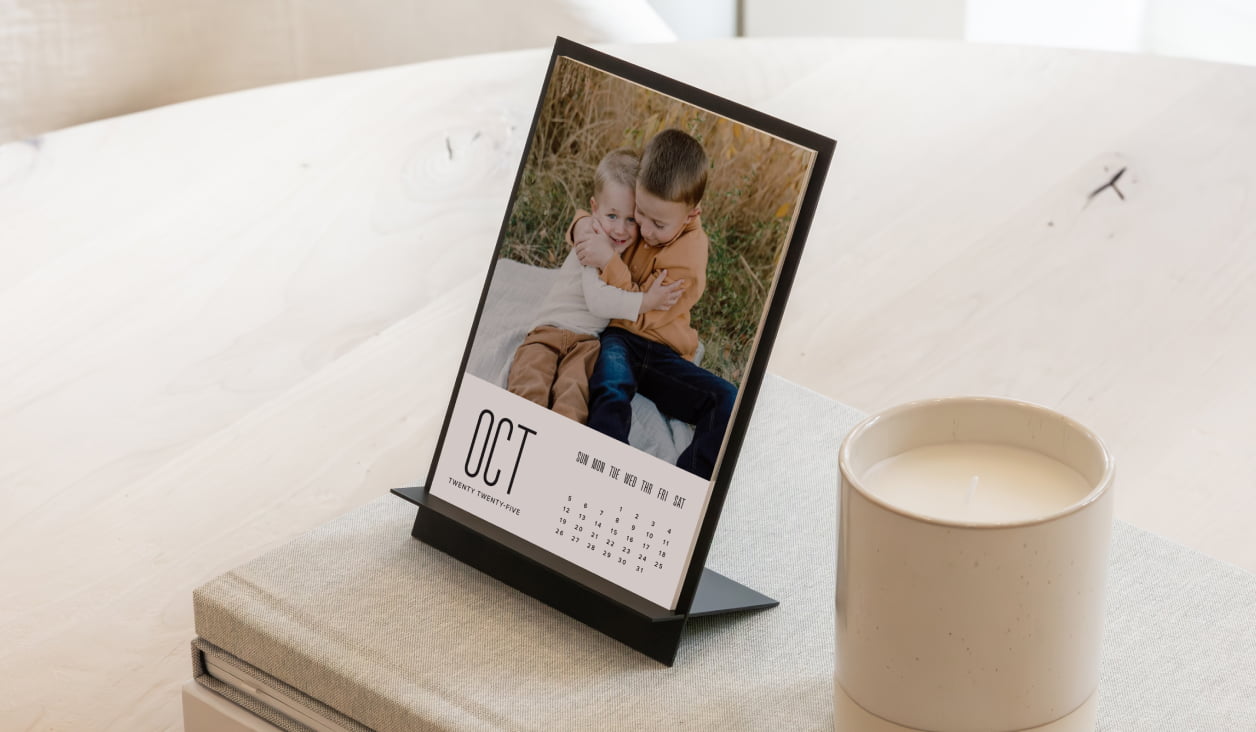
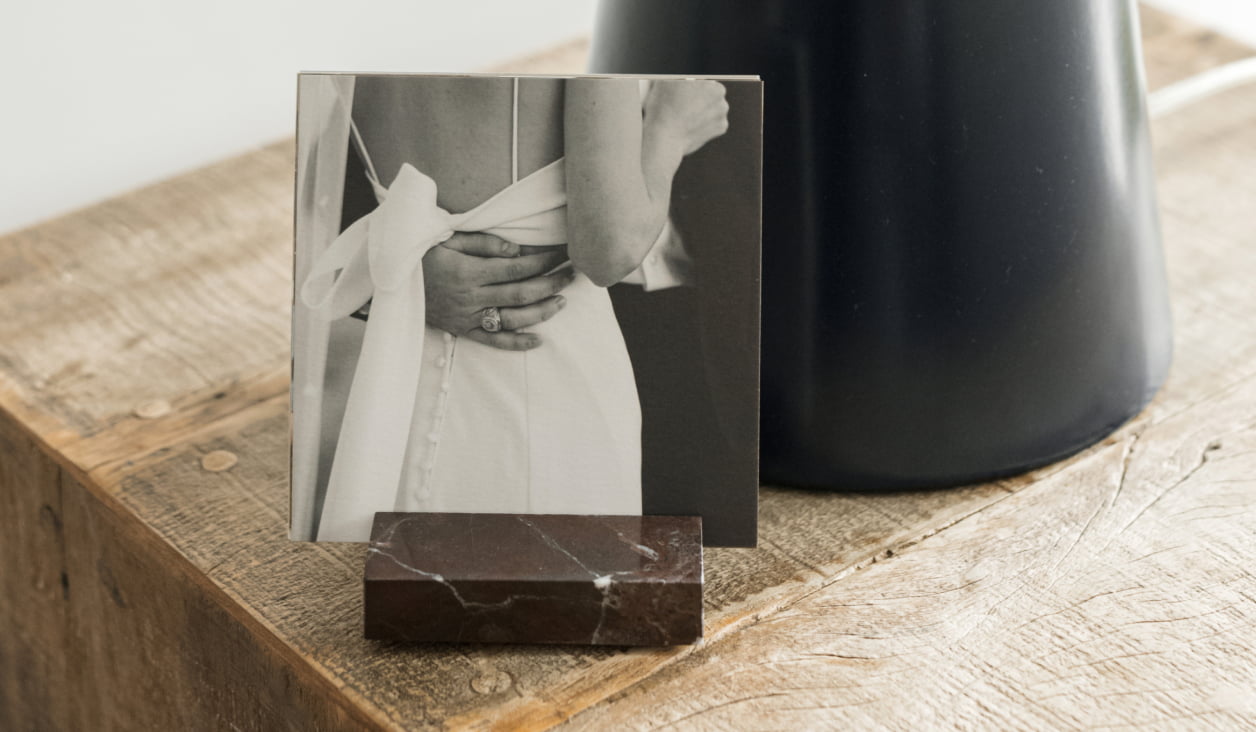
Focus On the Photos
When choosing what product to build, let the choices empower you. We’ve found that the best way to narrow down your options is to first look at how many photos you have. If you’re holding on to 1-2 that you’re excited to print, go with a frame. A dozen or so? Make a calendar. More than 20? Head towards a photo book. (Psst...check out this guide to find out which one is the best for you.)
Tip 04
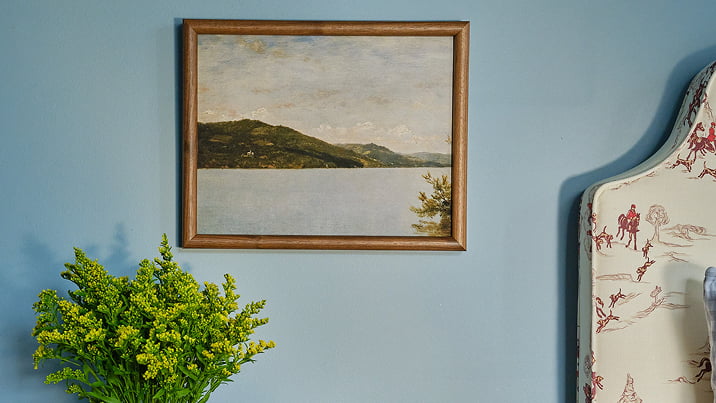
Change the Colors
In order to have your photos print optimally, before uploading make sure that they are in the right color profile and bright enough for printing. We’re used to looking at our images on a back-lit screen, and so lowering the brightness on your phone to 50% will provide a better representation of how they will print. From there, adjust the exposure and double check that your photos are in sRGB. (Not to worry — most phone photos already are.)
Tip 05
Create A Gallery
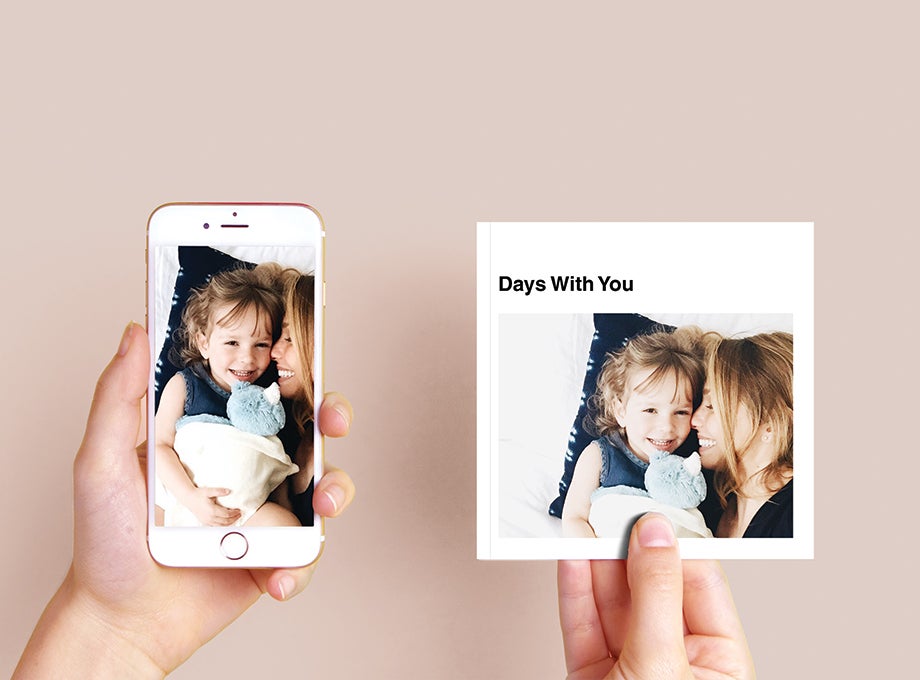
With a phone full of photos, a simple way to transfer them to the web is to head to our website on your mobile device and upload them into a gallery. Name the gallery in conjunction with what you are building, and wait until all of the images upload into it. Then, head to your desktop and your photos will be waiting for you in your account.
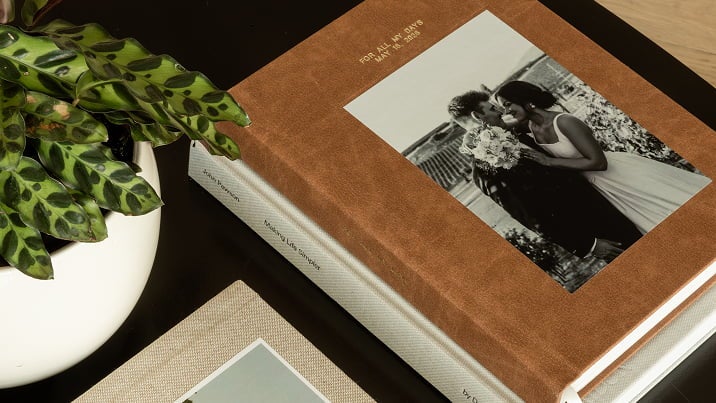
Tip 06
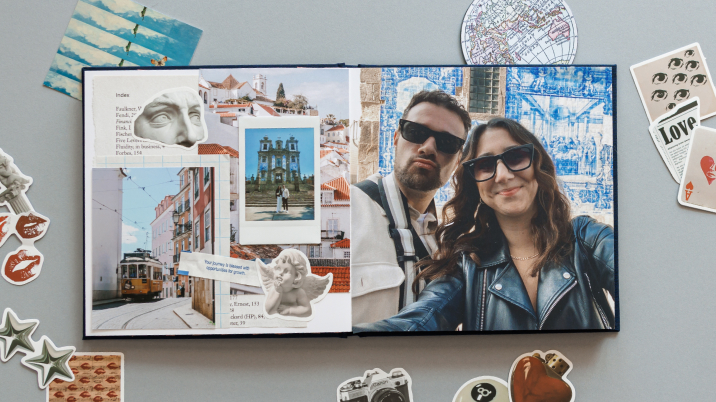
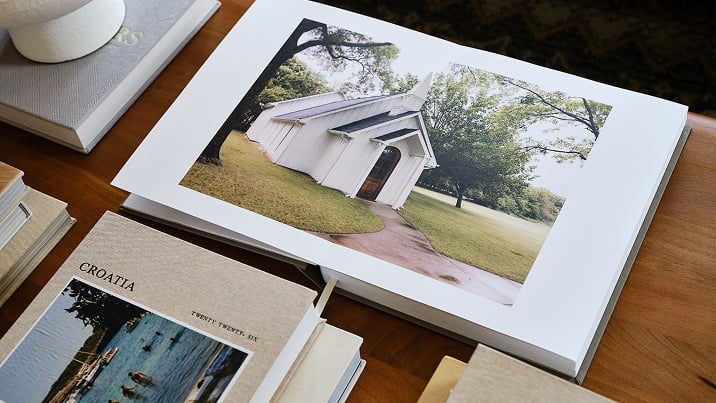
Find A Layout
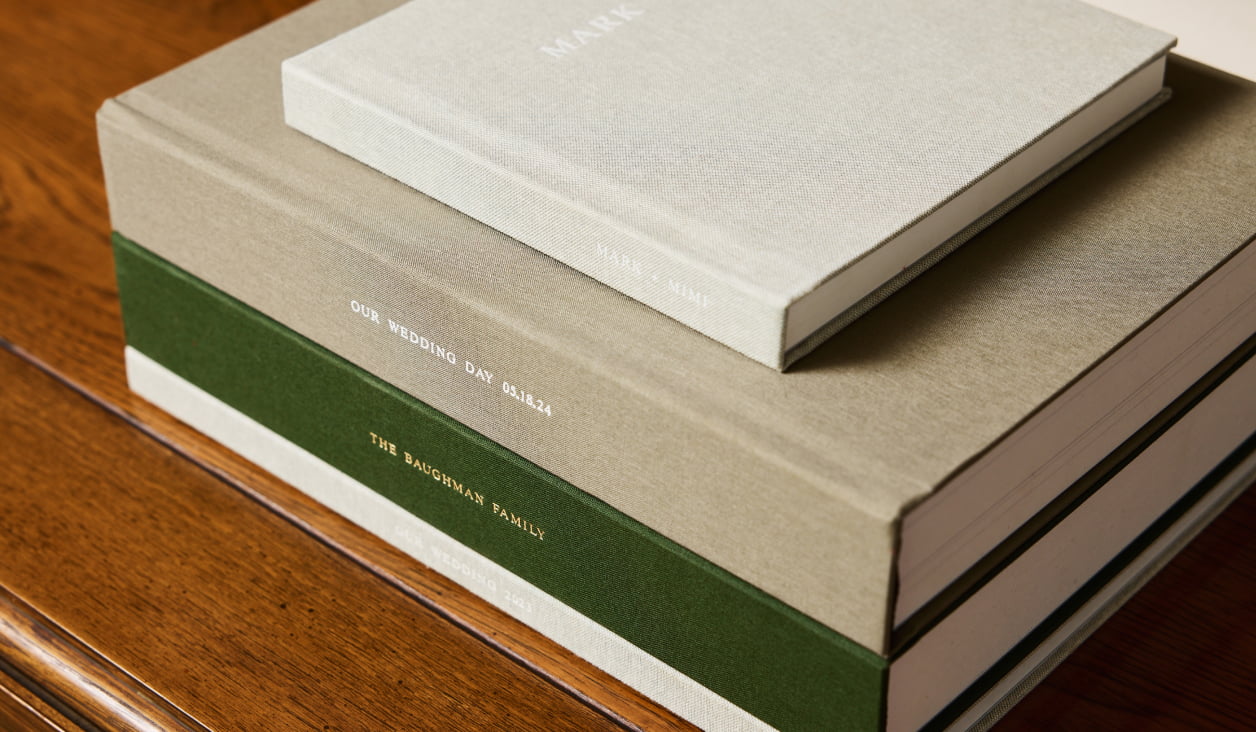
First step in building a book? Choose your layouts and page count first. Take an estimate of how many pages you will need, and add or subtract pages until you are at the number you want. Then, go through and select the layouts that appeal to you. (Pro tip: our favorite combination is a full photo page on the left and a bordered image on the right.)
Tip 07
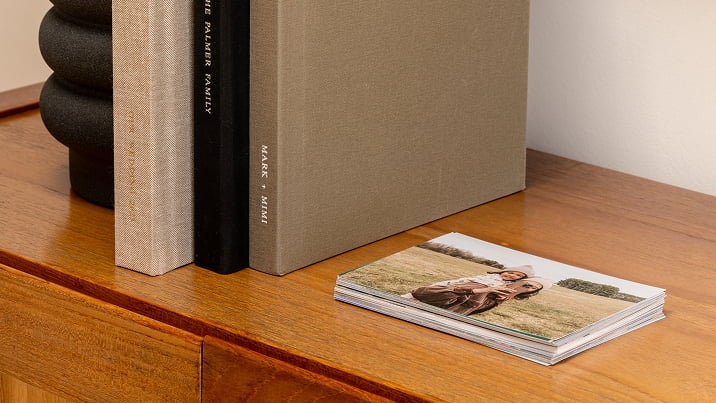
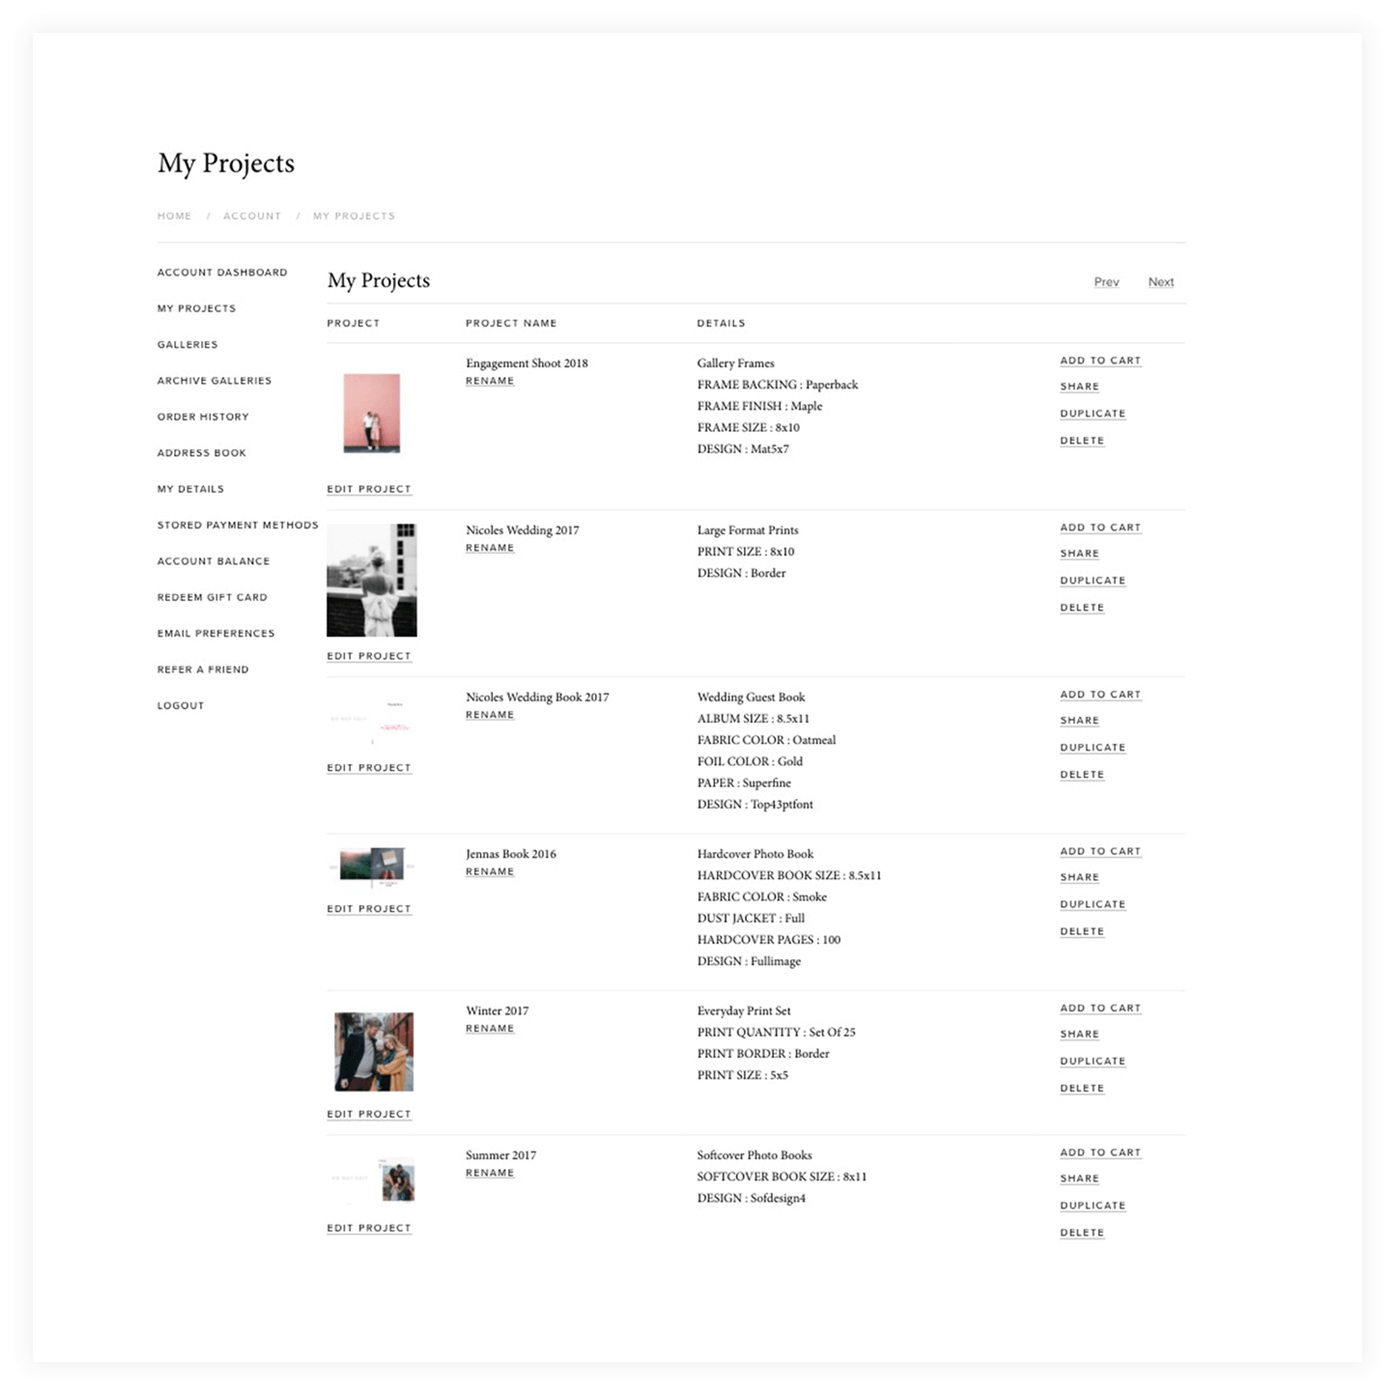
Name Your Projects
From the beginning, make sure to name the projects in your account under a centralized naming system so that you keep them organized. We suggest naming by the occasion and date. Ex: Aiden’s First Year — 2018, Italy Trip — 2017.
Tip 08
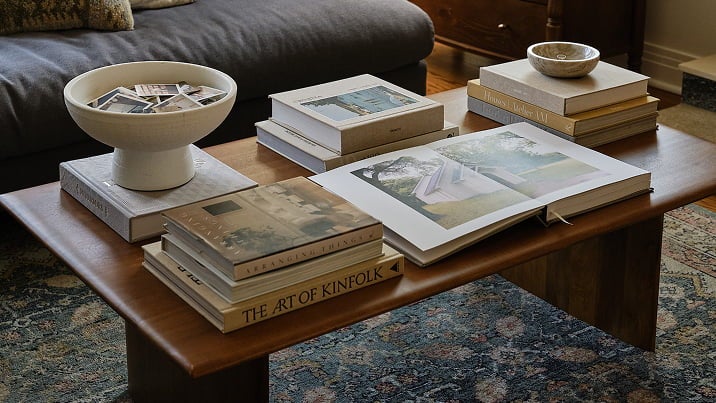
Take A Look
You’ve done the hard part — built your photo project from scratch. Take a moment to celebrate because a good mail day is about to be yours. But before you make it a done deal, take one final peek through your project to make sure it’s just as you want it. We recommend glancing it over one more time after you’ve stepped away from your screen for a bit — a clear mind will more easily catch any mistakes. Even better? Look over our
pre-order checklist to double check that you’re dotting all I’s and crossing all T’s.
Tip 09
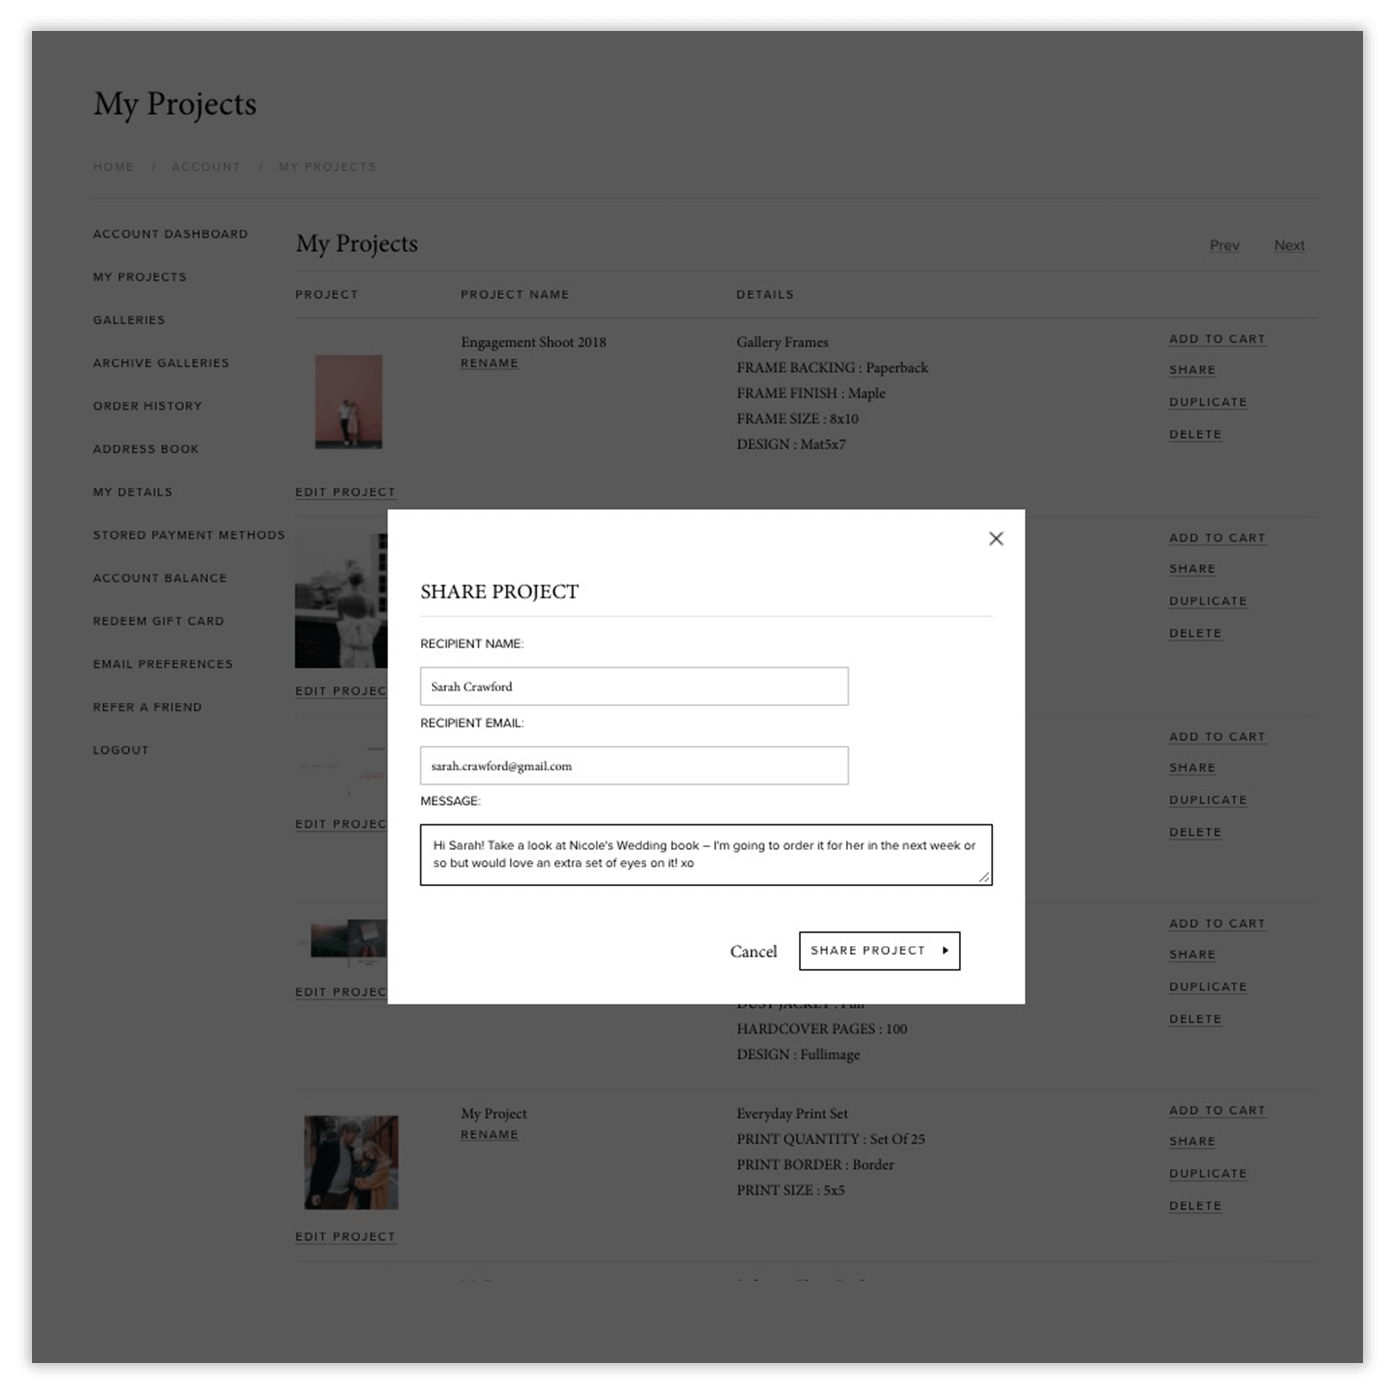
Share Away
Need an extra few eyes on that project of yours? Utilize the “share” button on your projects page to send your project to your family and/or friends. They’ll be able to see a preview of what you’ve built, to send input your way. Pro tip: a few of our products do not have the share button, so drop a note to help@artifactuprising.com and our team will send you a sharable PDF.