


Today
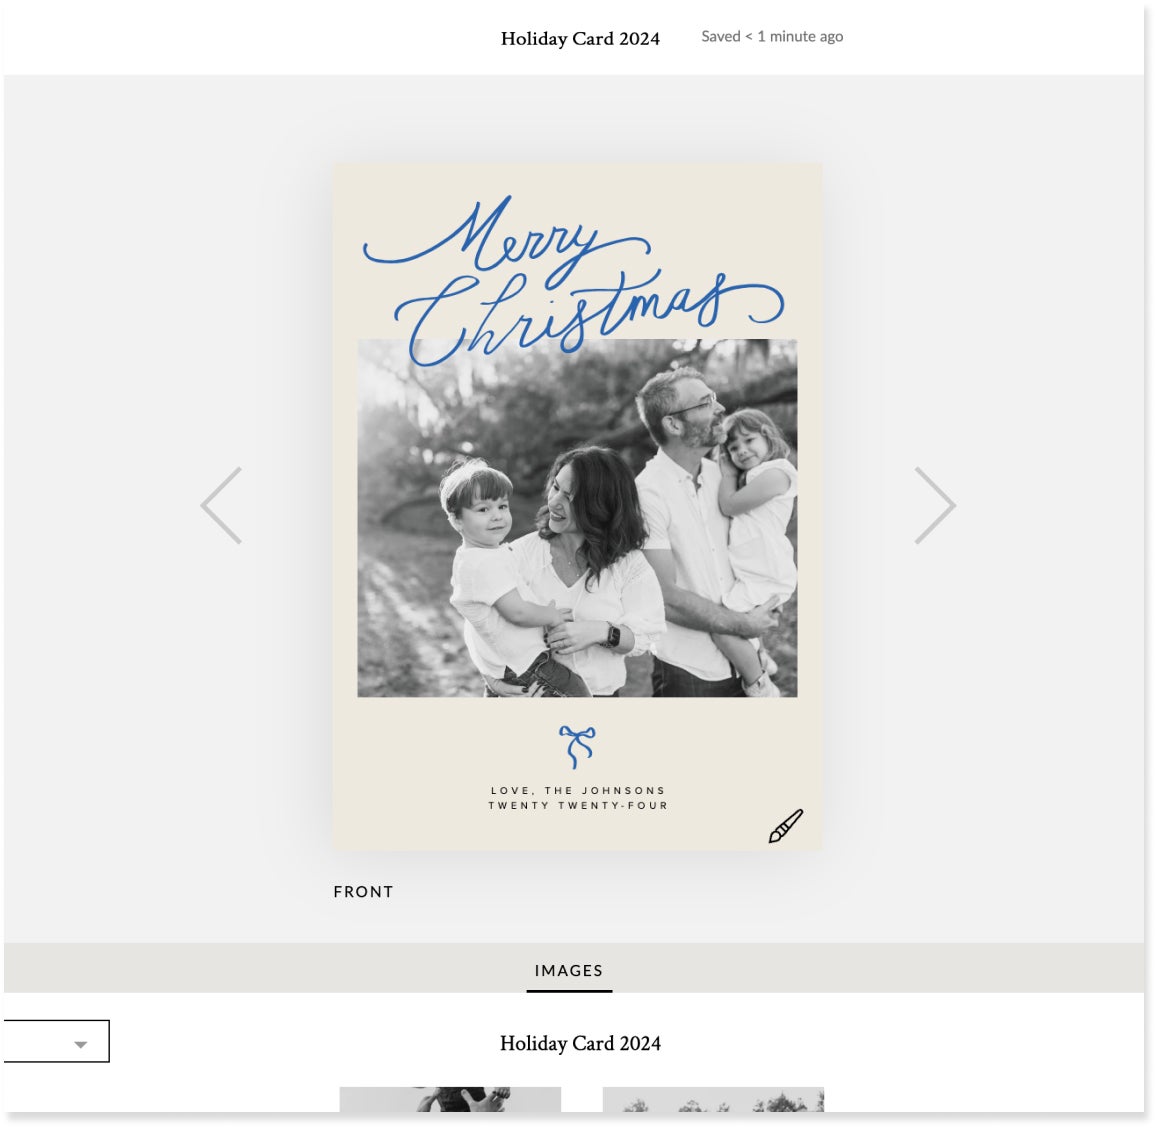
Choose Your Card
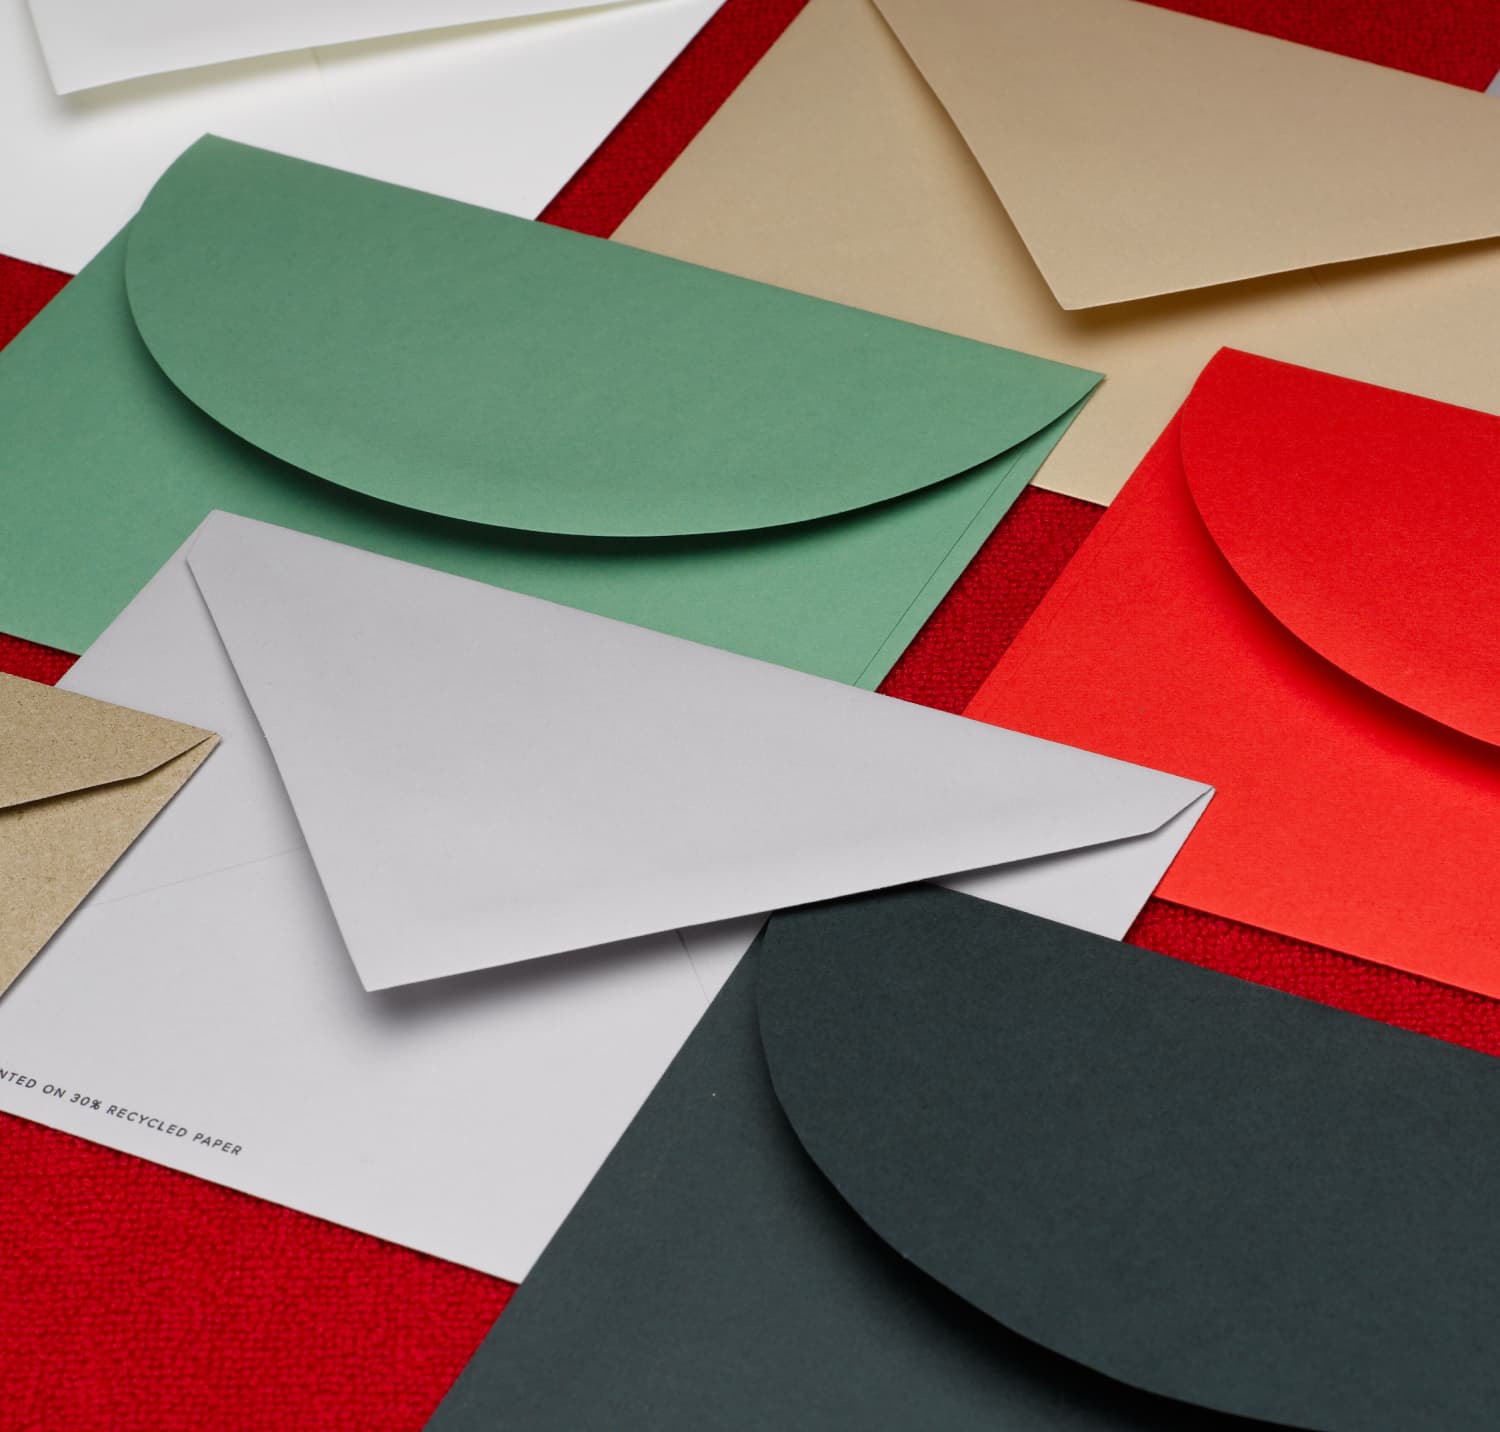
Begin browsing our custom
Holiday Card Collection
to find the perfect one for you. Have an idea of the number of
photos or the greeting you want to share? Narrow down the search by
using the filters to find your favorites.
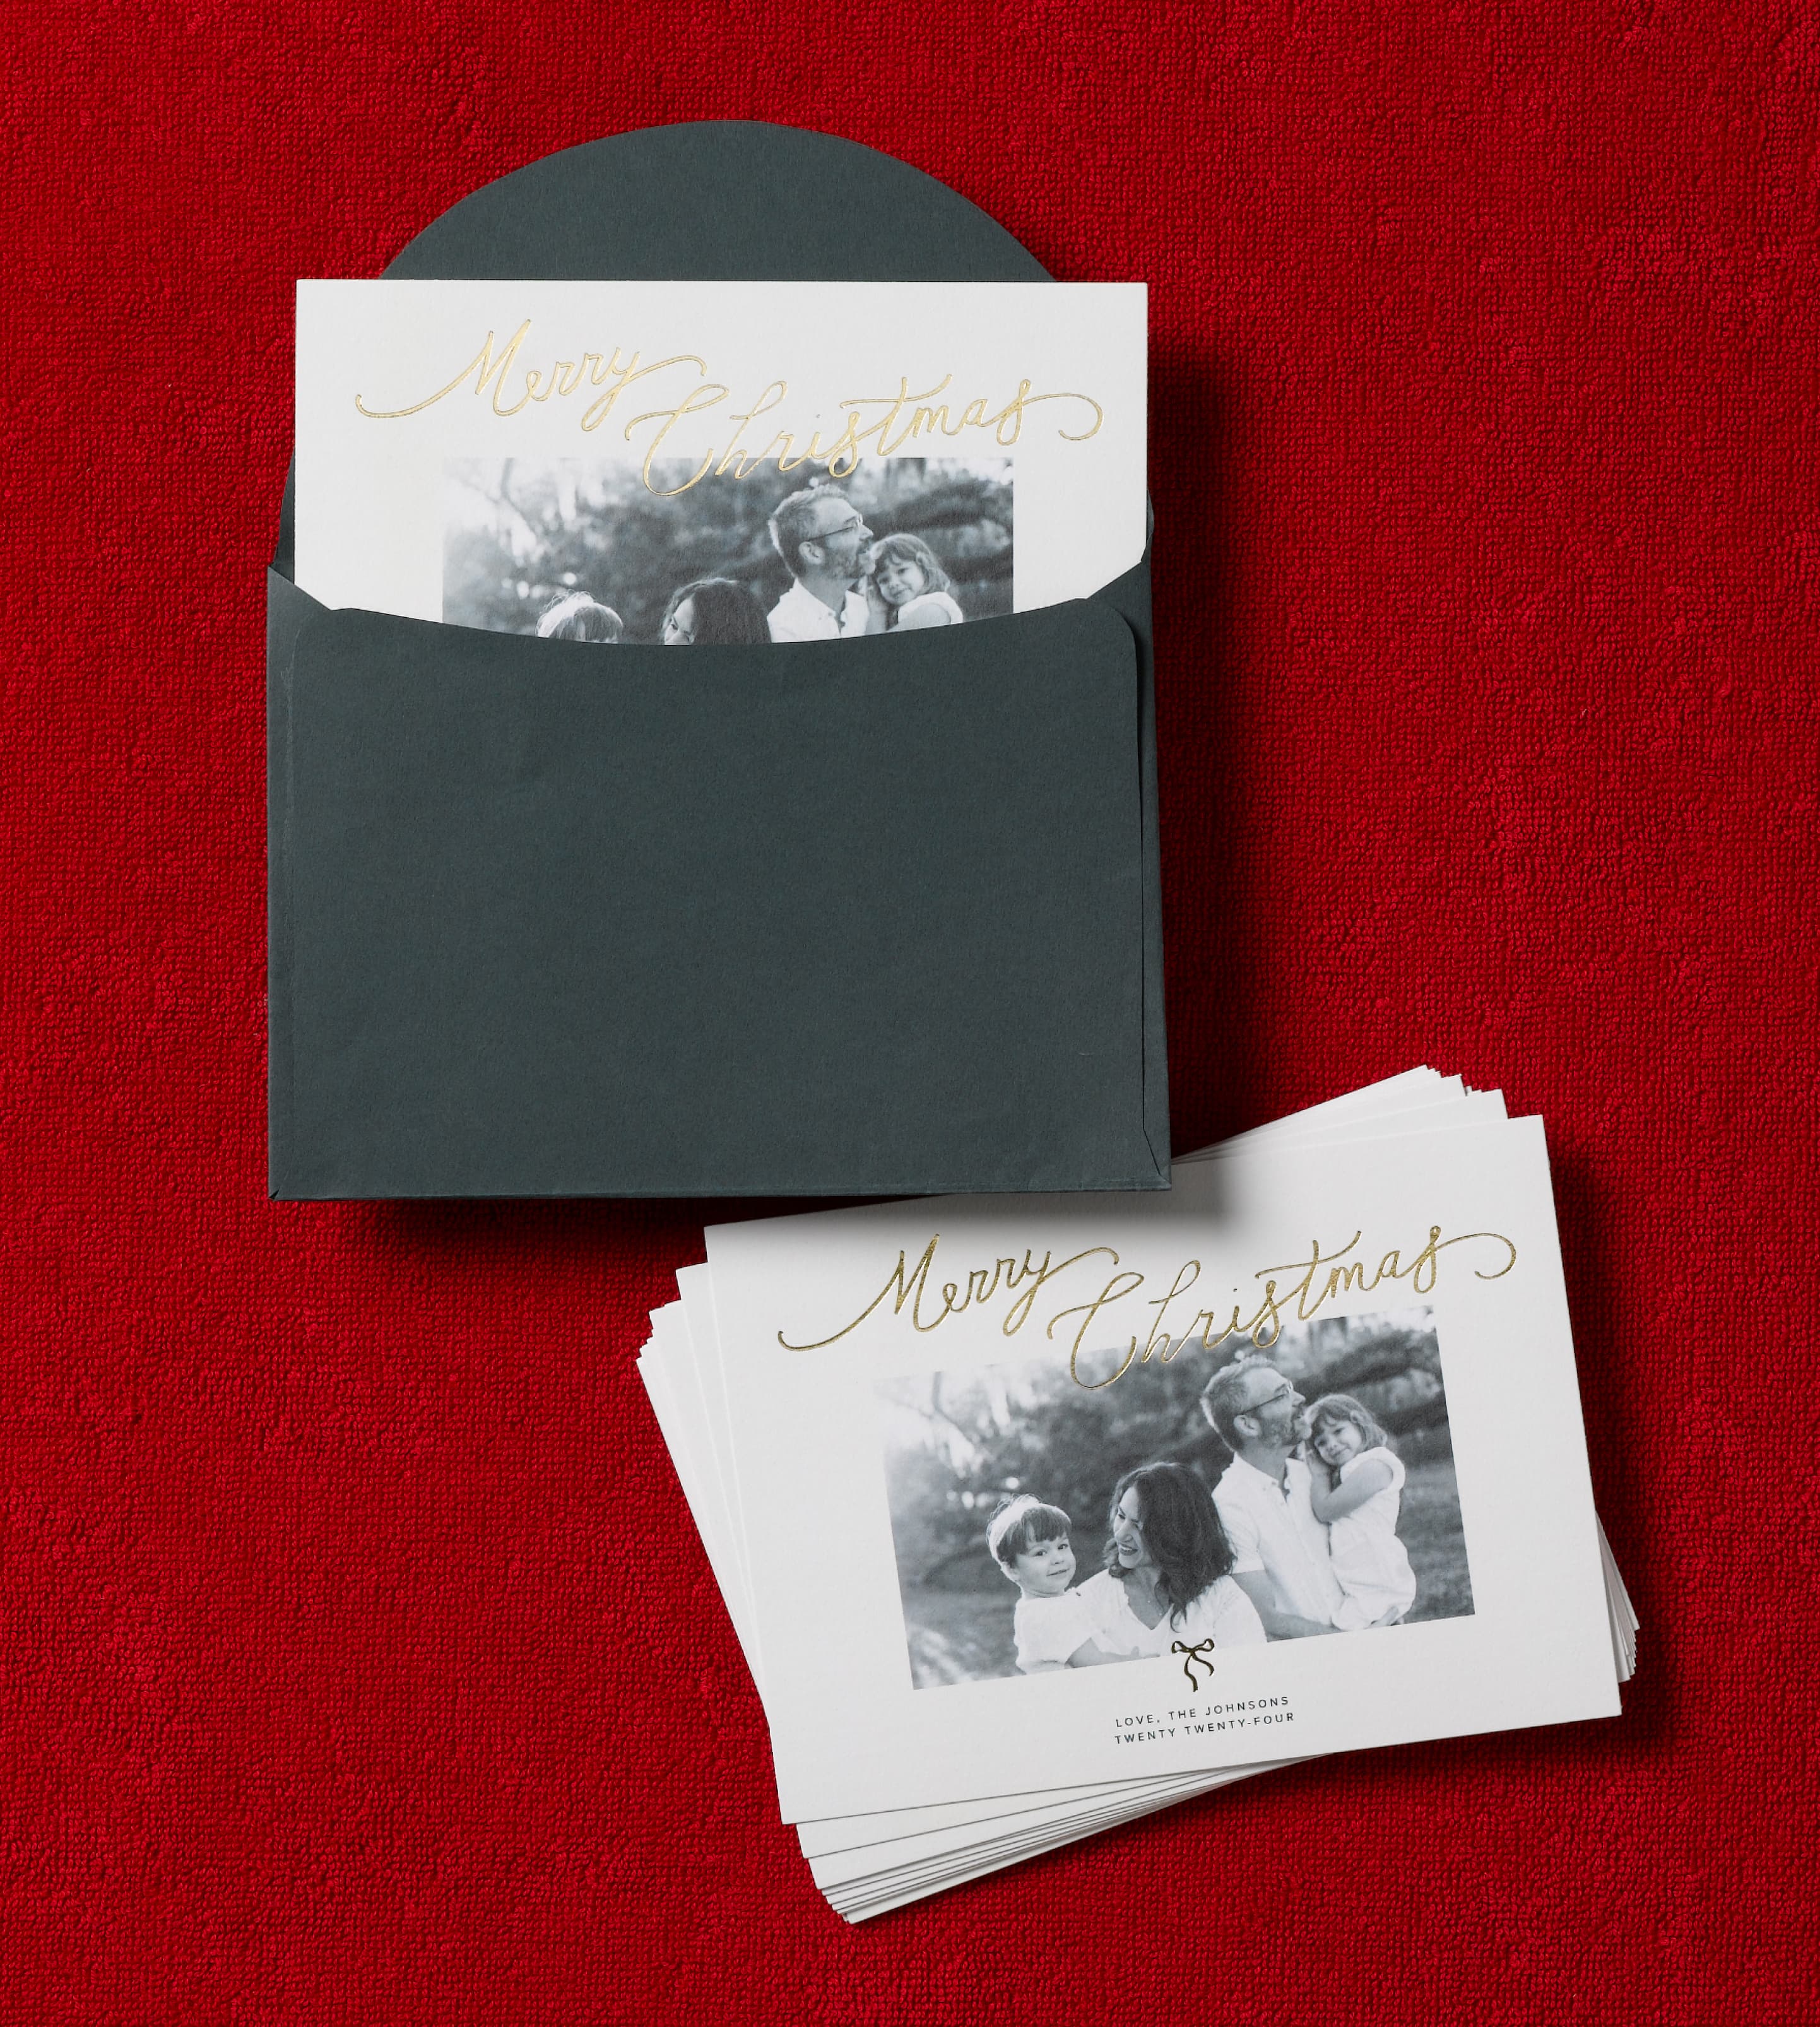
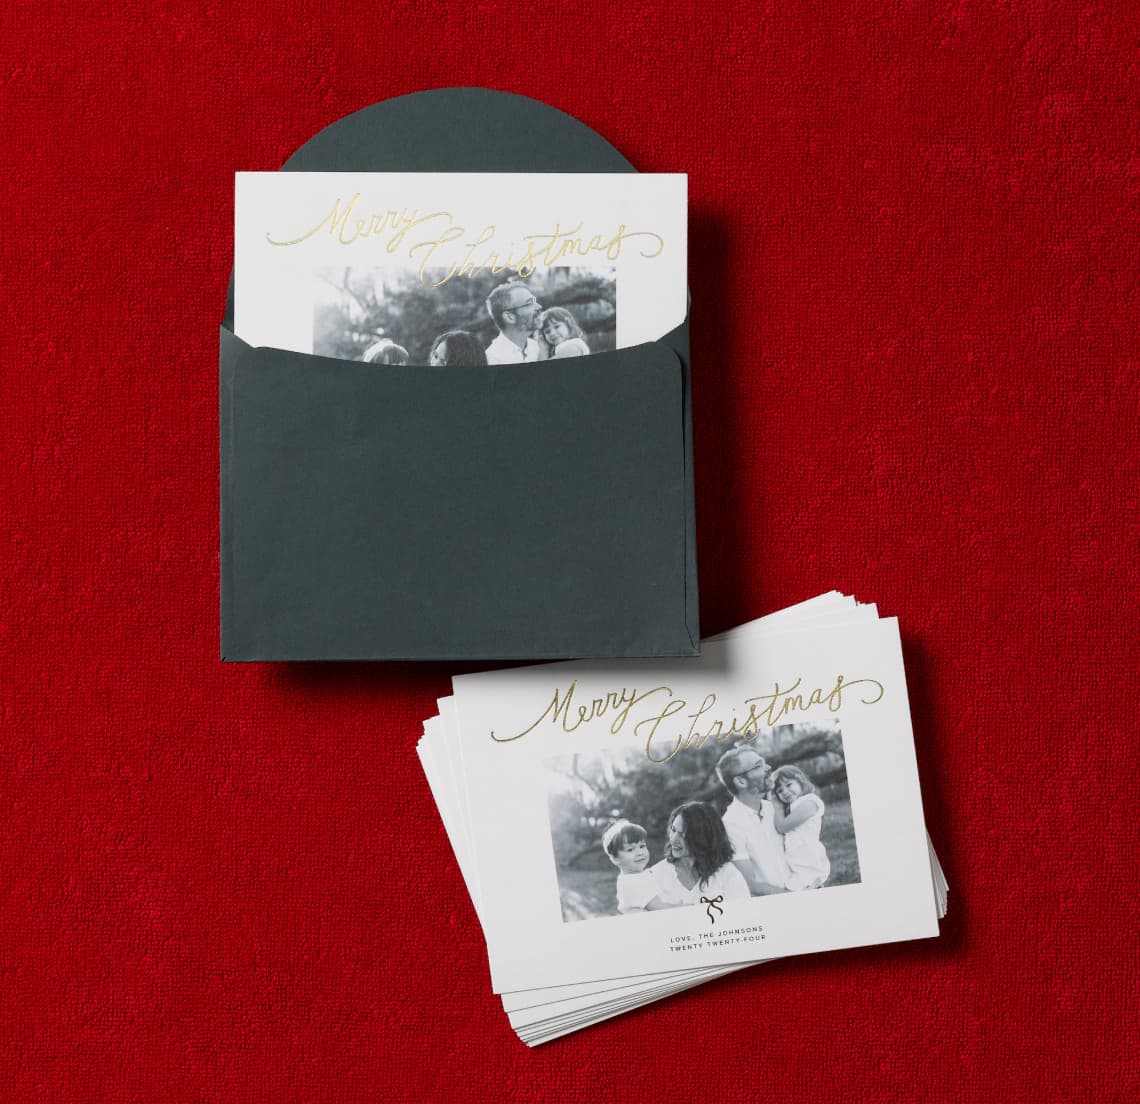
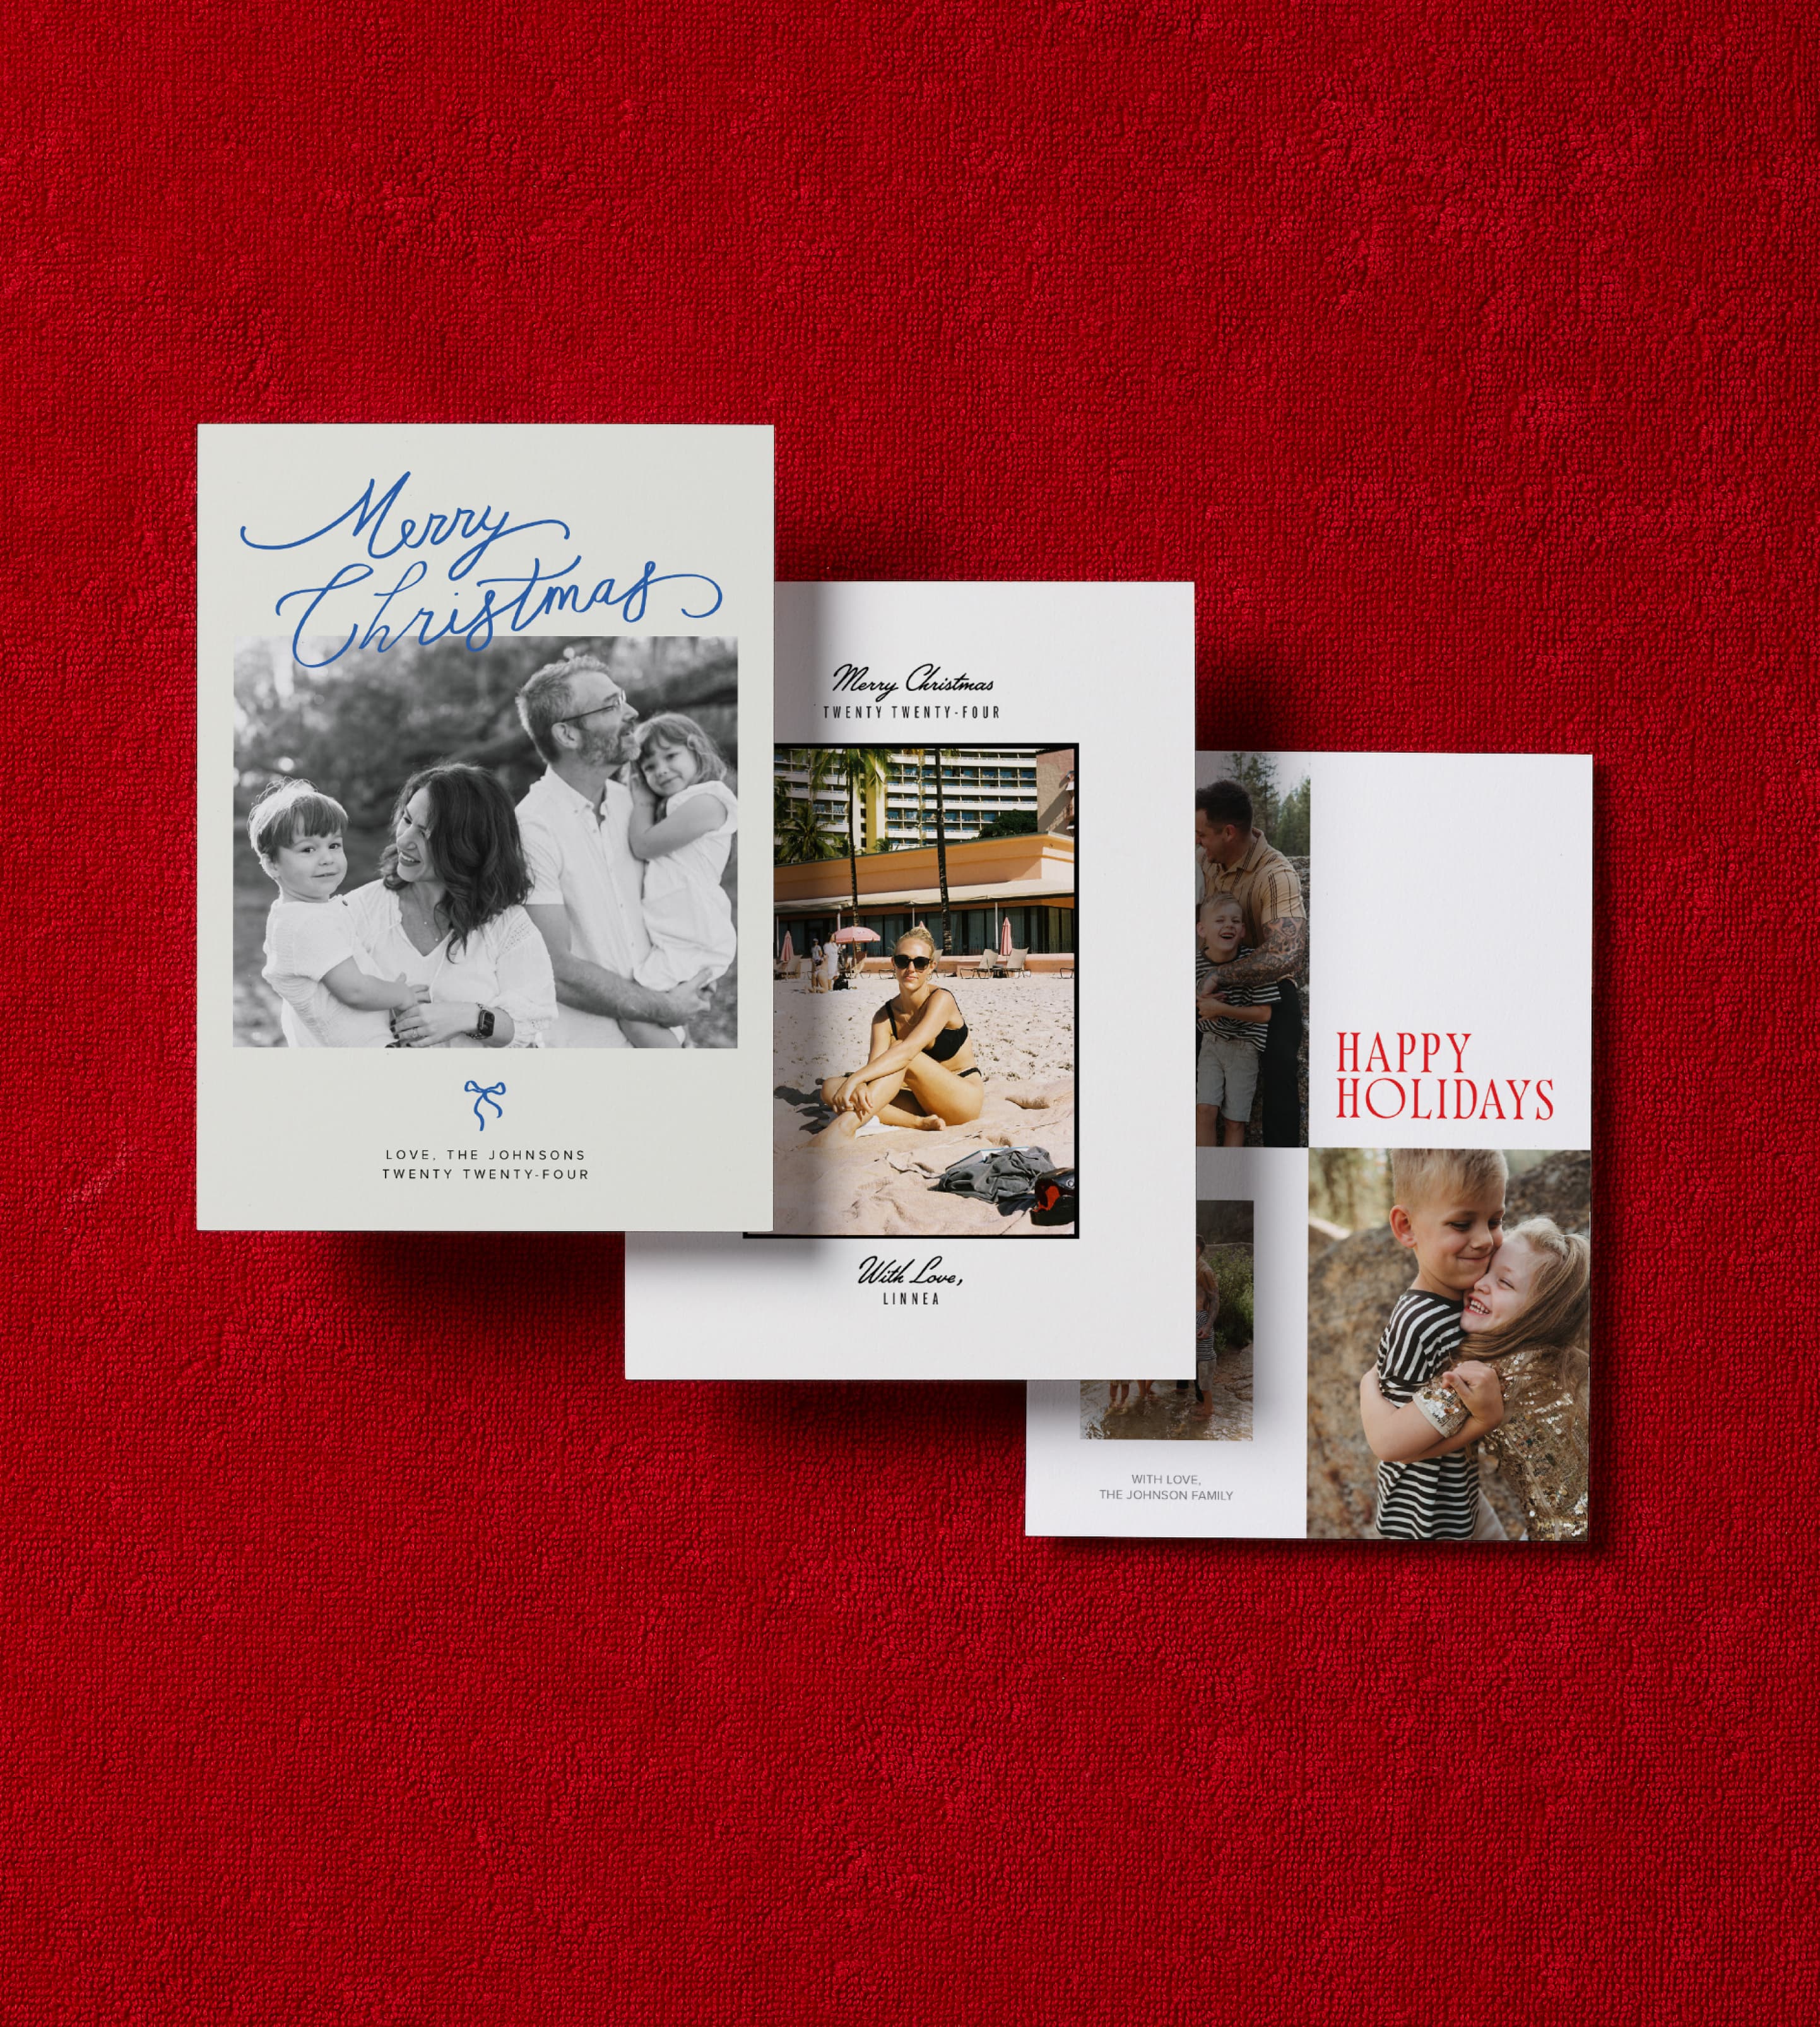
If you prefer to let design lead you, we recommend starting your search with our new 2024 Holiday Card Collection — we’re certain you’ll find one that fits just right.
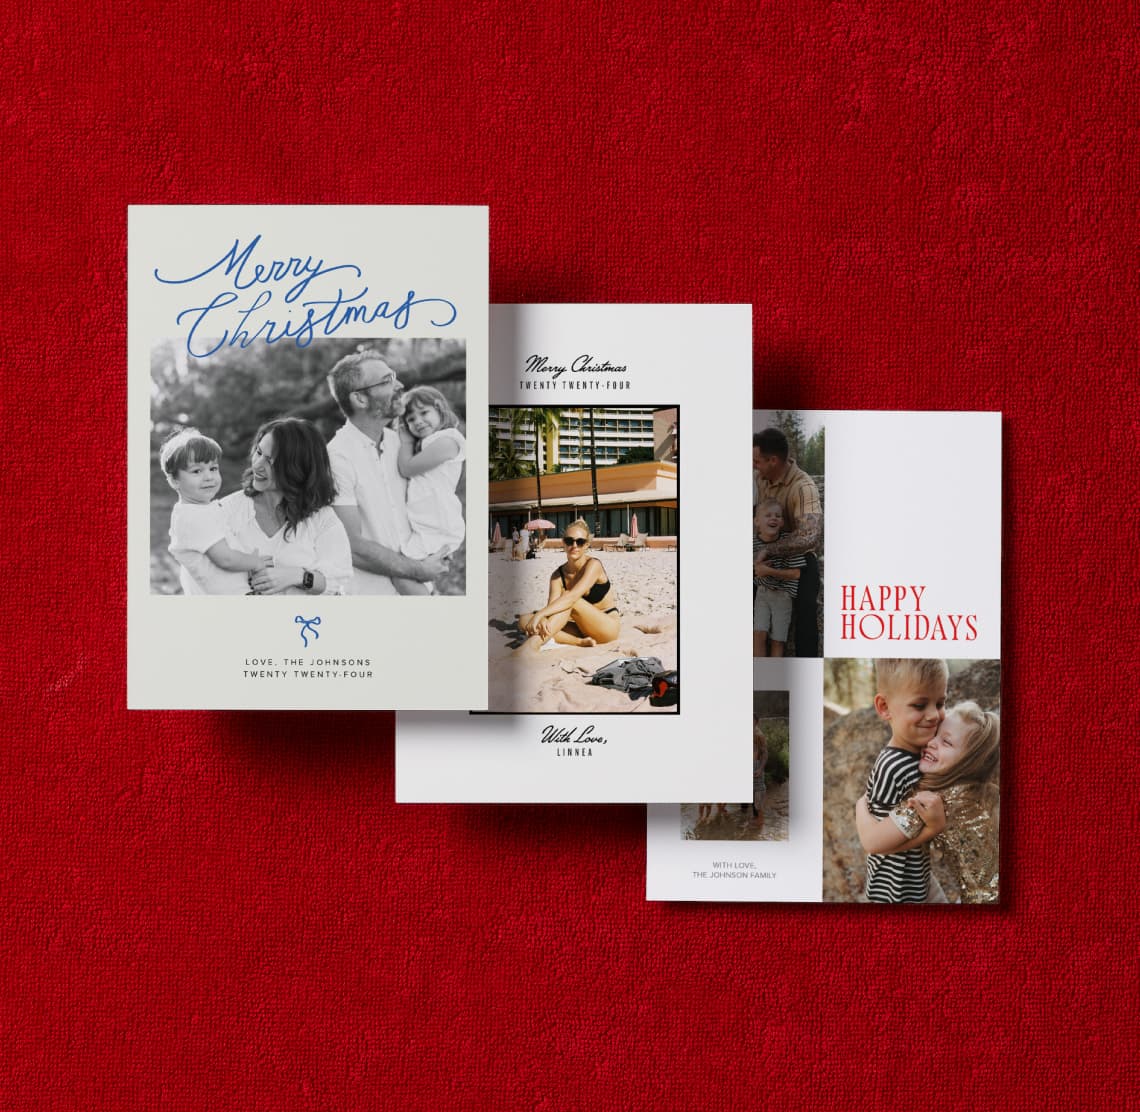
If you prefer to let design lead you, we recommend starting your search with our new 2024 Holiday Card Collection — we’re certain you’ll find one that fits just right.