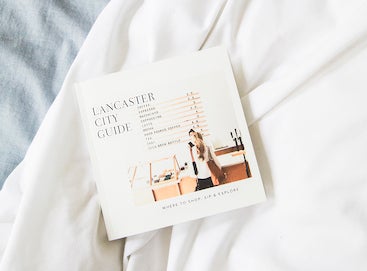


For both physical and digital photos, a great place to begin is deciding how you want to store your images. By finding a permanent home for these stories, you’ll rest assured they are safe and sound — and easy to return to often.
How to Store Printed Photos
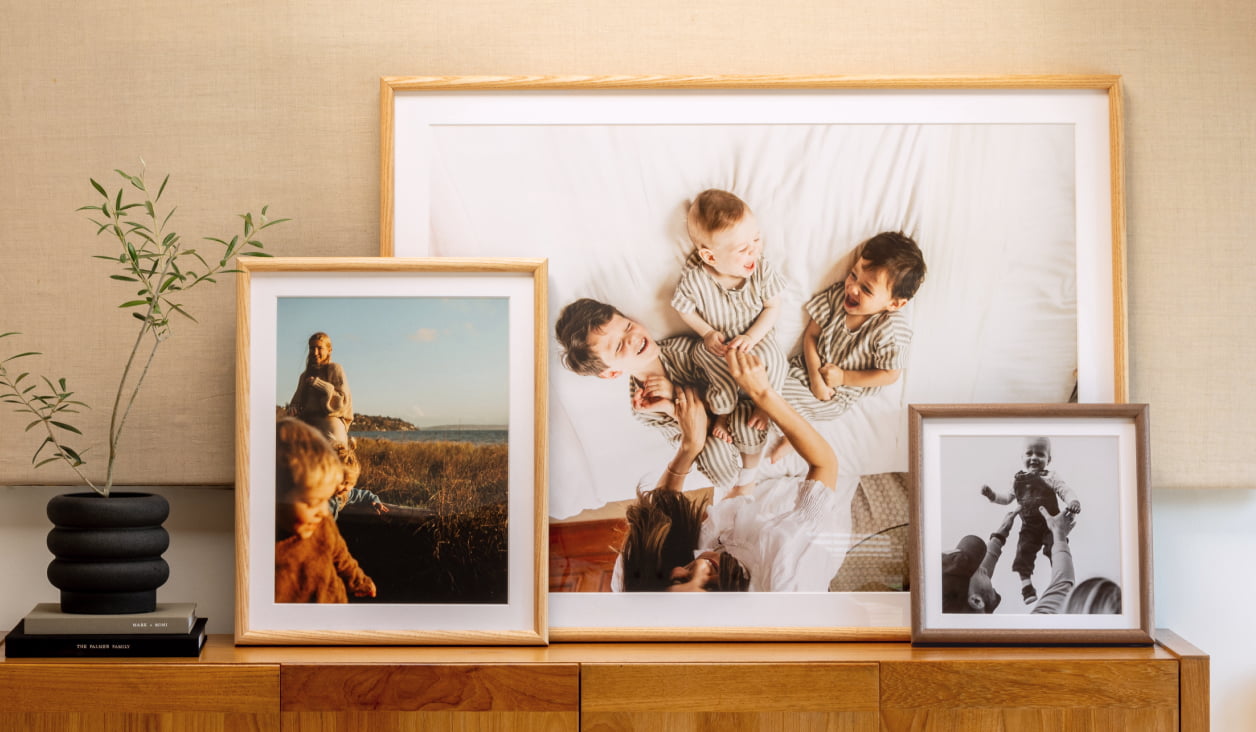
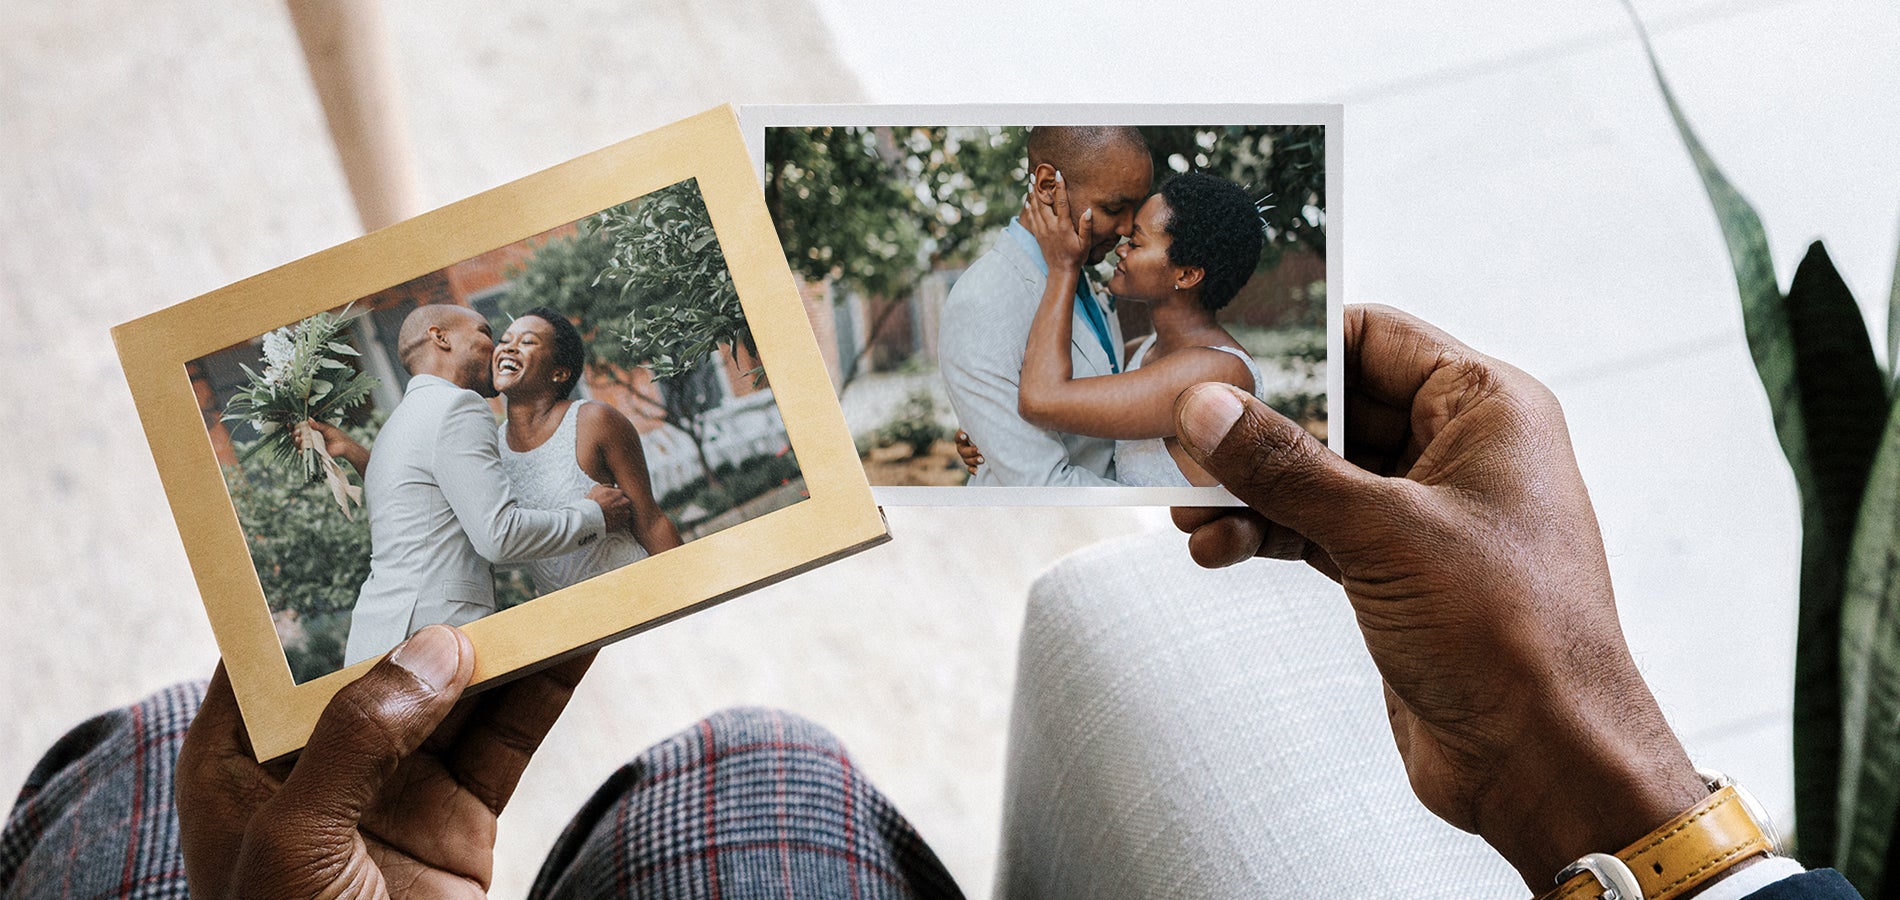
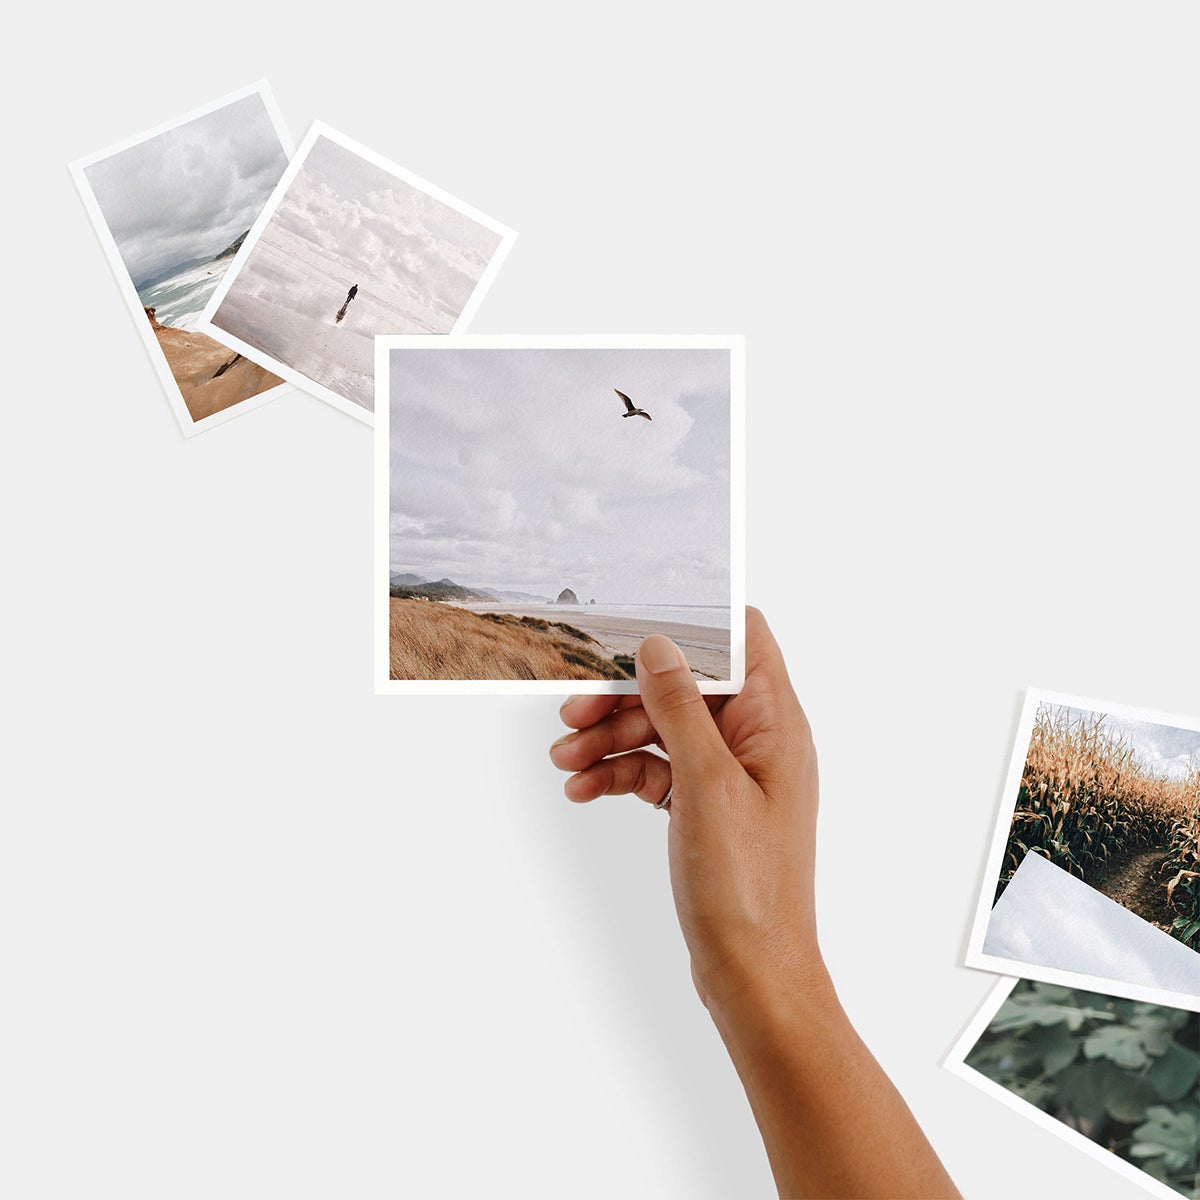
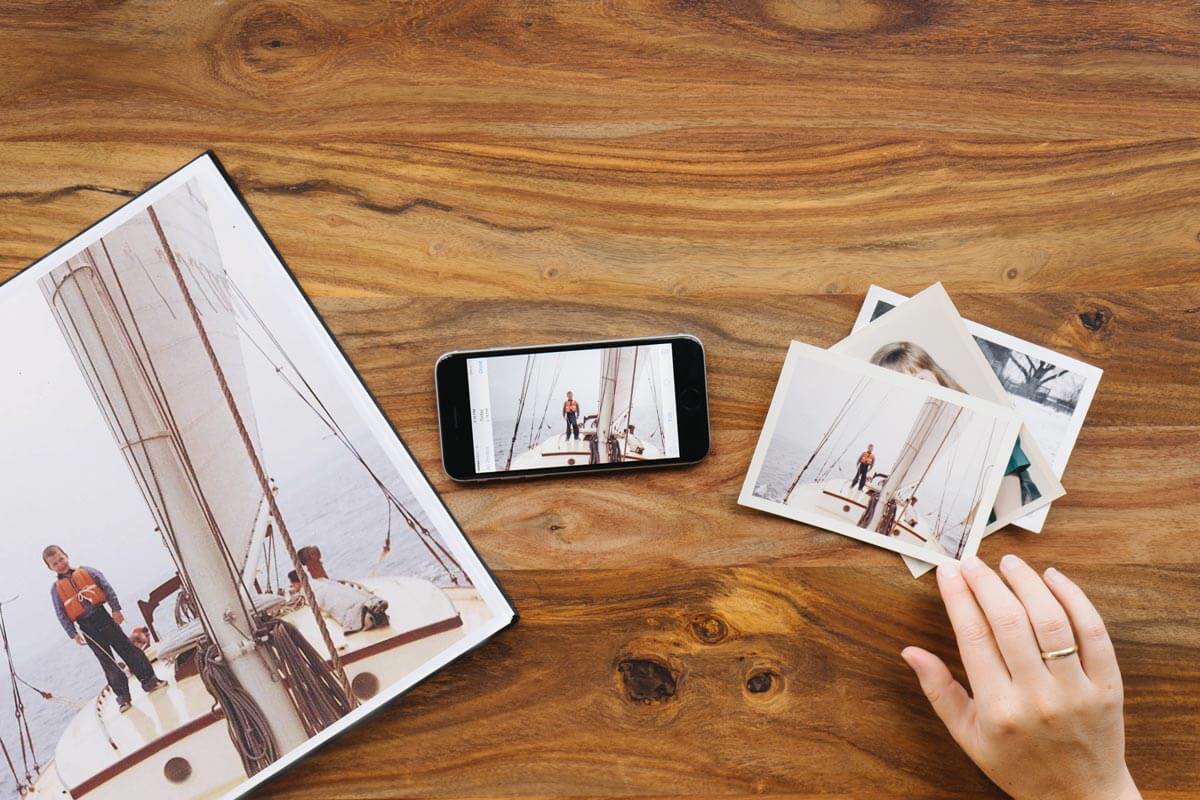
Let’s start with the tangible. Whether a fine art print or an old photograph from your family, there are a few best practices to keep in mind for safekeeping.
Avoid the Elements
It’s ideal to store these photos out of direct sunlight (mom had something going with the shoebox-in-the-closet concept!), so find a storage box, folder, or metal cabinet to make your photos' home. You’ll also want to avoid any extreme temperatures, humidity, or moisture.
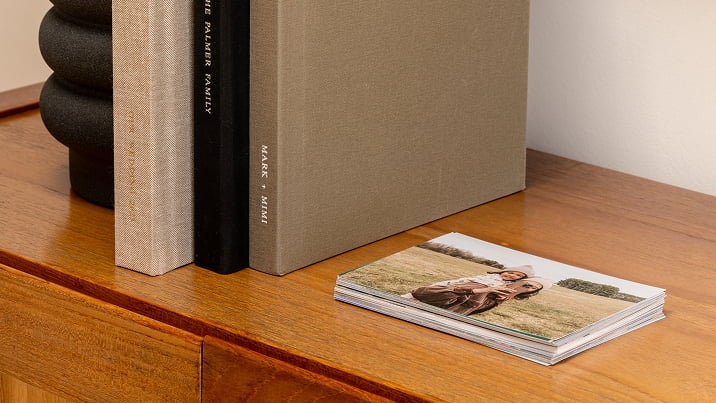
Print Acid-Free
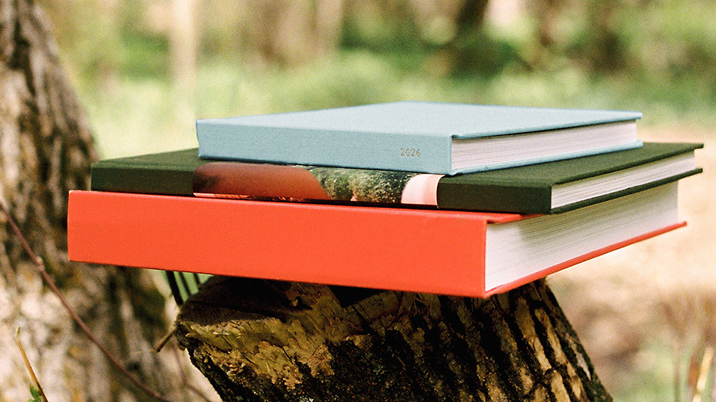
Another pro tip is to print with acid-free paper! Acidic materials within and coming into contact with paper can cause damage and decay. From our prints to our photo calendars and albums, we strive to source acid-free paper for our family of photo goods, so you can print with peace-of-mind.
Store Them Well
Keep your photos lying flat — without folds, creases, or rolls. Try to layer them between sheets of acid-free paper, especially with those older family photos printed on a variety of paper types. And lastly, avoid the “peel and stick” albums, since the materials they’re made of can damage the images over time.
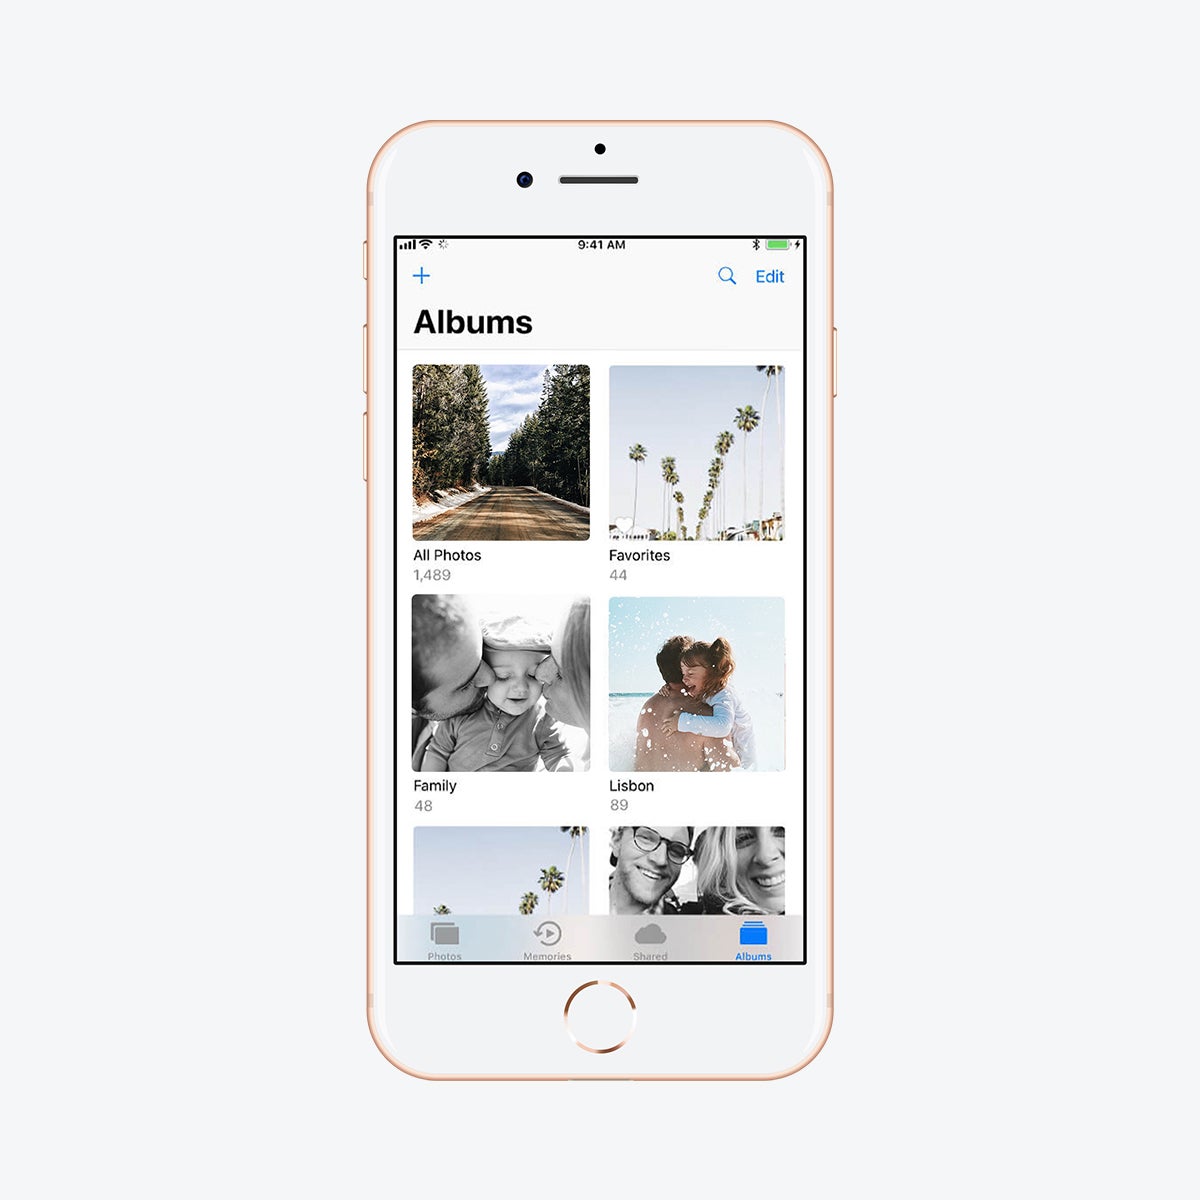
How to Store Digital Photos
The best way to organize digital photos is by choosing a place where you’d like your files to live that is easy and convenient for you! Here are a few storage places we recommend:
Google Photos
Easily integrated for desktop and mobile — we love backing up and organizing photos with Google Photos. Download their app to get started. If you turn off backup and sync, you can control when the app uploads your photos (and have time to clear out any that don’t need to be saved, like random screenshots). Or take advantage of the automatic function by keeping backup and sync toggled on. You can also easily drag and drop photos living on your computer to new albums on Google.
One of our favorite things about Google Photos is its intelligent search capability. Locate a memorable photo by searching with a keyword like "beach," "dog," or "Paris." Google will pull up images that match your search!
iPhotos and iCloud
Have an iPhone? Apple makes it easy to store and back up your photos with iCloud. You can also manage your collection, edit, and share photos on your Mac (or with other iPhone users!). With options to sync photos between your Mac and iPhone, this storage option is an easy way to manage multiple devices.
Hard Drives
In addition to a digital platform, it’s a great practice to back up your photos with external hard drives. Because let’s face it, we’ve all gotten the “you’ve run out of space” message one too many times on our devices. Create a routine of backing up photos to a hard drive and free up some space.
Wherever you choose to store your digital photos, it is best to regularly export or airdrop photos from your phone to your computer, the cloud, or another storage location. By creating a habit of cleaning up your camera roll, you’ll find your digital space to feel less cluttered and overwhelming. Plus, that’s a great time to select a few favorites to bring to print.
Once you know where your photos are, it’s easier to keep them organized. Now, you’re ready to work through piles, physical and digital, to clean things up.
How to Organize Printed Photos
Sometimes photo prints simply need to be laid out on the floor to create piles by time period, subject matter, etc. Bucket them into categories, whether that’s chronologically or by relationships — whatever works for you. And if you can’t remember the exact year the photo was taken, that’s a-okay! Expand your categories to seasons or themes of life and show your memory some grace. Once you have your piles organized, label the boxes, folders, and safe-places you decide to store them in.
Keep in mind this is a great opportunity to make a pile to digitize and print in a photo book! We’ll go into detail on how to digitize and scan those photos below.
How to Organize Digital Photos
One of the places where your digital photos likely need the most TLC is your phone. It’s easier than ever to snap a quick photo, take a screenshot, and well... create an overflowing camera roll. Don’t worry — by following a few tips to organize your phone photos, you’ll clean things up in no time.
Find Favorites
Select favorites by pressing the heart on the bottom of photos that are the most significant. This will filter them into a “favorites folder” on your phone.
It's Okay to Delete
Get comfortable with the delete button. Declutter by getting rid of duplicates, super blurry shots, and screenshots you forgot were there.
Create Categories
One of our favorite camera roll organization ideas is to create albums and categorize your photos by months, people, or events. You can even set up a shared album with family and friends to all contribute photos and keep everything in one place. These albums make it easier than ever to make a photo project together.
Mark Your Calendar
Set a routine and make a recurring event on your calendar to remind yourself to organize. Here’s a simple way to break it down:
✓ Weekly - Delete photos that don't make your heart skip an extra beat; favorite the ones that do.
✓ Monthly - Categorize photos from the last month into albums, and back them up into Google Photos or wherever you are storing photos.
✓ Yearly - Double-check your albums to see if you missed any photo project or gifting opportunities.
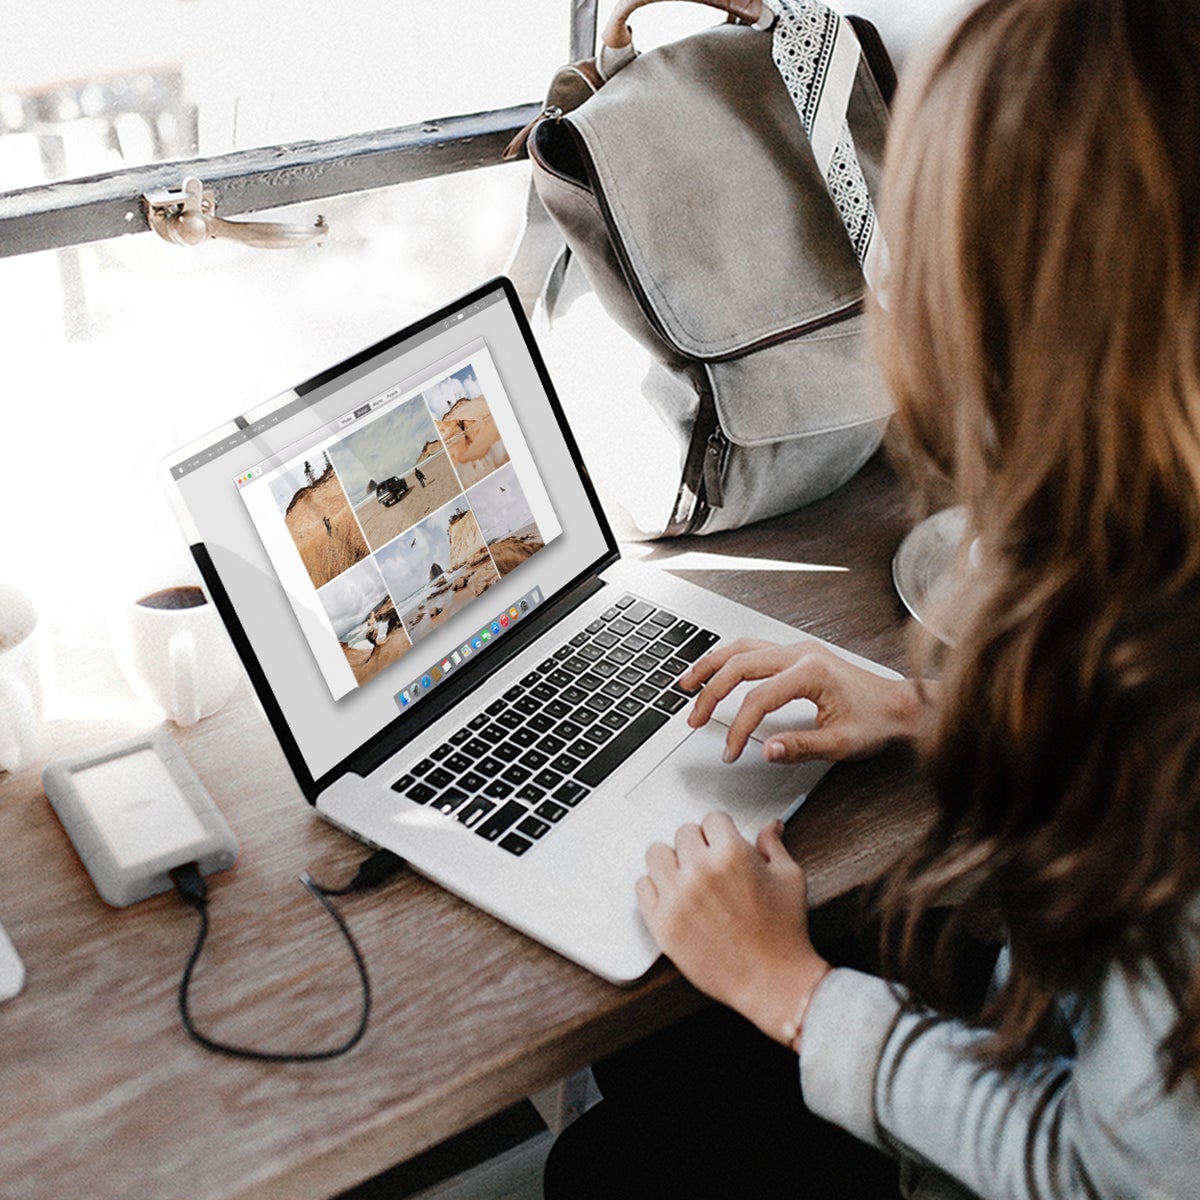
How to Organize Photos on the Computer
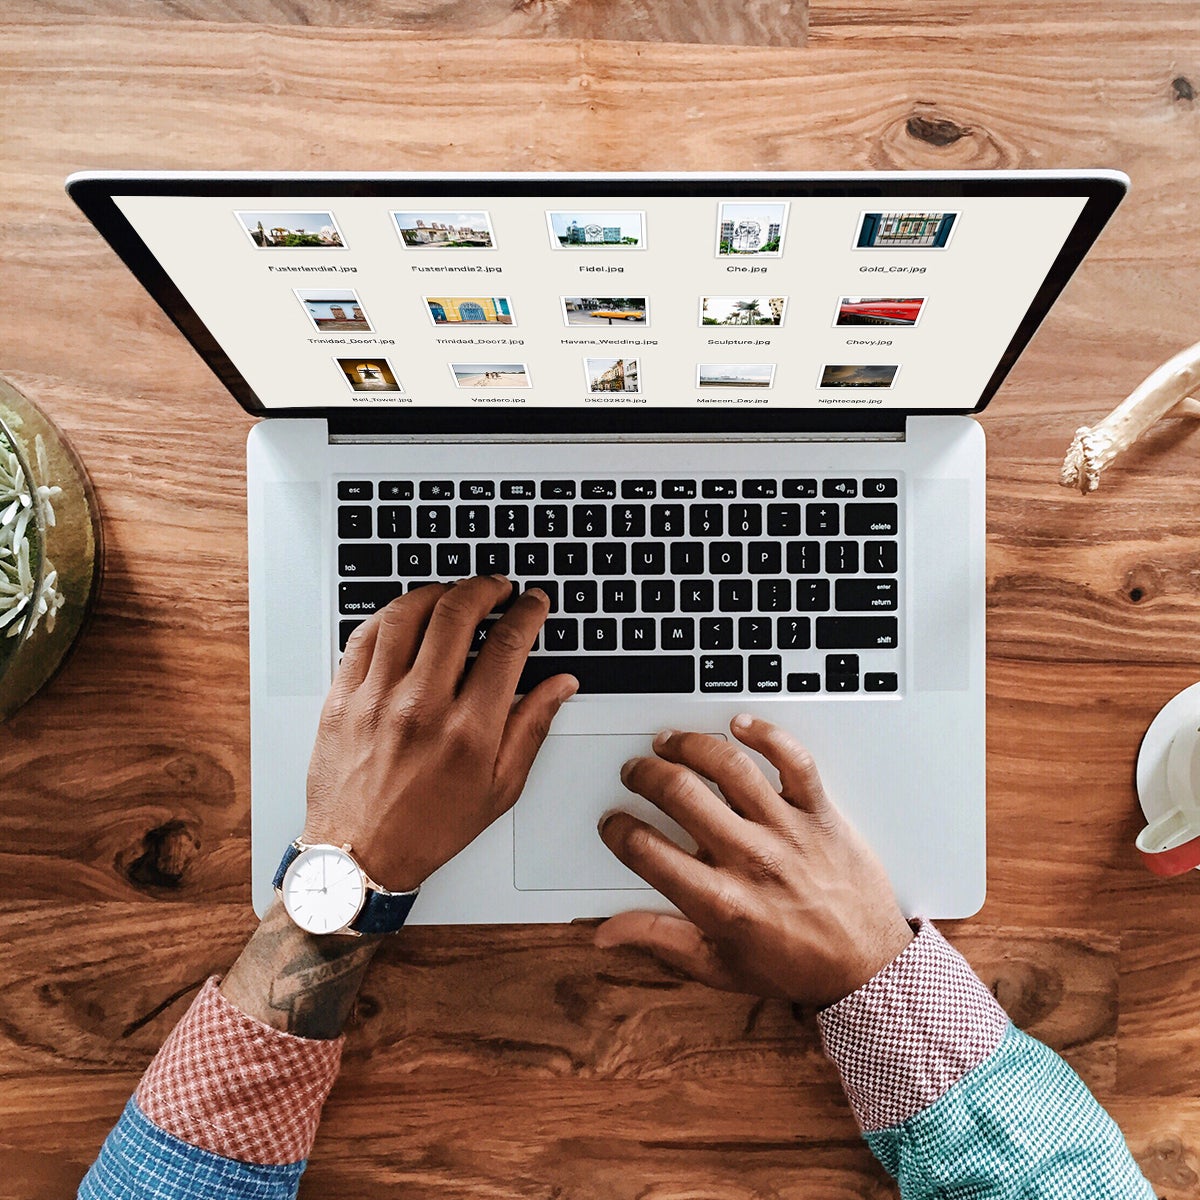
Beyond creating albums and categories on your phone, you’ll want to replicate this system on your computer or Google Photos account. There are many ways to group photos as we mentioned above, so feel free to organize by year, month, events, people — or a combination of categories! Create folders/subfolders to stay organized (i.e. 2018 > August > Mona’s Wedding). This kind of hierarchy structure will make it even easier to locate photos.
Plus, we typically recommend creating folders on your desktop before heading to print — as they simplify uploading photos into a Gallery in your account. If you’re using Google Photos, download albums from there to save on desktop. And with iPhoto or iCloud, airdrop the photos to your desktop device and then organize them into folders.
If you’re curating photos to print from a desktop or hard drive, it’s a good rule of thumb to duplicate the photos you’re going to use and put them in a new folder. This will keep your system intact, and you can always delete the print folder later on!
Note: Really catching up on organizing your photos? Take it a step at a time by setting up parameters like “two years' worth of photos” or “one hour of your day.” And come back to this organizing project over the course of a week or month. And remember: you’ve got this.
With your phone, Google Photos, and desktop looking good-to-go, you’re in a great place for print. Here are a few things to consider before beginning your project.
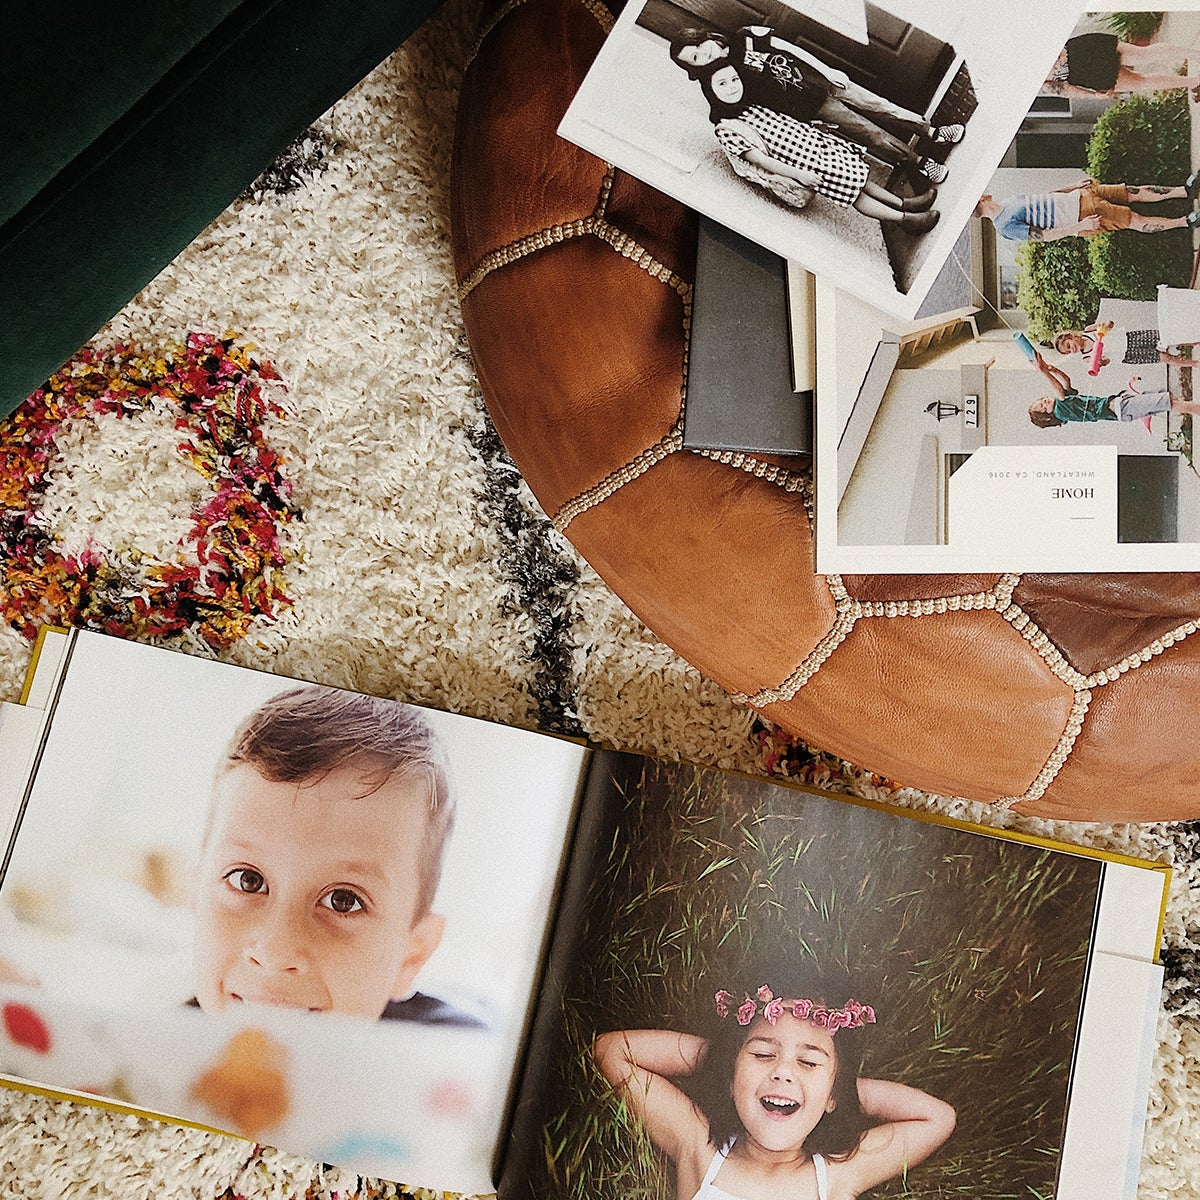
What's the Best Way to Organize Old Photos?
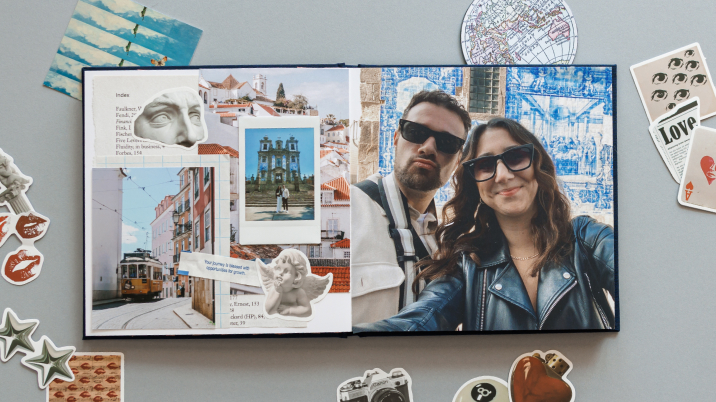
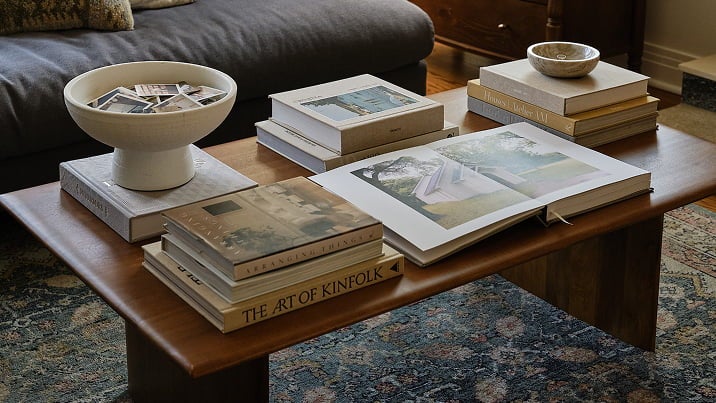
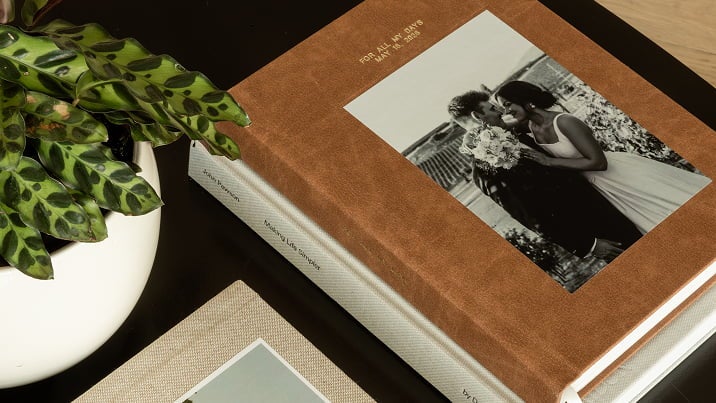
In the process of organizing your photos, you are likely to come across a few oldies worthy of a new life. Digitize old photos that tell a story or make you feel something, so you can preserve them safely, without fear of fading or damage. Simply scan these photos with your phone or an at-home scanner, and upload them into your digital filing system. With these photos on your computer, they can be easily repurposed into a family history book, a memoriam photo book, and more. (Which by the way, make for thoughtful and meaningful gifts.)
What's the Best Way to Edit Photos?
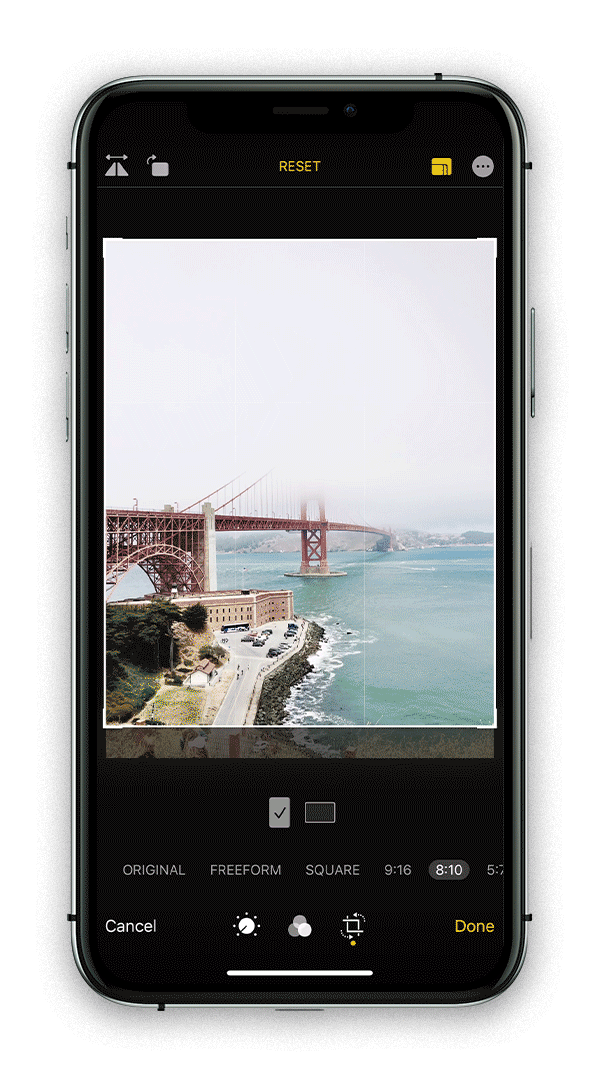
We believe every photograph is worthy of print, and blurry is beautiful — but to give your photos a little extra love and achieve the look you want, there are a few editing tricks and tools we recommend, before uploading them to your project.
✓ To brighten, create contrast, and fine-tune with your iPhone, check out our guide to editing your photos.
✓ To apply a few recipes we use for people, landscapes, and more, bookmark our how to use VSCO guide.
✓ To import our favorite presets for easy editing, download our free Lightroom Presets.
And now for our favorite part — printing these photographs of course! With the folders and favorites created above, you’ll find printing your photos to preserve and gift can be a breeze.
Creating a Gallery
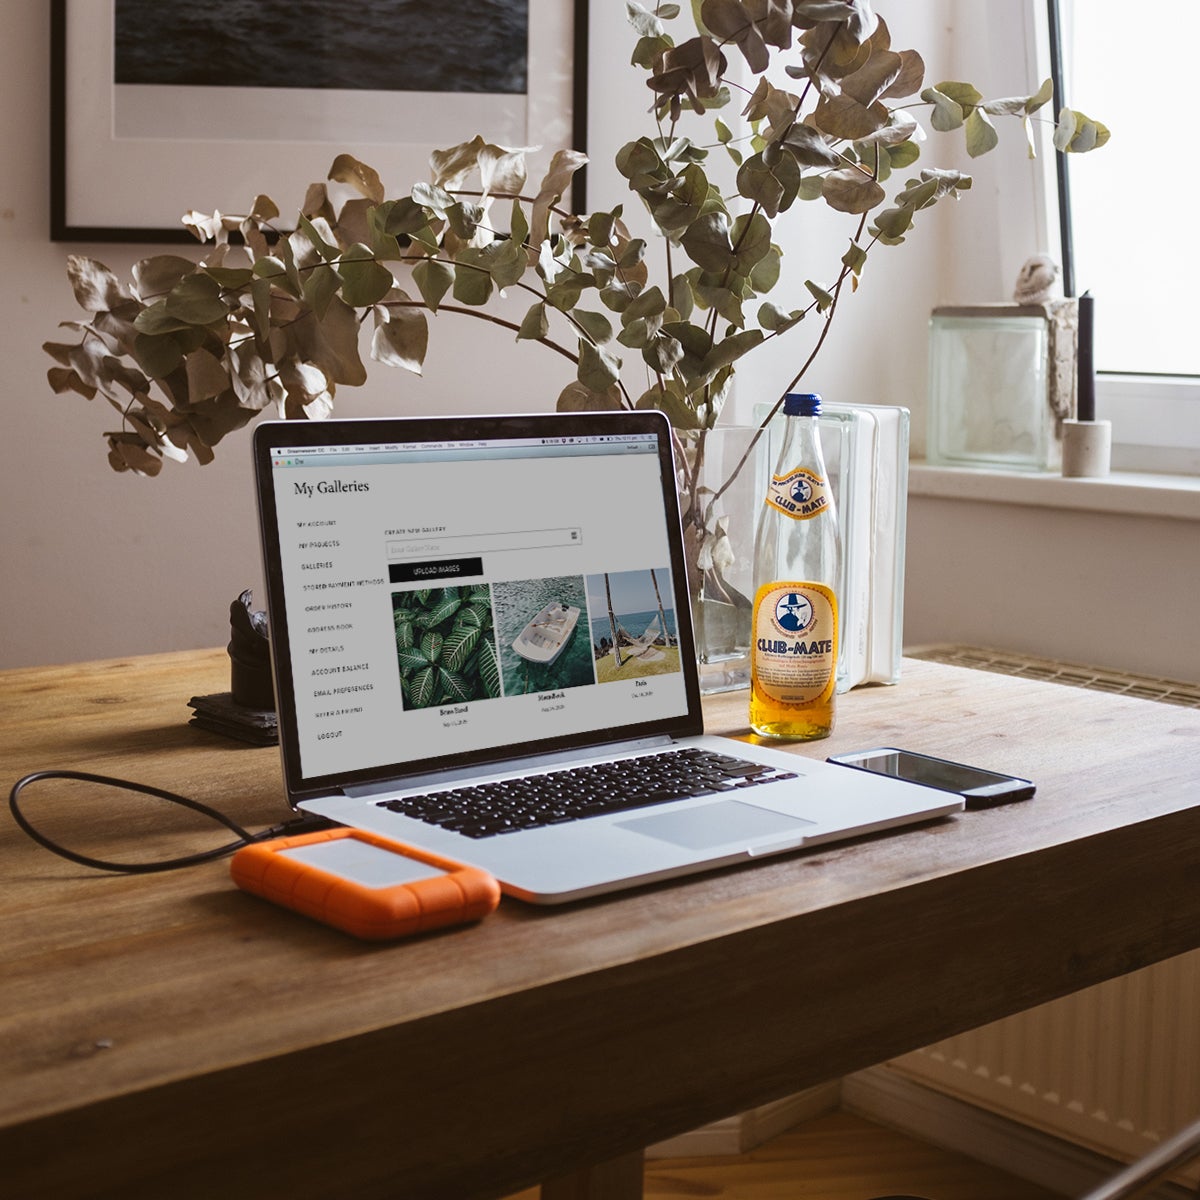
Within your account on our site, there are a few tips and tricks to stay organized and make building your project easier.
In the dashboard of your Artifact Uprising account, you’ll see “My Galleries.” We recommend creating galleries on the mobile web from your phone or using folders from your desktop. Keep it organized by naming your galleries based on events, occasions, or gift recipient. After you organize your camera roll and digital photos, make a practice of uploading your favorites to a gallery on our site.
Our uploader works best in smaller batches (think 50 photos or so at a time) with photos that are under 25 MB each. Galleries can hold up to 300 photos, so if you are uploading an entire year’s worth, consider breaking galleries into months or moments. With your galleries already set up, you can quickly create photo projects.
The Beauty of Duplicate
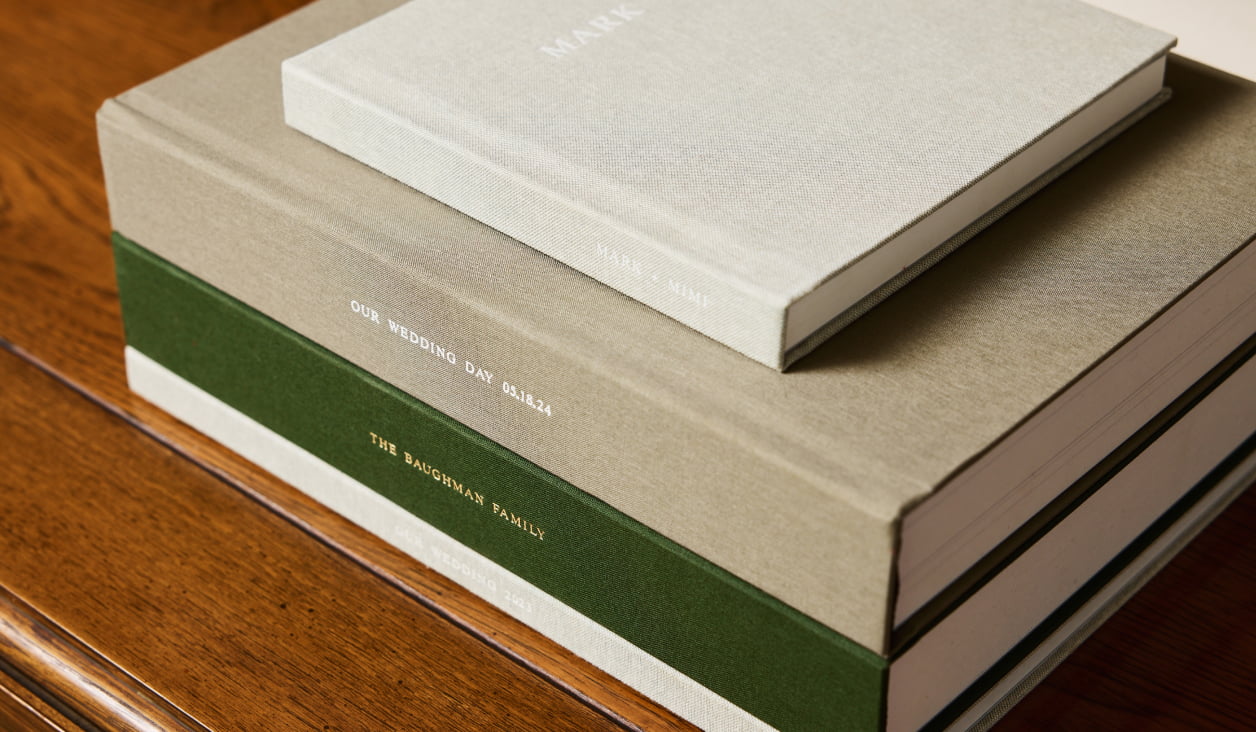
Let your organizational work go a long(er) way with our “duplicate” option. After you set up a gallery and create a project, hit “duplicate” under “My Projects” to make small tweaks for other recipients. We love this function for creations like wedding albums. After you create the main version for yourself, duplicate and edit for your parents or bridesmaids.
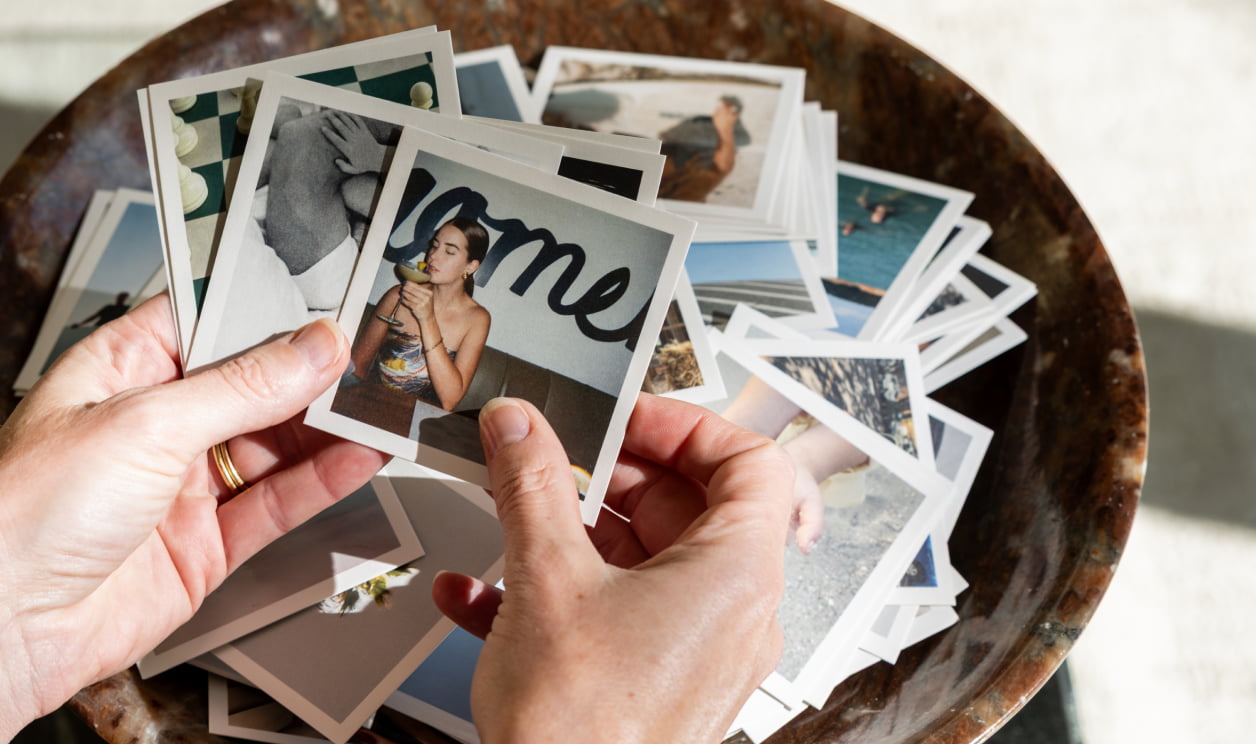
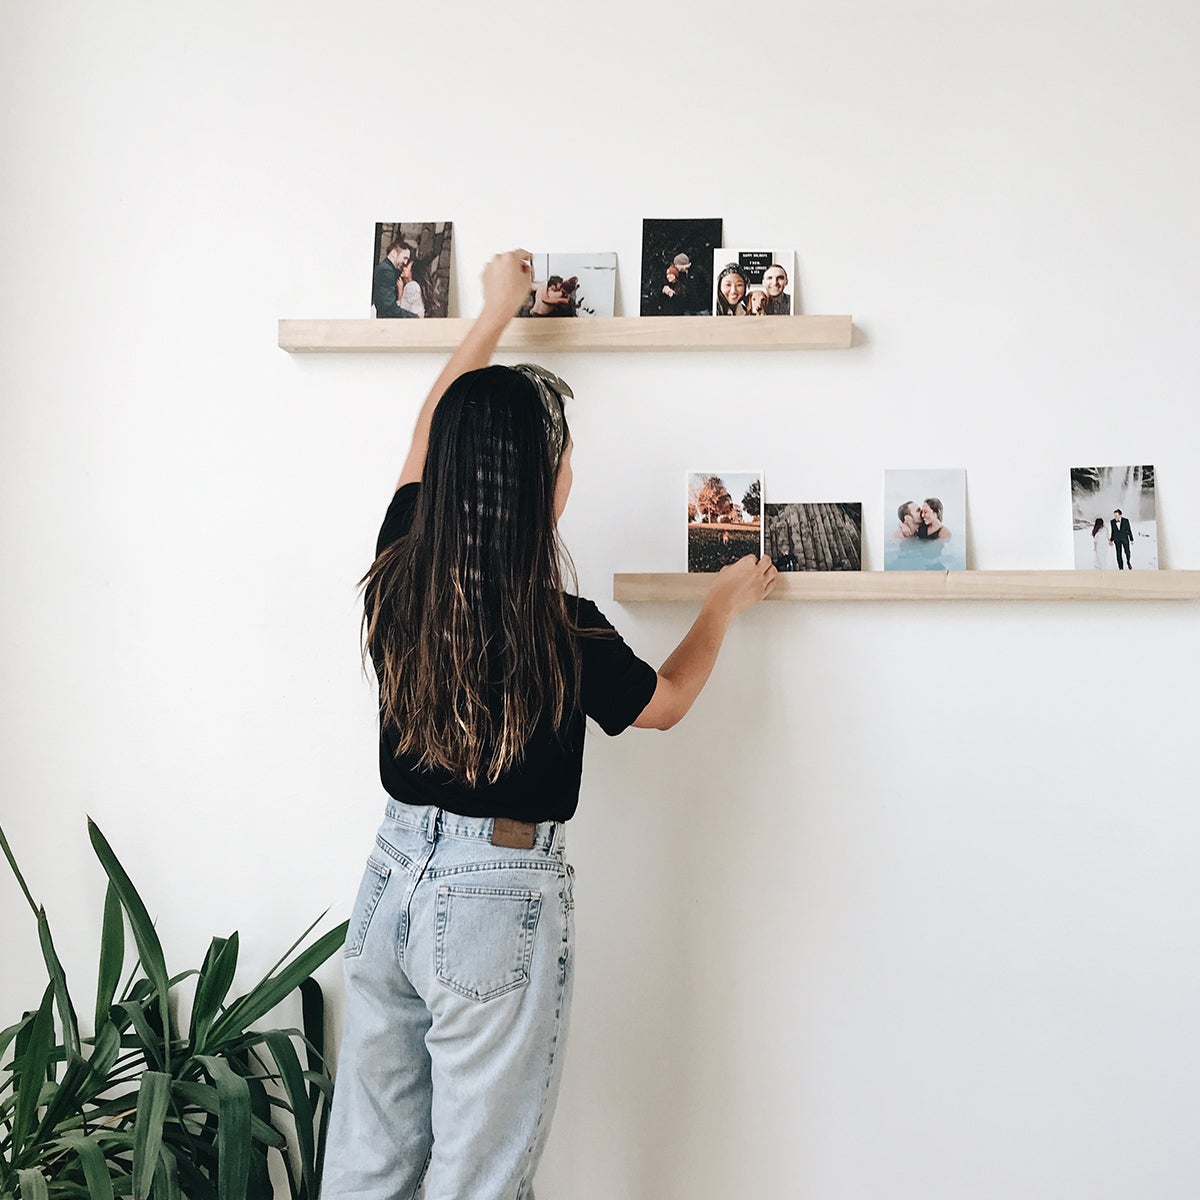
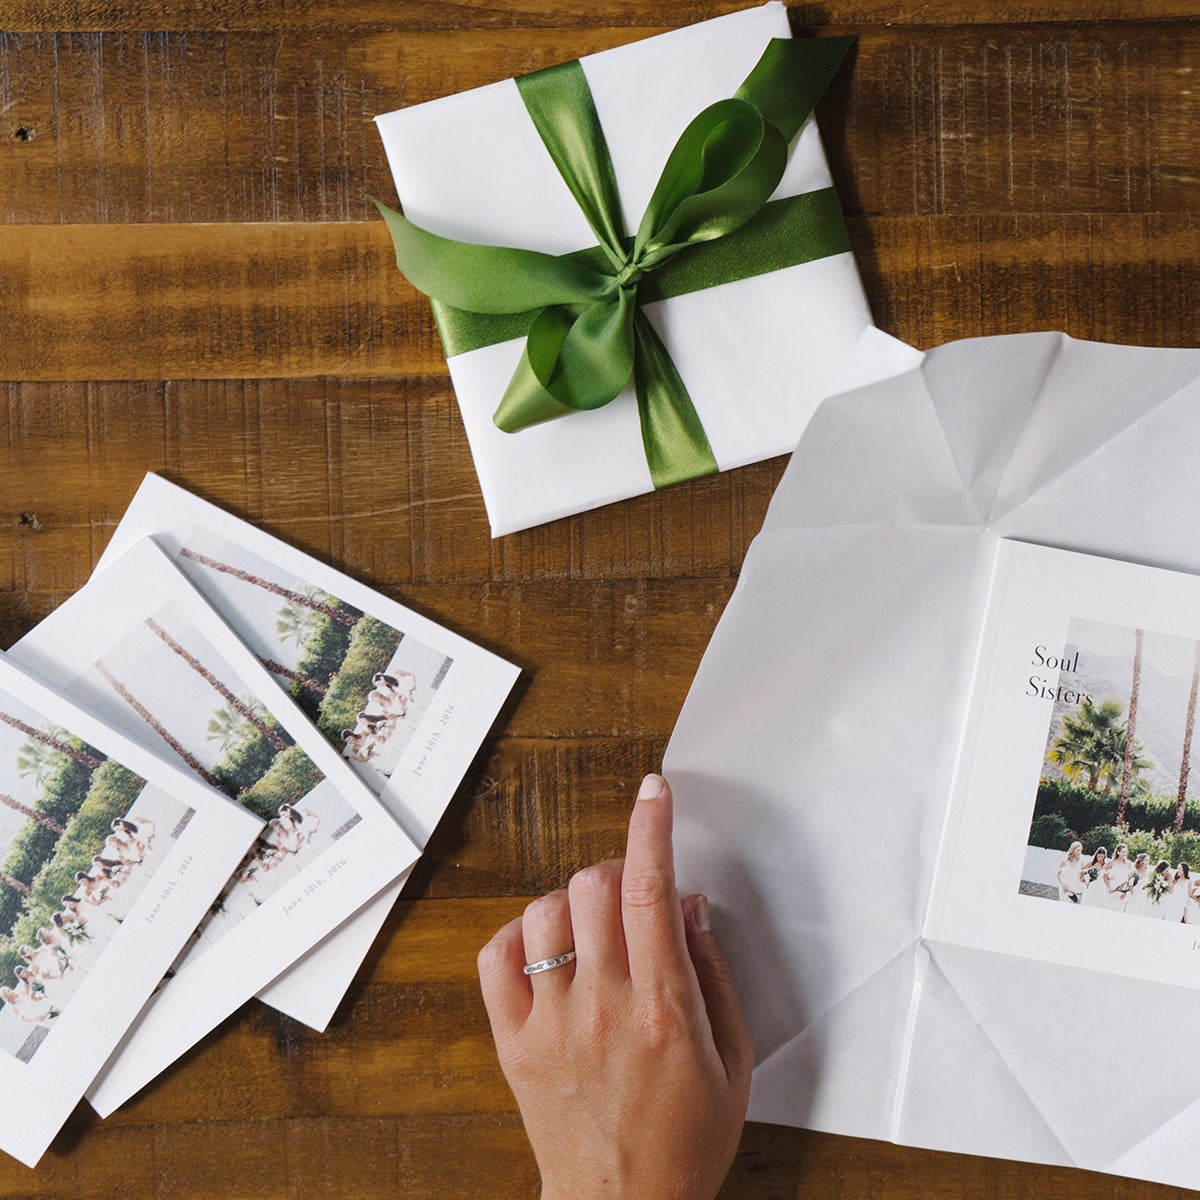
And if you’re wondering what photos to print: quite simply, opt for the moments that mattered. There’s an unmatched feeling of holding tangible photos in your hands.