


Tip 01 · Kristen Mickulesku
Take the road less traveled.
The best way to shoot fall colors is to get out in them. Take a road trip, camp if you can. Pull over for everything that catches your eye. Take a new route and explore a new town or trail. I always prefer an unmarked viewpoint to the crowded “must see” hot spots. To me, the beauty of an image has a lot to do with the memory it invokes. Experience first, shoot second. Practice spontaneity and creative freedom.
Try something new photographically, too. I like to take a high/low approach and bring an old, hand-me-down camera with expired film or a disposable alongside my medium format camera. Playing with different film stocks, lighting situations, and techniques gives me a variety of images and helps me tell a compelling story. Often the images I love the most were those unplanned moments I wasn’t expecting to capture.
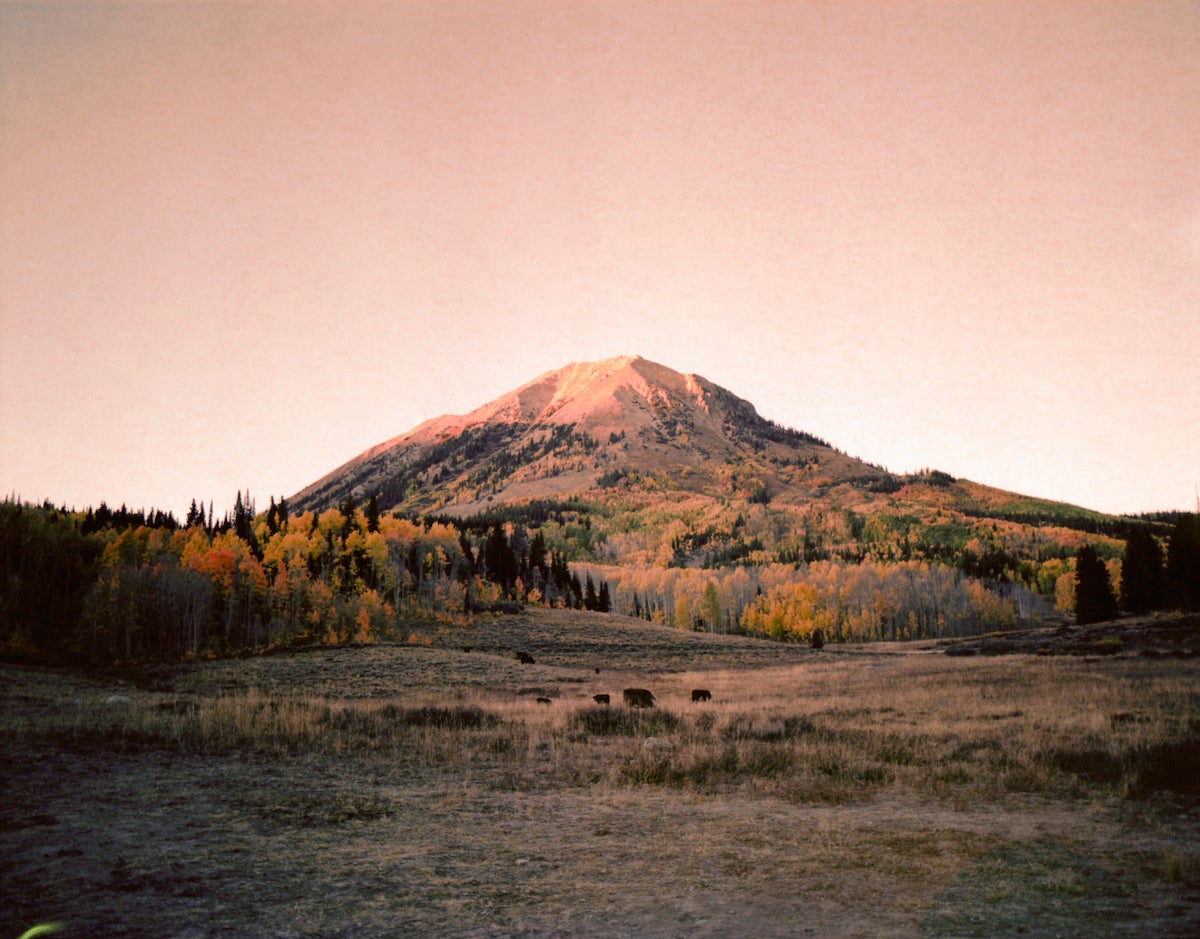
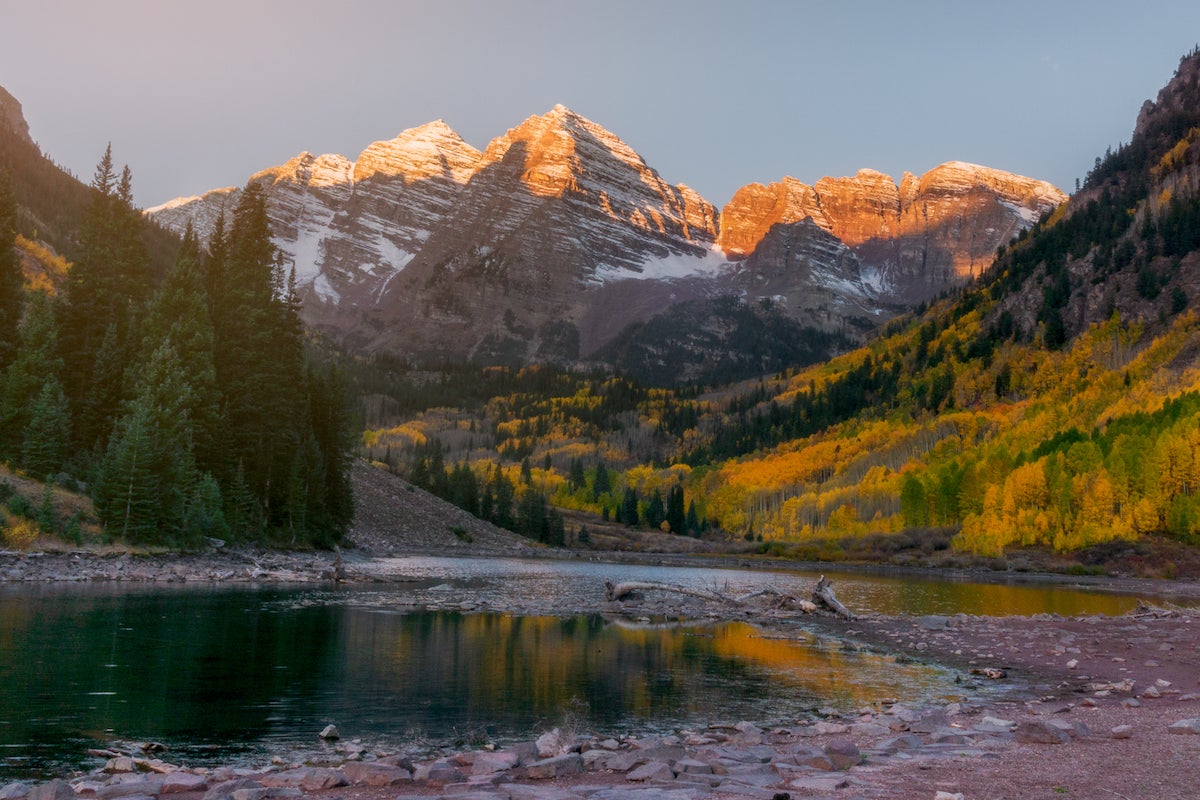
This image was shot in Crested Butte, Colorado, on a camping trip where we ended up dispersed camping in a cattle grazing area. I loved this moment of last light with the cows and leaves speckled against this peak.
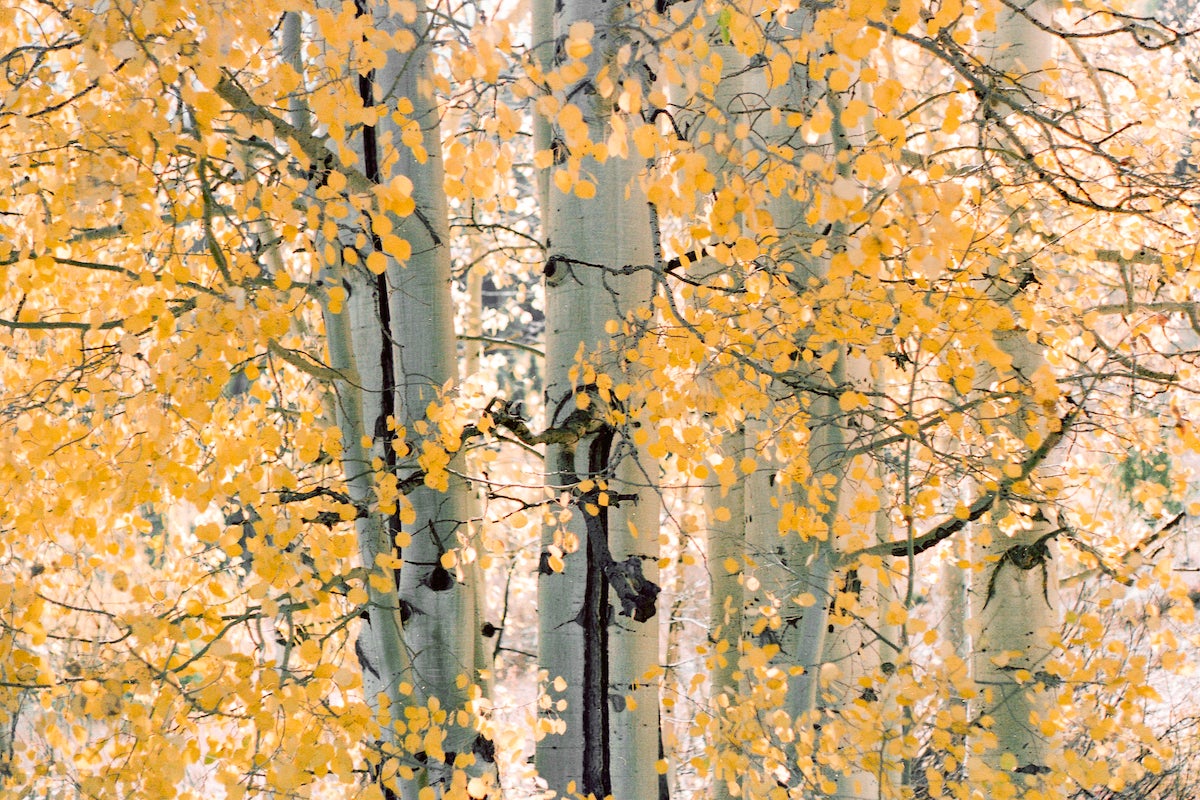
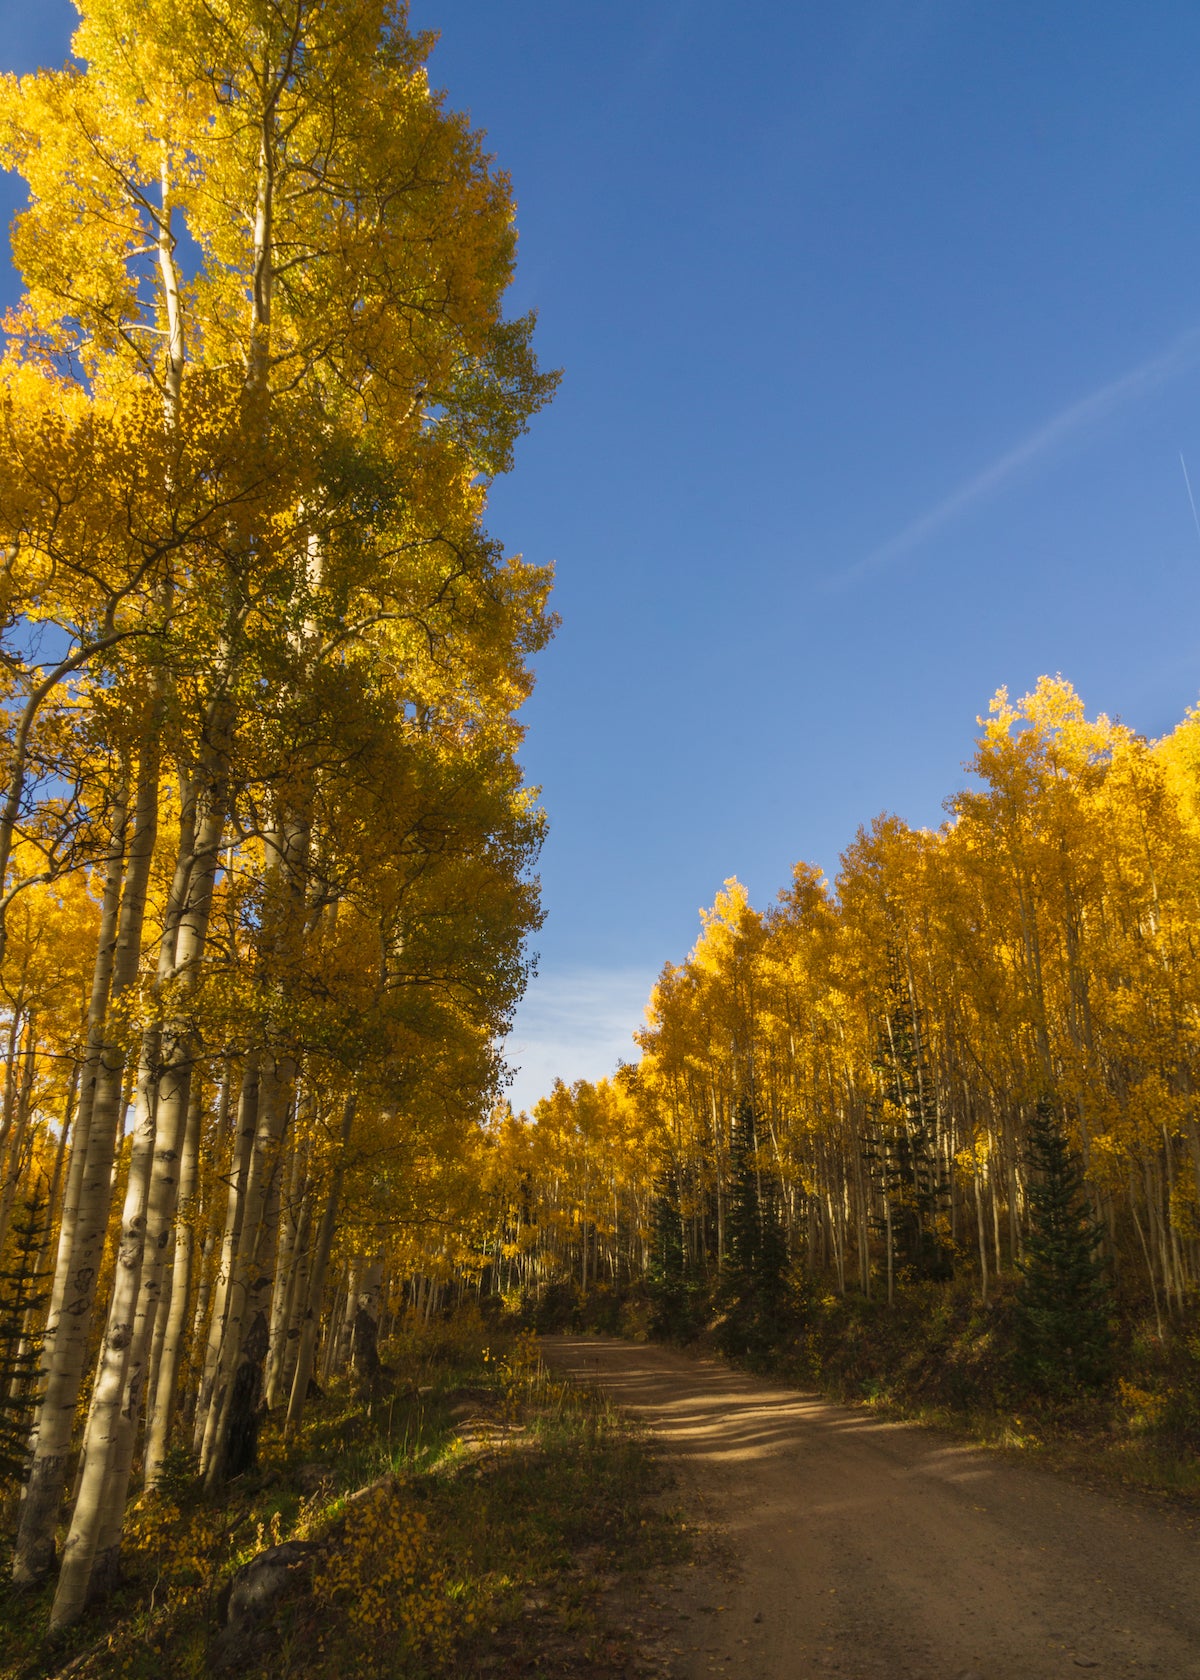
This aspen grove was shot on the side of the road in southern Colorado on a fall road trip. The soft light and warmth caught my eye, so I made a quick stop to study it closer.
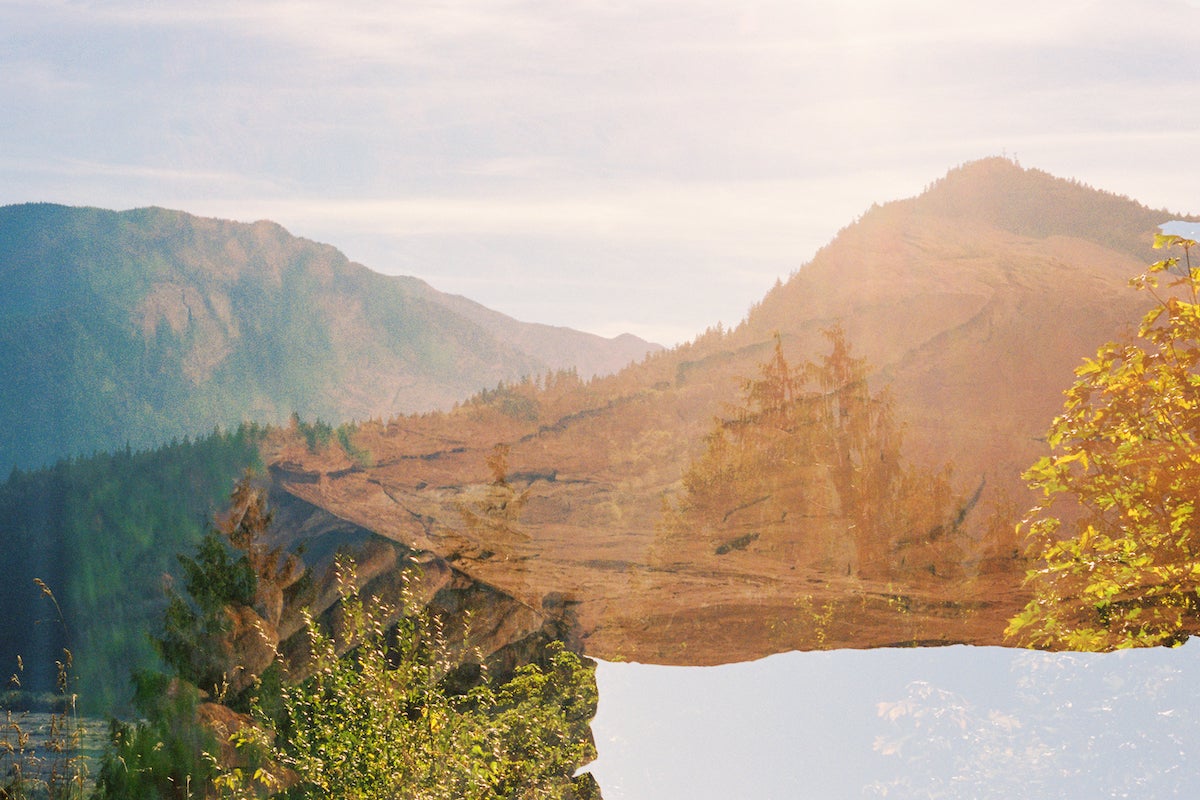
Double exposures are some of my favorite ways to experiment on film. They started to appear in my photos by accident, but I have since learned to use them as a compositional tool. I love how the early fall colors layer on top of the mirrored landscape in this image.
To me, the beauty of an image has a lot to do with the memory it invokes. Experience first, shoot second.
Tip 02 · Mimi McCormick
Look for layers.
Autumn colors are naturally going to be layered in their varying tones of yellows, oranges, reds, and greens. But beyond that, it's helpful to look for "layers" from a depth perspective, too.
Set yourself up so there are both some foreground and more distant elements in your frame. If they overlap with one another, even better! From there, play with your aperture if you're able to on your device: is it more intriguing if the background is blurred, or if the foreground is? Or is it just as interesting if the whole thing is shot a bit more flat, since there are various, contrasting layers in the frame?
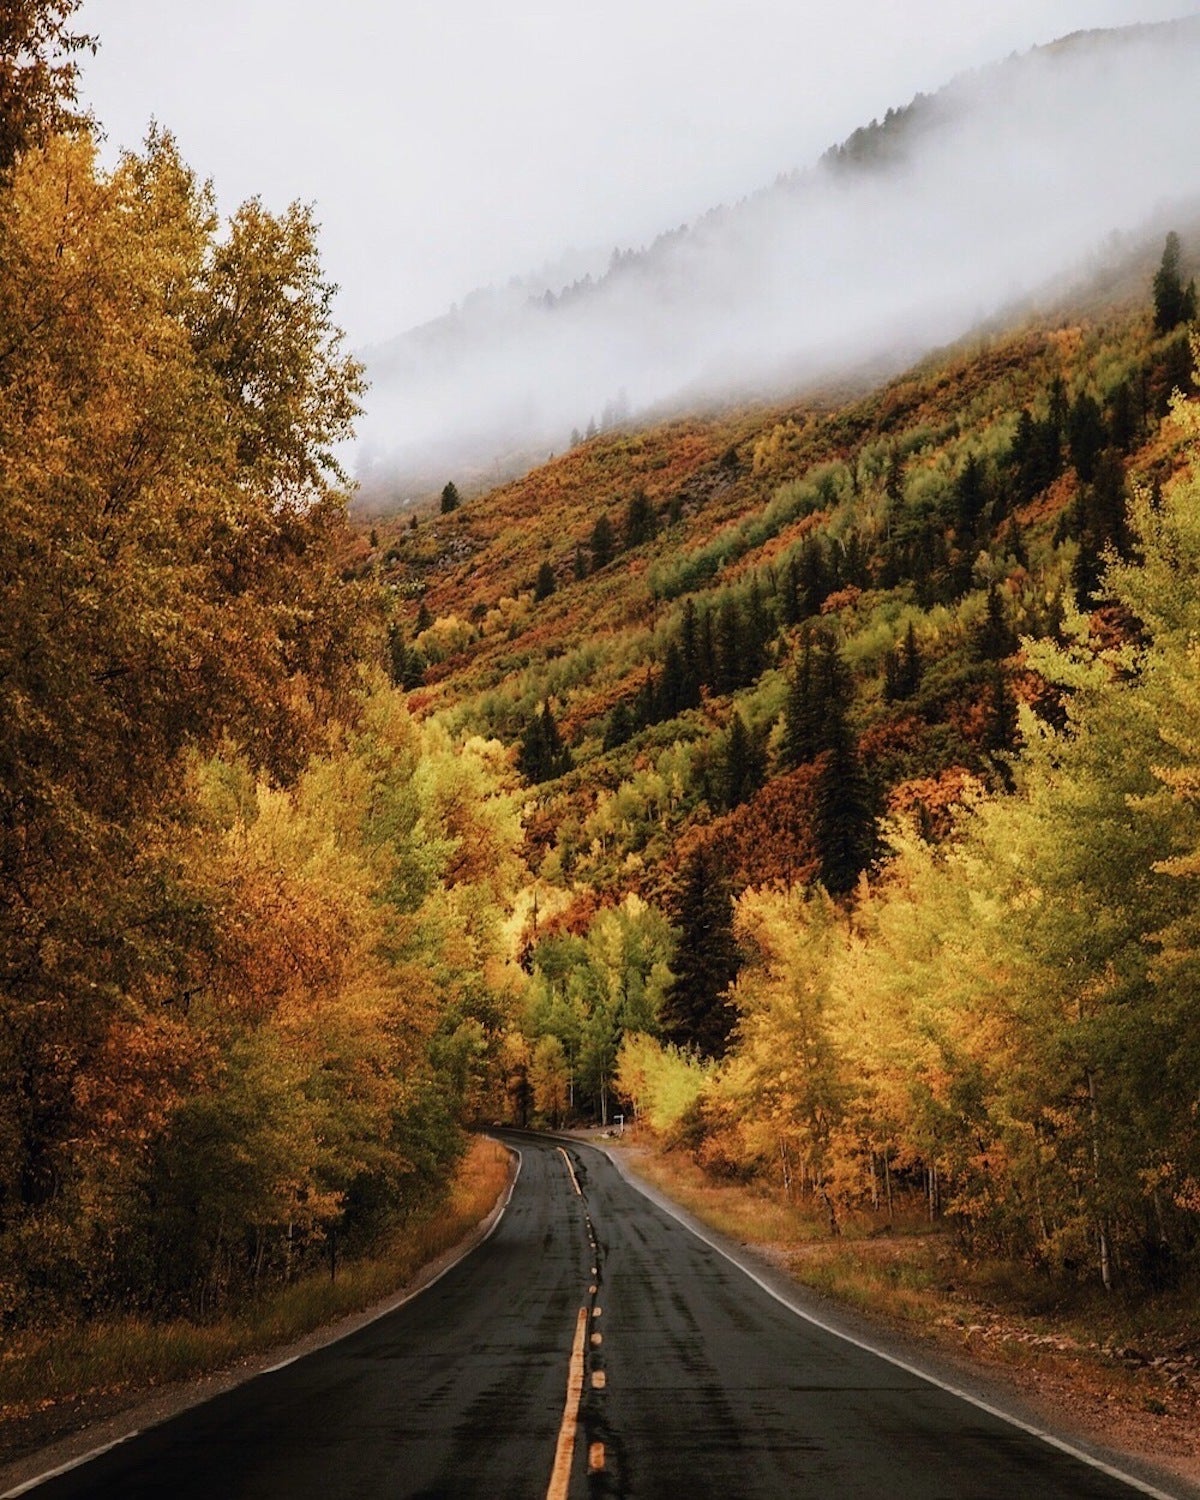
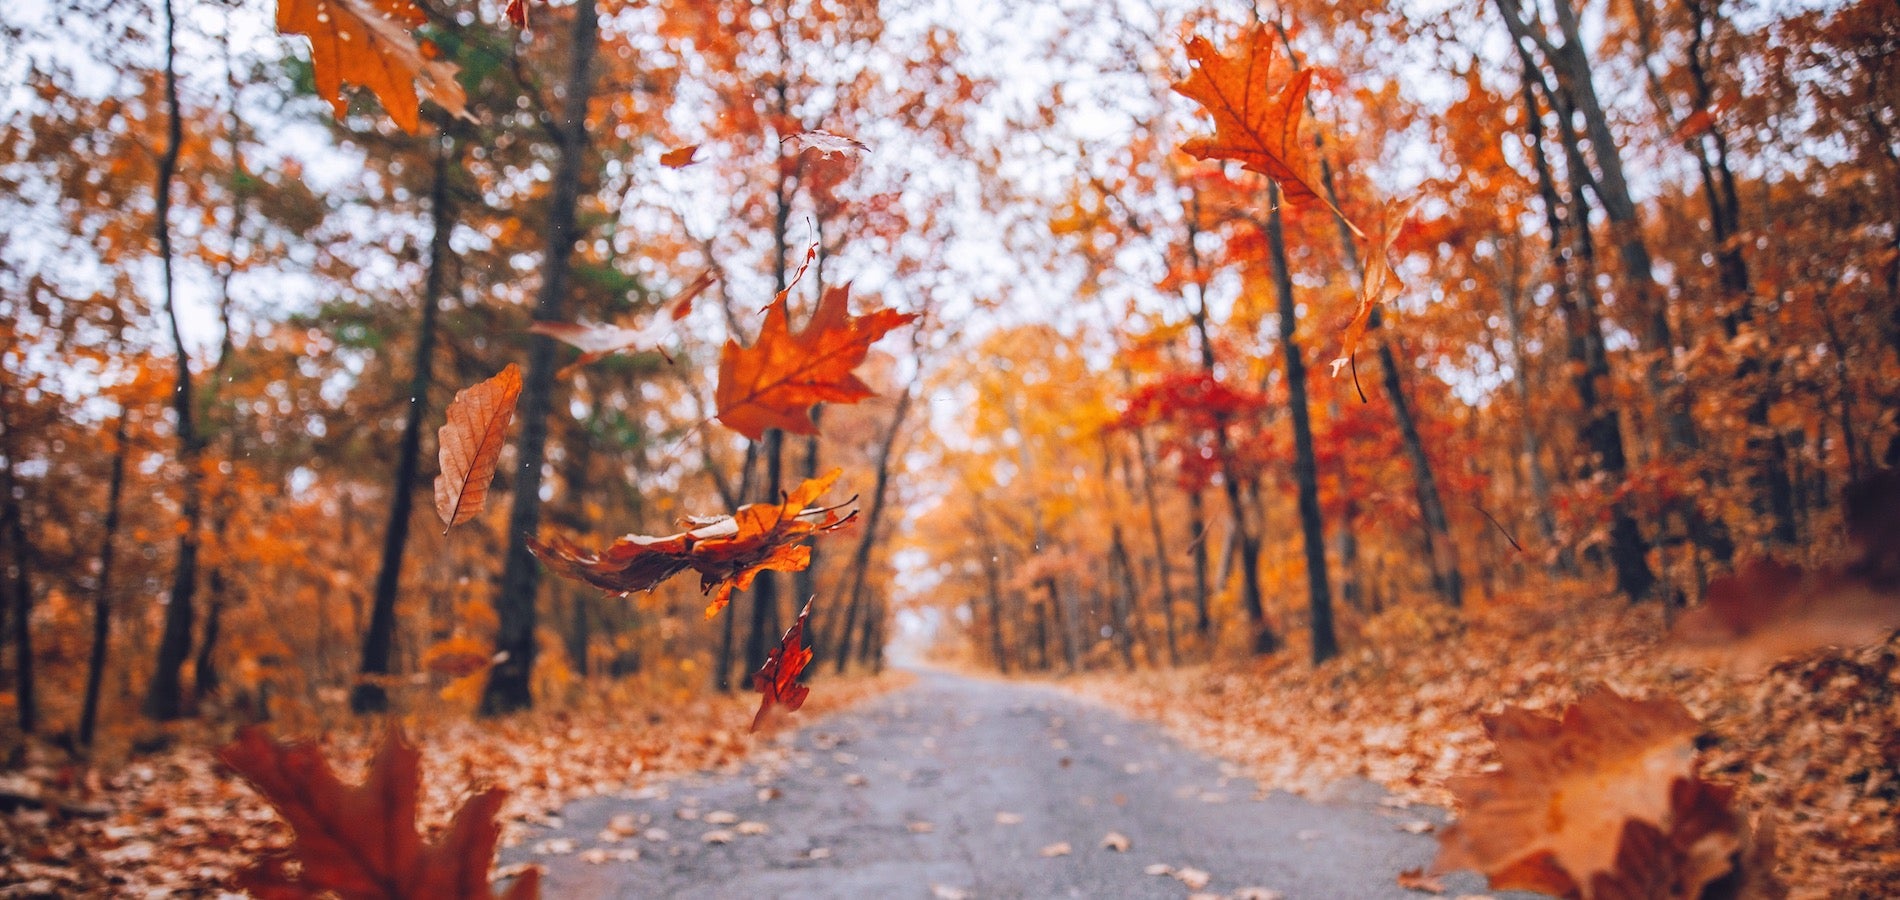
In this photo, I've made sure to layer in trees that are closer in the foreground, a sloped hill in the more distant background, and wispy clouds at the very farthest from us. Then, a connecting road takes us visually through all of those layers.
This was shot with a narrower aperture, since I wanted the viewer to feel and see every texture throughout the frame. This is also a good approach to take when you're shooting on a modern phone, since you often can't adjust aperture manually.
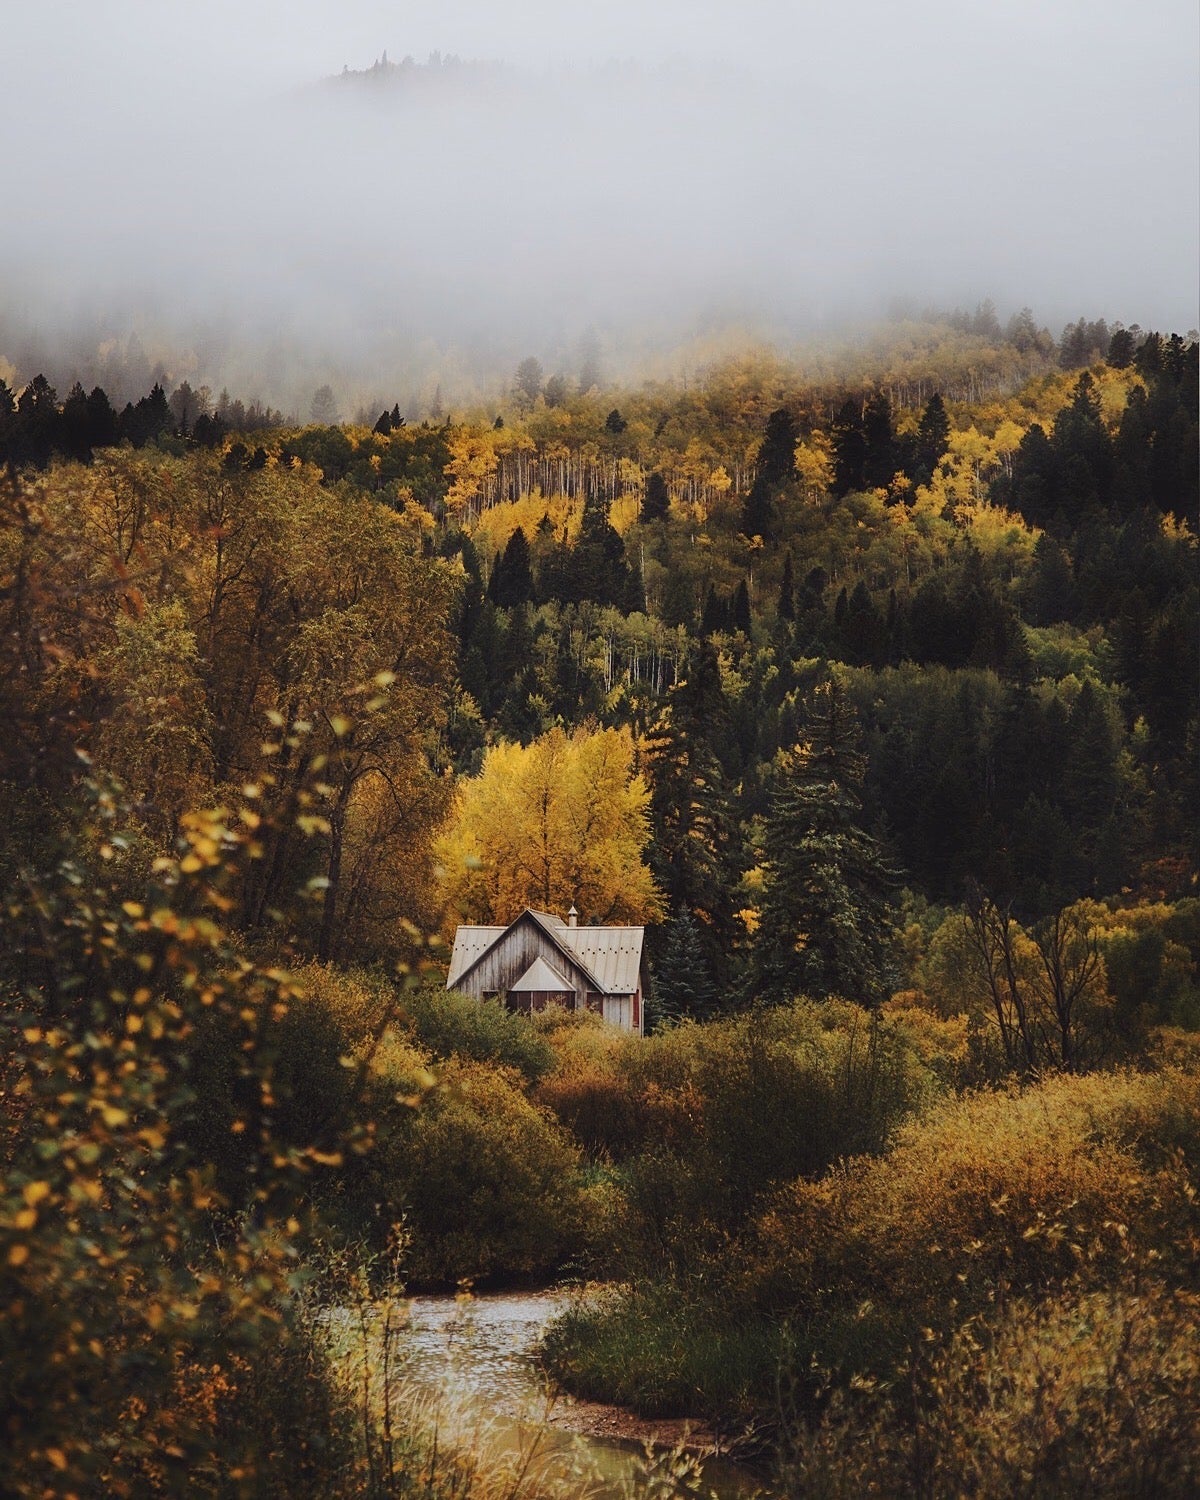
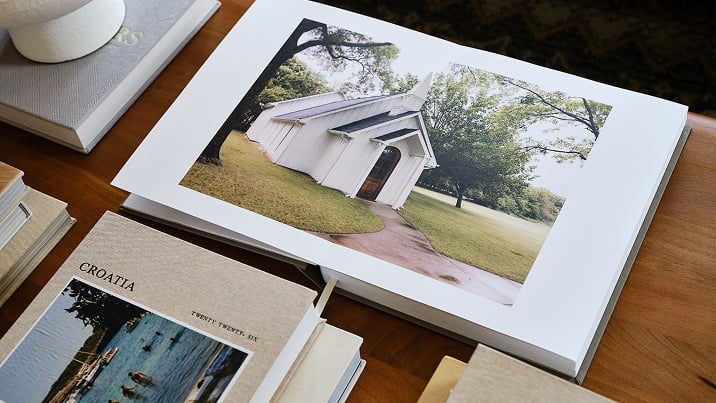
In this photo, I shot with my mirrorless camera and therefore specifically made sure to shoot at a wider aperture. I chose to keep the foreground foliage super soft, make the house my focal point, and then include distant hills/clouds in the distant background.
The physical layers and the focus layers create a more visceral, romantic feeling of autumn — and an intentional curiosity of the subject (the house).
Set yourself up so there are both some foreground and more distant elements in your frame. If they overlap with one another, even better!
Tip 03 · Justine Quinones
Forego the golden hour.
Most photographers, including myself, are drawn to the “golden hour” of photography for creating images with beautiful light. However, when it comes to fall photography, I prefer to shoot in the early morning or late afternoon. In these hours, the sun is high enough to filter through the vibrant autumn trees, illuminating the leaves in their full color and allowing me to capture the scene in great detail. This approach adds natural, bright colors to photos and offers an opportunity for minimal photo editing later on.
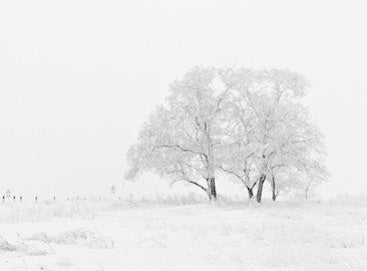
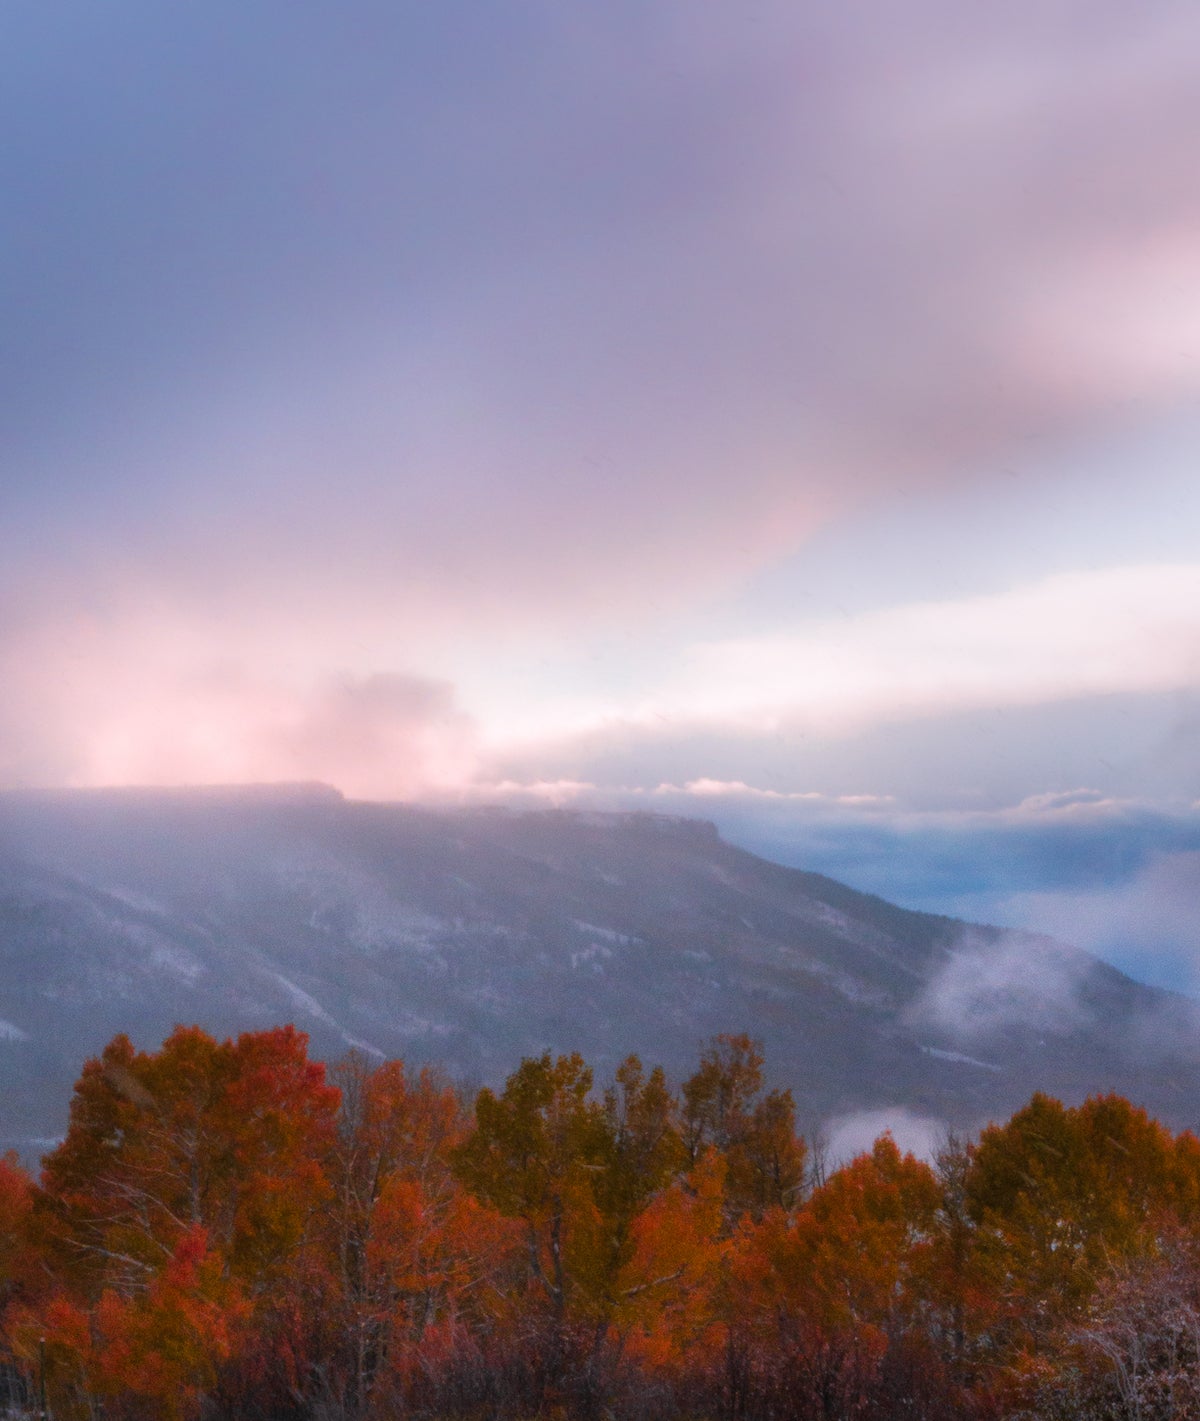
But when those cloudy days are in the forecast, I also find myself running out the door with excitement. Cloudy fall mornings are one of my favorite conditions to shoot in, as fog & clouds automatically add so much unique drama to a photo. The soft diffused light of a cloudy morning mixed with a mute background makes the colors of the autumn trees pop, helping create a scene that draws the eye into your image. Choosing the right lighting allows me to really open my creative spirit and discover scenes that capture the feeling of crisp, fall air.
When it comes to fall photography, I prefer to shoot in the early morning or late afternoon.
Tip 04 · Dirk Dallas
Capture the essence of autumn.
It’s all too common to shoot the beautiful fall season wide and a bit distant in all its untouched, as-is glory — but don’t be afraid to step in close and literally bring in your own touch to enhance the story.
This can be using the surroundings as actual props and framing them in such a way that transforms them into a unique still-life subject. Look for anything that can be a focal point and add visual interest into the frame. For example, you can use leaves, a pine cone, or a pumpkin - just to name a few - and arrange them following the rules of photography composition.
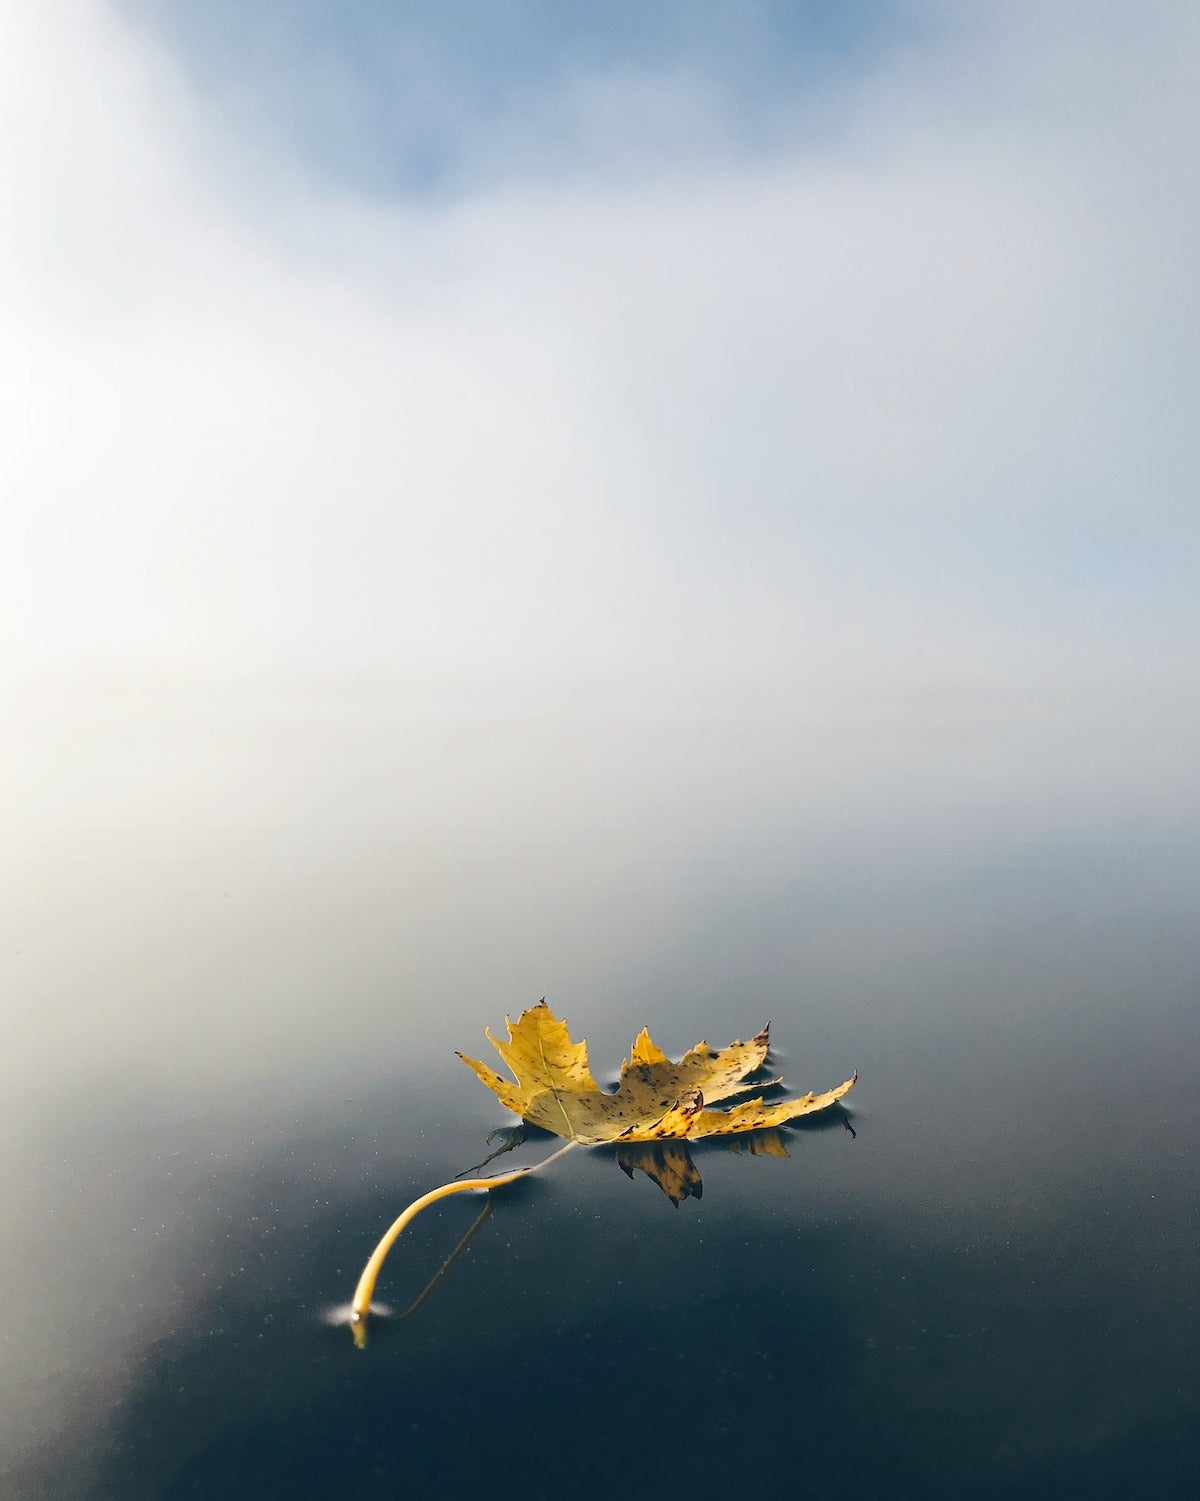
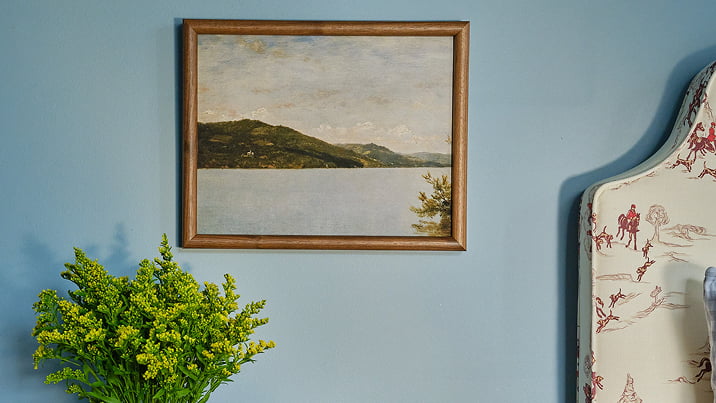
In this image, the lake was so peaceful, foggy, and still, yet it felt a bit empty and uninteresting without a subject. After looking around at the surrounding trees, I found a leaf that had fallen to the ground. I carried it over and carefully placed it on the water to further help evoke the feelings I experienced in the moment. The leaf not only provided a bold contrast, but it also served as an interesting focal point and further conveyed the actual quietness and stillness of the scene.
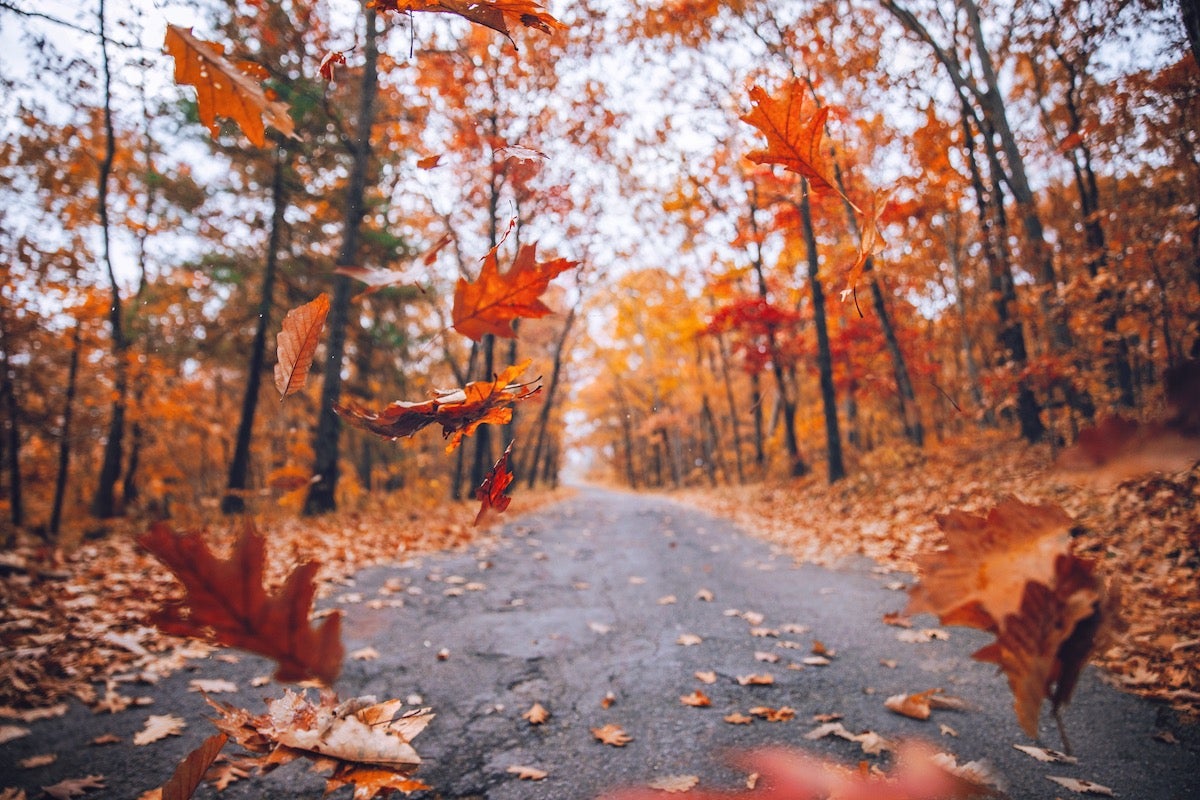
Another day on the same autumn trip, I got to experience the falling of the leaves. However, due to the unpredictable timing of the real action, my images weren’t as interesting as I’d hoped. So I took some time to gather a huge pile of leaves and asked a friend to dump them over my head. I wanted to recreate the sensation of what it actually felt like to experience leaves falling all around me.
Don’t be afraid to step in close and literally bring in your own touch to enhance the story.
Tip 05 · Kylie Morgan
Play with texture.
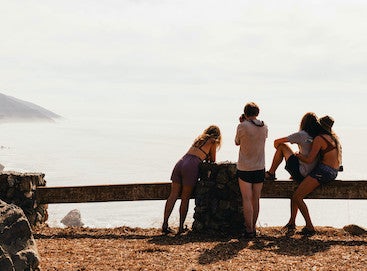
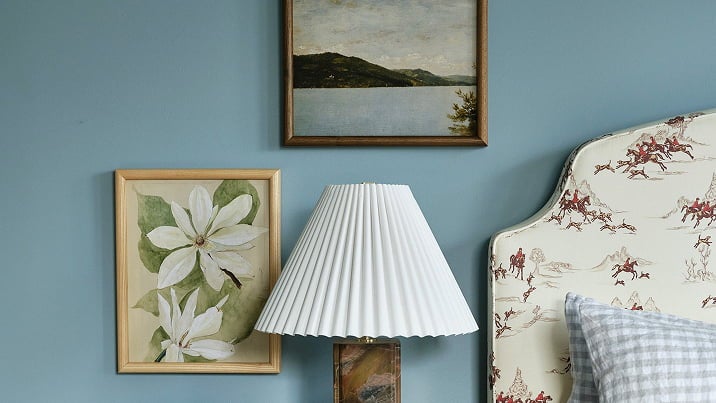
This is one of my favorite things to play off of, especially in the fall, when the world is full of color and texture. Play off of the clouds, grasses, rocks, and foliage. Challenge yourself to not only shoot your subjects straight on, but rather from above, below, or the side. This not only provides for a diverse gallery, but can also evoke different emotions than shooting straight on. It allows your subject to be the main focus, even in the autumn scenery.
All three of these images are taken in the same location, but from different angles. By focusing on different aspects of texture and perspective, the same location and subjects create different looks & evoke different emotions.
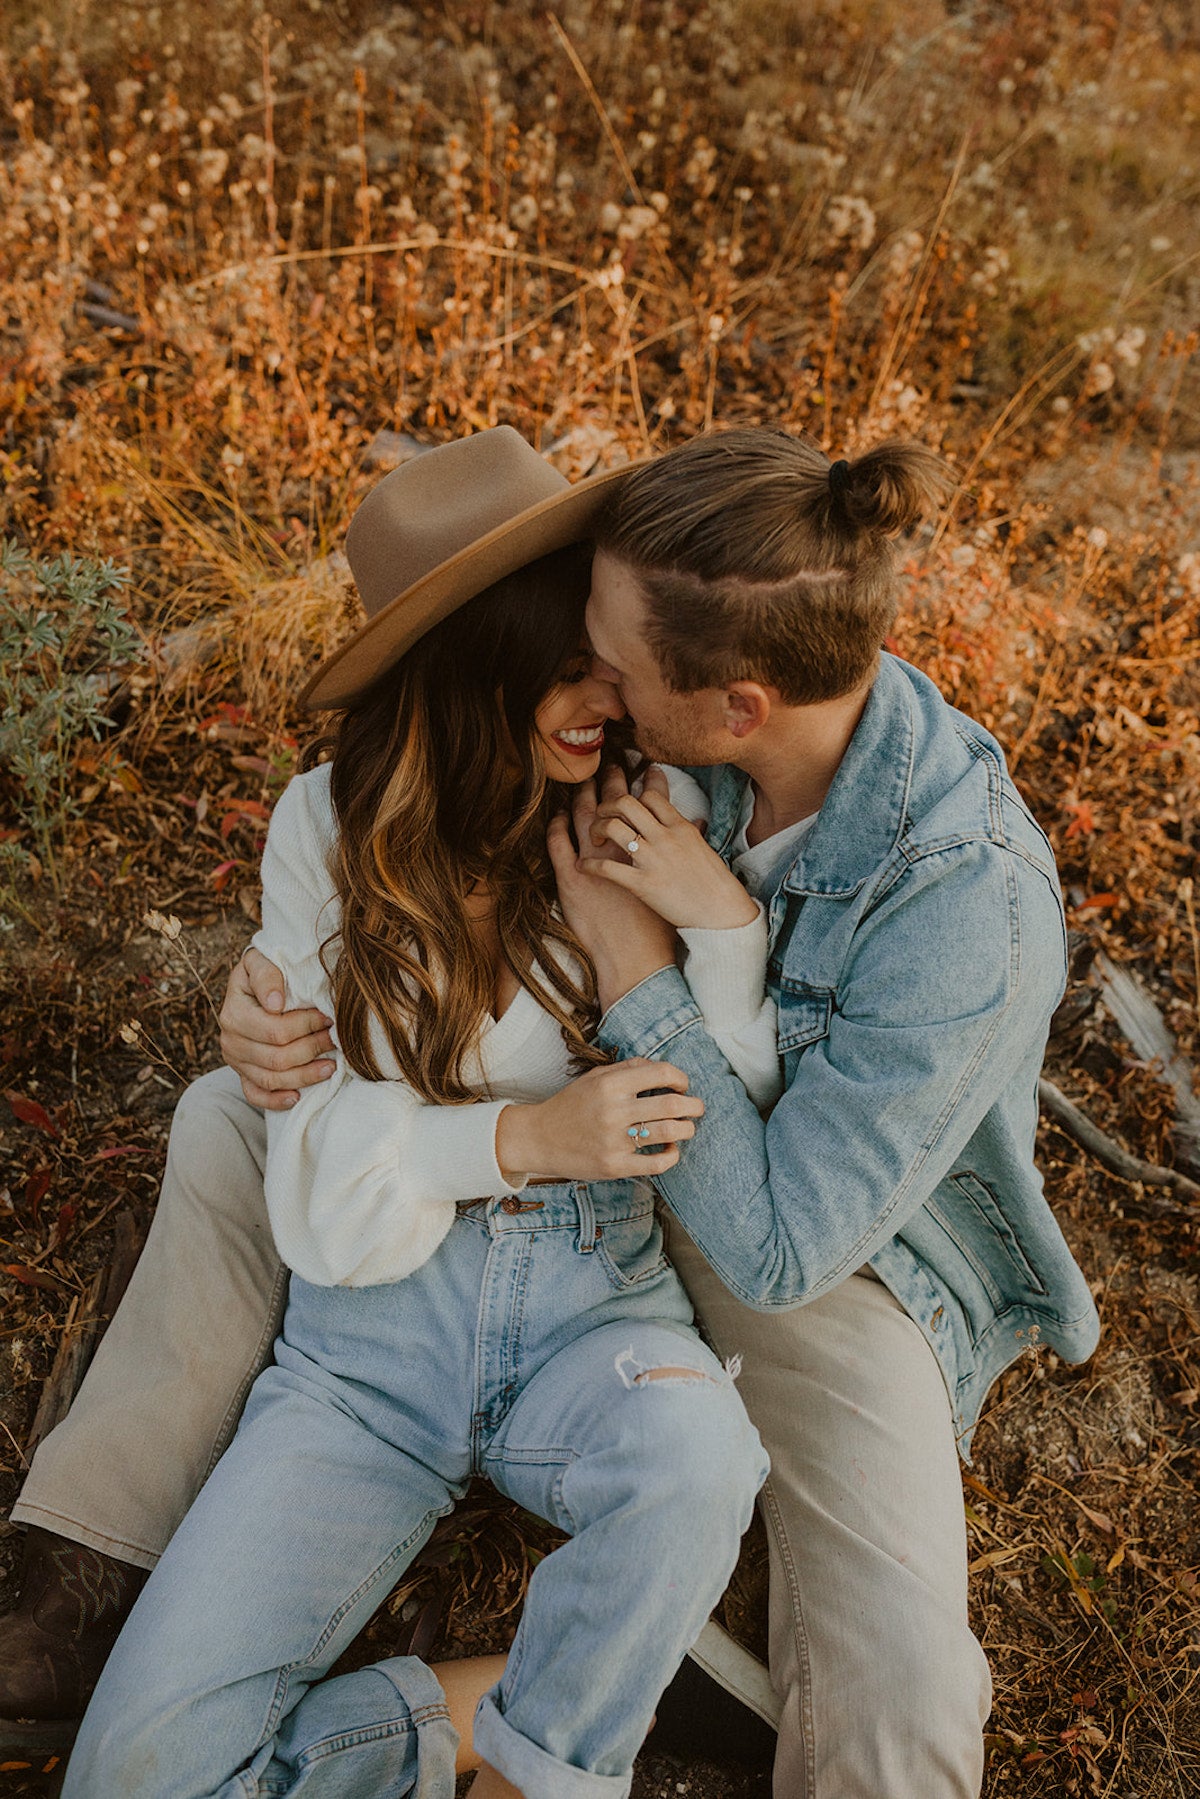
This close-up view/crop of my subjects lets light illuminate them from the side — instead of being completely backlit.
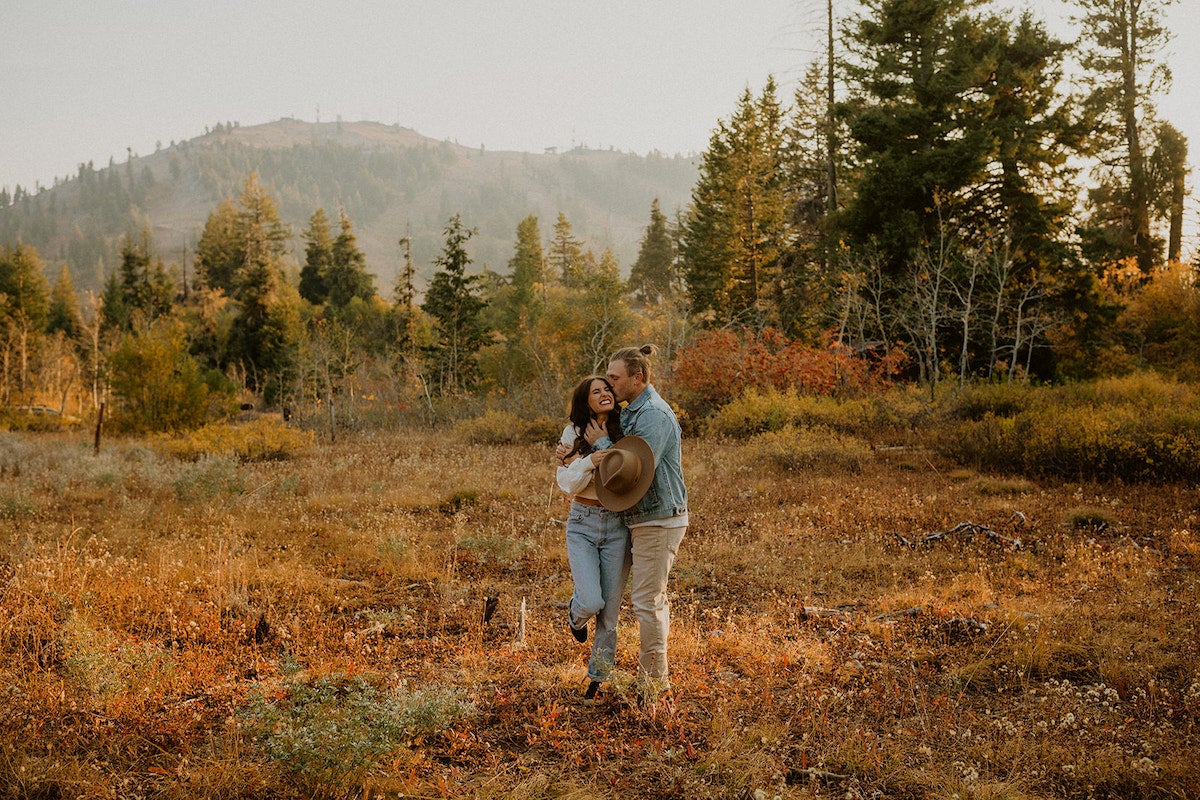
Instead of shooting straight on with my subjects at eye level, I played off of all the texture around us to a) give a different feel to this set of images and b) focus on the subjects themselves a little bit more.
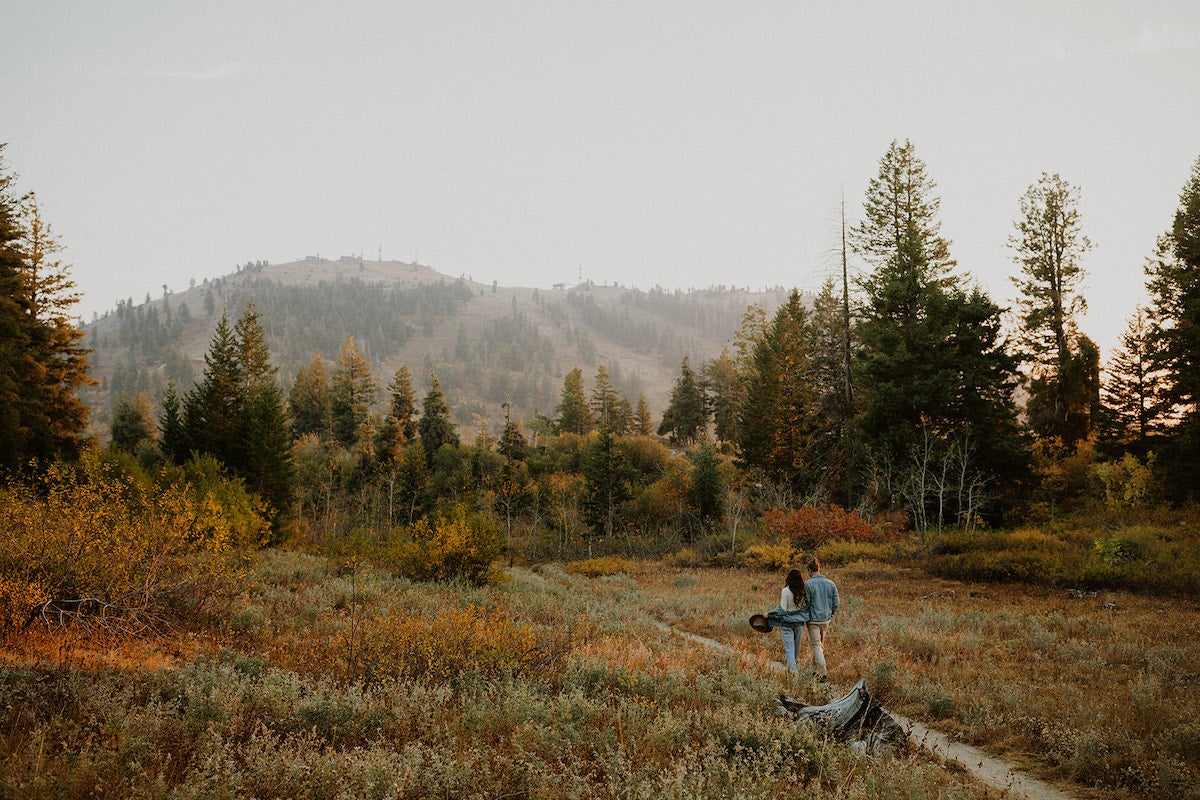
I used the path to let your eyes follow the subject with a wide view of the location.
By focusing on different aspects of texture and perspective, the same location and subjects create different looks & evoke different emotions.
Capture those colors.
When you do, we'd love to see them. Share your experiences with @artifactuprising or #tellon.