


Our Expert Wedding Checklist
Save The Dates, Stationery, & More

We get it, there’s a lot to think of when planning your wedding, and it's essential not
to overlook any of the tiny details. With the average year-long engagement time frame in
mind, we've put together a comprehensive checklist for all your wedding print needs to
help you navigate the process.
Whether you're sending out save the dates, crafting wedding invitations, personalizing your thank you cards, or creating your wedding album, here are the optimal times to cross each off your list. Because who needs a wedding planner, anyway?
(Okay, you might still want one.)
Whether you're sending out save the dates, crafting wedding invitations, personalizing your thank you cards, or creating your wedding album, here are the optimal times to cross each off your list. Because who needs a wedding planner, anyway?
(Okay, you might still want one.)
What is Included in
Wedding Stationery?
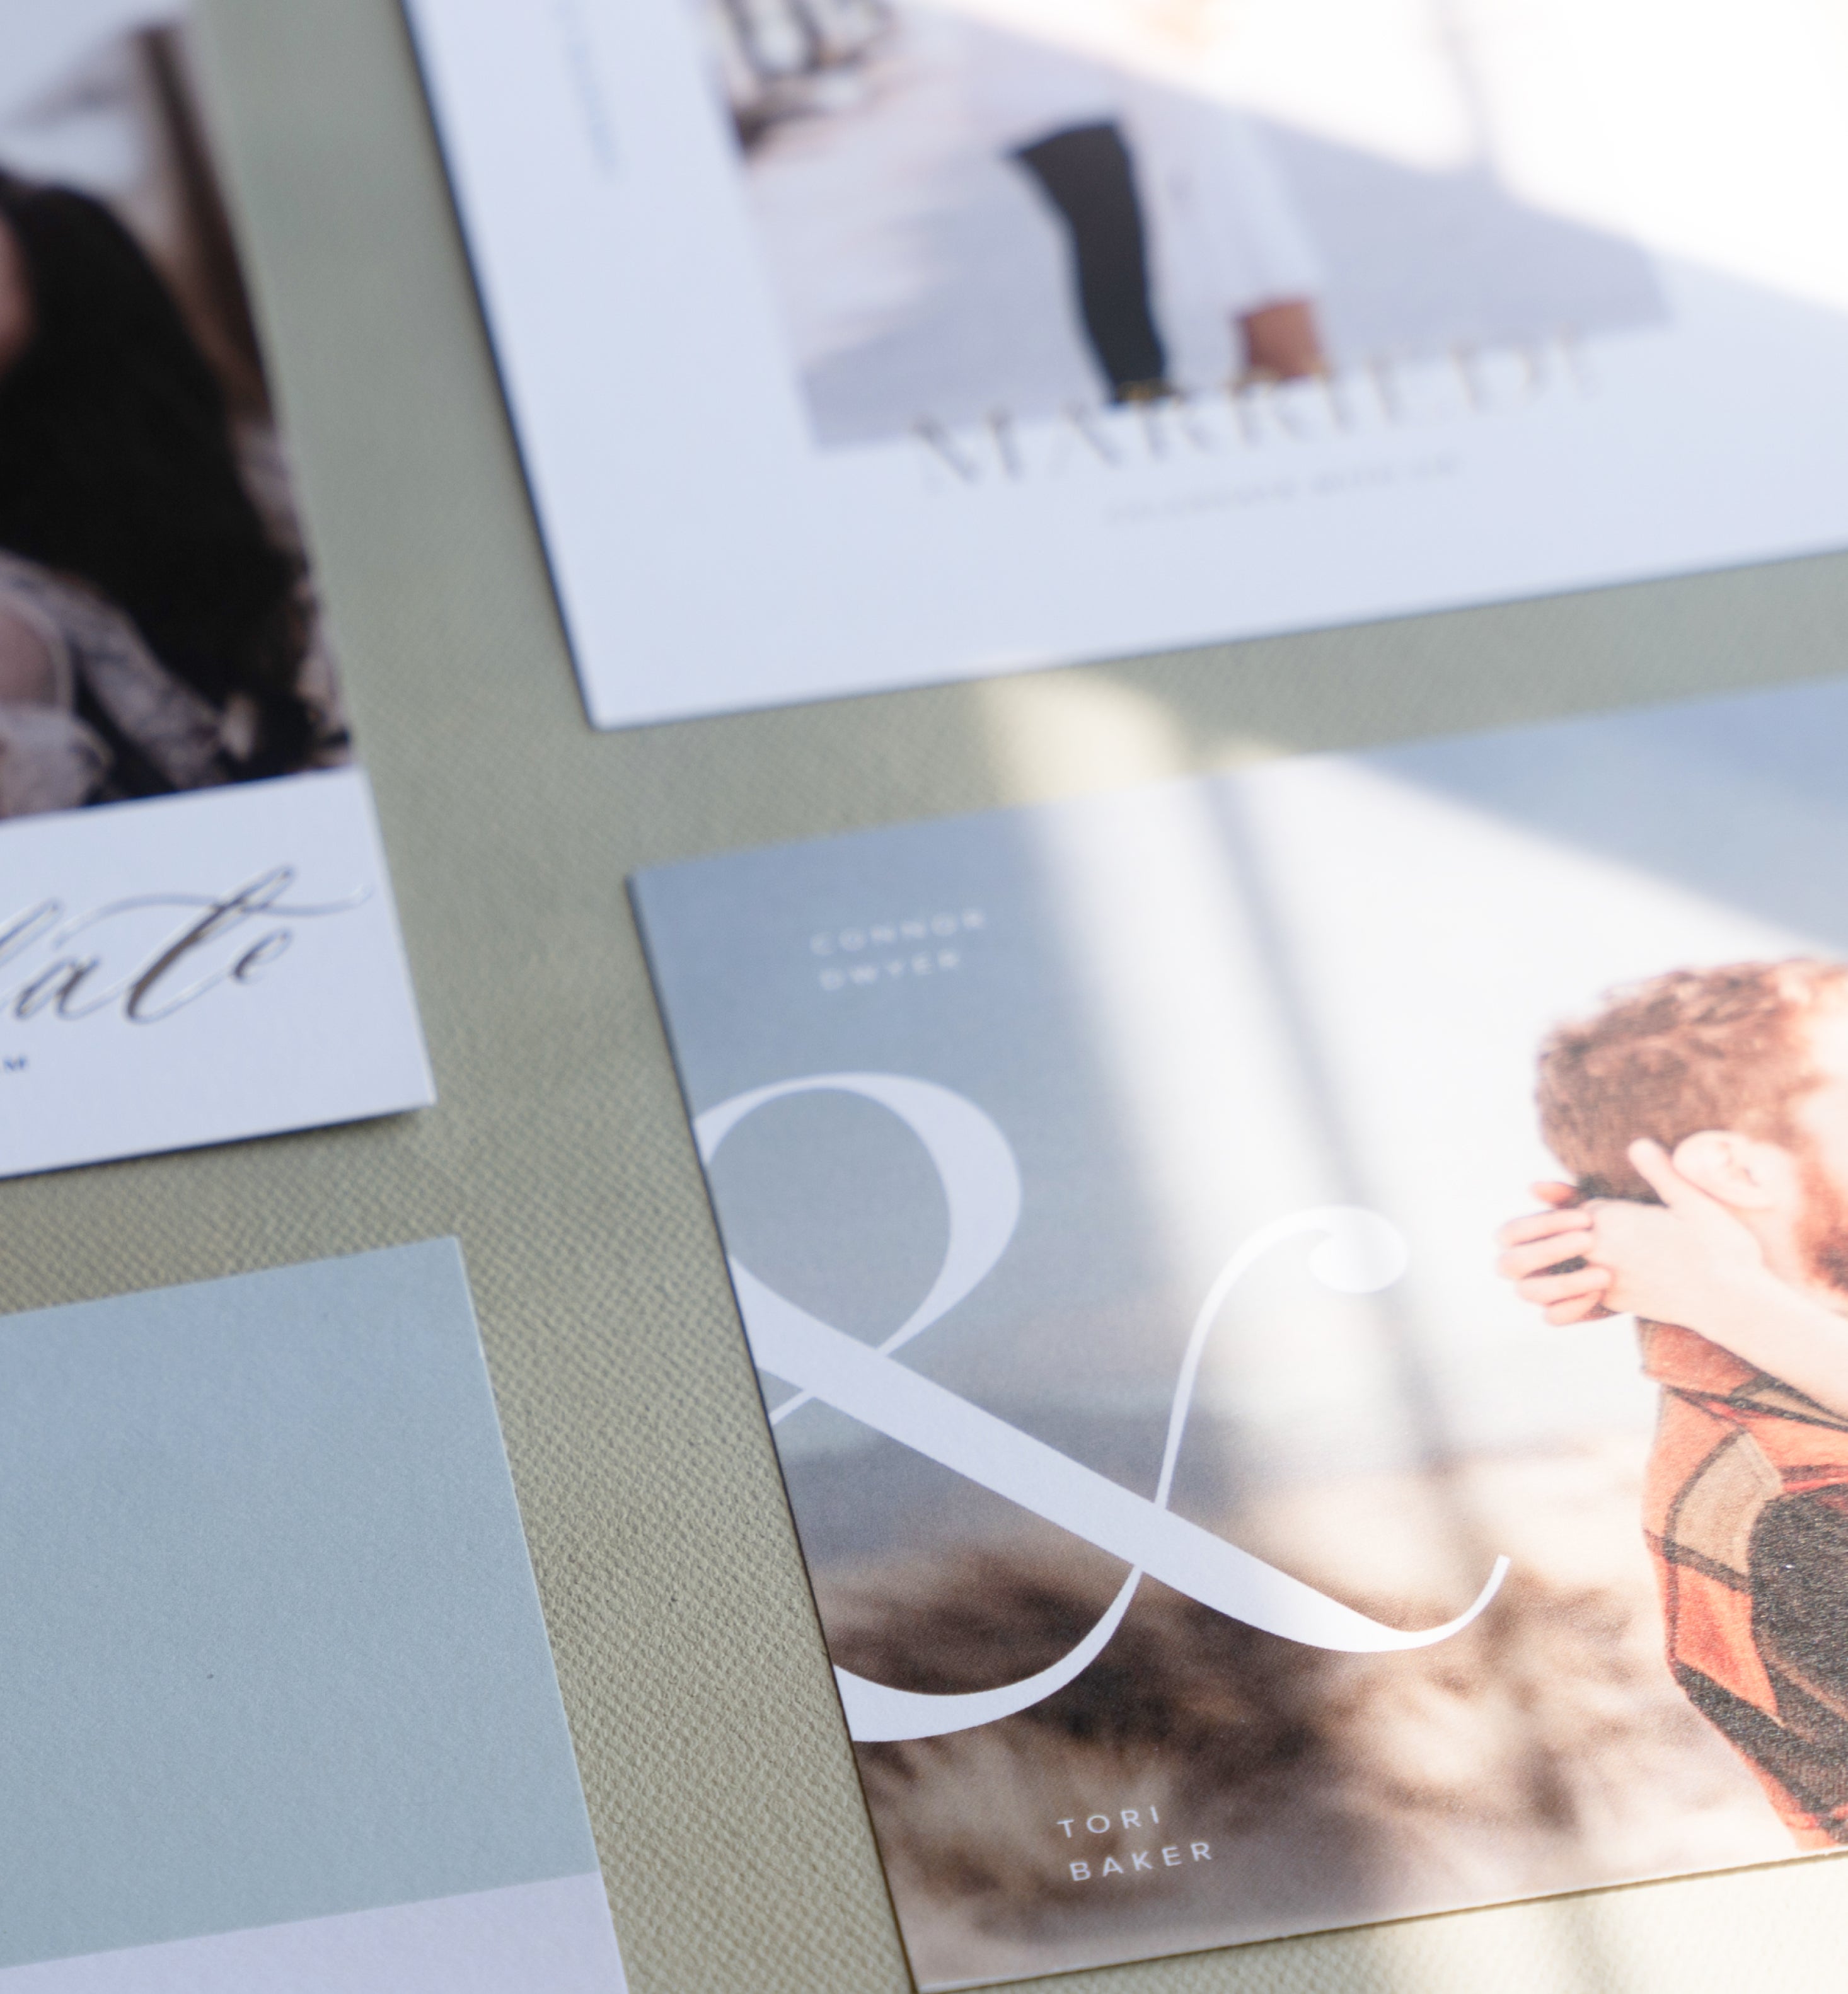
Wedding stationery
encompasses a wide range of printed materials that play a crucial role in planning
and celebrating your big day. Here’s a list of everything from save the dates and
invitations to wedding-day displays to ensure that every detail is thoughtfully
designed and coordinated, for your special day and beyond.
Stationery Before the Wedding
Engagement Party Invitations
Bridal Shower Invitations
Save the Dates
"Will You Be My Bridesmaid/Groomsman" Cards
Bachelor/Bachelorette Party Invitations
Wedding Invitations
Printed Items For the Big Day
Bridal Party, Parent, and Bride/Groom Gifts
Bridal Party Schedules, Wedding Programs
Seating Charts, Place Cards, Table Numbers
Guest Books
Menus, Bar Signs, Signs for Food/Treats
Event Signage
Wedding Favors
Personalized napkins, coasters, or other paper goods
Custom Cards & More
After the Wedding
Guest and Vendor Thank You Cards
Custom Wedding Albums
Each of these printed items contributes to the overall look and feel of your
wedding. By carefully planning and coordinating these details big and small, you can
create a cohesive and memorable wedding day that reflects your unique love story.
What Else to Consider When
Planning Your Wedding Stationery?
Your wedding stationery is more than just a set of printed materials; it's a
reflection of your style and sets the tone for your special day. As you embark on
this exciting journey of planning your wedding, there are some essential aspects to
keep in mind beyond the timeline.
Wedding Print Budget Considerations
While planning a wedding is one of the most exciting seasons of your life, it’s one
that involves financial considerations. When it comes to wedding print goods, it's
essential to strike a balance between creating memorable moments and managing your
budget. Here are some key points to keep in mind:
- Set a Stationery Budget: Begin your wedding stationery planning by establishing a clear budget. Determine how much you're willing to allocate for save the dates, invitations, thank you cards, and other print materials. Having a well-defined budget will help you make informed decisions throughout the process.
- Prioritize: Identify which wedding print goods are the most important to you. Prioritizing allows you to allocate a larger portion of your budget to the elements that matter most while finding cost-effective solutions for others. For example, if you consider wedding invitations to be a top priority, you might choose to allocate more of your budget to high-quality invitations and explore more budget-friendly options for other items.
Wedding Stationery Trends
Before we dive into the timeline, let's talk about the
latest trends in wedding stationery. From color palettes to typography and design styles, staying ahead of the trends
can help you make design choices that are both stylish and meaningful to you. Keep
these trends in mind as you plan to ensure they align with your vision.
Build an Emergency Print Kit
While no one wants to harp on what could go awry, it’s helpful to prepare for
unexpected mishaps and ensure that any last-minute issues can be quickly resolved.
- Duplicate Essential Items: Prioritize ordering extra copies of crucial print items such as wedding invitations, programs, place cards, and any other materials that are vital to the smooth flow of your wedding day. This ensures you have backups readily available in case of loss or damage.
- Order Well in Advance: To avoid any last-minute printing emergencies, plan ahead and place your print orders well in advance of your wedding date. This allows for ample time to address any unexpected issues that may arise.
- Store in an Organized Container: Store the extra copies in a clear, organized container or bag so that everything is easily accessible when needed. Label sections or pockets for different types of materials to maintain order.
By following these tips and having extra copies on hand, you'll feel cool, calm, and
collected — prepared to handle any unexpected print-related challenges that may come
up around your wedding day.
Wedding Stationery Timeline
Now, for the timeline! From sending out save the dates to creating meaningful thank
you cards, we'll guide you through each step of the journey to help you stay
organized and stress-free as your special day approaches.
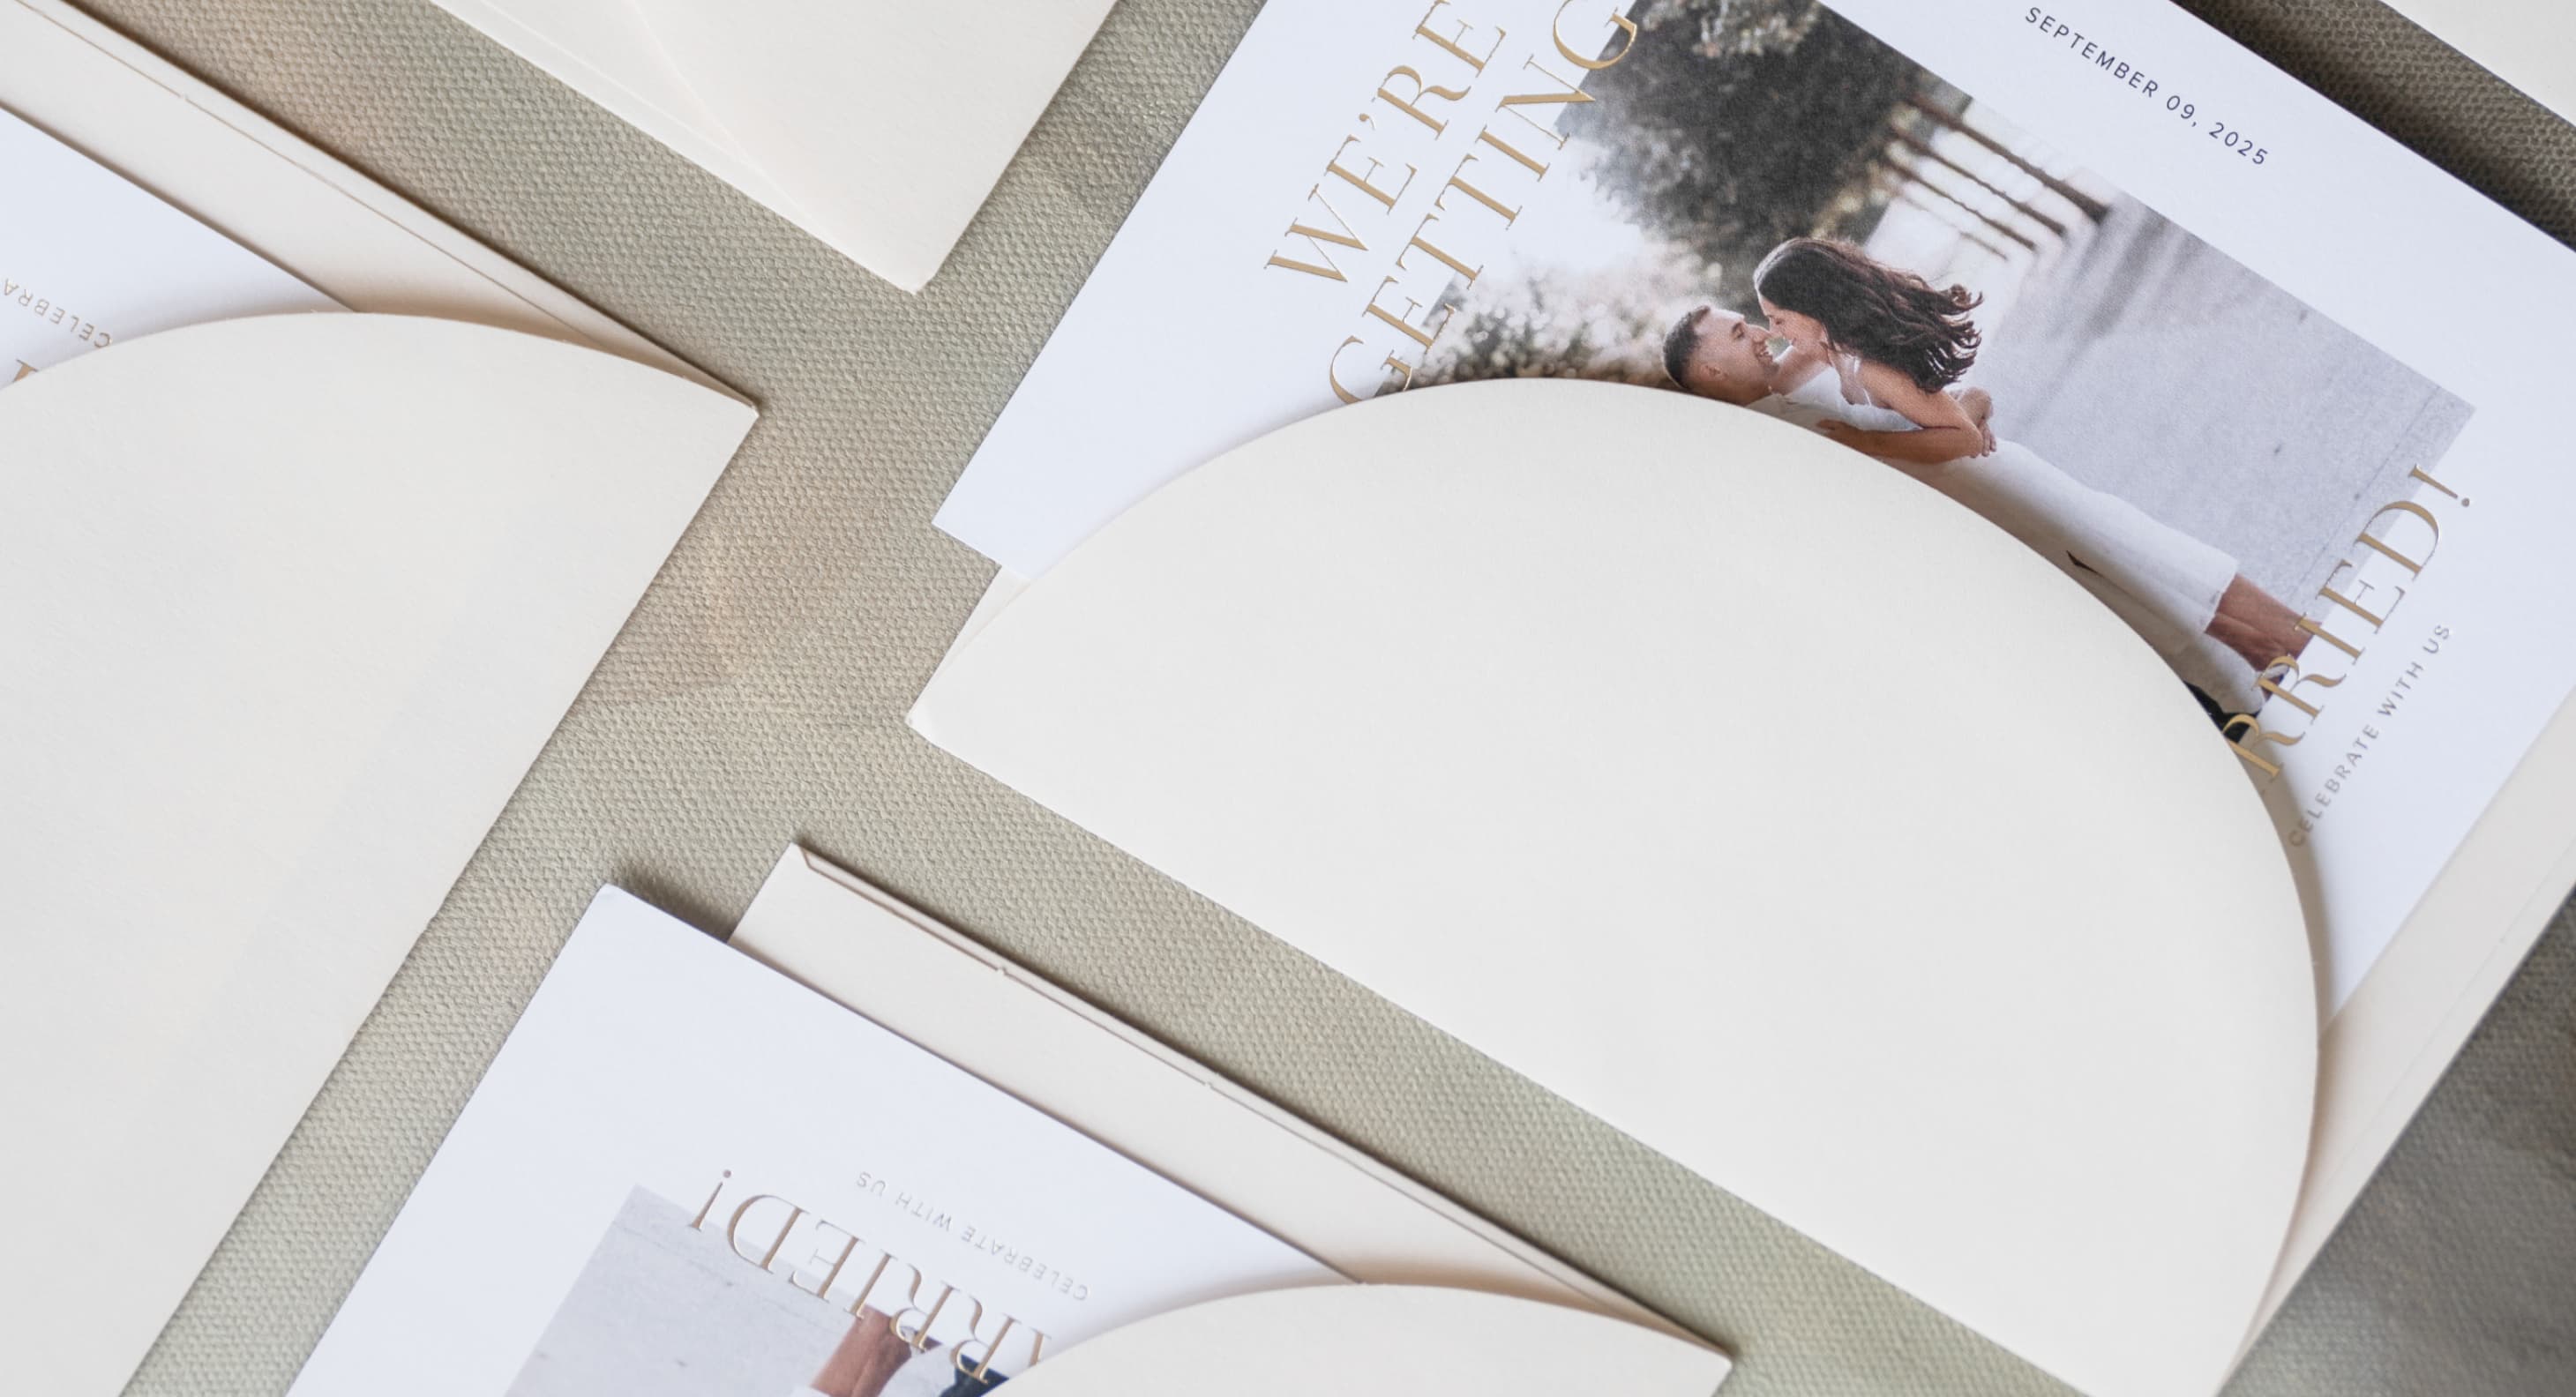
6 to 12 Months Before

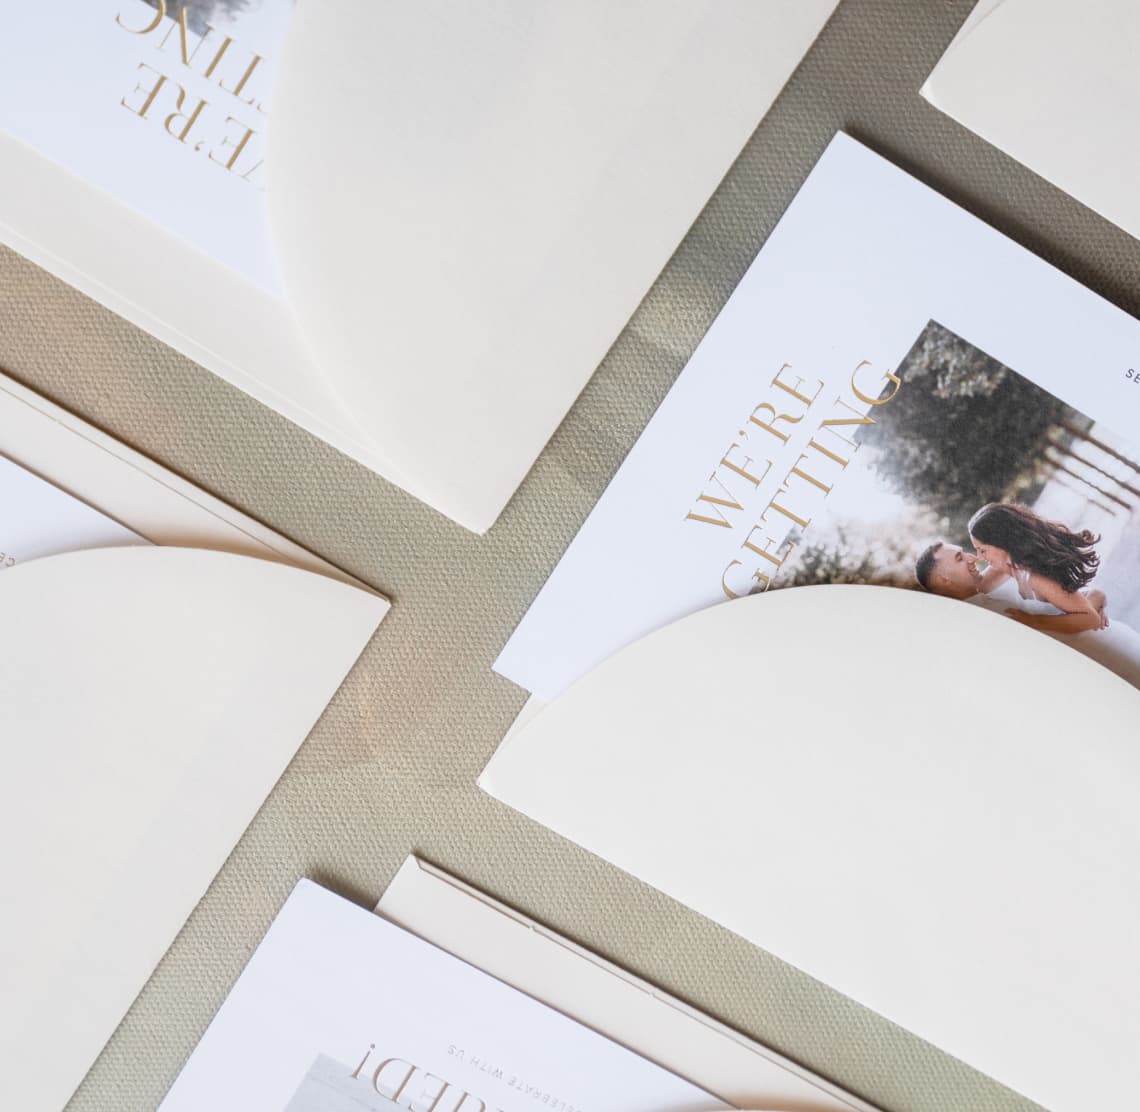
First up in the timeline is to create and send your
save the dates. Not quite sure about how to word them? We've put together a guide to
save the date etiquette
that can lend a helping hand.
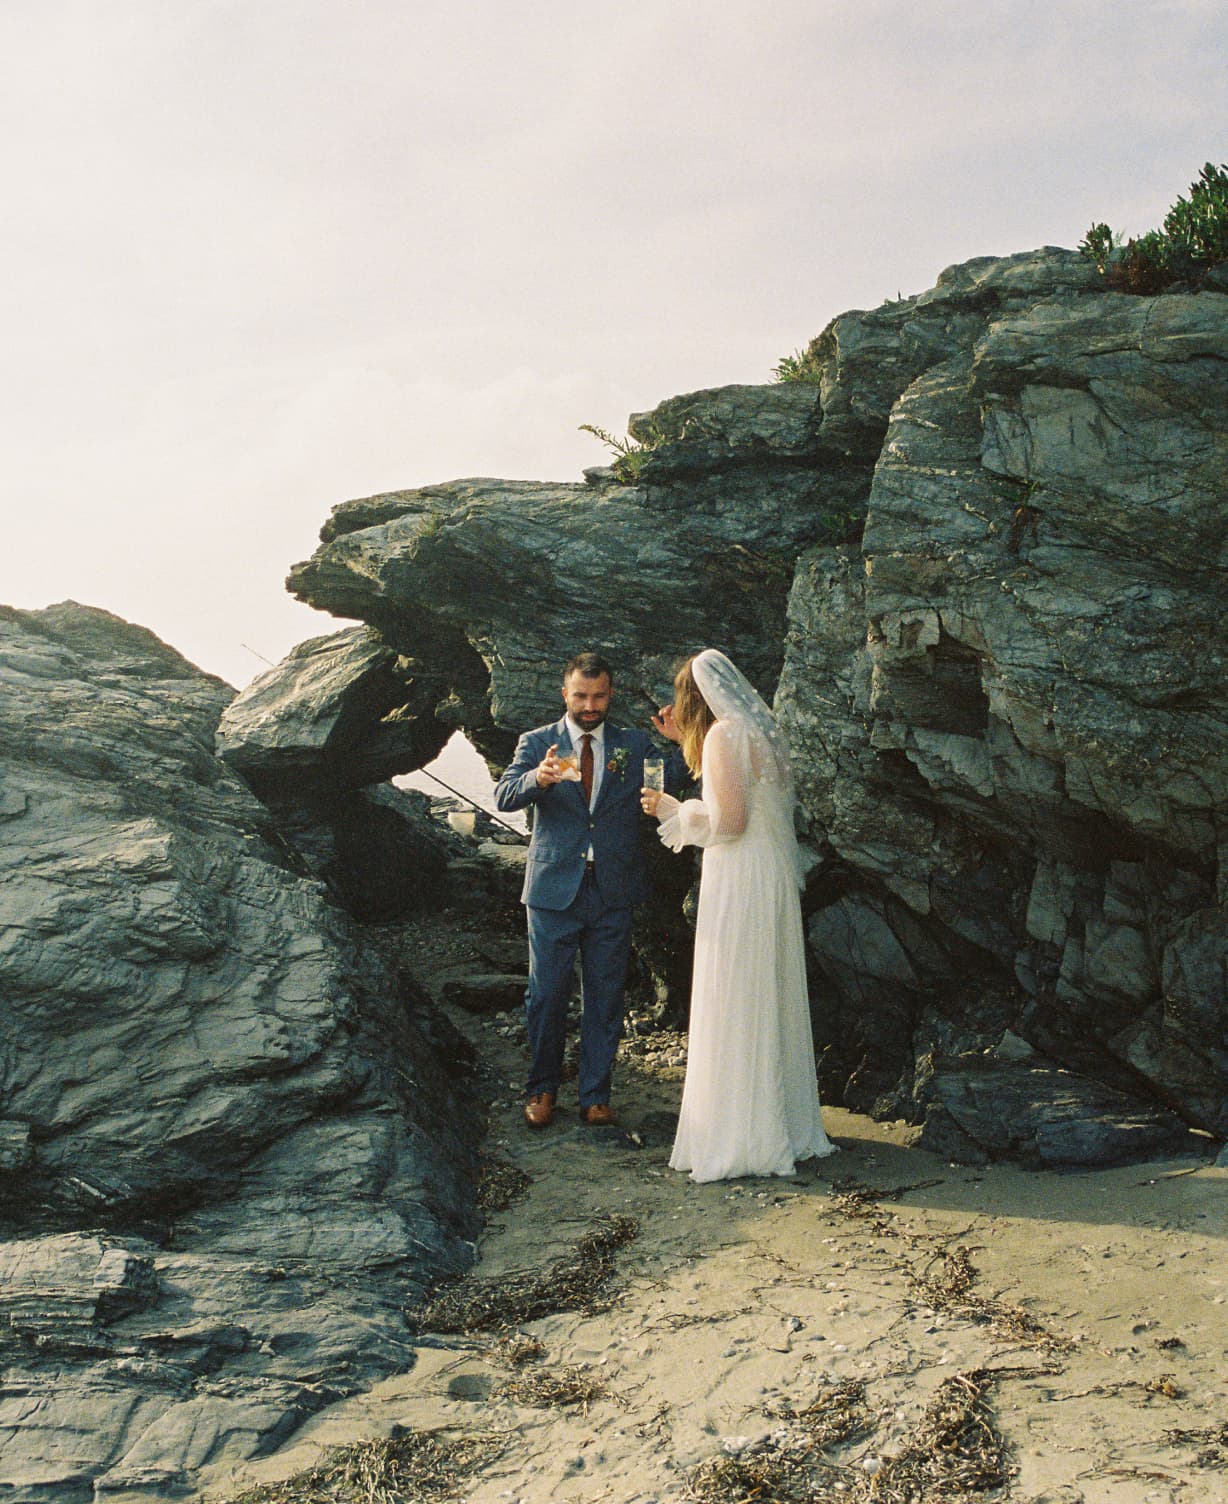
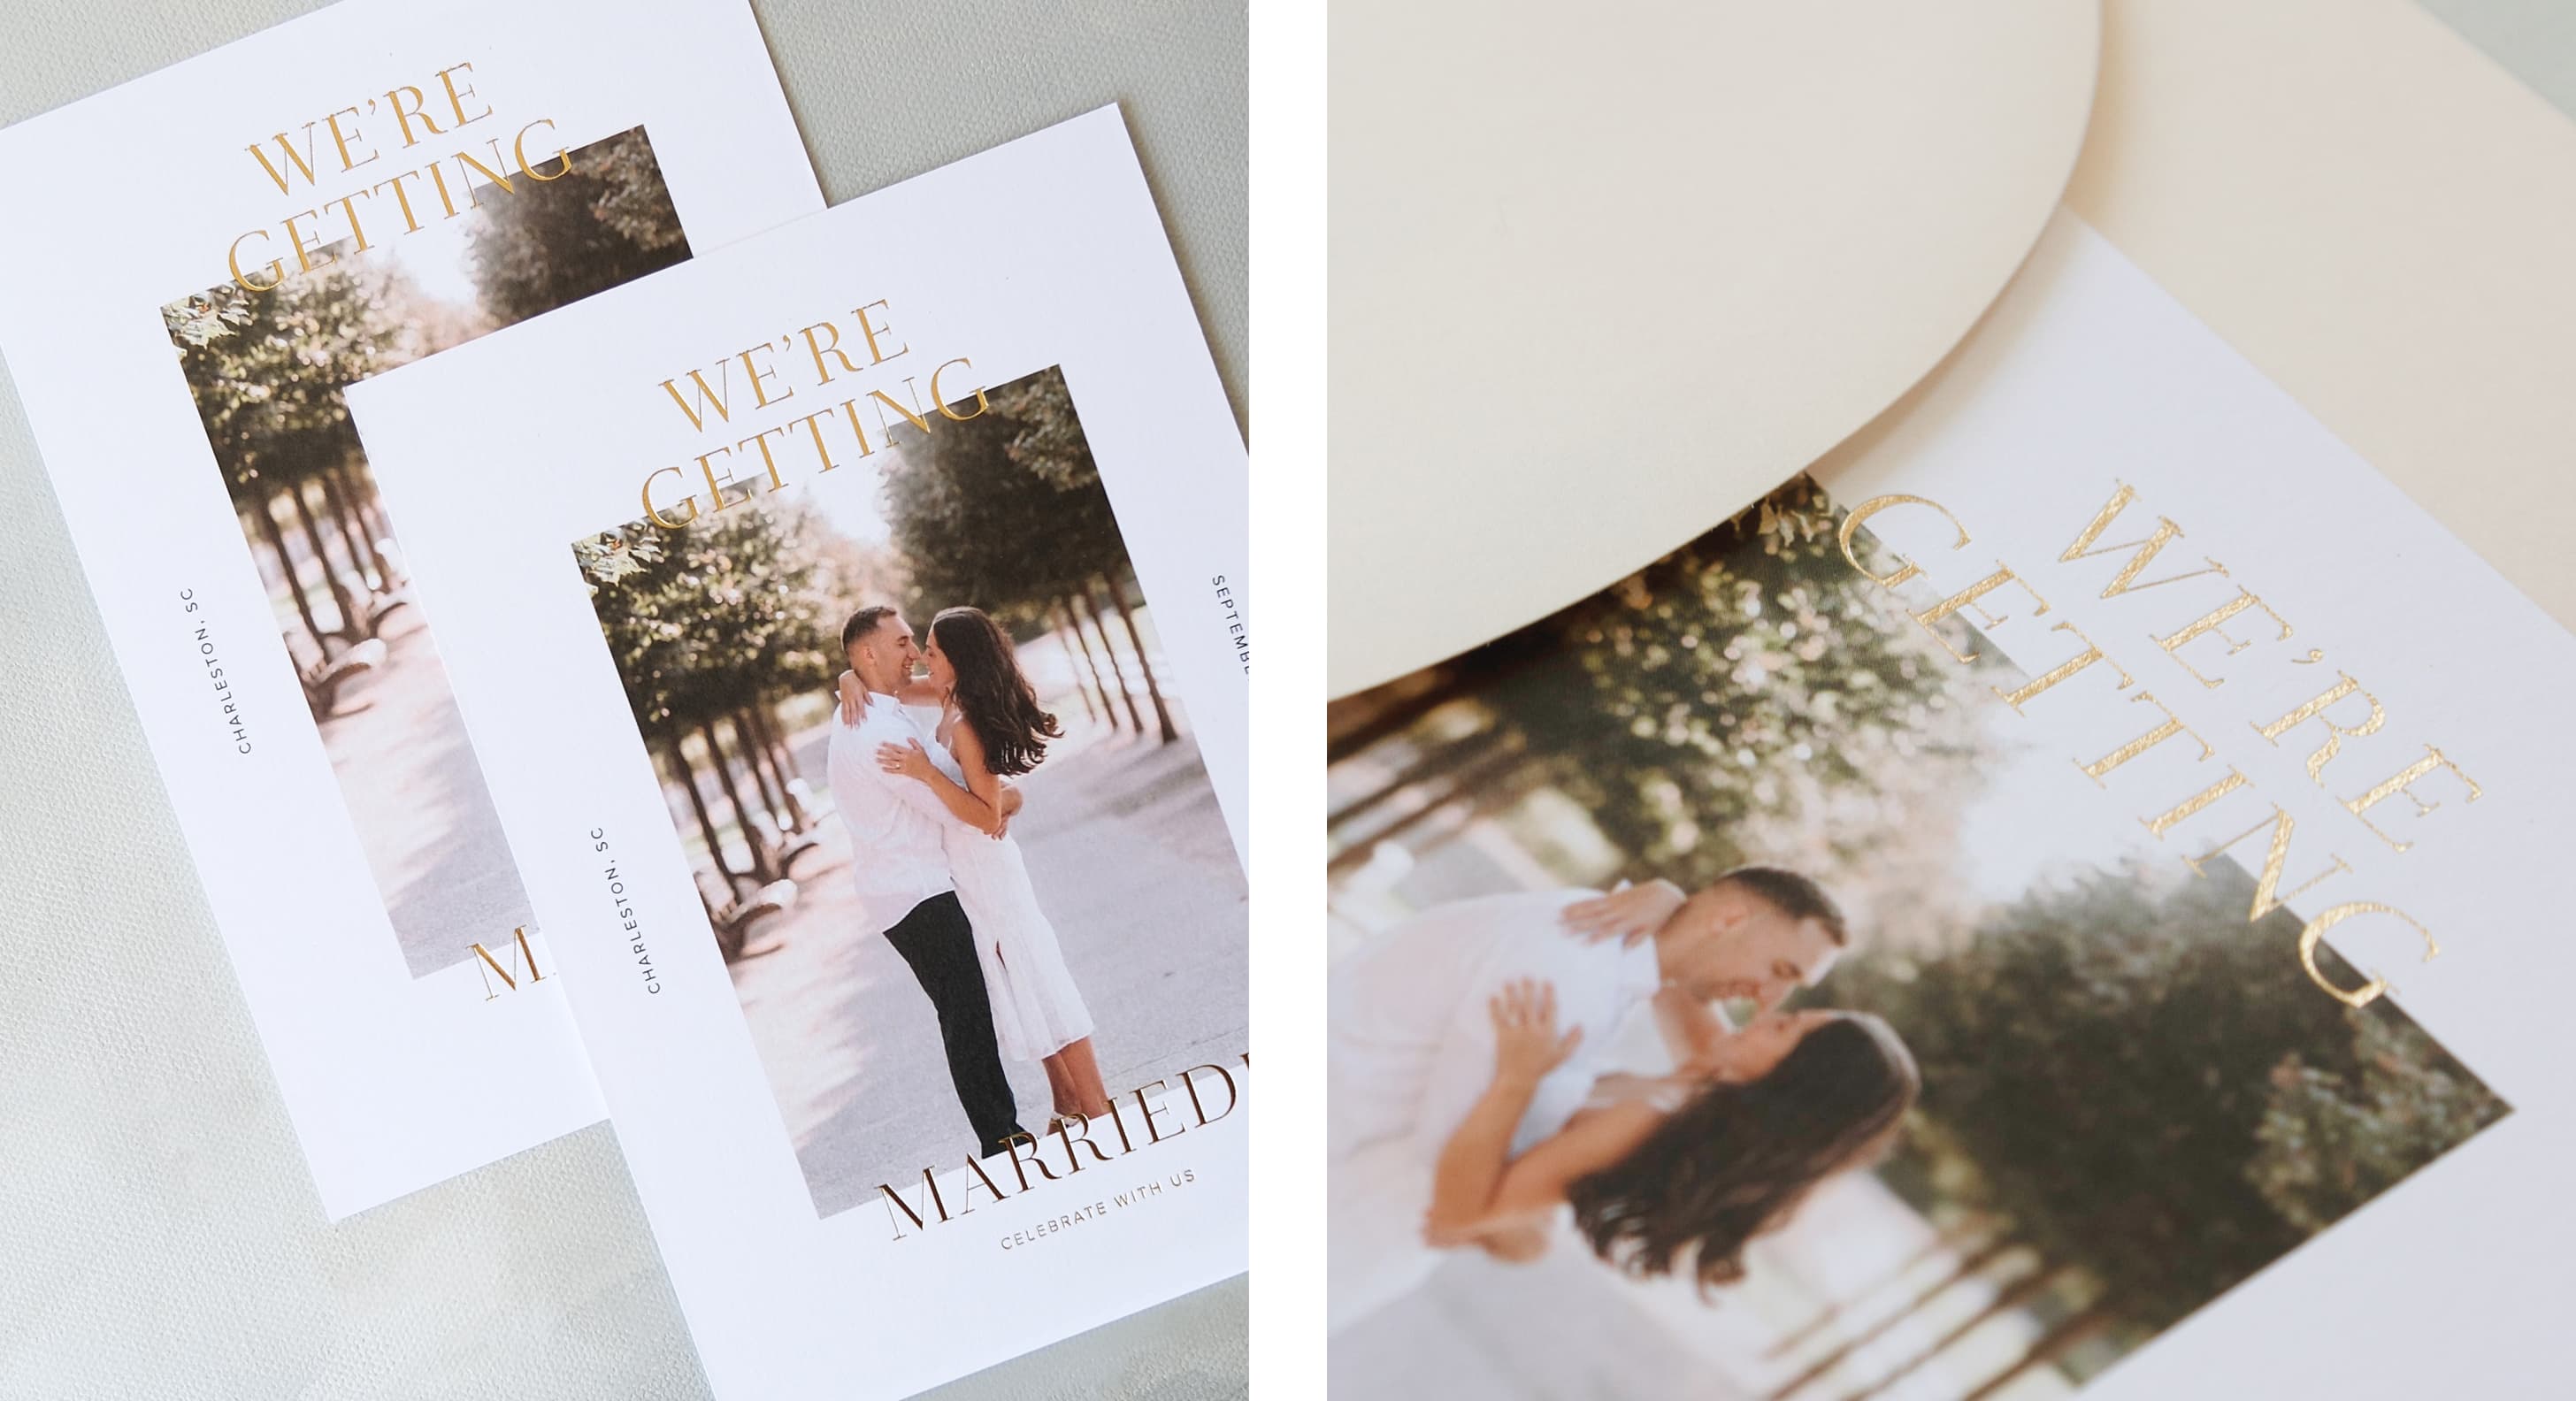
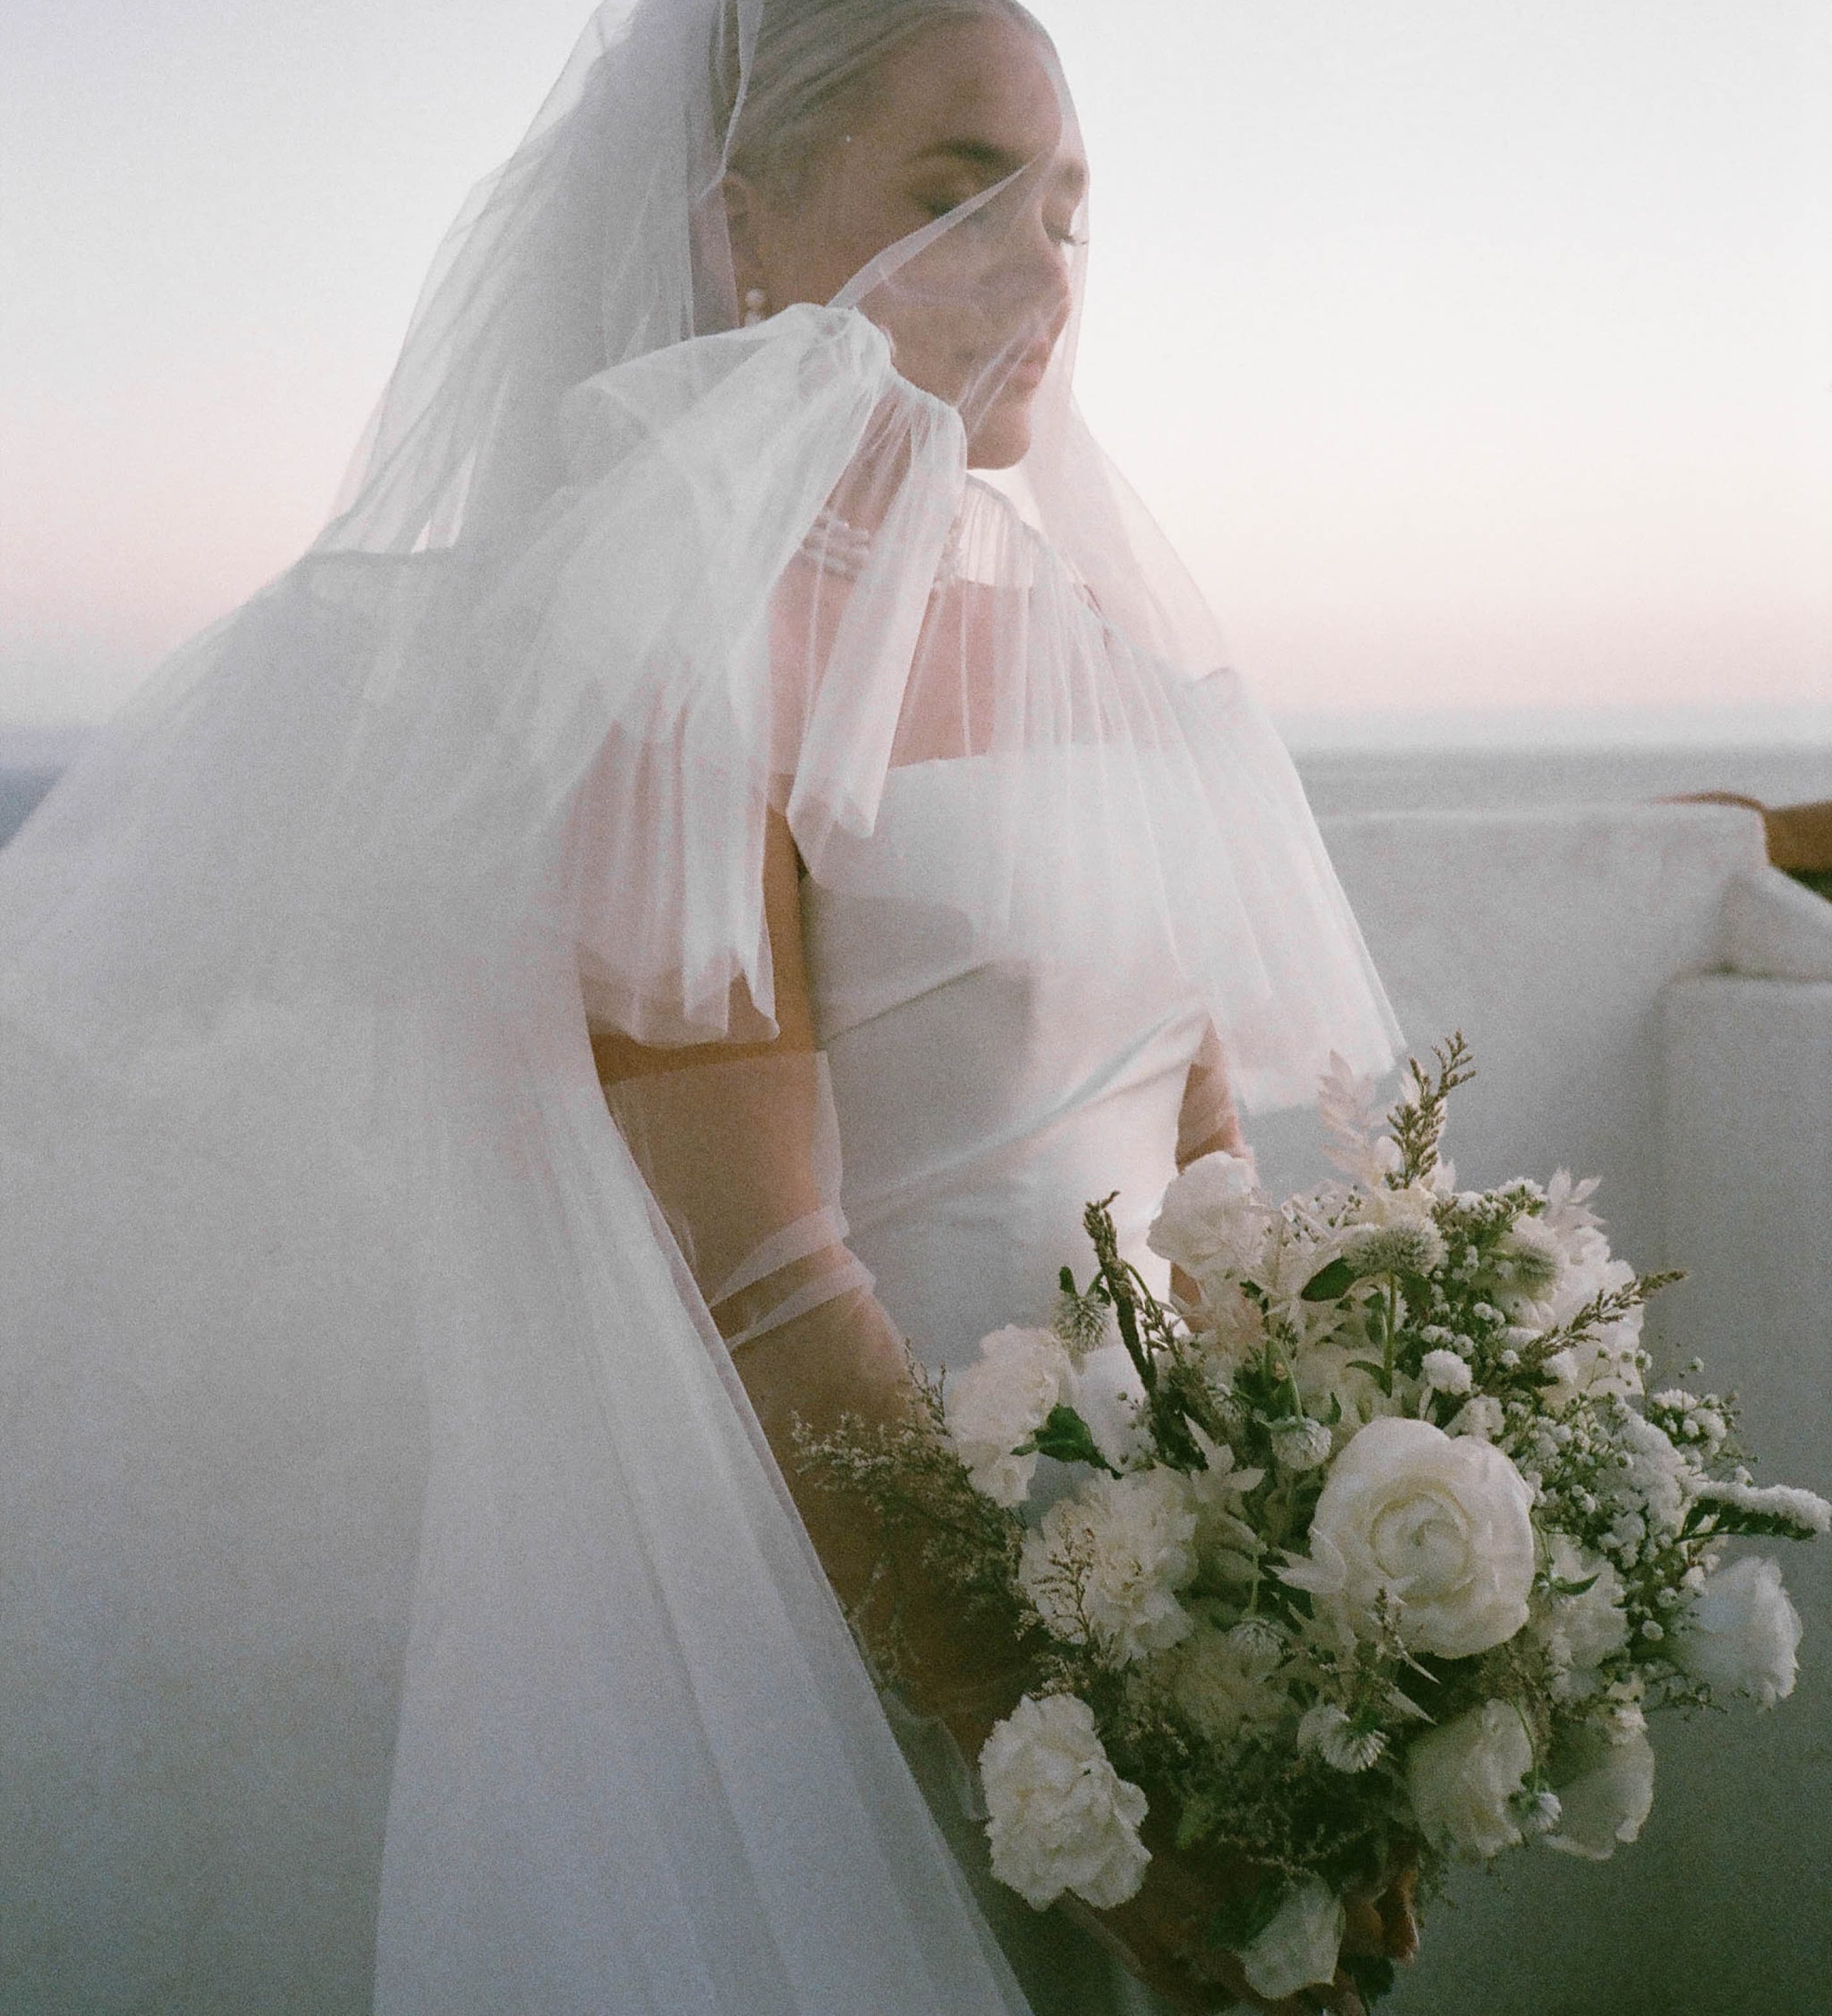
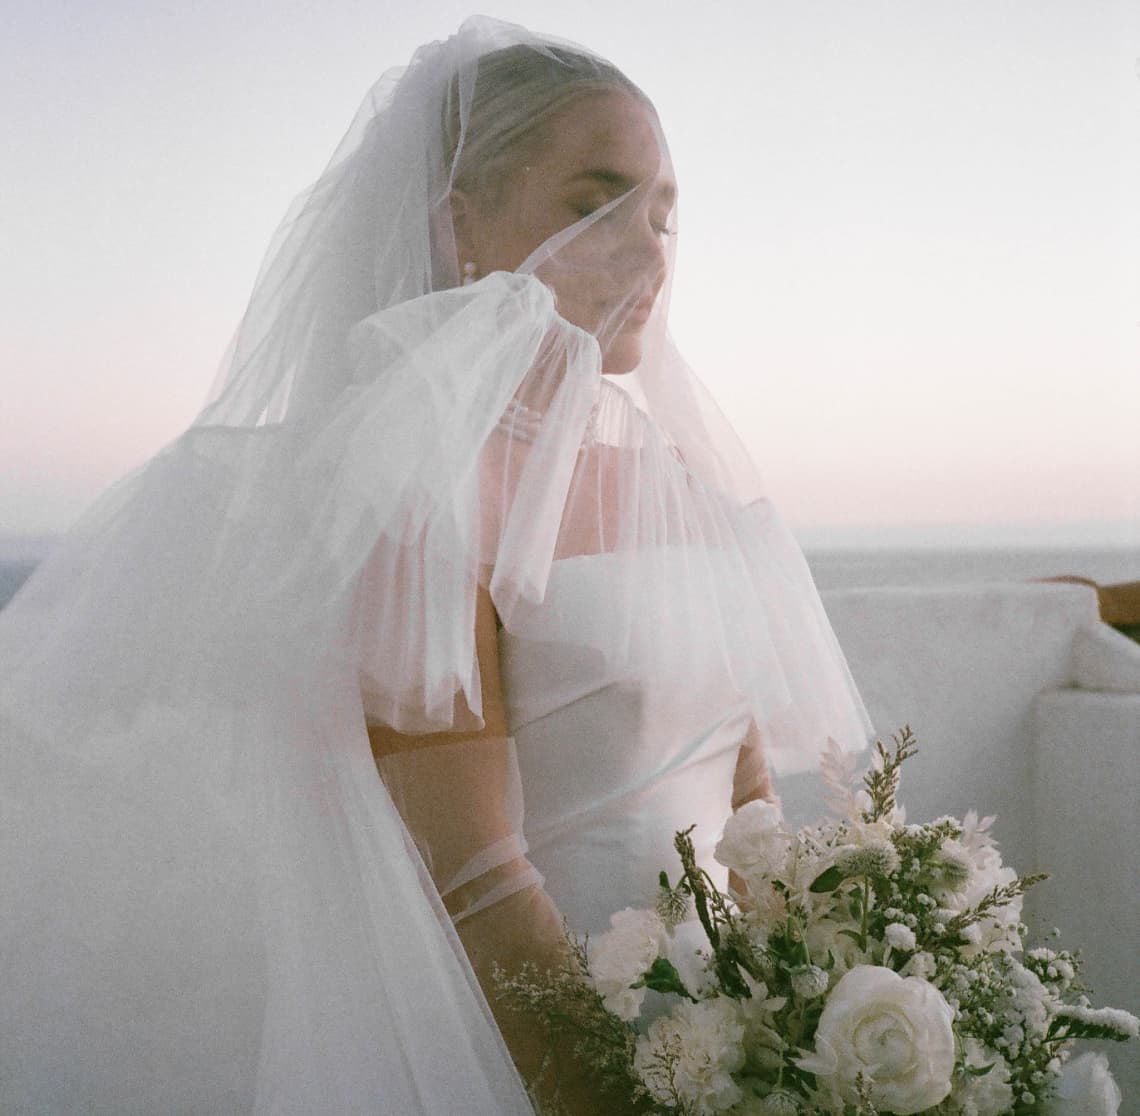
If you’re looking to feature a professional photo of you and your soon-to-be spouse on your announcement, a great place to start is by securing your wedding photographer and checking out our guide to your engagement shoot.
Engagement photos aren't just beautiful mementos; they can also serve a practical purpose in your wedding stationery. These photos can be used for your save the dates, wedding invitations, or other print materials, infusing your stationery with a personal touch that reflects your love story.
Pro Tip: Discuss your vision for the engagement shoot with your photographer and consider locations, themes, or settings that hold sentimental value to you as a couple. These photos will become a cherished part of your wedding stationery suite. Opting to have a bridal party? Now is also the best time to make those "Will you be my bridesmaid" cards and gifts! A couple of our favorite suggestions include a personalized Softcover Photo Book or a creative set of Everyday Prints to remind them of what they mean to you.
For destination weddings, it's crucial to send out invitations well in advance, typically 8 to 12 months before the wedding date. This extended timeline allows guests to make travel arrangements, book accommodations, and secure time off from work.
Destination wedding invitations should include detailed information about the location, travel logistics, and any pre-wedding events or excursions planned. Be sure to provide clear RSVP instructions to help with guest coordination for a destination celebration. Coordinate your print goods with your chosen destination's theme and incorporate local elements into your design.
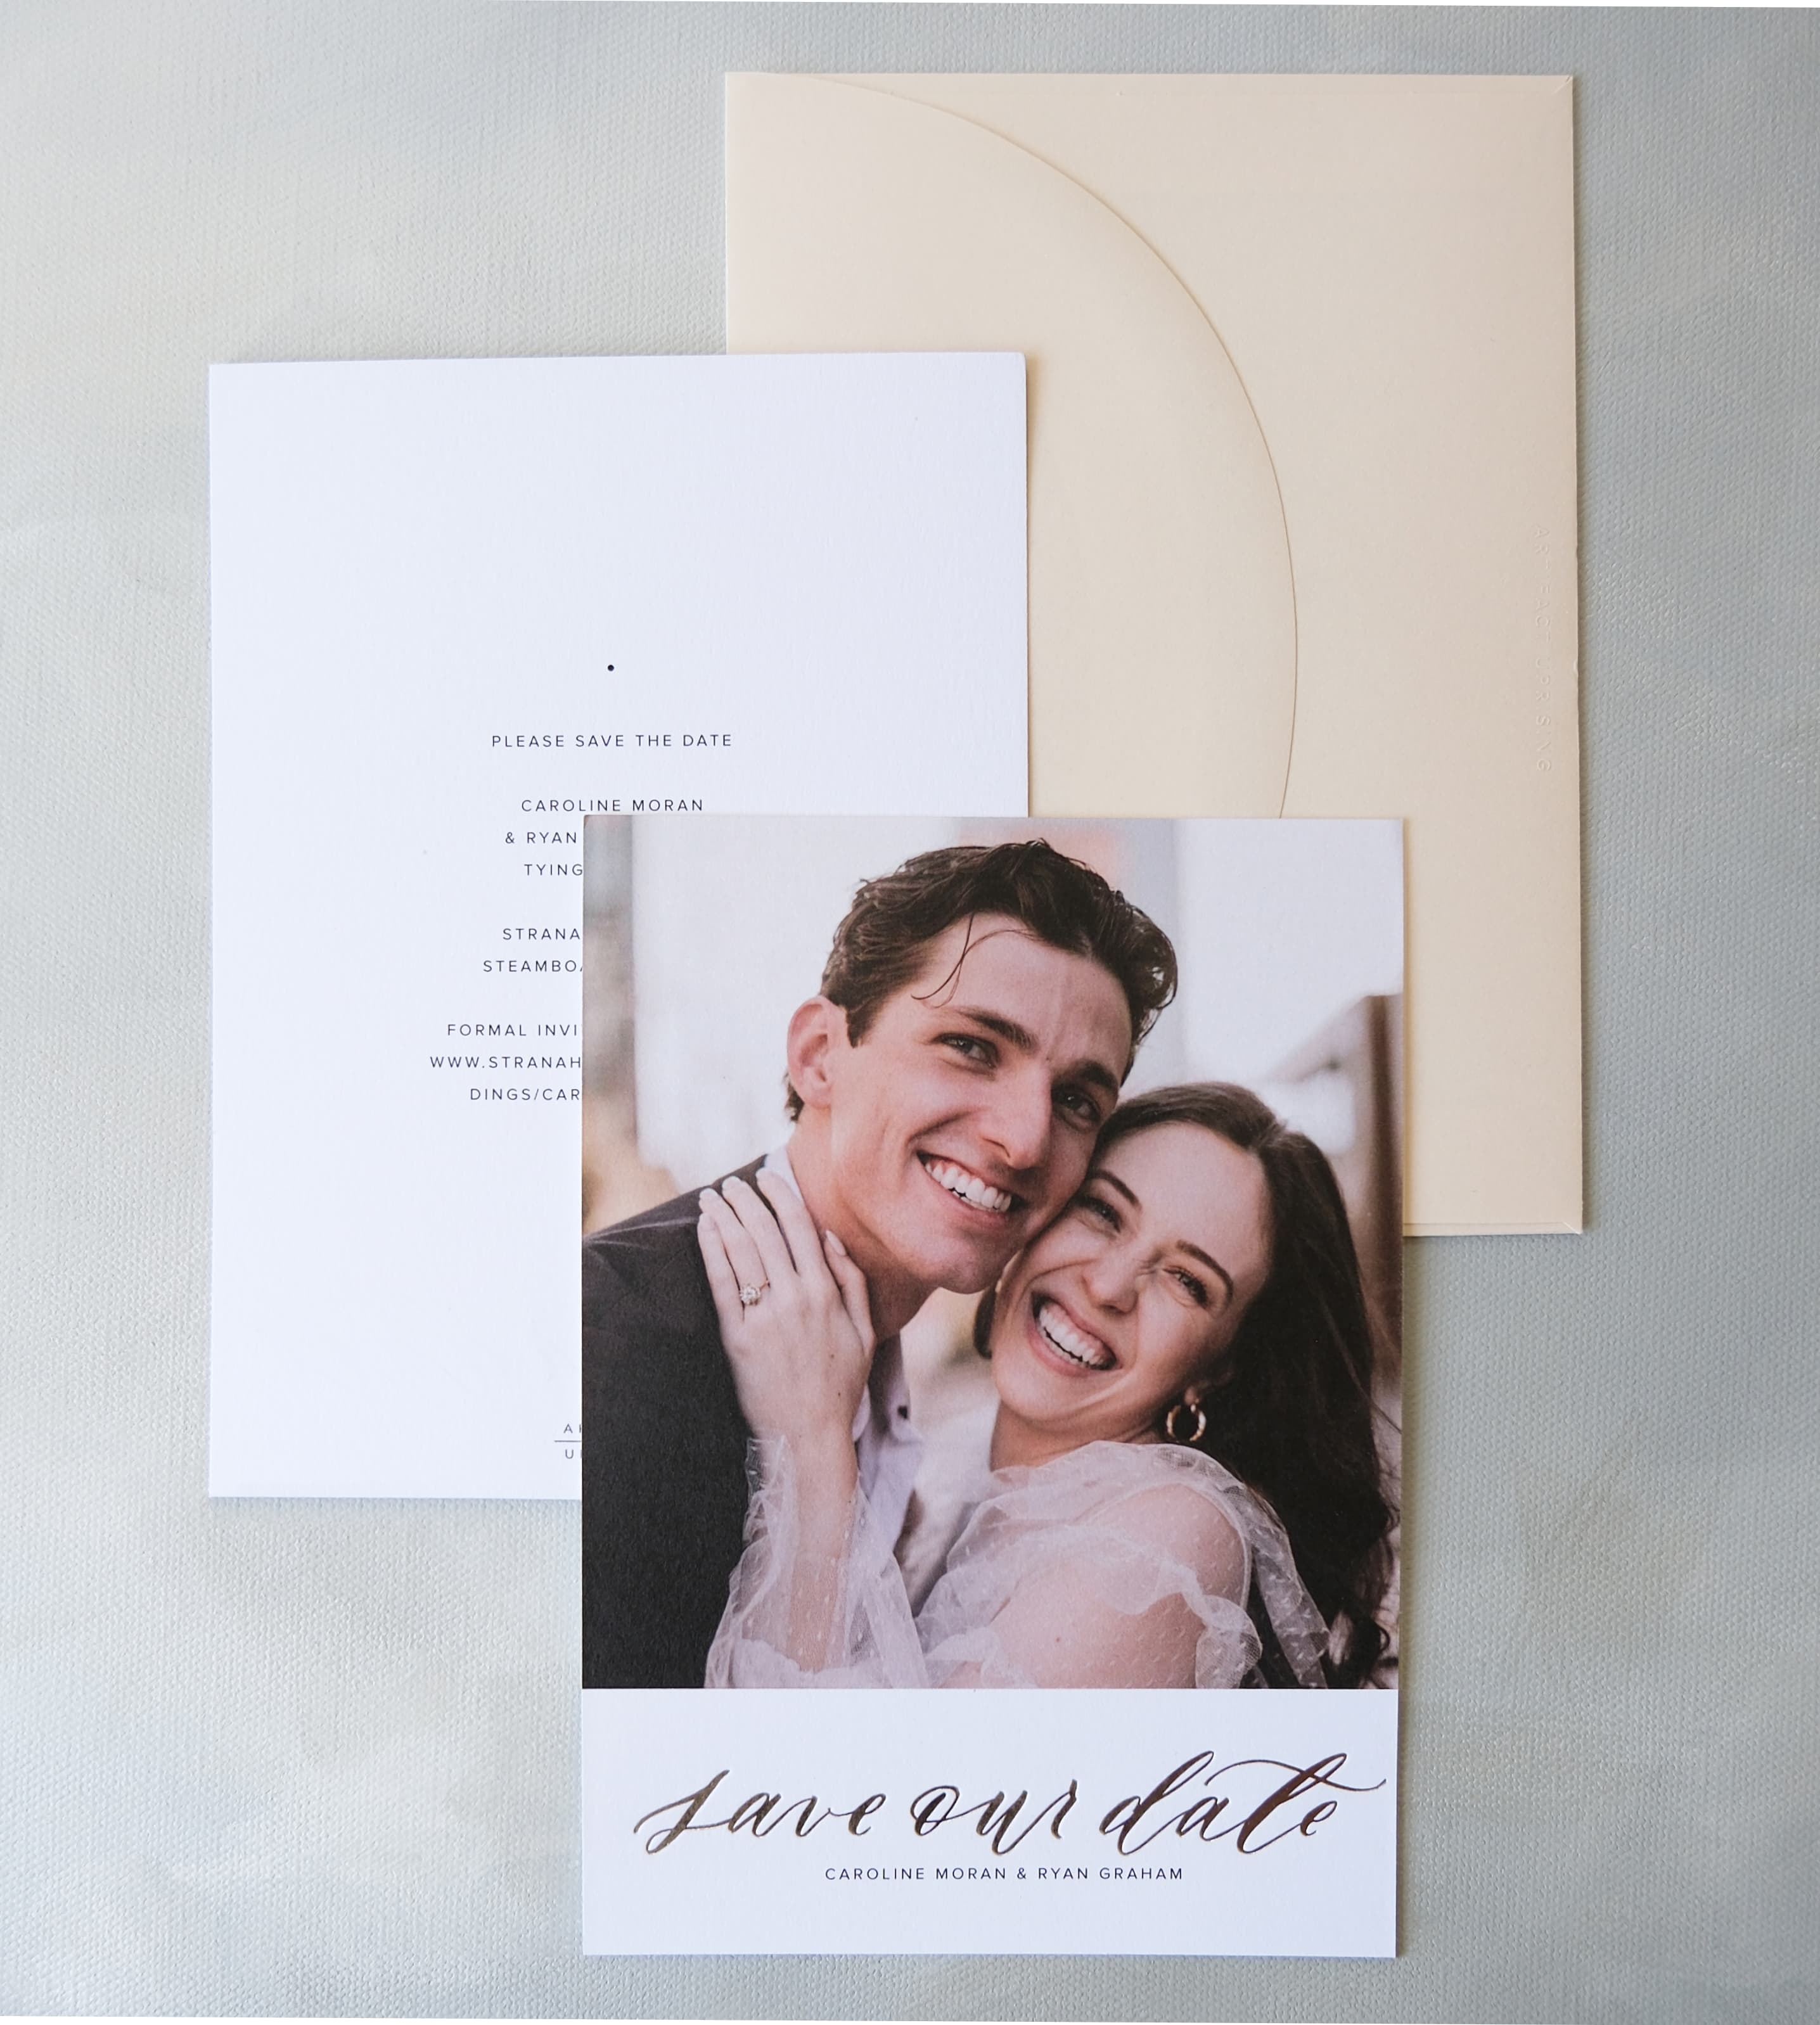
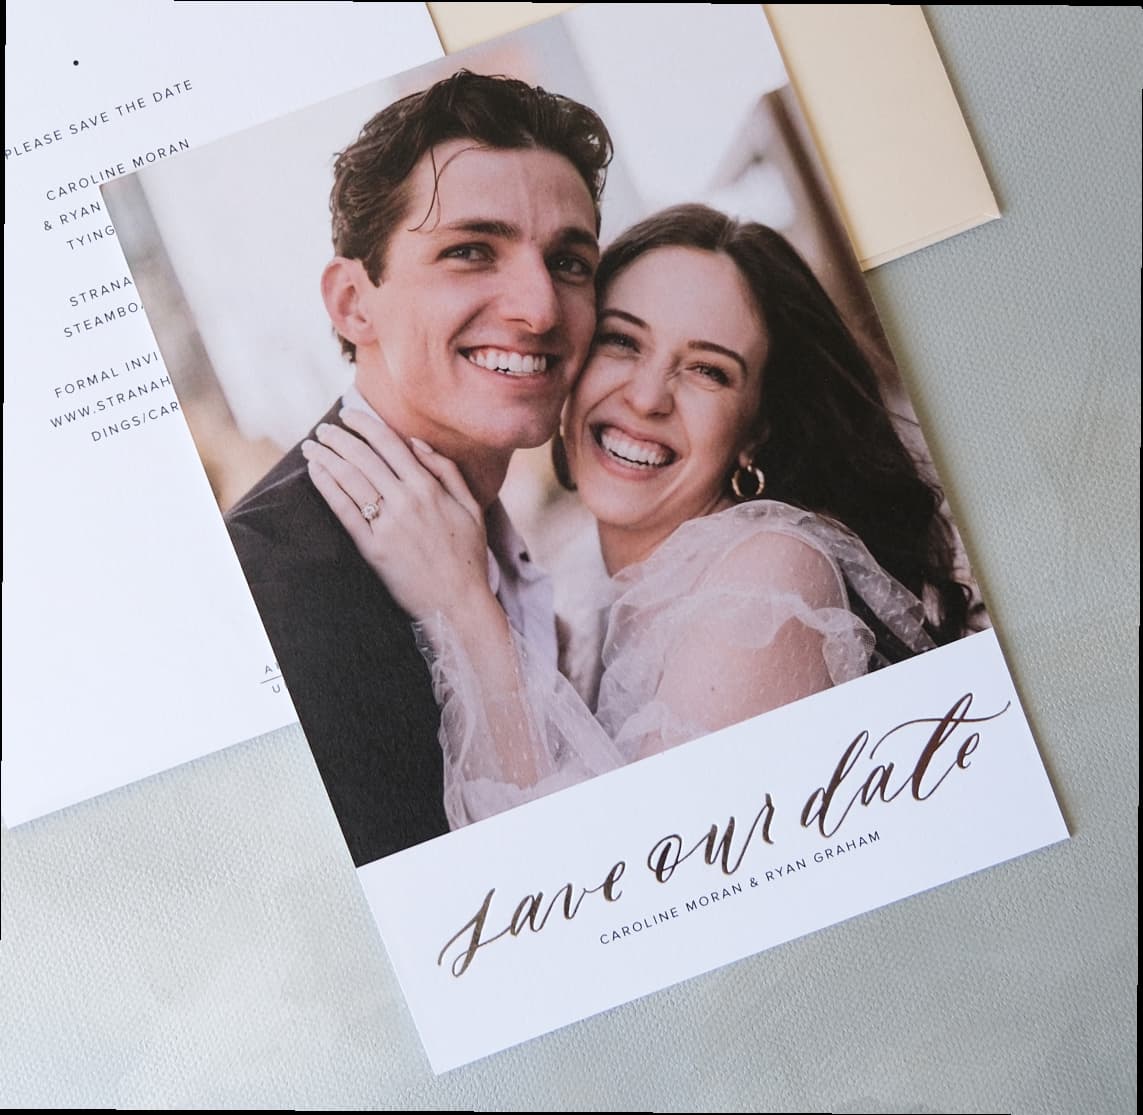
Pro Tip: Use photos from your engagement shoot to add a personal touch to your save the dates. Include heartfelt messages and consider adding a small gift or memento to make the invitation extra special.
If you’re looking to feature a professional photo of you and your soon-to-be spouse on your announcement, a great place to start is by securing your wedding photographer and checking out our guide to your engagement shoot.
Engagement photos aren't just beautiful mementos; they can also serve a practical purpose in your wedding stationery. These photos can be used for your save the dates, wedding invitations, or other print materials, infusing your stationery with a personal touch that reflects your love story.
Pro Tip: Discuss your vision for the engagement shoot with your photographer and consider locations, themes, or settings that hold sentimental value to you as a couple. These photos will become a cherished part of your wedding stationery suite. Opting to have a bridal party? Now is also the best time to make those "Will you be my bridesmaid" cards and gifts! A couple of our favorite suggestions include a personalized Softcover Photo Book or a creative set of Everyday Prints to remind them of what they mean to you.
For destination weddings, it's crucial to send out invitations well in advance, typically 8 to 12 months before the wedding date. This extended timeline allows guests to make travel arrangements, book accommodations, and secure time off from work.
Destination wedding invitations should include detailed information about the location, travel logistics, and any pre-wedding events or excursions planned. Be sure to provide clear RSVP instructions to help with guest coordination for a destination celebration. Coordinate your print goods with your chosen destination's theme and incorporate local elements into your design.
Pro Tip: Use photos from your engagement shoot to add a personal touch to your save the dates. Include heartfelt messages and consider adding a small gift or memento to make the invitation extra special.
4 to 6 Months Before
At 4 to 6 months before, you’ll want to create and order your wedding invitations,
along with the suite of cards that accompany them in the envelope (think: RSVP cards
and enclosure cards). Make sure to include all the essential details about the
ceremony and reception.
As you prepare to mail your wedding invitations, also consider the process of collecting RSVPs and guest information. Include response cards with your invitations, and have a plan in place for efficiently managing guest responses.
Pro Tip: Double-check the RSVP deadline and provide options for guests to respond electronically for convenience.
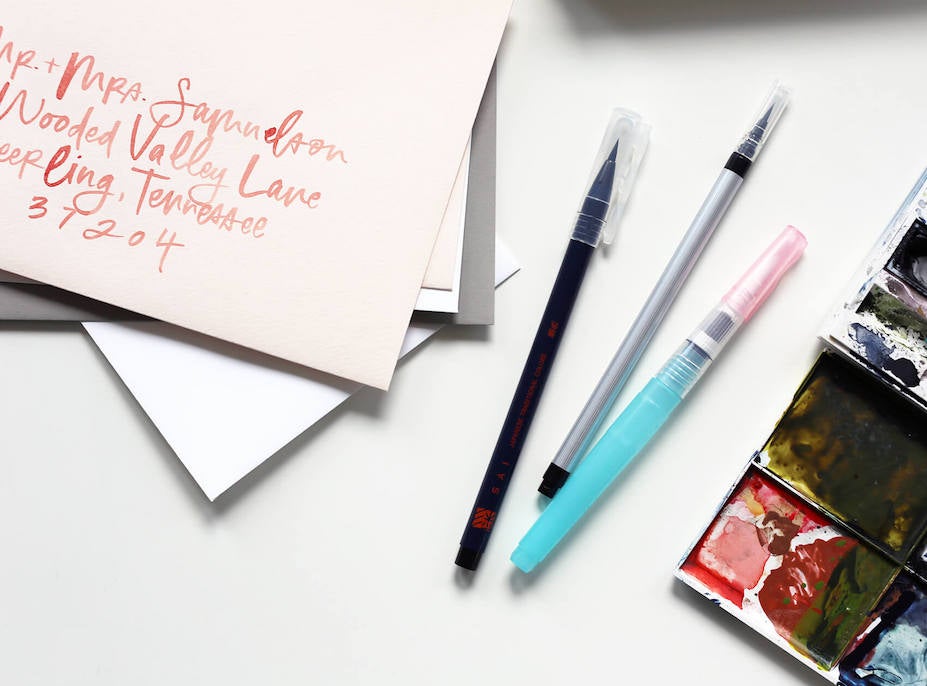
8 to 12 weeks before

Once you’ve got your wedding and rehearsal dinner invites in hand, the ideal time to
mail them out is 8 to 12 weeks before your big day. For those planning to address
the envelopes by hand (either on your own or with hired help), see our
Intro to Wedding Invitation Calligraphy
guide for useful tips from a pro hand-letterer.
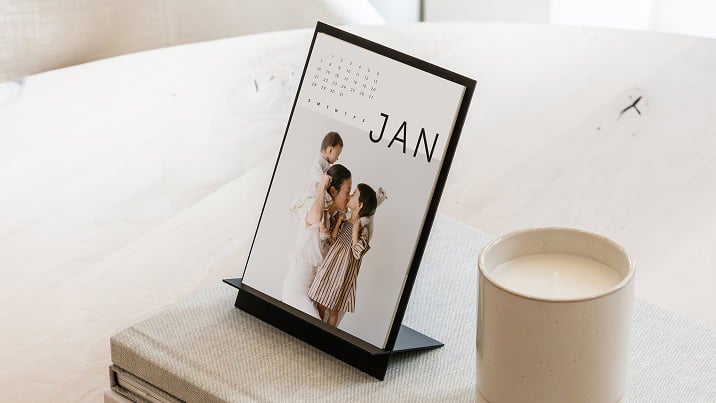
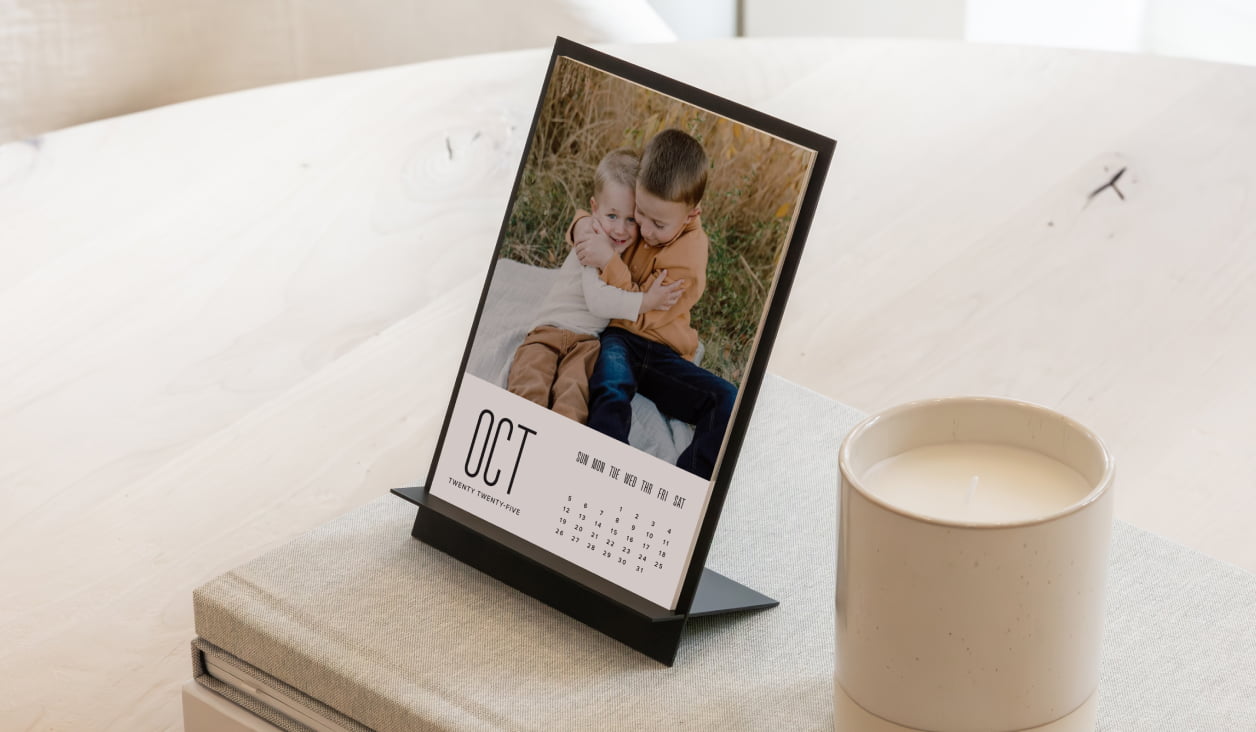
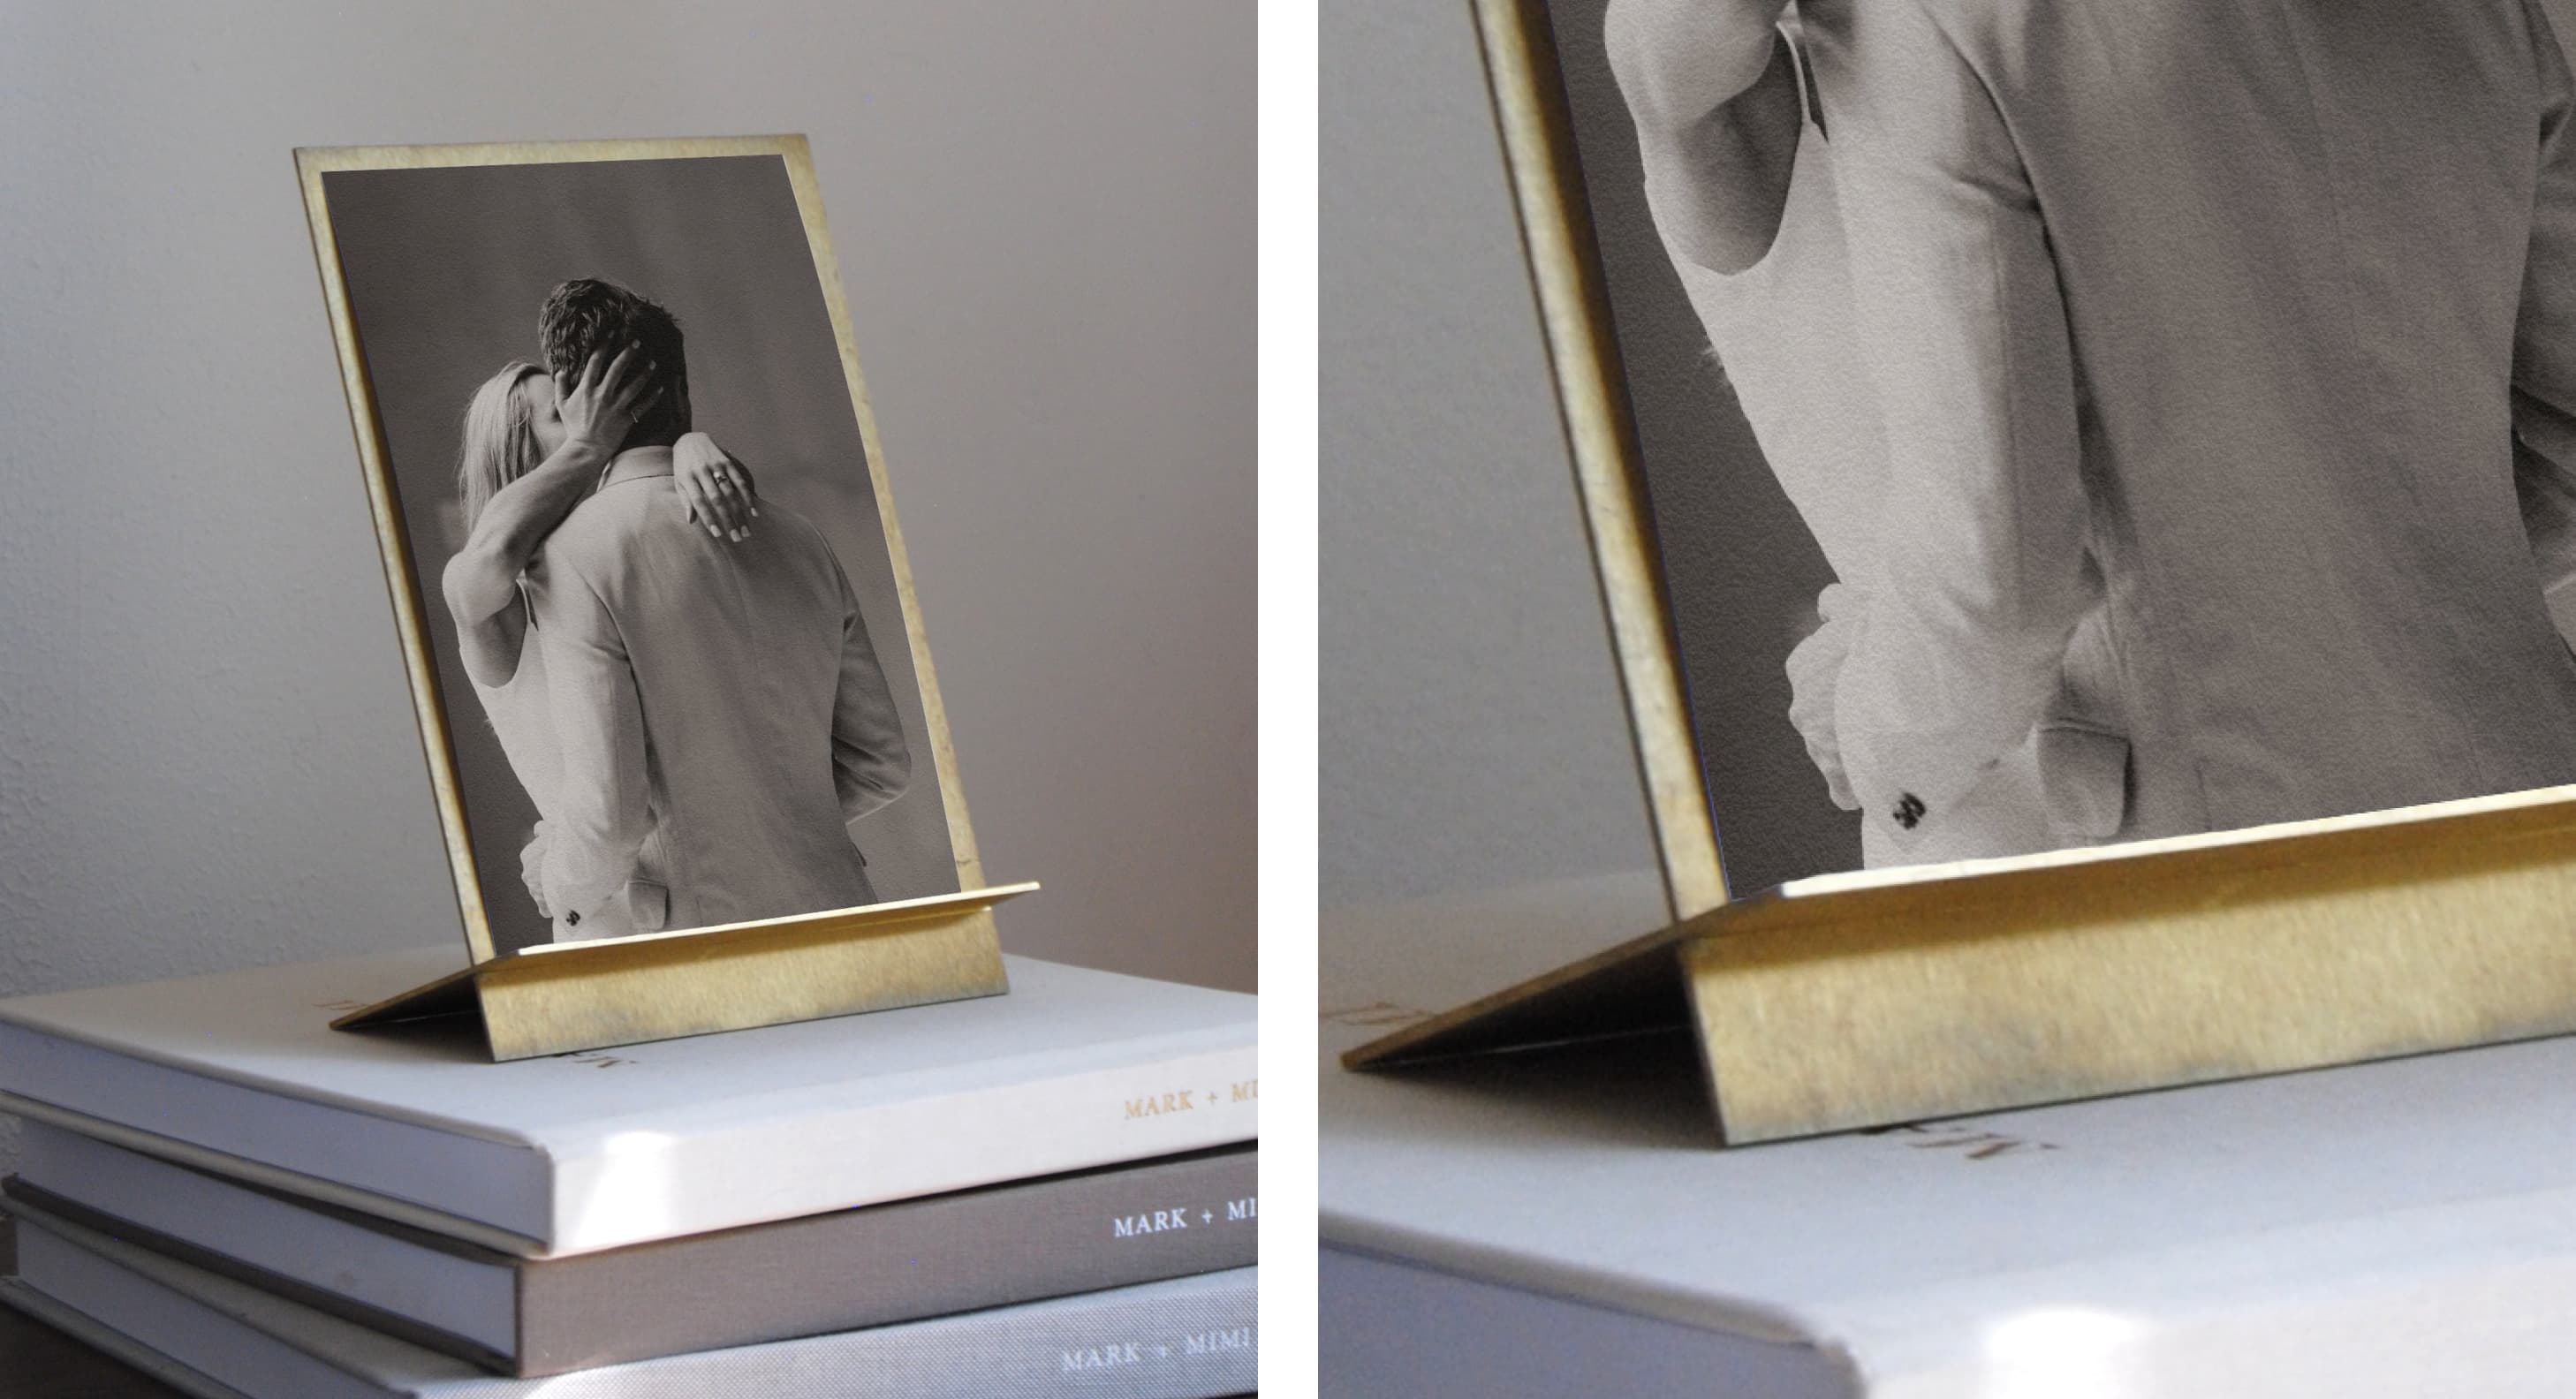
This is also prime time for creating meaningful parent and bridal party gifts to give at your rehearsal dinner or on the morning of your wedding (before applying mascara, of course). Some fan favorites are the Brass Easel & Prints or a custom photo calendar.
Pro Tip: Choose meaningful gifts that reflect your appreciation and the unique relationship you share with each person. Send out engagement party and bridal shower invitations about 2 to 4 months before the celebration. Consider designs that reflect your engagement story and bridal shower theme. Include RSVP information for accurate headcounts.
Pro Tip: Match the design to your engagement story, such as using photos or symbols that are meaningful to you as a couple. Coordinate the colors and style of the bridal shower invitations with the overall wedding theme for a cohesive look.
You will also want to plan and send invitations for unique pre-wedding events like lingerie parties or stock-the-bar parties at this time.
Pro Tip: Make sure the invitations reflect the theme and mood of the special event, and provide clear instructions for RSVPs.
6 to 8 Weeks Before
At this point, you’ve finalized most of the details – now for remembering it all.
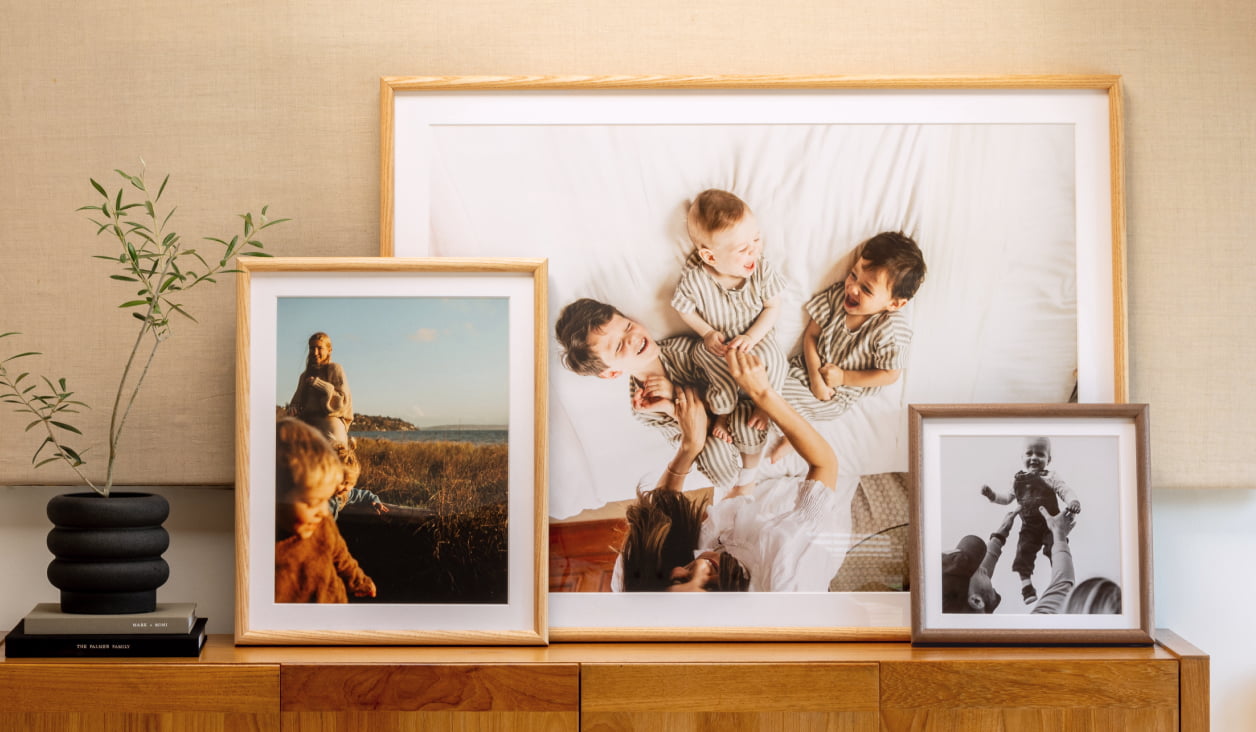
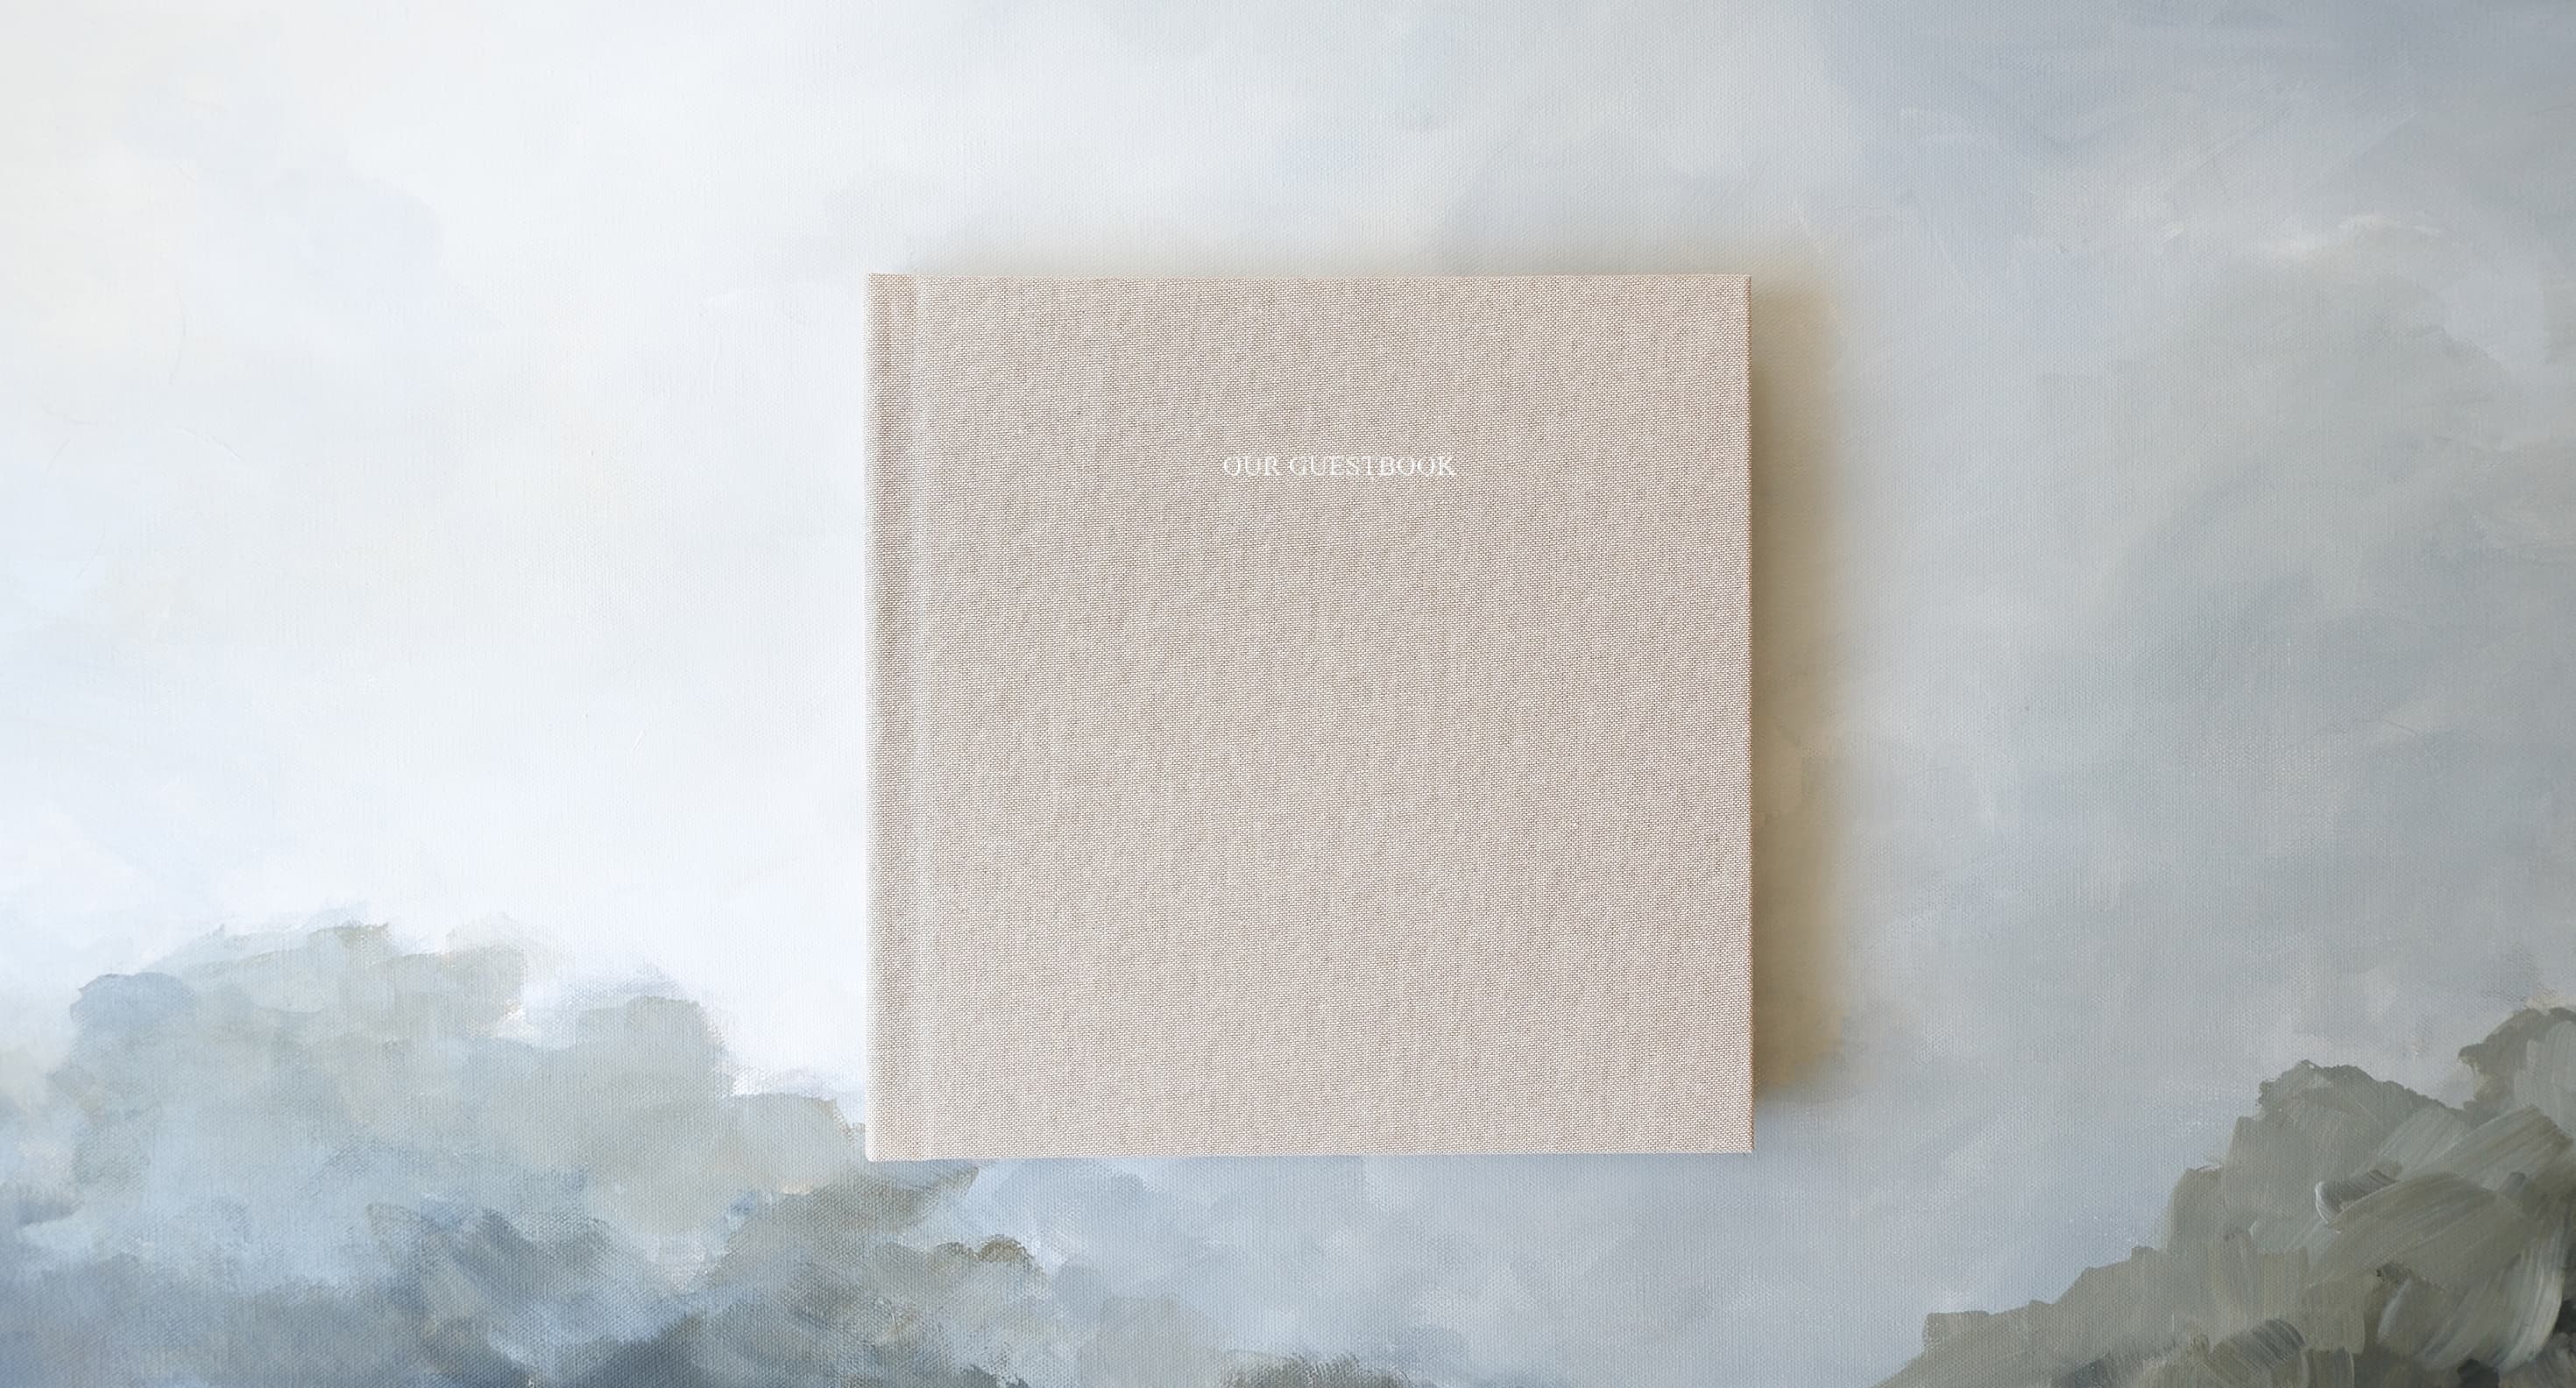
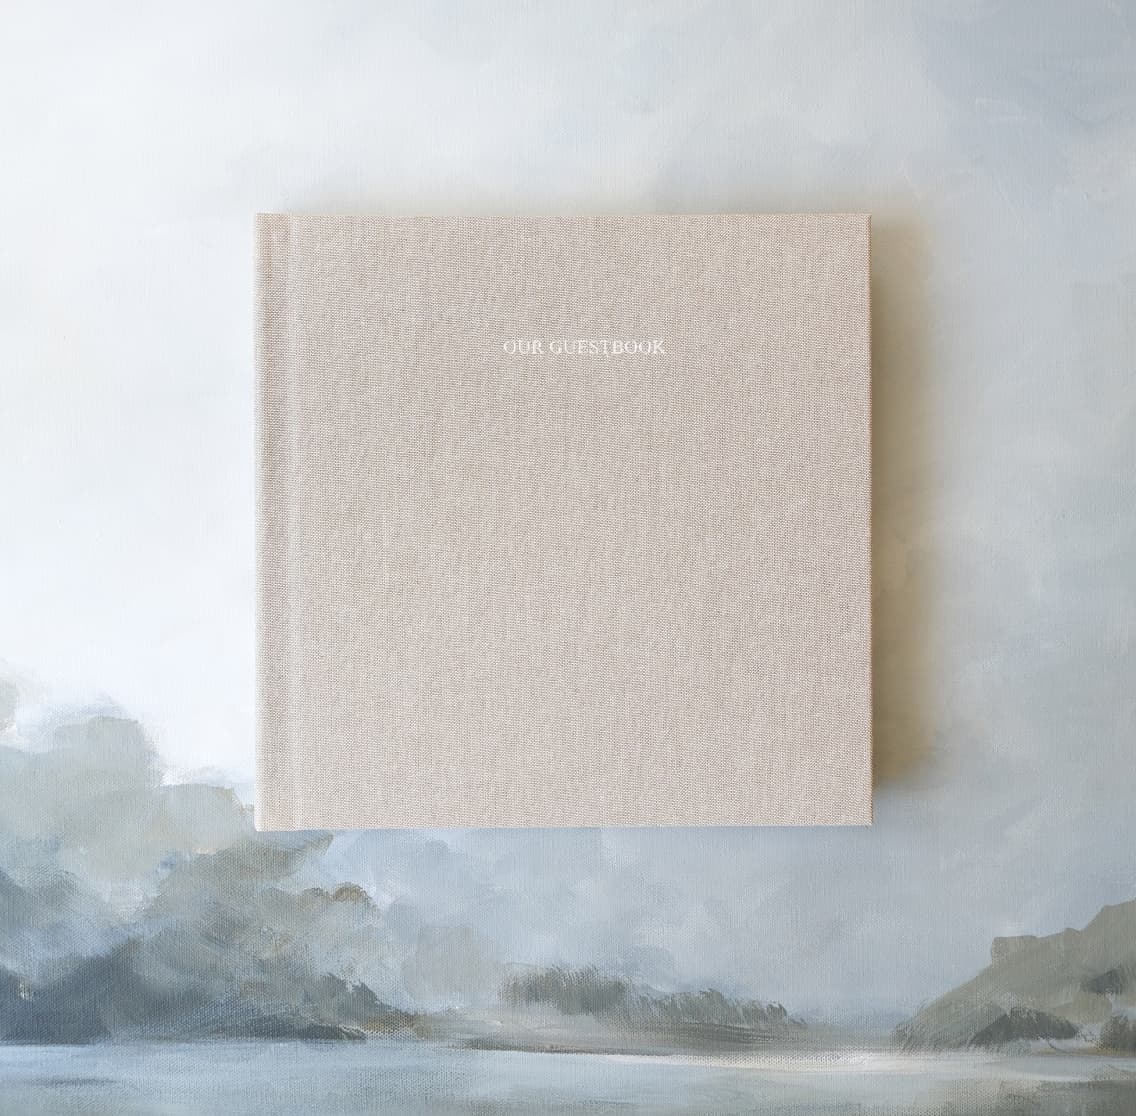
Six to eight weeks before your wedding, personalize your Wedding Guest Book with 10
fabric colors, foil stamping, photo-friendly layouts, and plenty of space for
signatures to display at your welcome table. This is where your photos and guests’
notes come together to tell your story, so make it one you'll look back on often.
Not sure if the classic guest book is right for your big day? Get creative with any
number of wedding guest book alternatives that your guests will love.
You can also consider the following print elements that will make your big day truly memorable:
You can also consider the following print elements that will make your big day truly memorable:
- Create and Print Escort Cards
- Coordinate the design of your escort cards with your overall wedding theme or color palette for a cohesive look. If you've chosen a specific motif or style, incorporate it into the escort card design to maintain visual harmony.
- Craft Elegant Table Numbers
- Consider using materials like wood or beautifully printed cards for your table numbers. You can customize them to match your wedding style, whether it's rustic, modern, or classic.
- Prepare Thoughtful Place Cards
- If you want to add a special touch, consider incorporating a heartfelt message or a small illustration on each place card. It's these small details that can make your guests feel truly appreciated.
- Looking for more ways to personalize the day? Draw inspiration from our 6 Photo Display Ideas for Your Wedding (and bridal shower!) for ways to incorporate photos into your place cards, table decorations, and more.
4 to 6 Weeks Before
As you prepare for the pre-wedding celebrations, don't forget to send out your
bachelor and bachelorette party Invitations approximately 1 to 2 months before the
big day. These invitations should do more than just relay event details; they should
encapsulate the spirit of the upcoming festivities.
Let your creativity loose as you design invitations for your upcoming bachelor or bachelorette party, making them an exciting preview of what’s to come. Whether it's an evening of camaraderie or a night of revelry, your invitations should spark enthusiasm and ensure that your pre-wedding festivities are off to an unforgettable start.
Pro Tip: Include essential details such as date, location, dress code, and RSVP instructions to ensure a smooth party planning process.
2 to 3 Weeks Before
Don't forget to create wedding programs and menus for your ceremony and reception.
They will serve as meaningful touchpoints and provide guests with important details
during your big day.
- Wedding Programs: Consider including personal anecdotes or thank-you messages to make the programs more personal.
- Menus: If possible, offer menu choices in advance to accommodate dietary preferences.
1 to 2 Weeks Before
In the final weeks leading up to your big day, meticulous attention to detail
becomes paramount. As you put the finishing touches on your wedding preparations,
these last-minute stationery considerations will ensure that your event unfolds with
grace and style.
- Seating Charts: Make sure the seating chart is easily accessible to guests upon arrival at the venue.
- Place Cards: Arrange place cards in alphabetical order to simplify the seating process.
- Event Signage: Create signage for directions, welcome messages, and other important information. Use consistent design elements to maintain a cohesive look throughout the event.
- Bar Signs: Design and print signs indicating drink options and signature cocktails. Include a brief description of each signature cocktail to entice guests to try them.
- Signs for Food/Treats: Prepare signs for buffet or dessert tables indicating the dishes or treats available. Add a touch of creativity to these signs to enhance the overall presentation.
- Wedding Favors: Design and attach tags or labels to wedding favors. Personalize the favors with your names and wedding date for a memorable keepsake.
- Other Paper Products: Consider personalized napkins, coasters, or other paper goods for added elegance and personalization. Opt for designs that complement the overall theme and color scheme of your wedding..
- Vow Books: Write heartfelt notes in your custom Vow Books, expressing your love and excitement for this new journey together.
- Bridal Party Schedules: Prepare schedules for the bridal party members detailing rehearsal times, hair and makeup appointments, and other important activities. Include contact information for key vendors and members of the bridal party to ensure smooth communication.
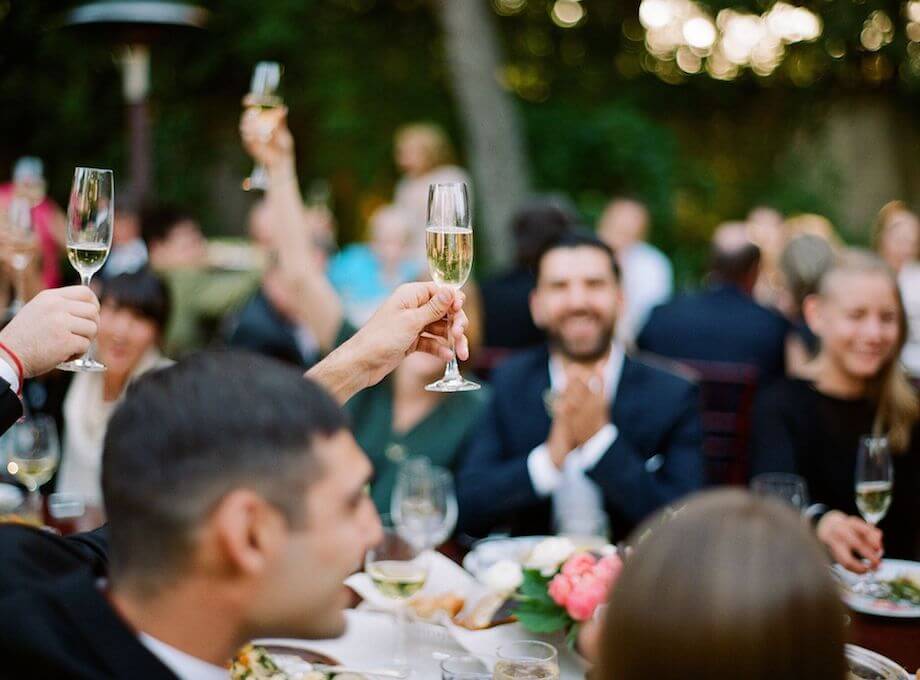
Your Wedding Day
When the time rolls around at long last, do your best not to stress over the little
details — but instead, take them all in. With so much planning going into your
wedding day and all that leads up to it, we encourage you to enjoy all of the
details that you've brought to life, big and small.
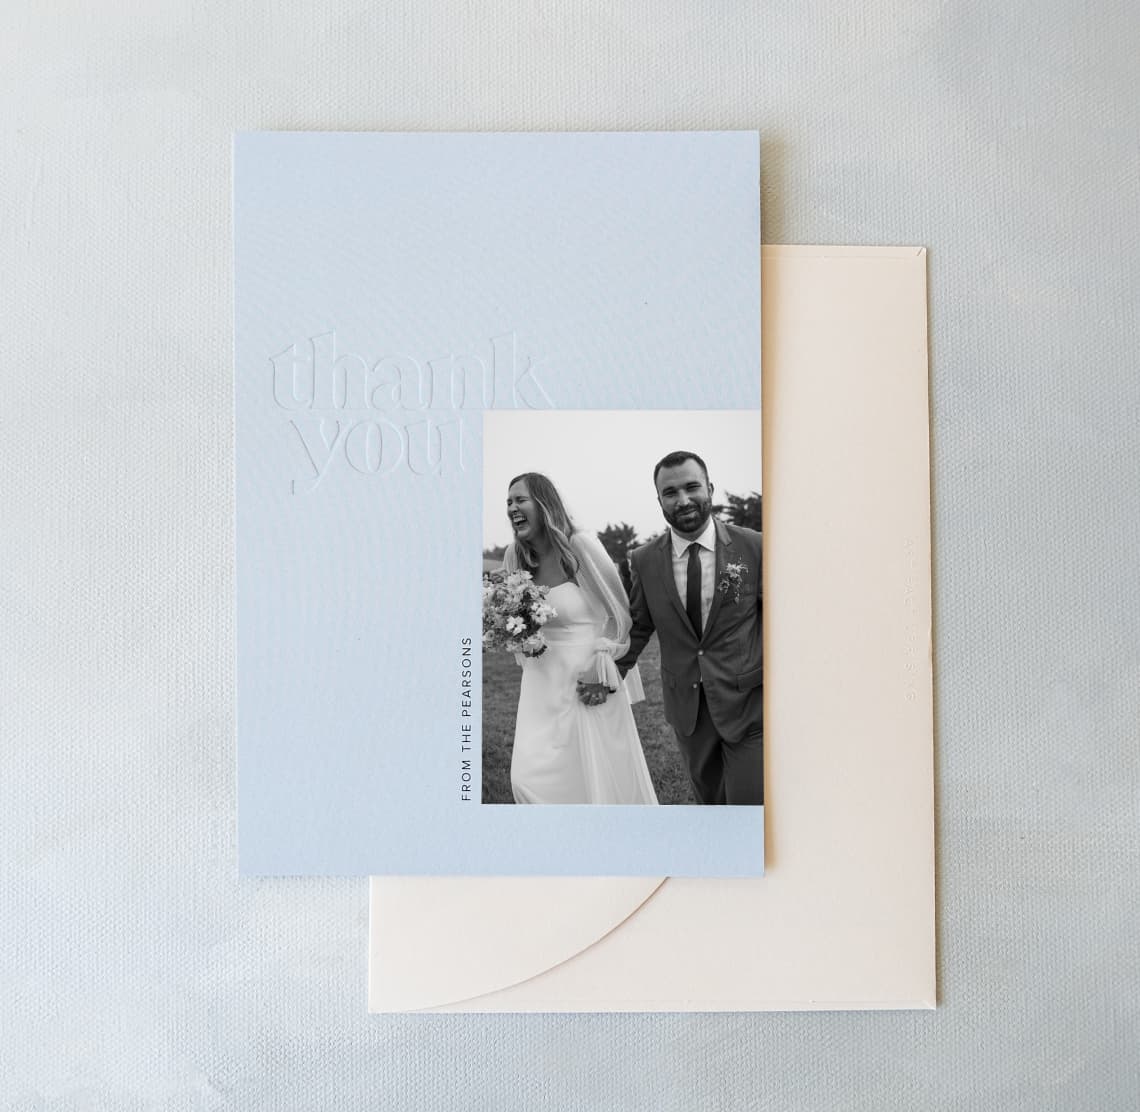
1 to 4 Weeks After
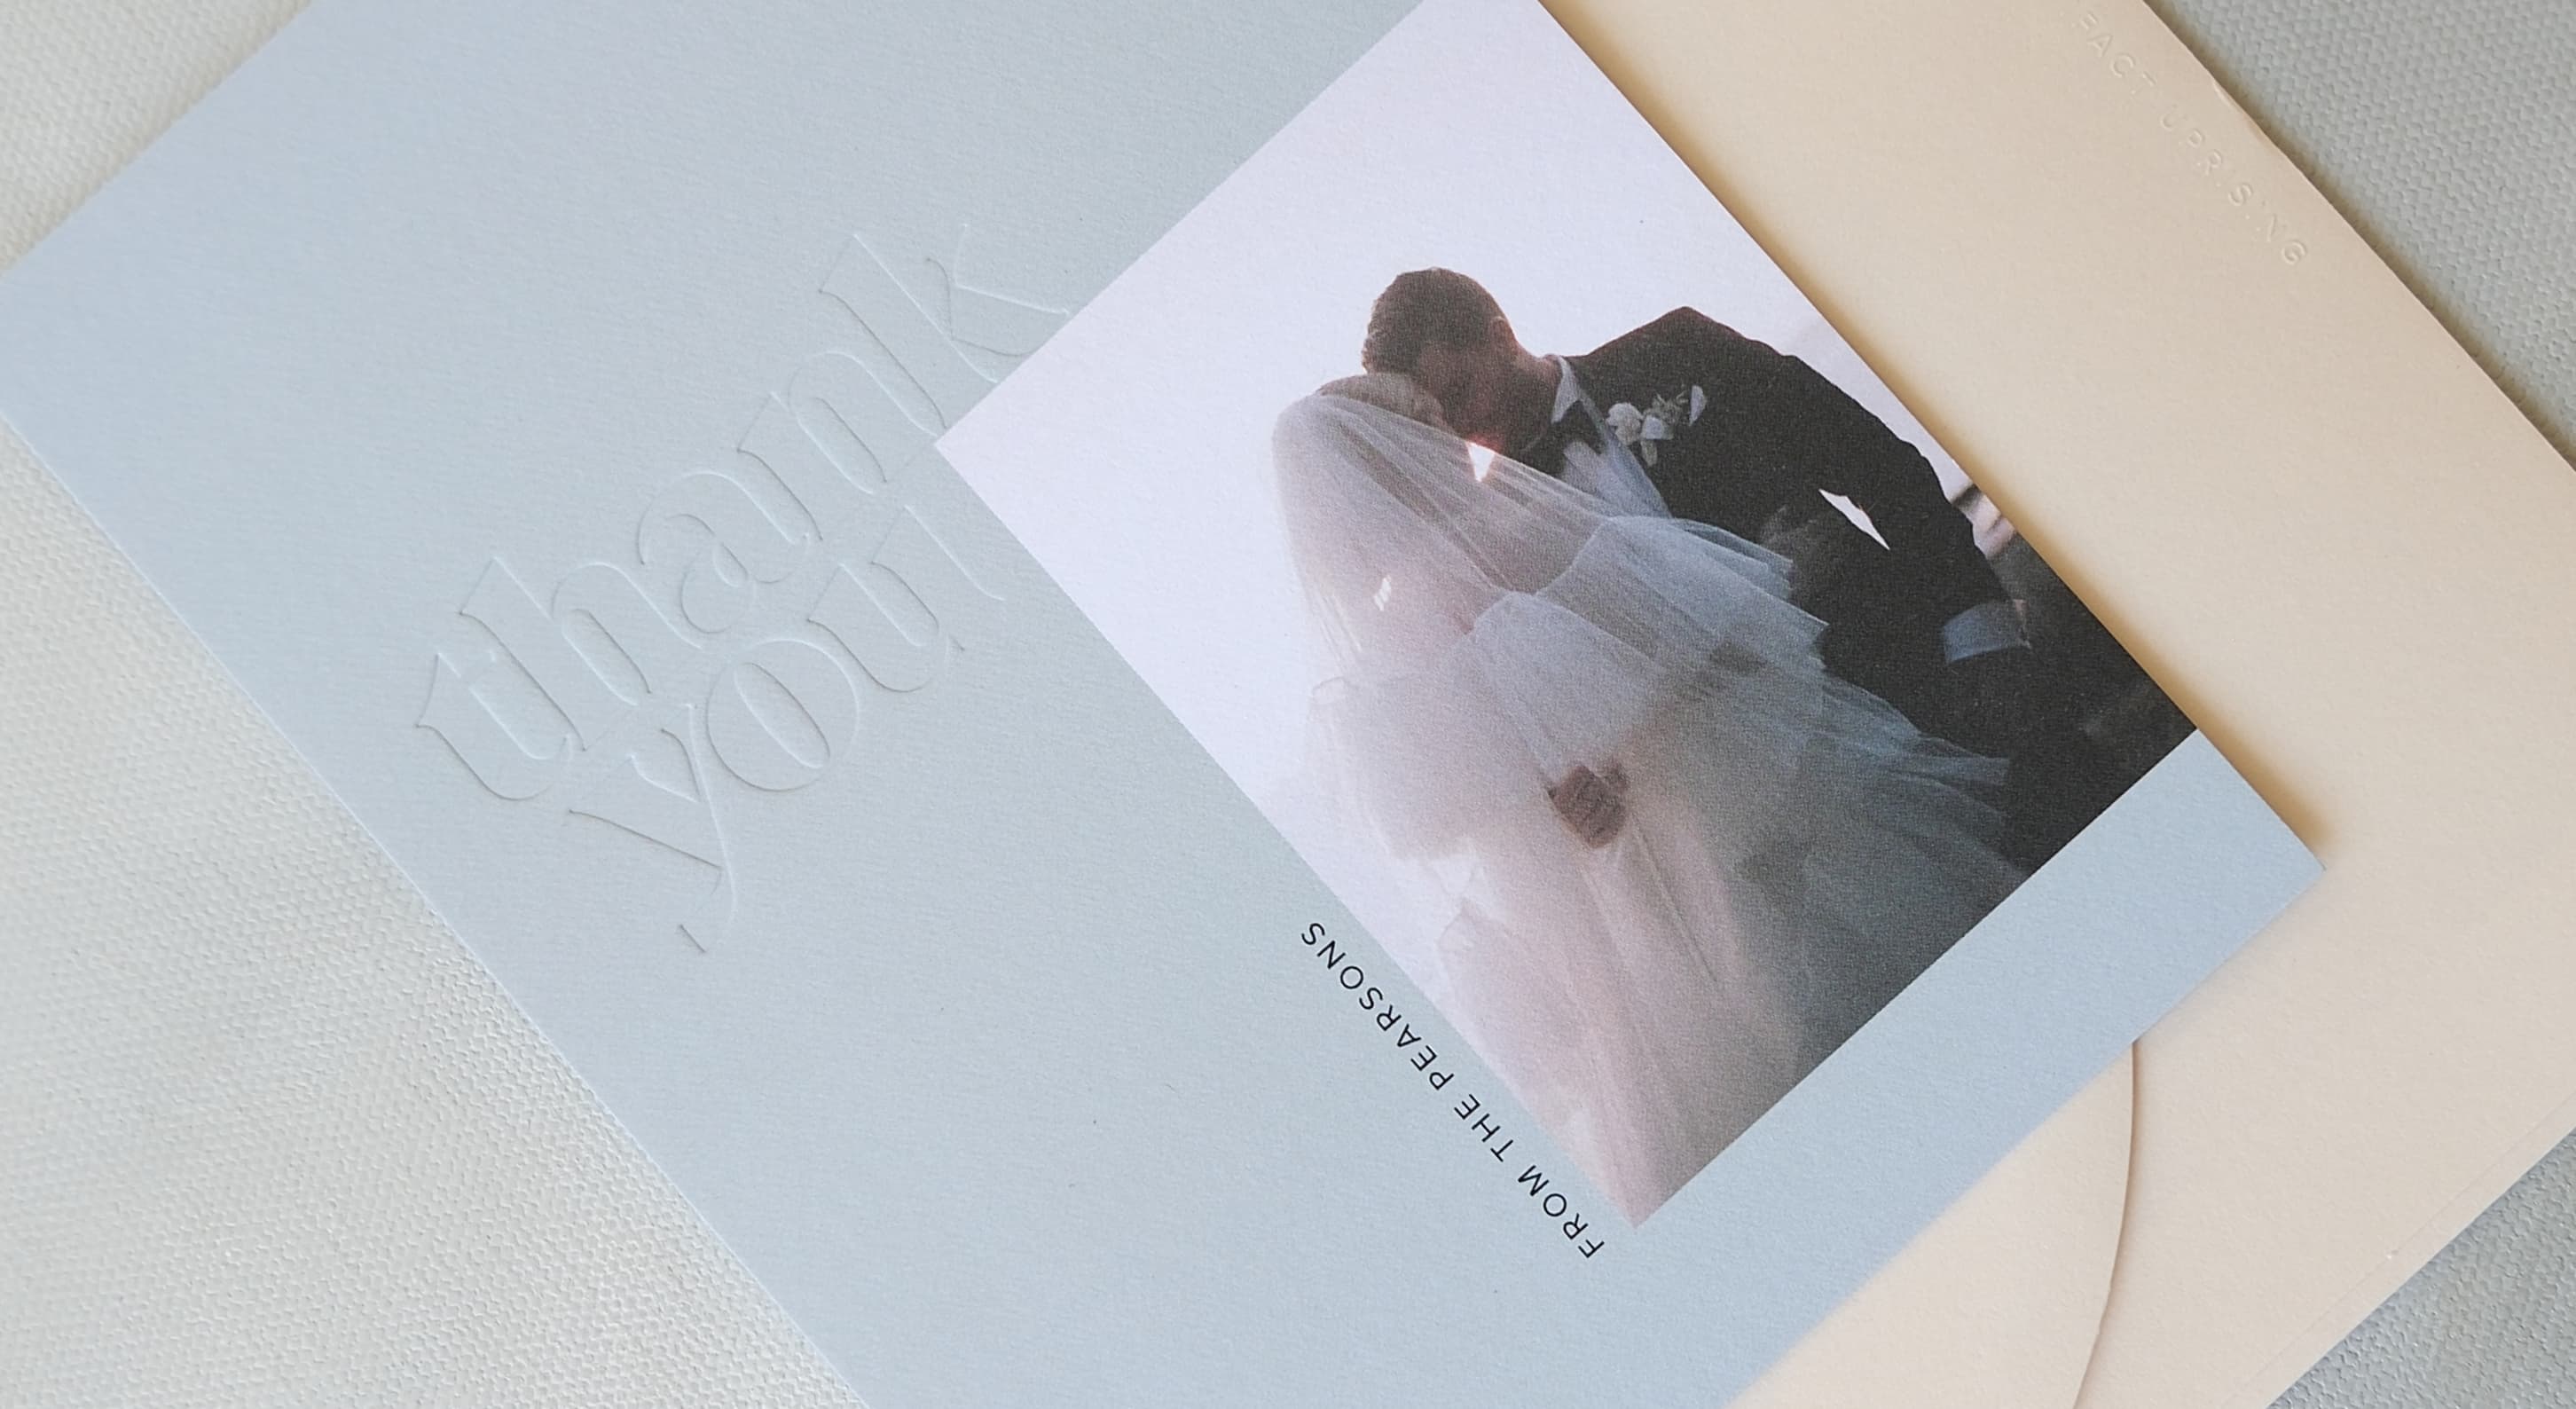
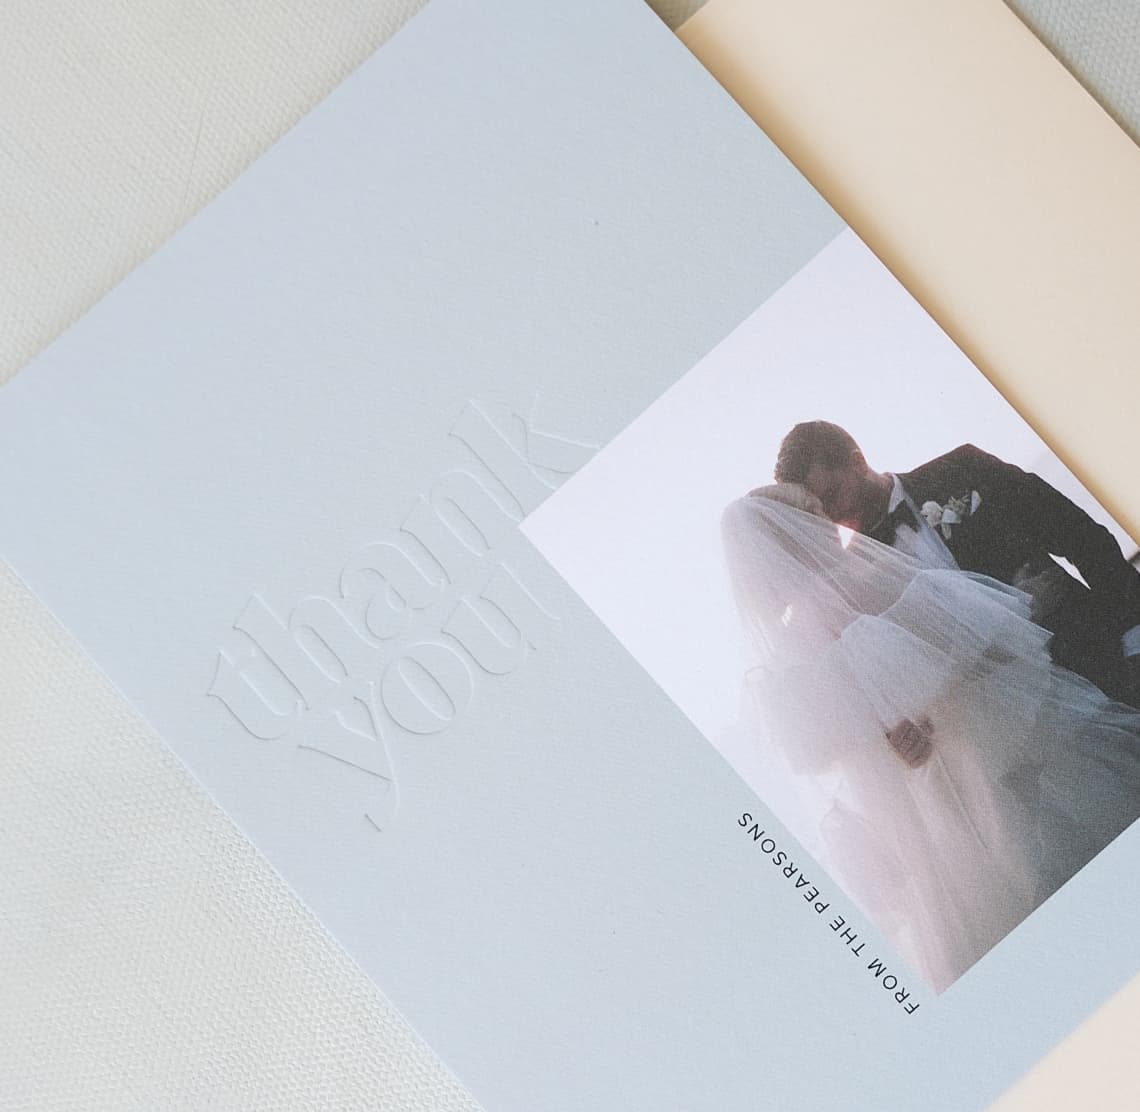
And just like that, it'll be time to show your gratitude to all the guests who made
your day, as well as the dedicated vendors who contributed to the success of your
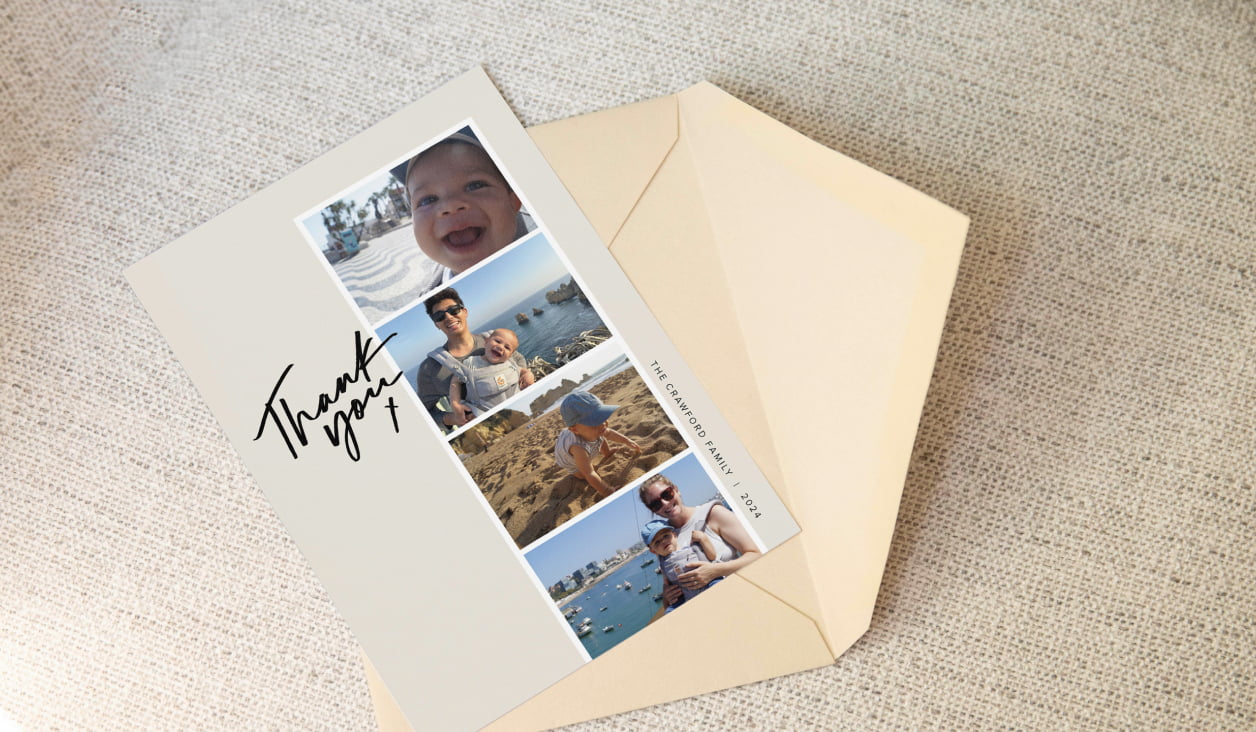
wedding. Whether you’d like to feature your favorite new wedding photo with your
spouse or go with a premium letterpress design, we’ve got you covered with
Wedding Thank You Cards
to send within that first month of getting married.
Pro Tip: Personalize the thank you cards with a heartfelt message to show your appreciation.
Pro Tip: Personalize the thank you cards with a heartfelt message to show your appreciation.
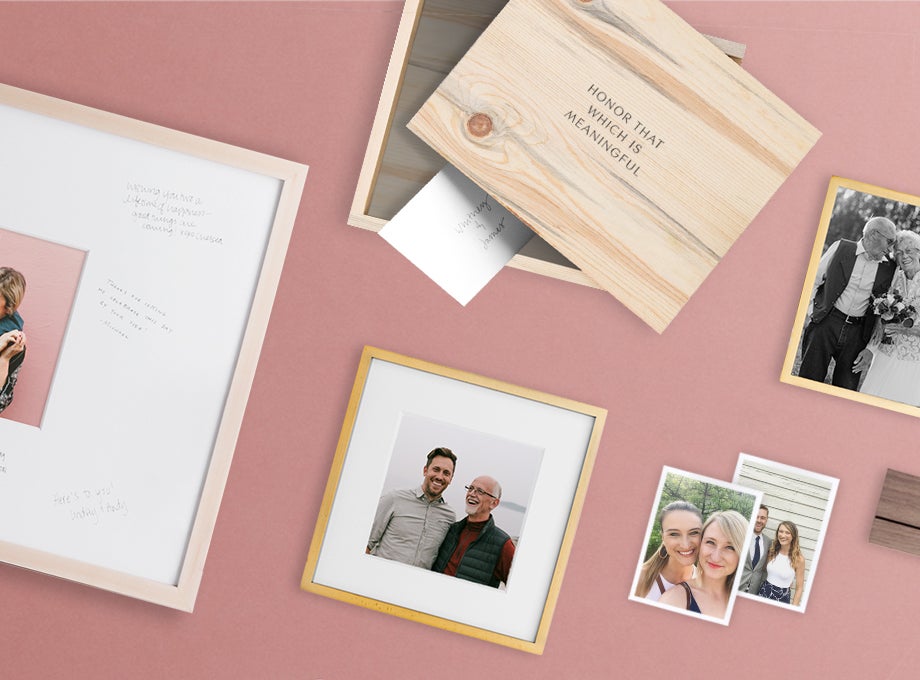
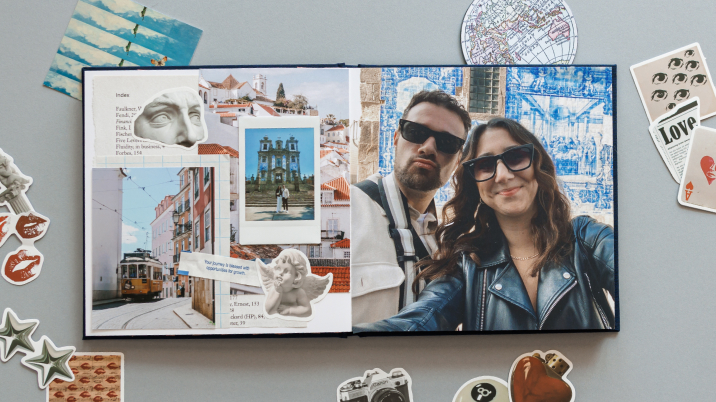
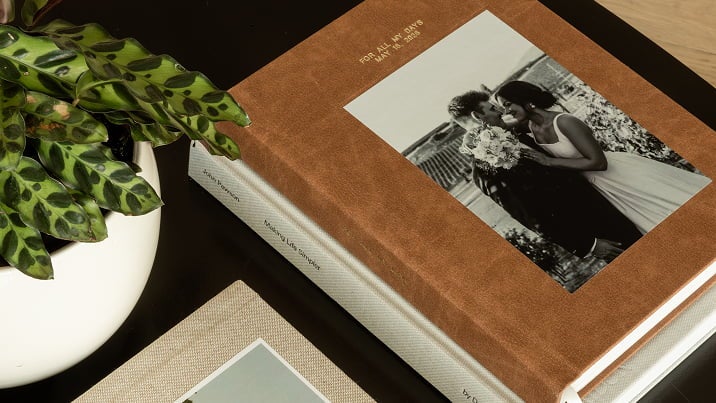
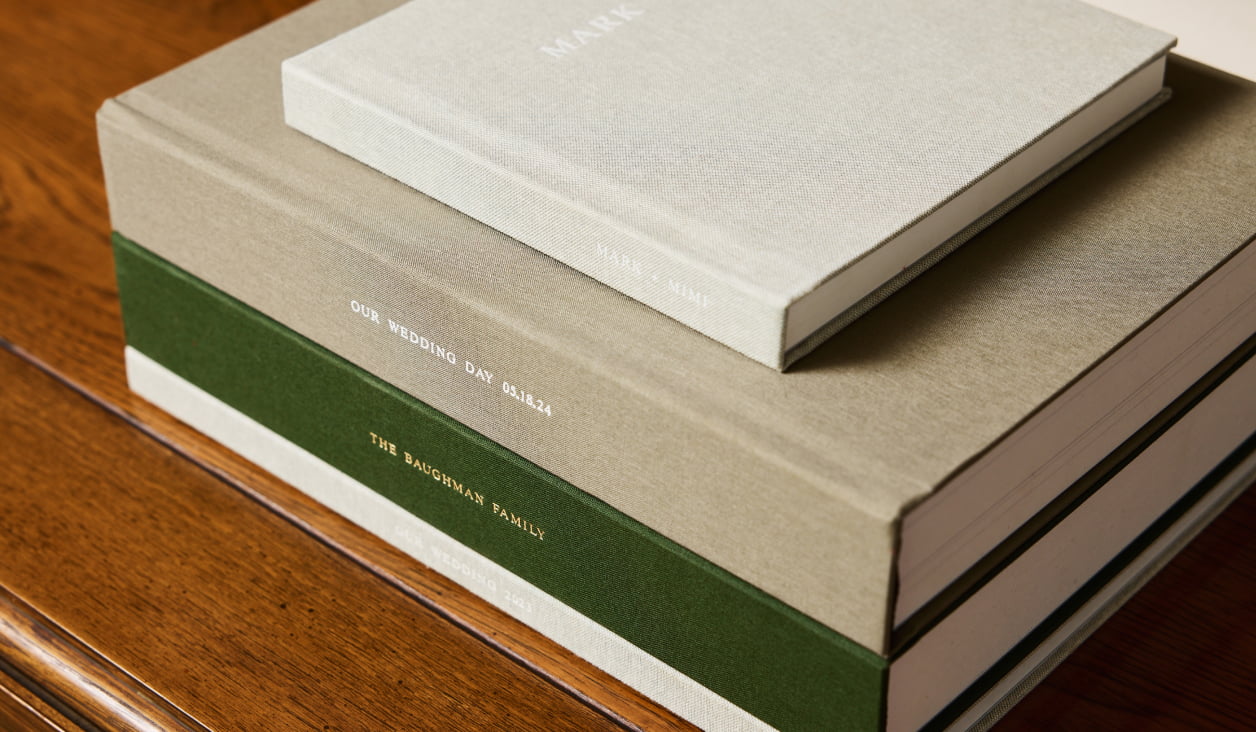
3 to 6 Months After
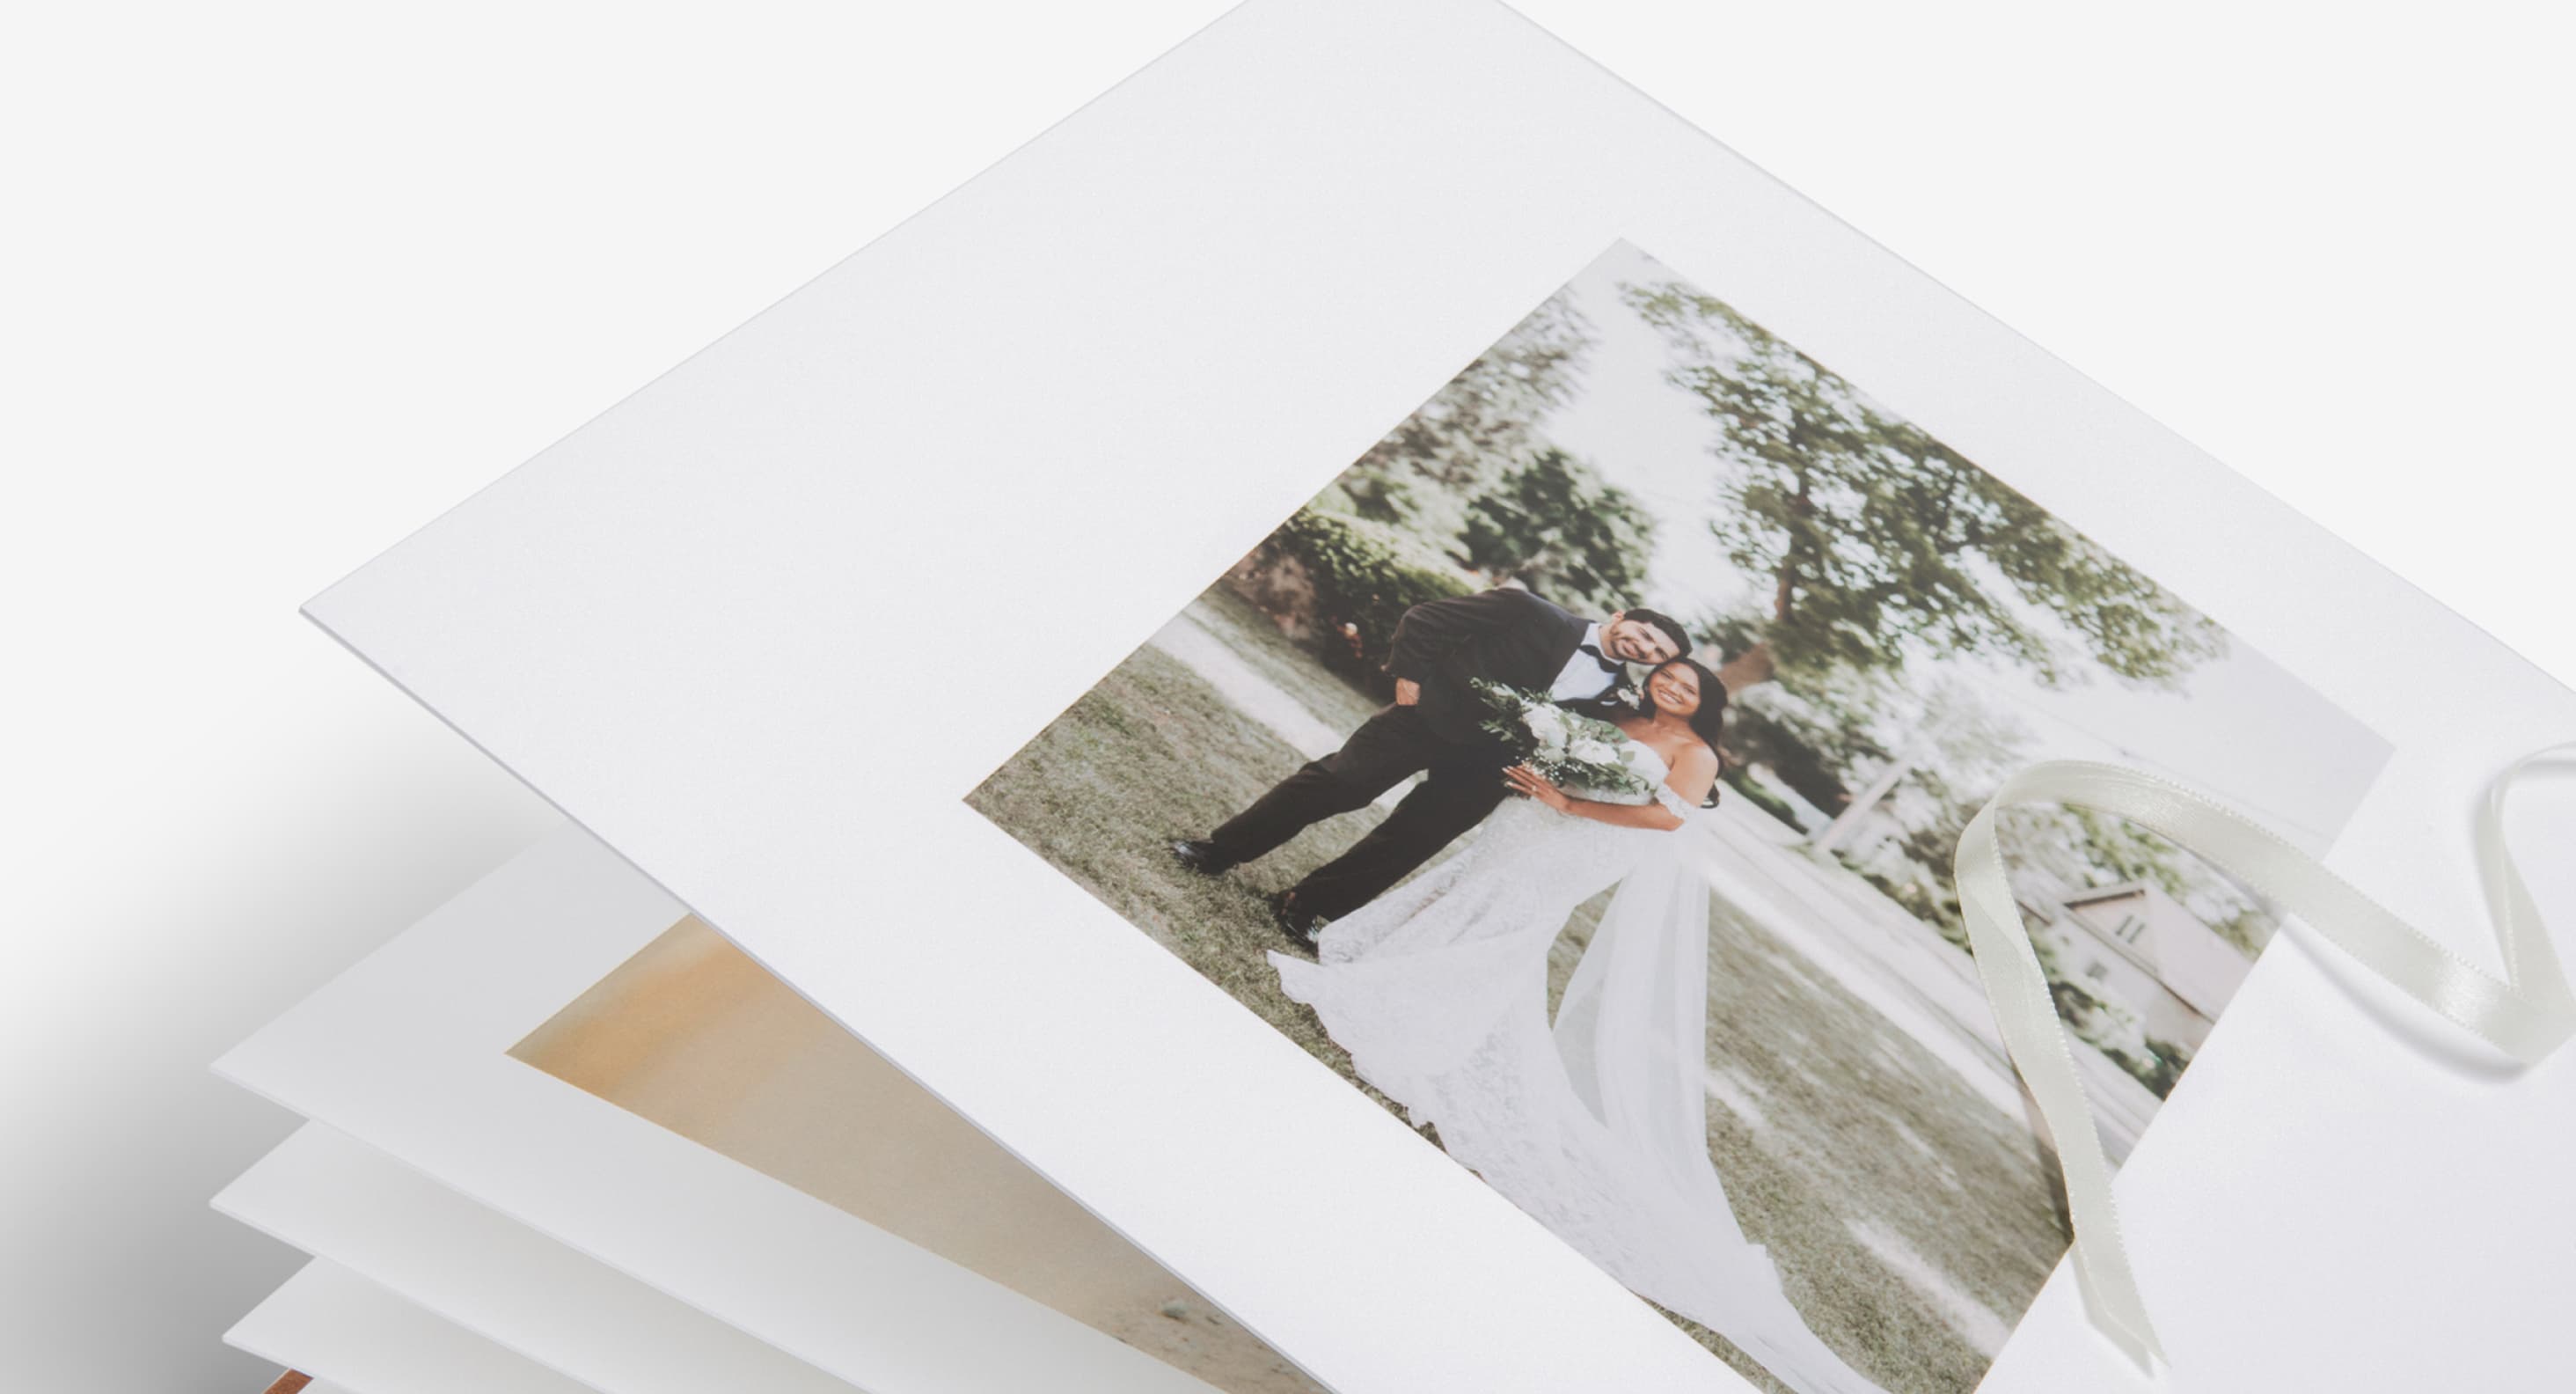
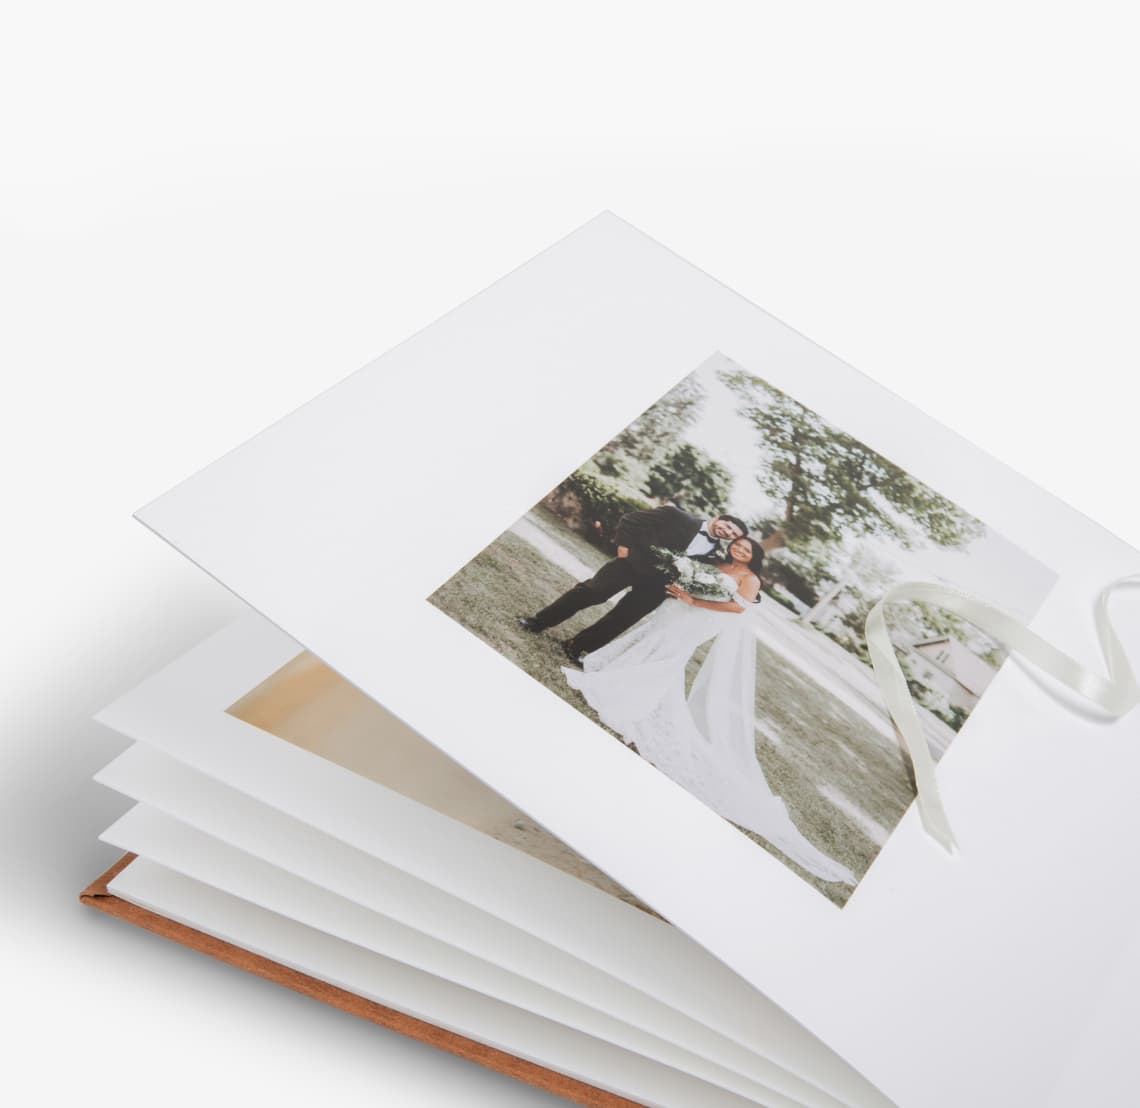
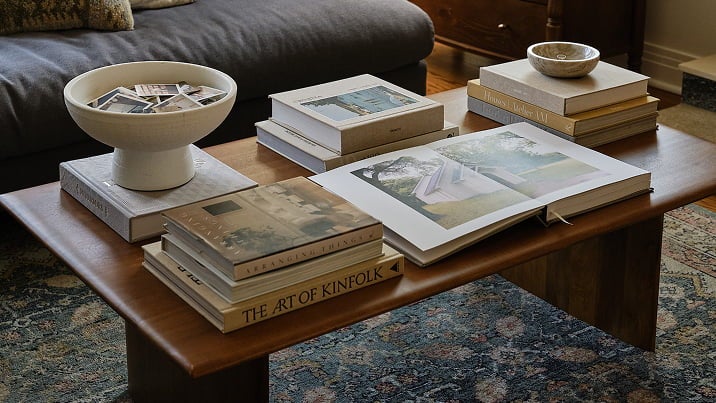
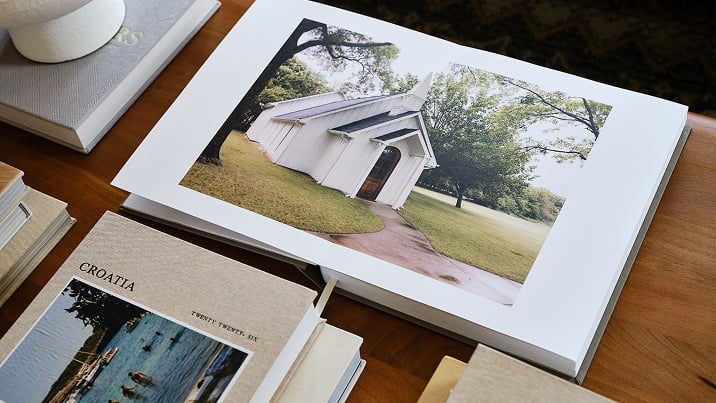
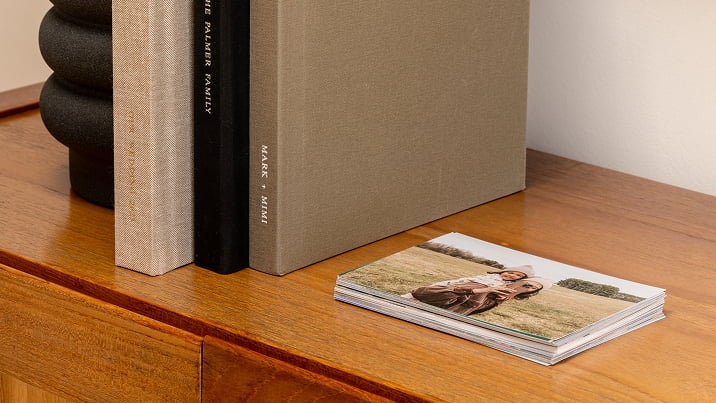
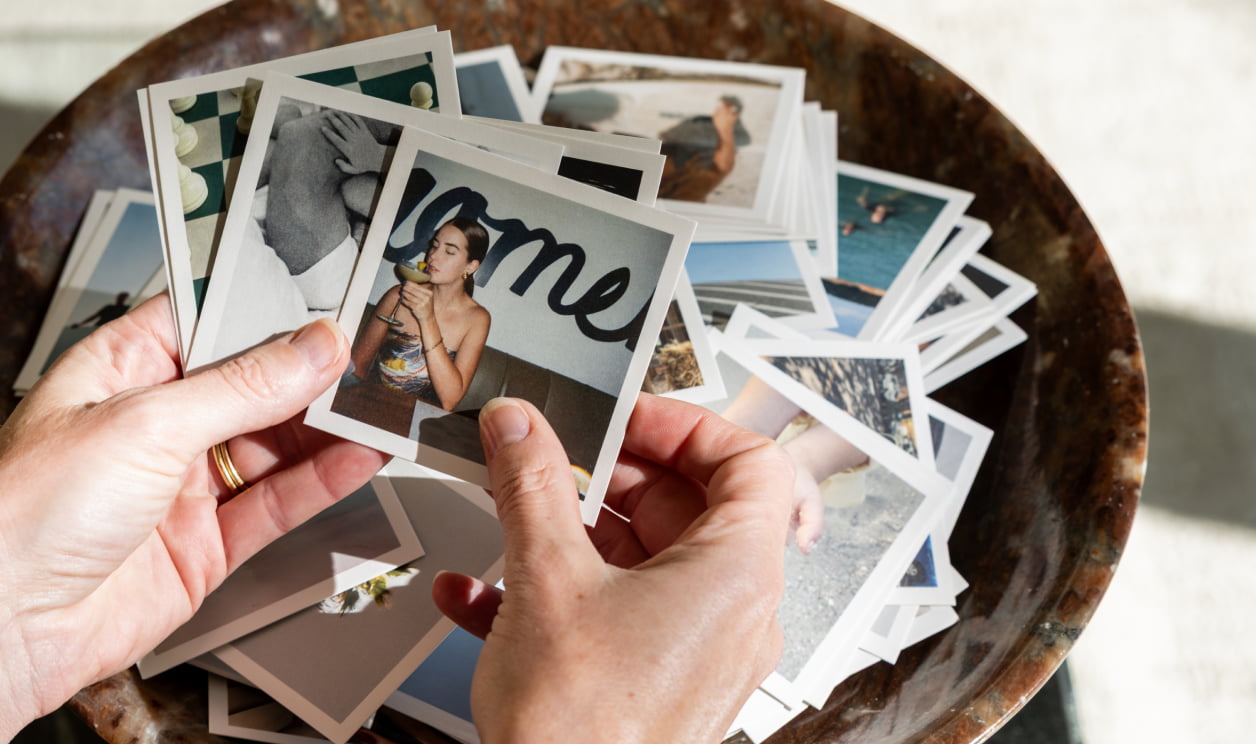
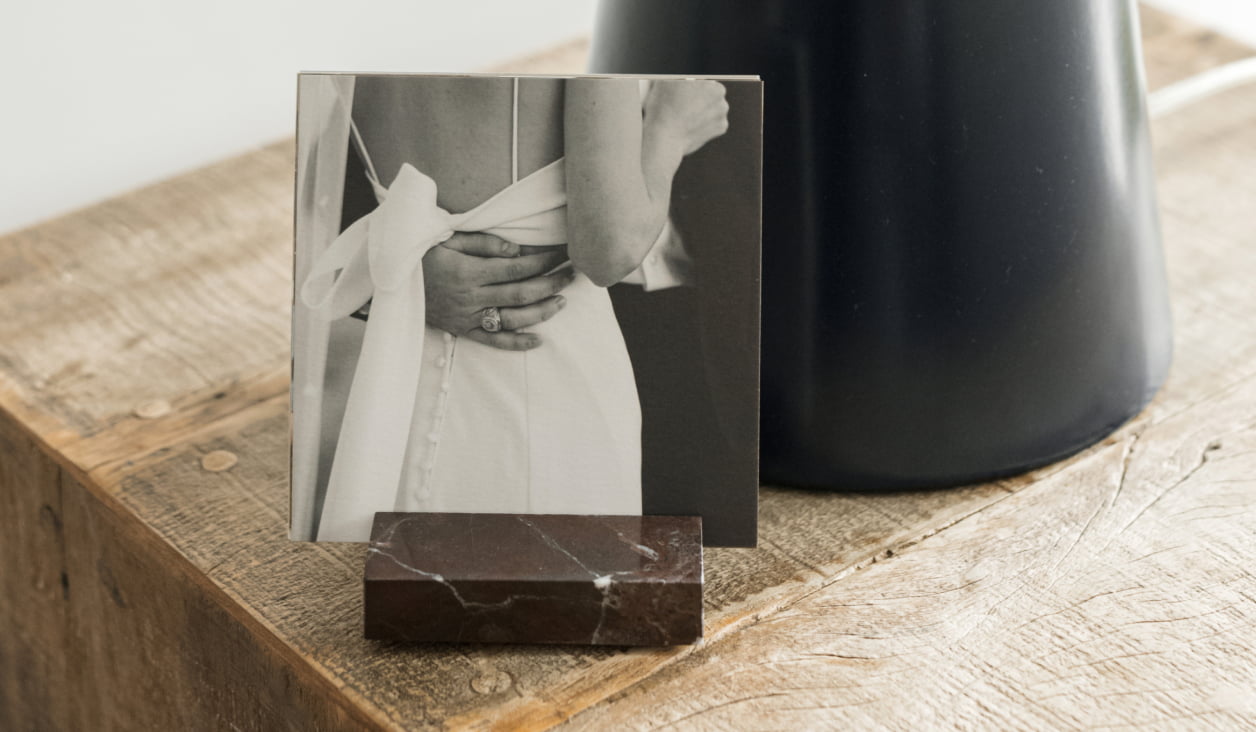
Now, on to (arguably) the most fun part of all: sifting through and reminiscing over
your photos to relive your best day in print. Your wedding photos not only make the
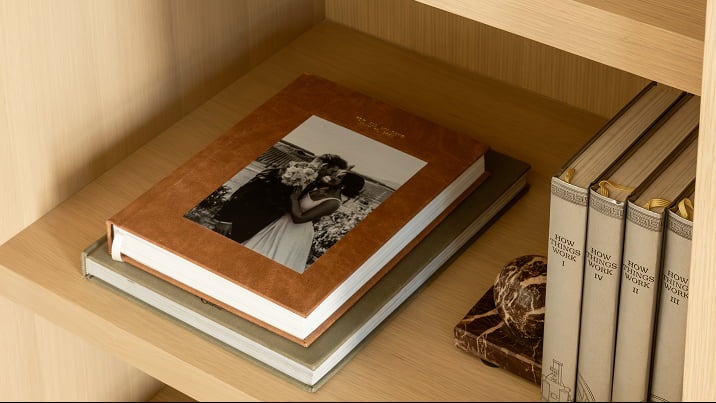
best gifts for loved ones, but can also live on in a
wedding album
that’s built to last for years — and generations — to come.
Need some wedding album ideas? Our guide can lead you through laying out your dream album, spread by spread.
Explore our wide selection of wedding print goods and stationery to find the perfect items to complement your special day. From invitations to photo displays, we have everything you need to make your wedding memorable.