


01
Decide on a Theme
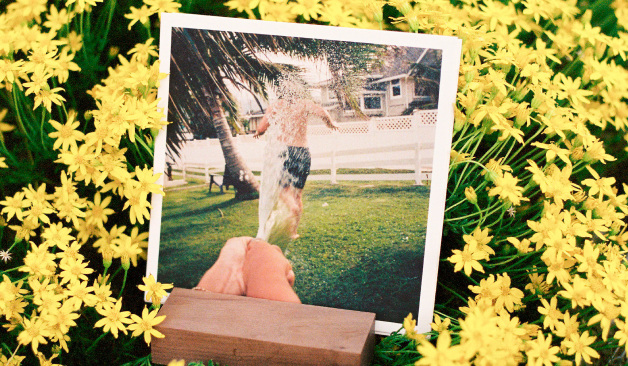
Taking the steps to move your photos to print can sometimes feel daunting. The truth is, the process should be fun — you are reliving your travels through your photos, after all. No matter how many photos you have, the best place to start your collection is to determine the overall theme. There are many ways to approach this, so try to keep an open mind and don’t let the details hold you up. To help get you started, think about how many trips you’ve been on in the last year. If the answer is more than three week-long trips last year, you may want to think about creating a photo book to highlight each trip, because chances are you’ll have plenty of photos to fill multiple books. If you’re hoping to print one or two weekend trips, you may want to create a travel book containing all your trips from that year, (e.g. "Places Traveled: 2023"). You can then do the same thing in years to come to keep your collection growing.

02
Gather and Organize Your Photos
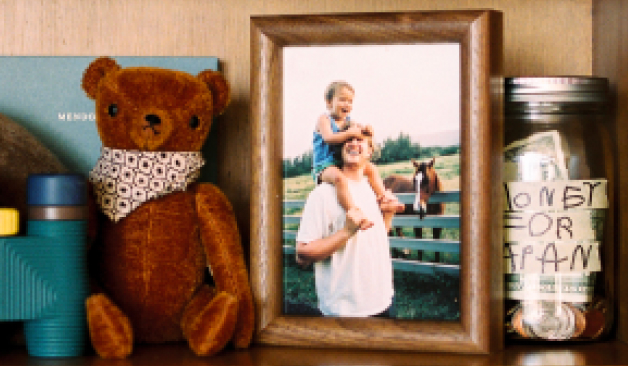
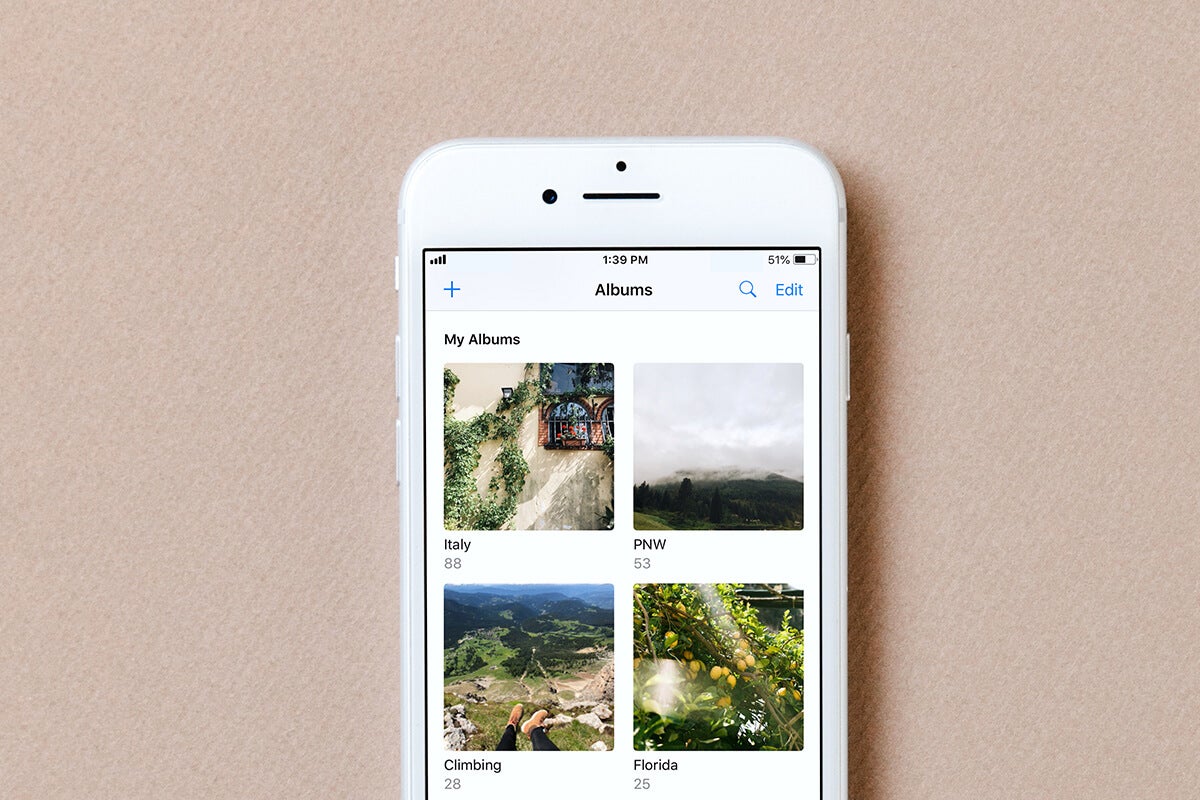
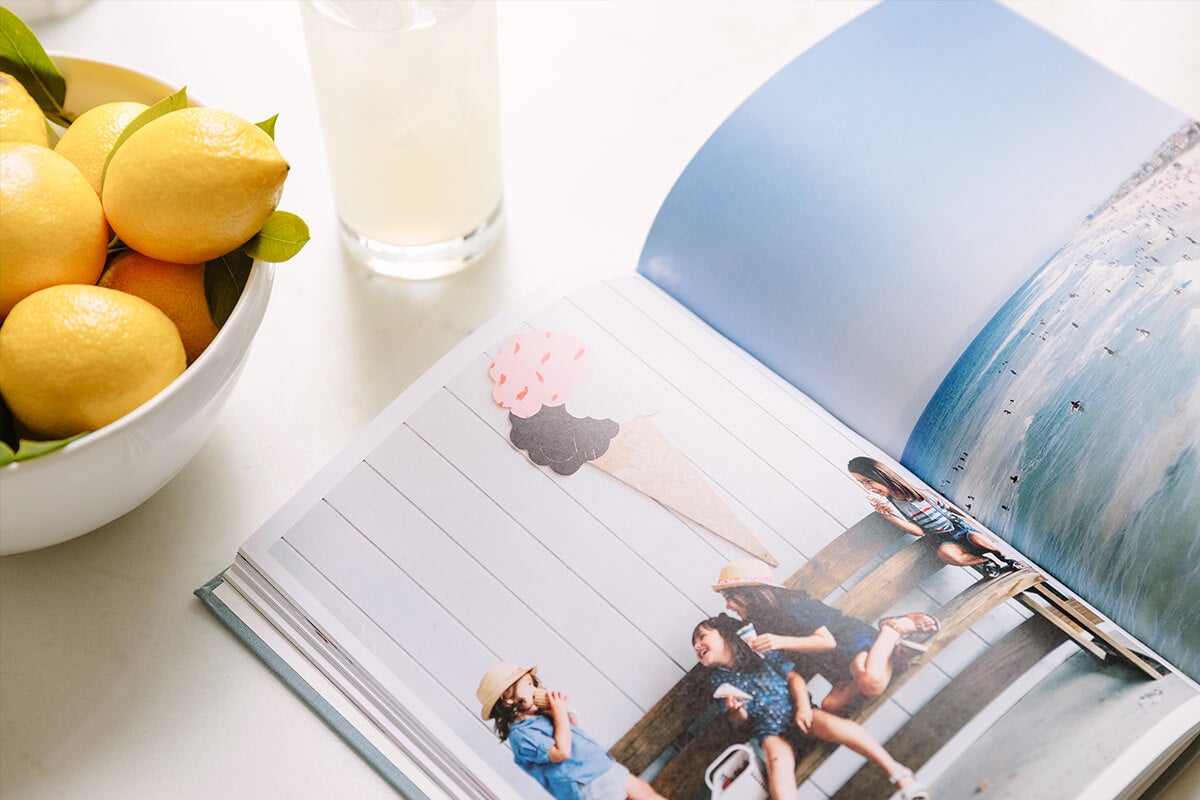
In order to create a tangible book from your digital photos, you’ll need to start gathering and organizing your travel photos to print. If you’re printing photos primarily from your iPhone, we recommend creating an album on your phone specifically for your photo book project to file your favorite images away. Not sure where to start? Luckily, we have a photo organization guide just for you. Once your photos are sorted by year or location of your travels, take a scroll through the album and make sure you have photos that captured all of the highlights of your trip. If you feel like you’re missing key moments, take a peek back through your camera roll to make sure you grabbed all of your favorites.
Pro Advice:
If you have an upcoming trip, get a jump start on your photo organization by creating an Album on your phone ahead of time dedicated specifically to your trip. Then as your traveling, add your favorites into the folder at the end of each day. This will help keep you organized from the beginning, and cut back on the time needed in the future to create more books for your travel collection.
03
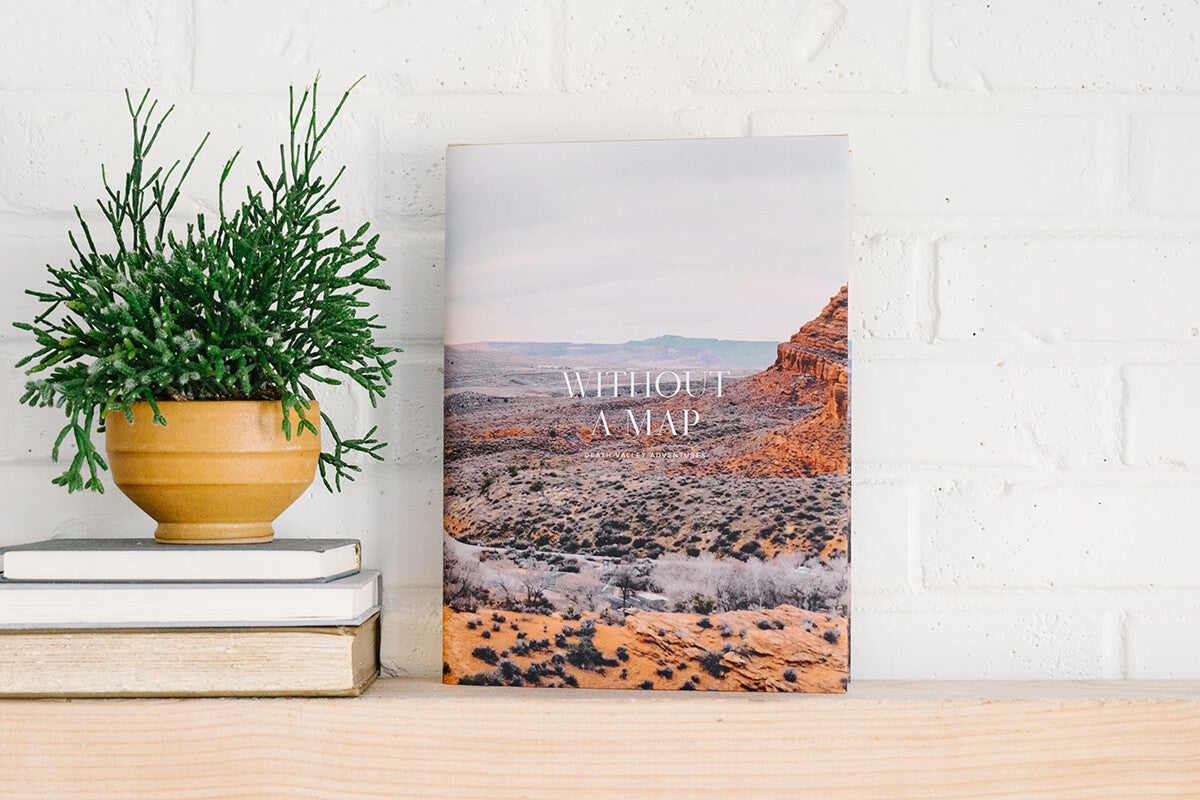
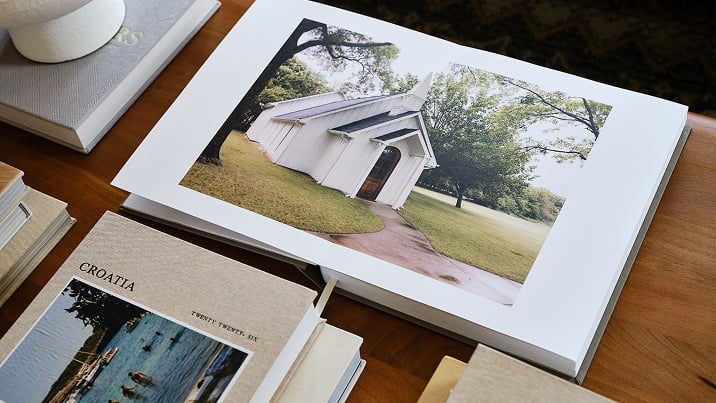
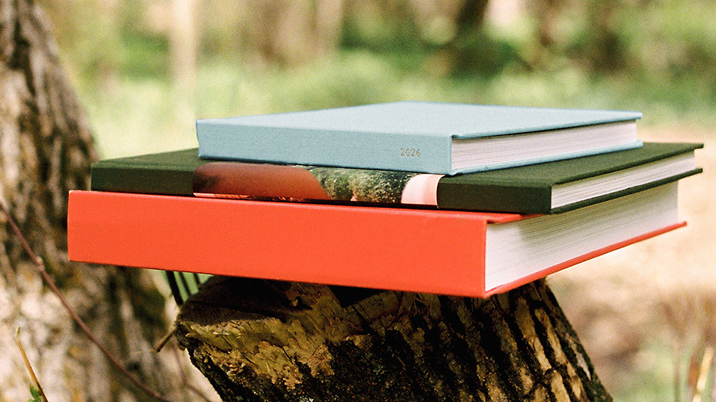
Choose Your Book Type
One of the more difficult decisions to make in the book-building process is which type to create. The truth is, you can’t go wrong with printing your travels in any of our photo books. Consider these questions before selecting your photo book:
Where do you plan to display or store your travel books?
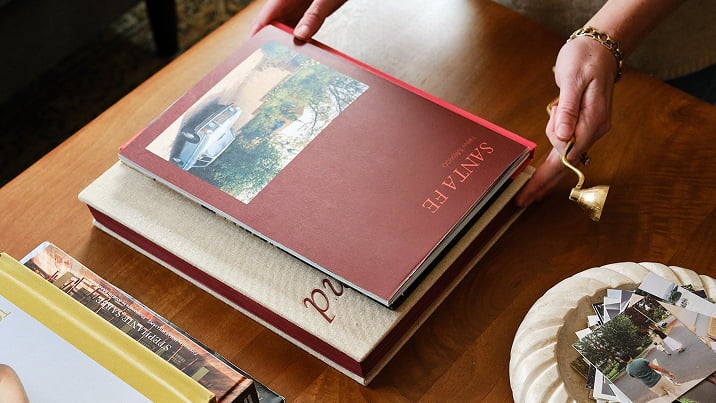
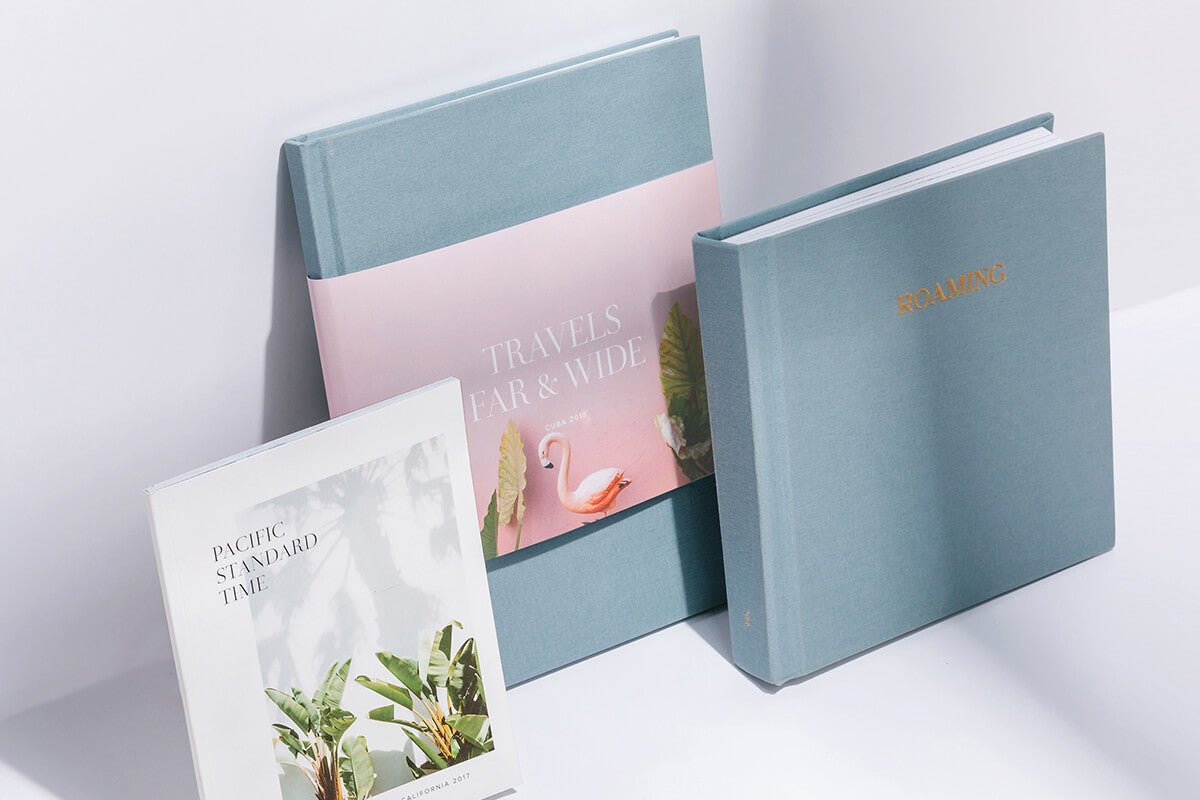
If you’re looking to create a series that lives on the bookshelf and is easily located by a title on the spine, we recommend our Layflat Album. If you're hoping to display your book(s) front and center on your coffee table, look no further than our Hardcover Photo Book. Or maybe you're wanting to print multiple copies of a travel book to share with your family and friends — we recommend our versatile and budget-friendly Softcover Photo Book.
How many photos do you have to print?
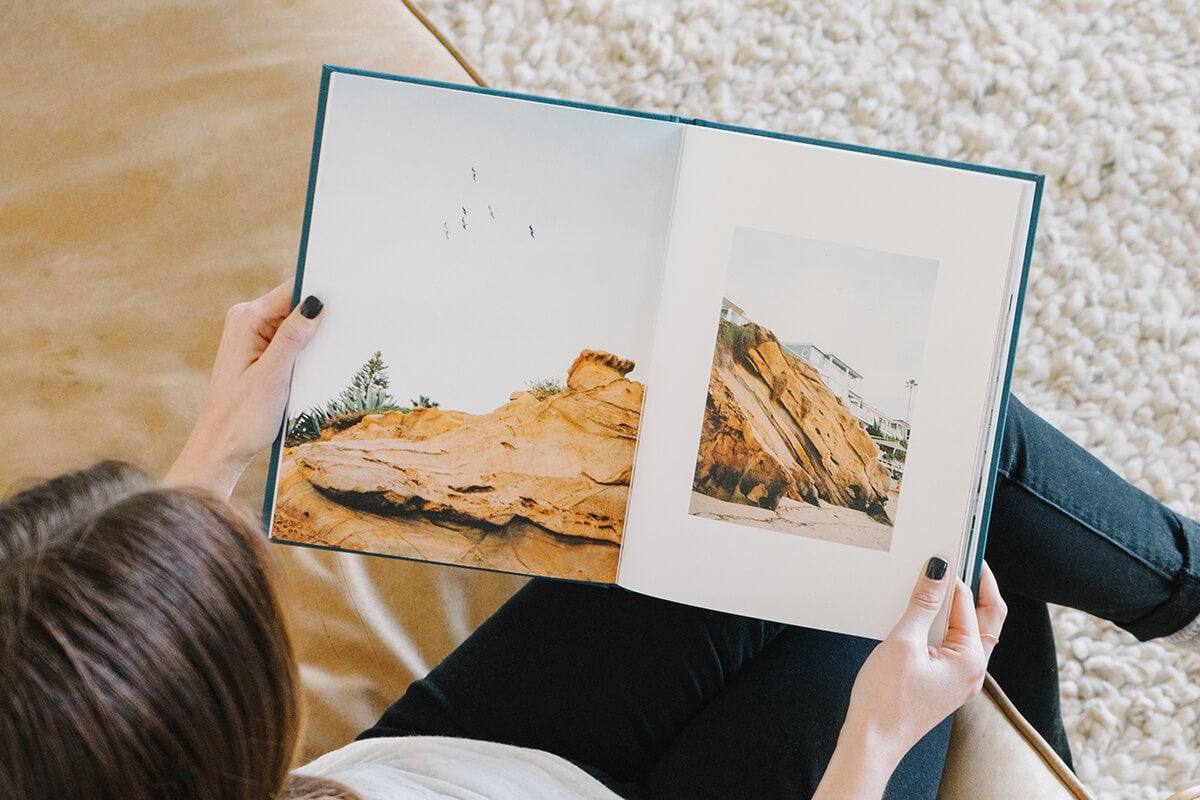
Now’s the time to go back and reference those albums you created of your travel images. You’ll want to consider how many images you have when choosing an album type, as some of our photo books are designed to hold more images and pages than others. Lucky for you, we created a helpful photo book guide to easily compare our different book options. To help you estimate how many pages you might need, we recommend placing one photo per page to keep the spotlight on your photos. If you follow that format, you’ll need one page for each photo in your album.
04
Tell Your Tale
Now that you’ve decided which type of book you want to print your travel collection in, it’s time to get to building your book(s).
If you need a step-by-step guide of the process, look no further than our Photo Book Building 101 Guide.
The biggest advice we have for this part of the process is — have fun! Recreating the stories of your travels through your photos is not only exciting, but rewarding!
Here are a few of our favorite tips to make the process a breeze:
1. Don’t worry about putting your photos in chronological order. Instead pick tones and colors that play well together to tell the story of your travels. This will also save you time when trying to recall which event happened first.
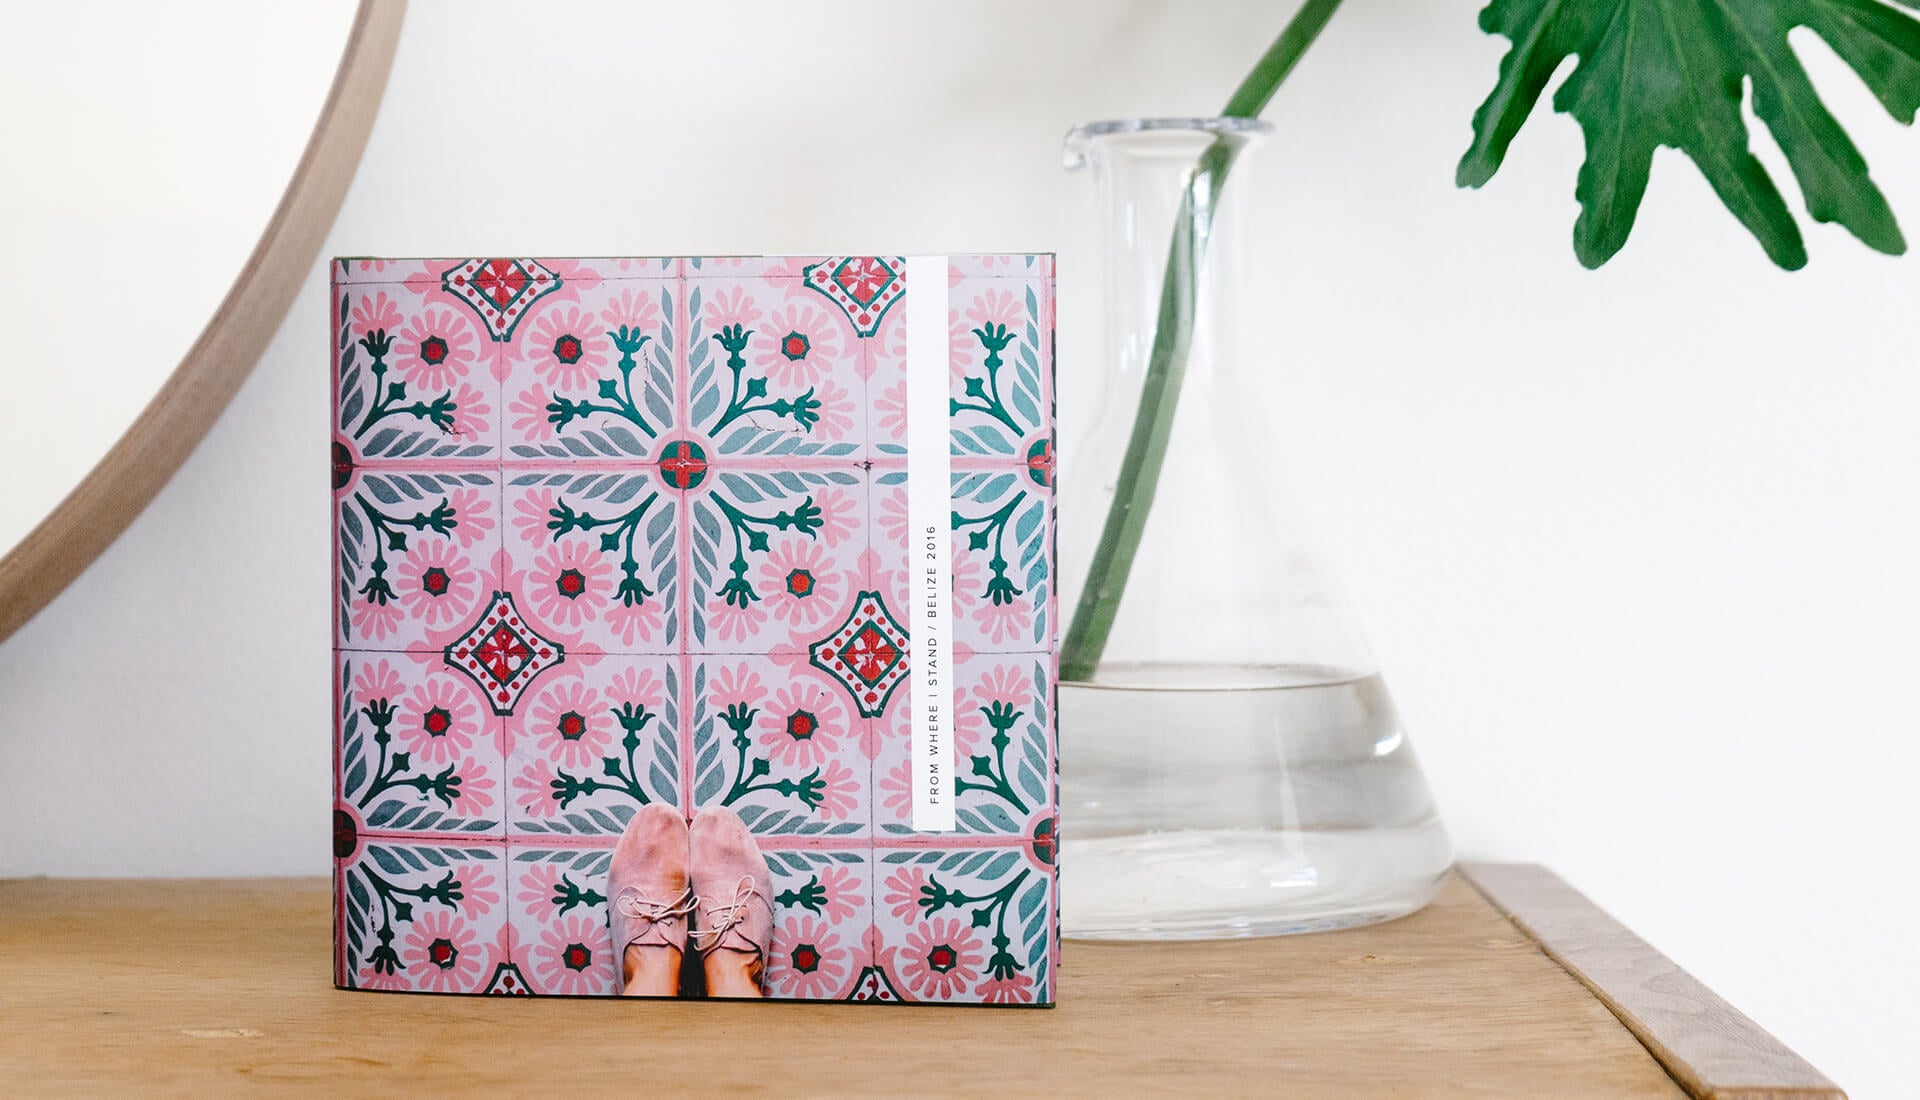
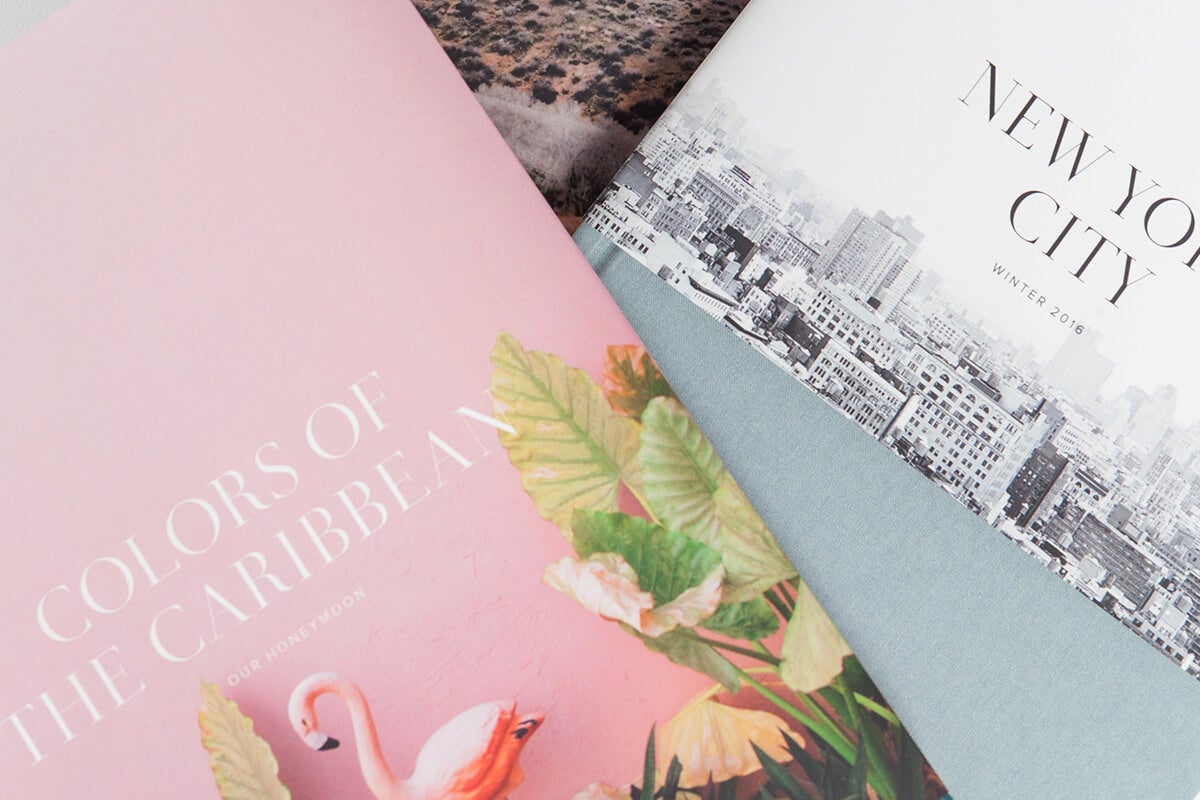
2. Pick a title to encompass your theme. Depending on how you organized your photos, the Book Title and Spine Title (if you selected a Layflat Album) are fun ways to hint at the contents of your book. When displayed in a series, you’ll be able to easily locate the images you’re looking for by titling your book with something simple, such as: "Away We Go: 2023" or "Todos Santos, MX".
05
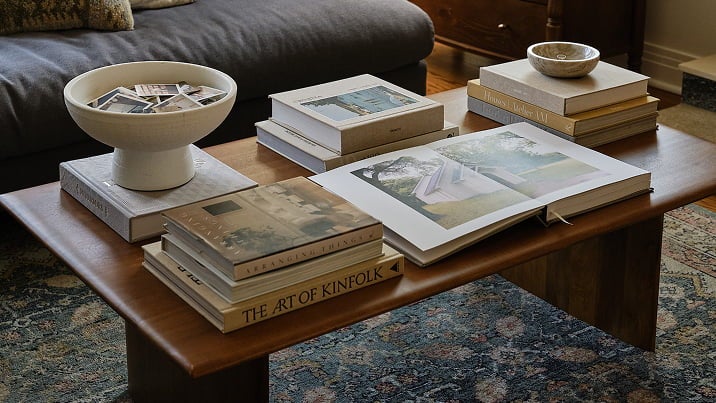
Relive Your Photos in Print
You’ve completed your photo books, which marks the start of your travel collection! Once your book(s) arrive, put them on display. After all, the stories of our travels are meant to be shared and relived through the photos we take. Make a mental note to keep printing your travels for the years to come, and you’ll find yourself with an impressive photo book collection to remember some of the best days spent behind your lens.