iconicon

How to Get Creative With Our Softcover Photo Book

Featuring three new cover designs

| |
You can’t judge a book by its cover—but when it comes to the Softcover Photo Book, we are absolutely here for it. With a collection of cool, custom cover designs, our classic paperback allows you to tell your story before anyone even opens it. That’s why we are excited to introduce three new cover layouts for this beloved photo book—each one designed to give you more creative freedom than ever.

Think: bold and editorial, like your own personal issue of a magazine. The new photo-wrapped covers allow you to feature two full-bleed images or one, sweeping image from front to back. The third duo-photo layout lets you showcase two favorite photos together on the cover, while choosing a custom color background that will make a bold statement. This isn’t just a new cover drop, it’s your artistic license—an invitation to tell your story your way.

01

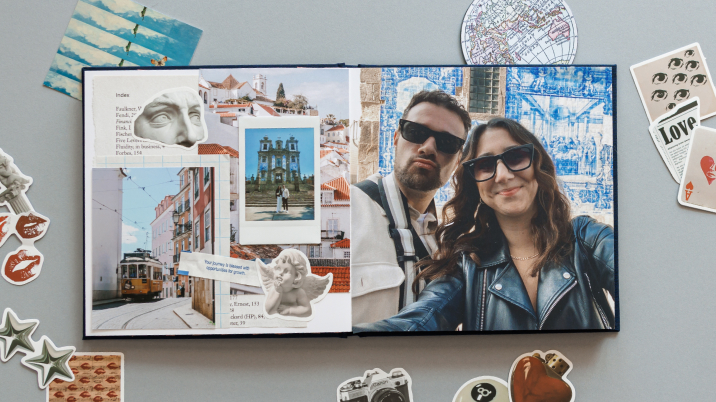
Your Story, Your Way

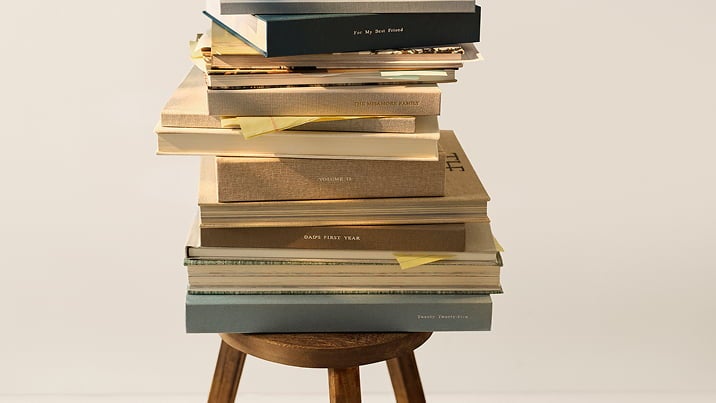
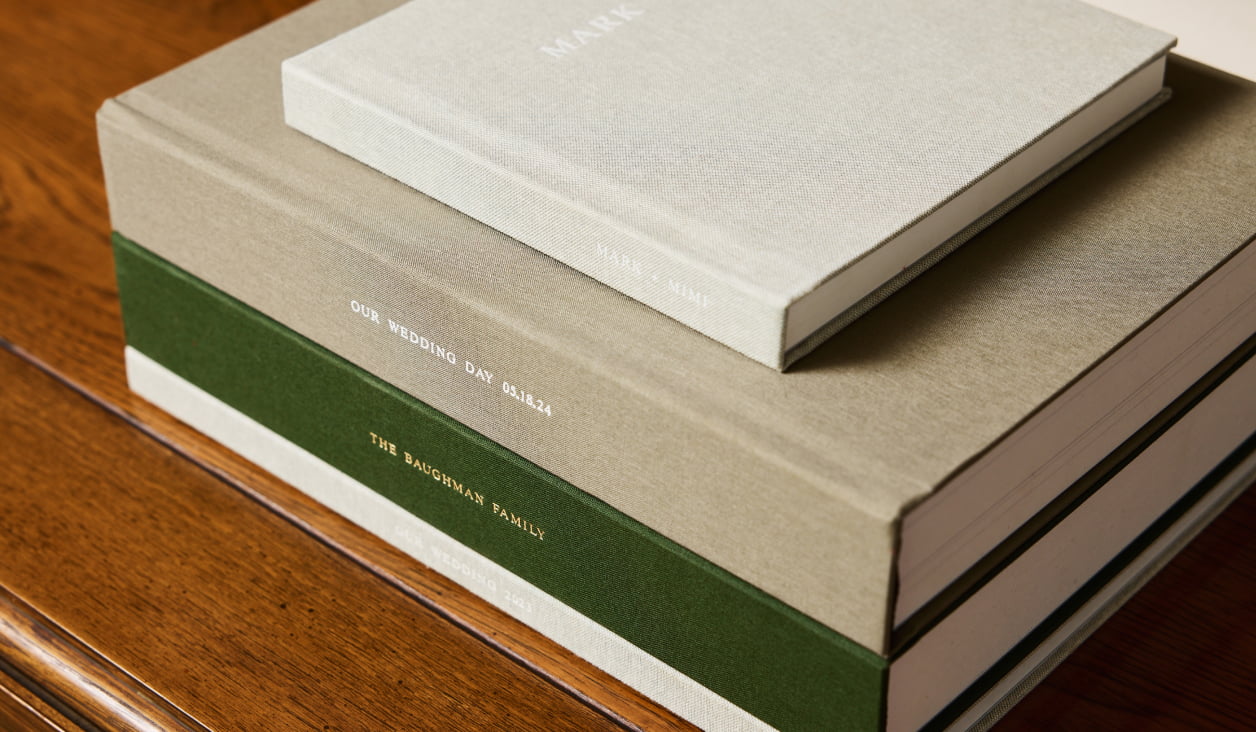
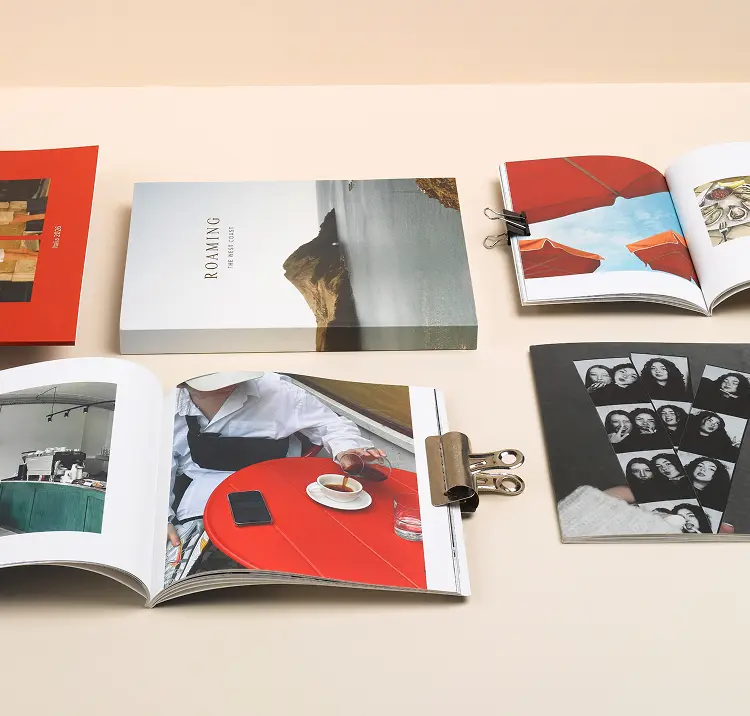
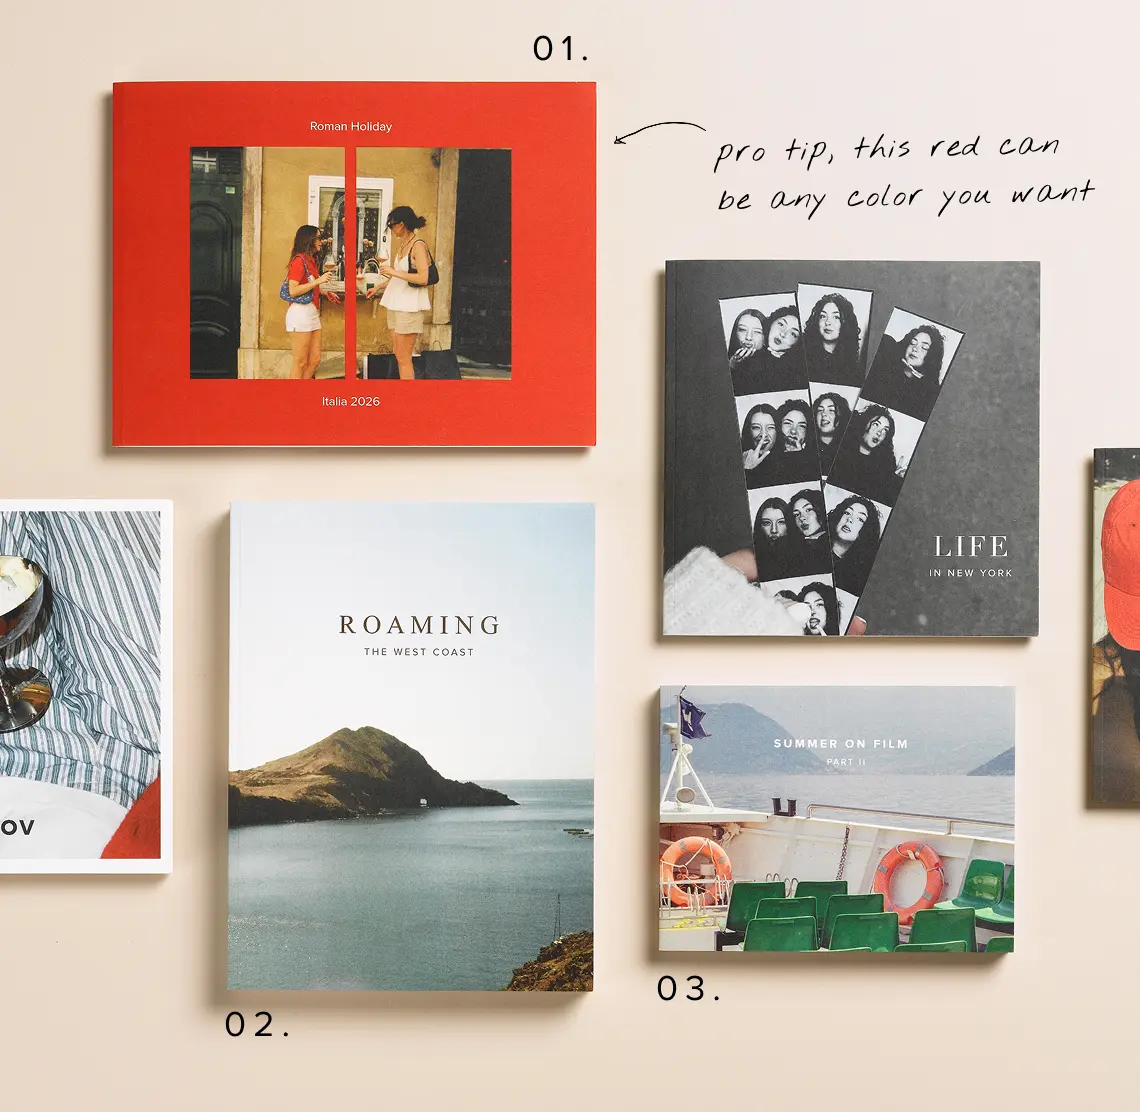
Starting at $19, the Softcover Photo Book is low risk, high reward (and highly collectible). Dump your camera roll into one every few months, and watch them stack up. It holds the most pages of any book in our collection, so you can max it out with snapshots or keep it small and curated.

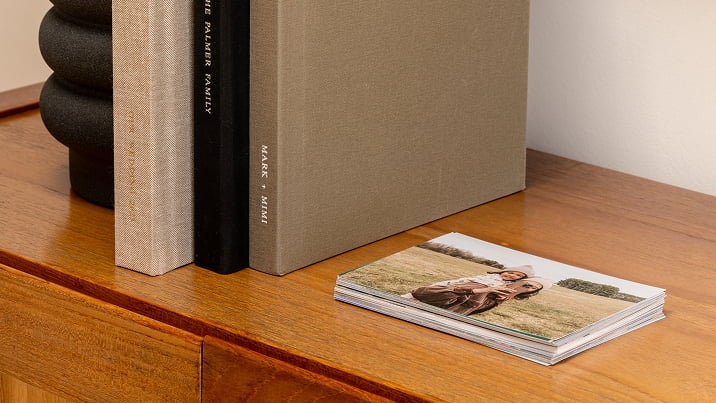
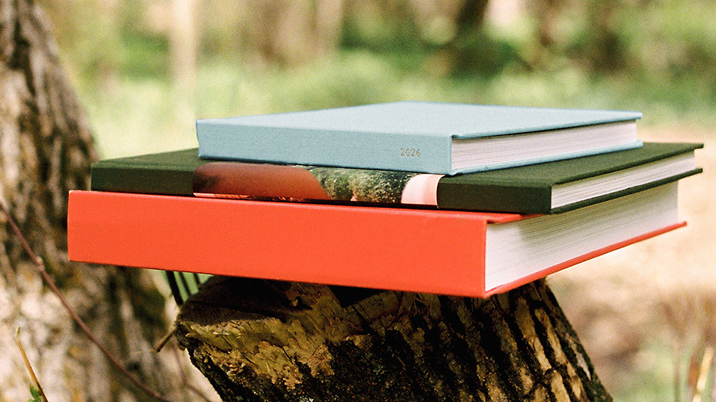
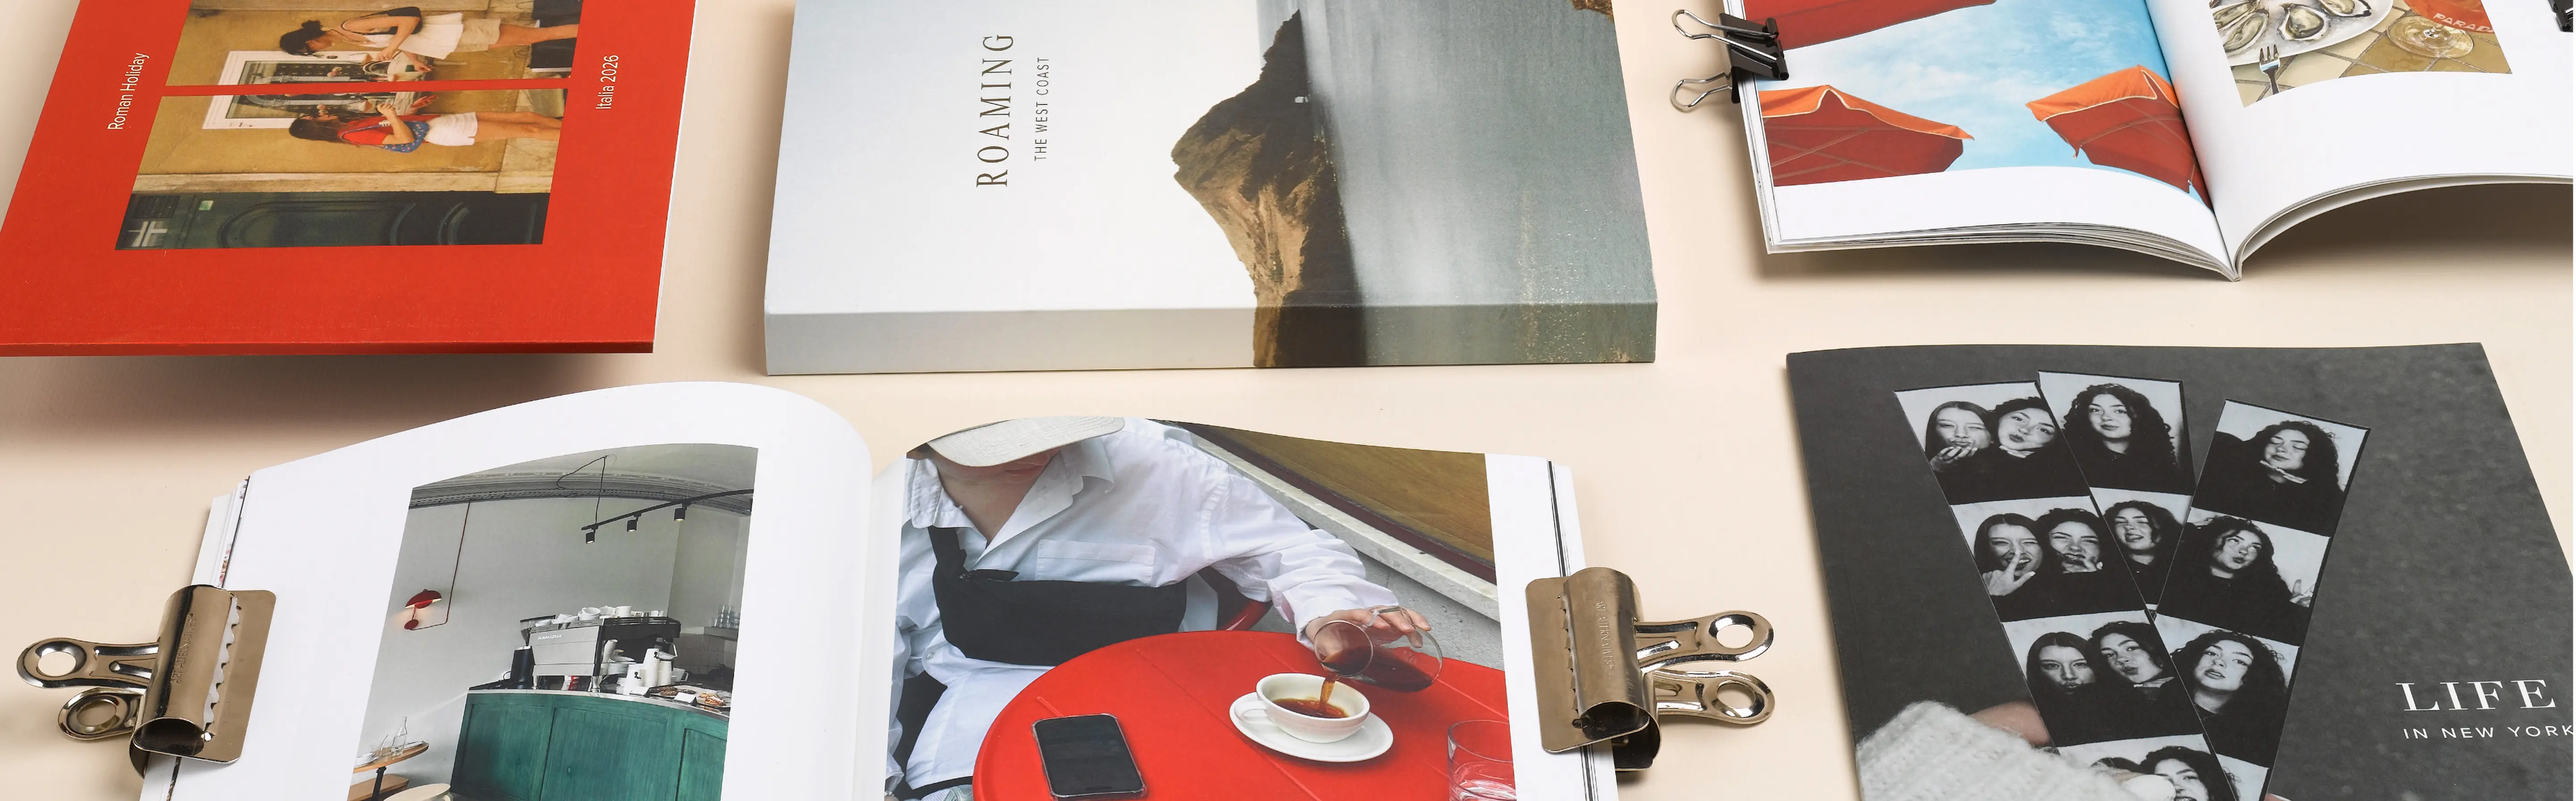
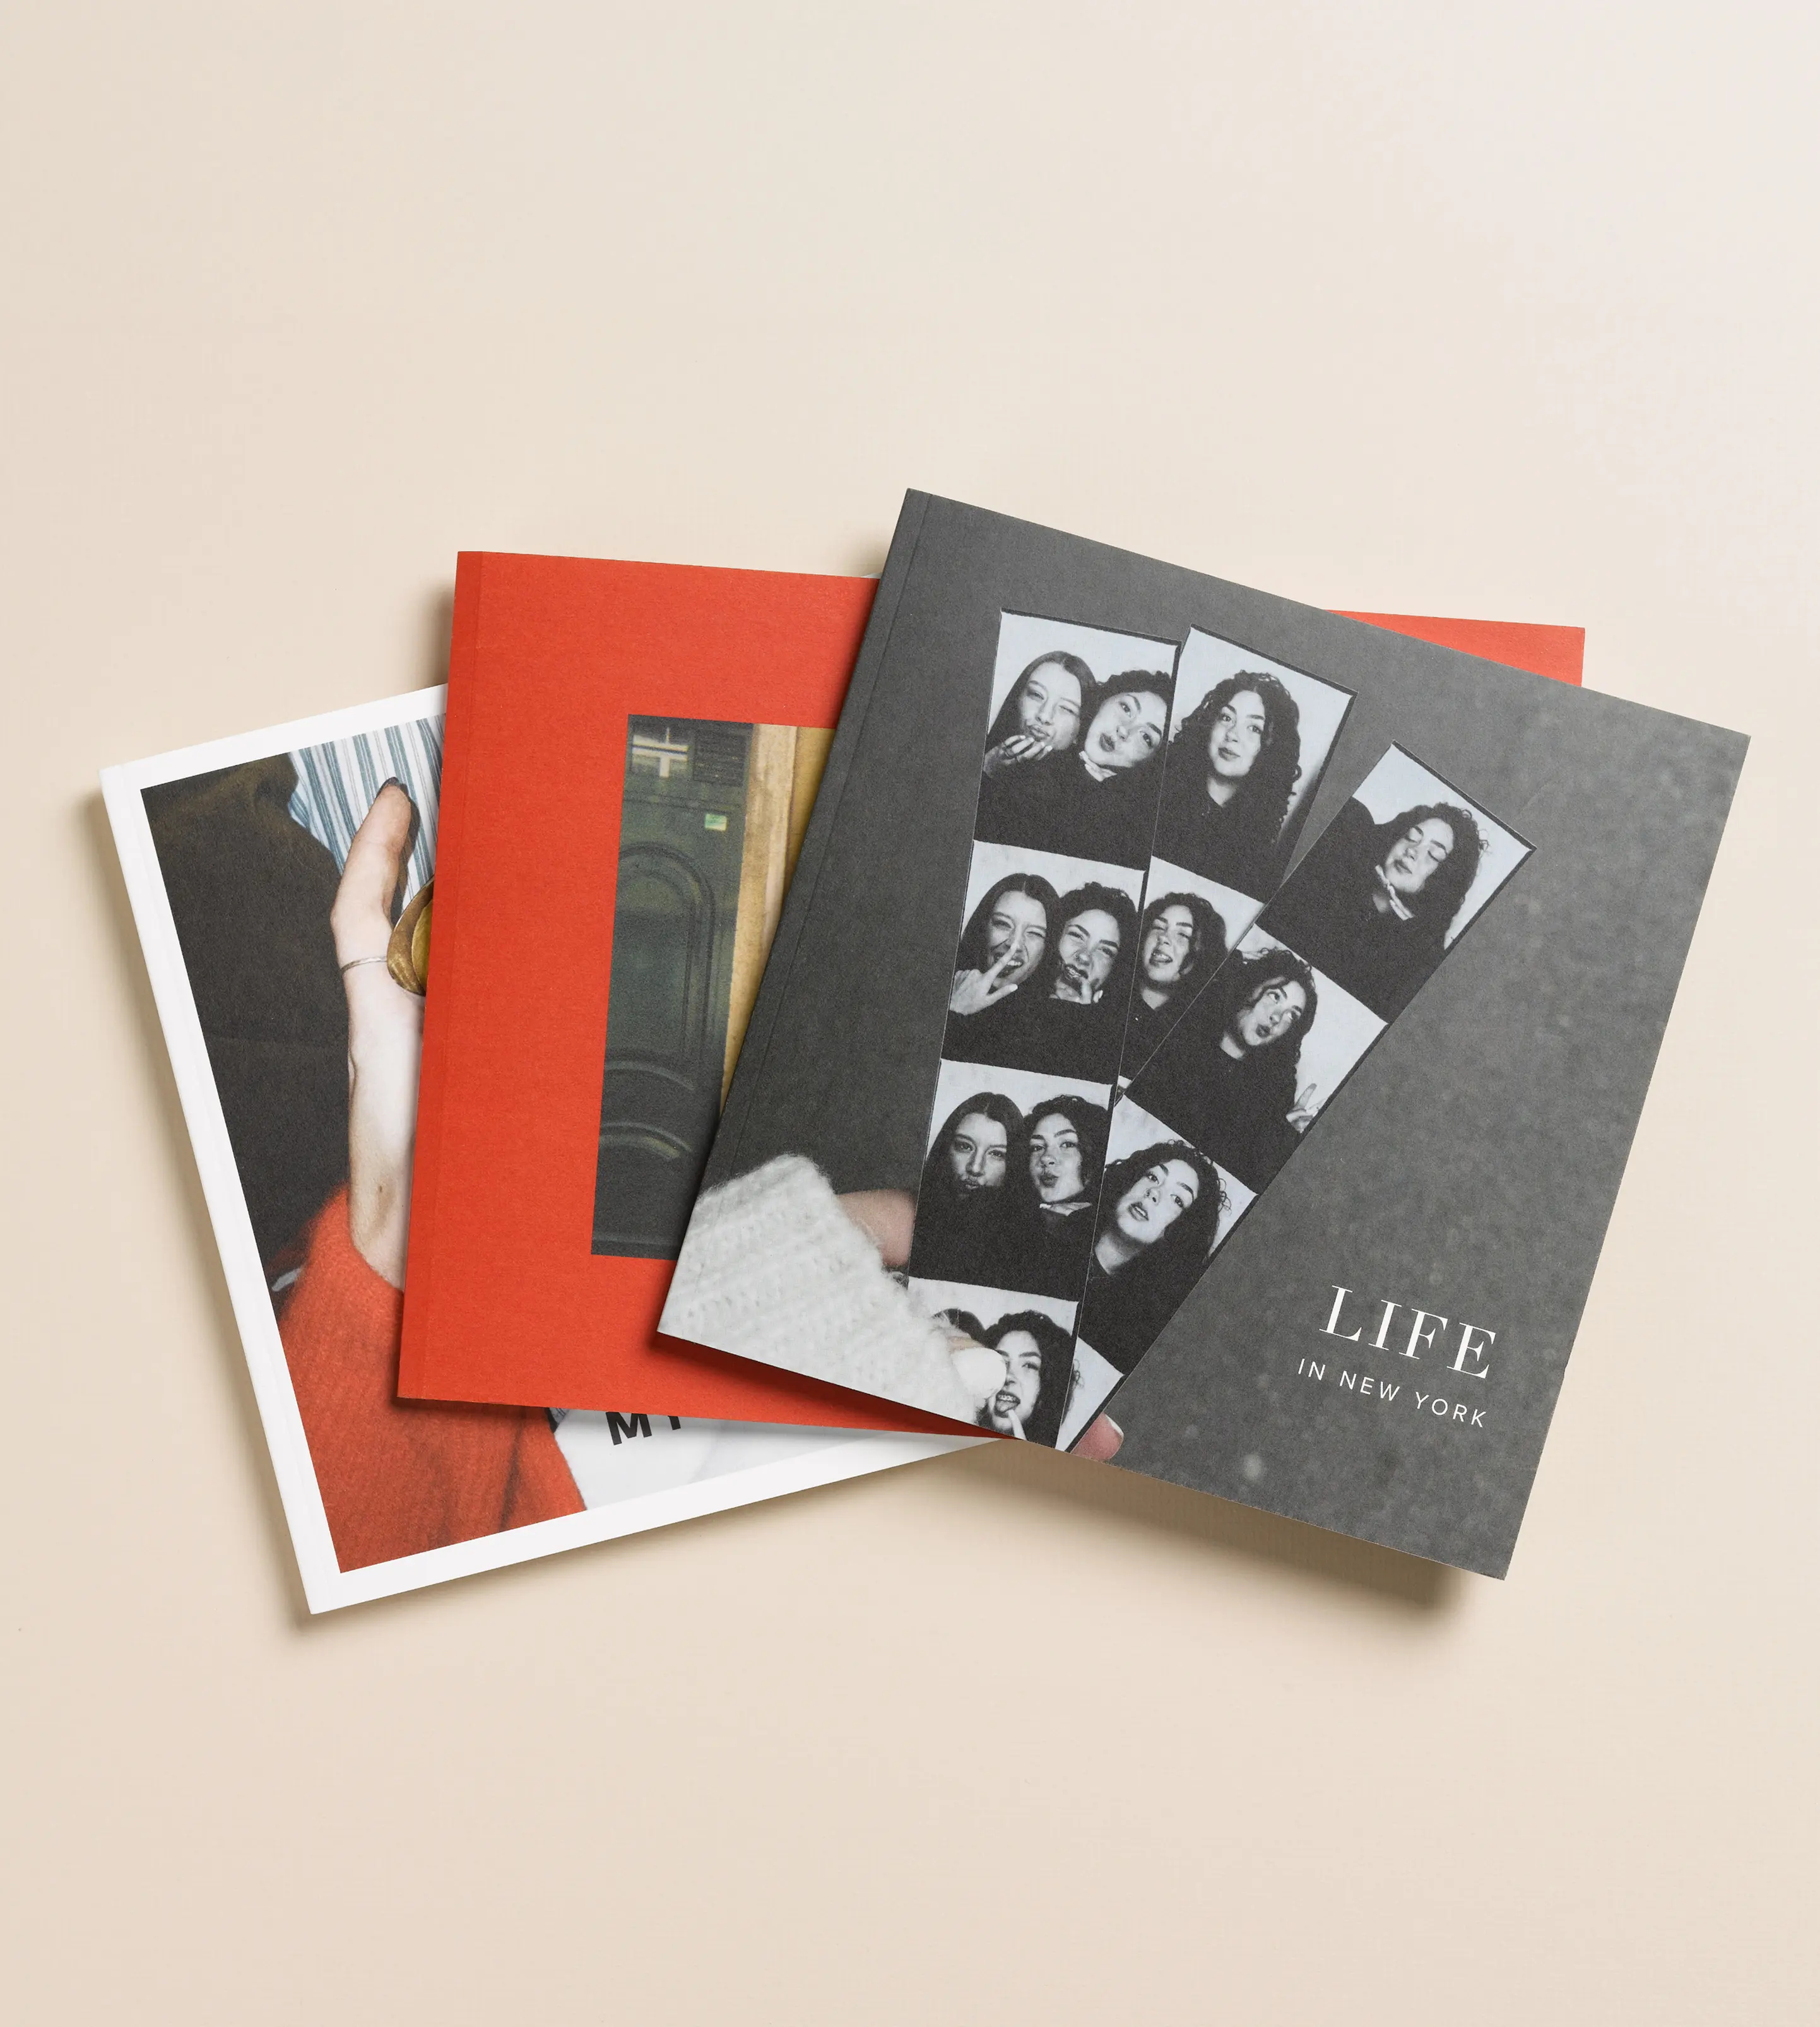
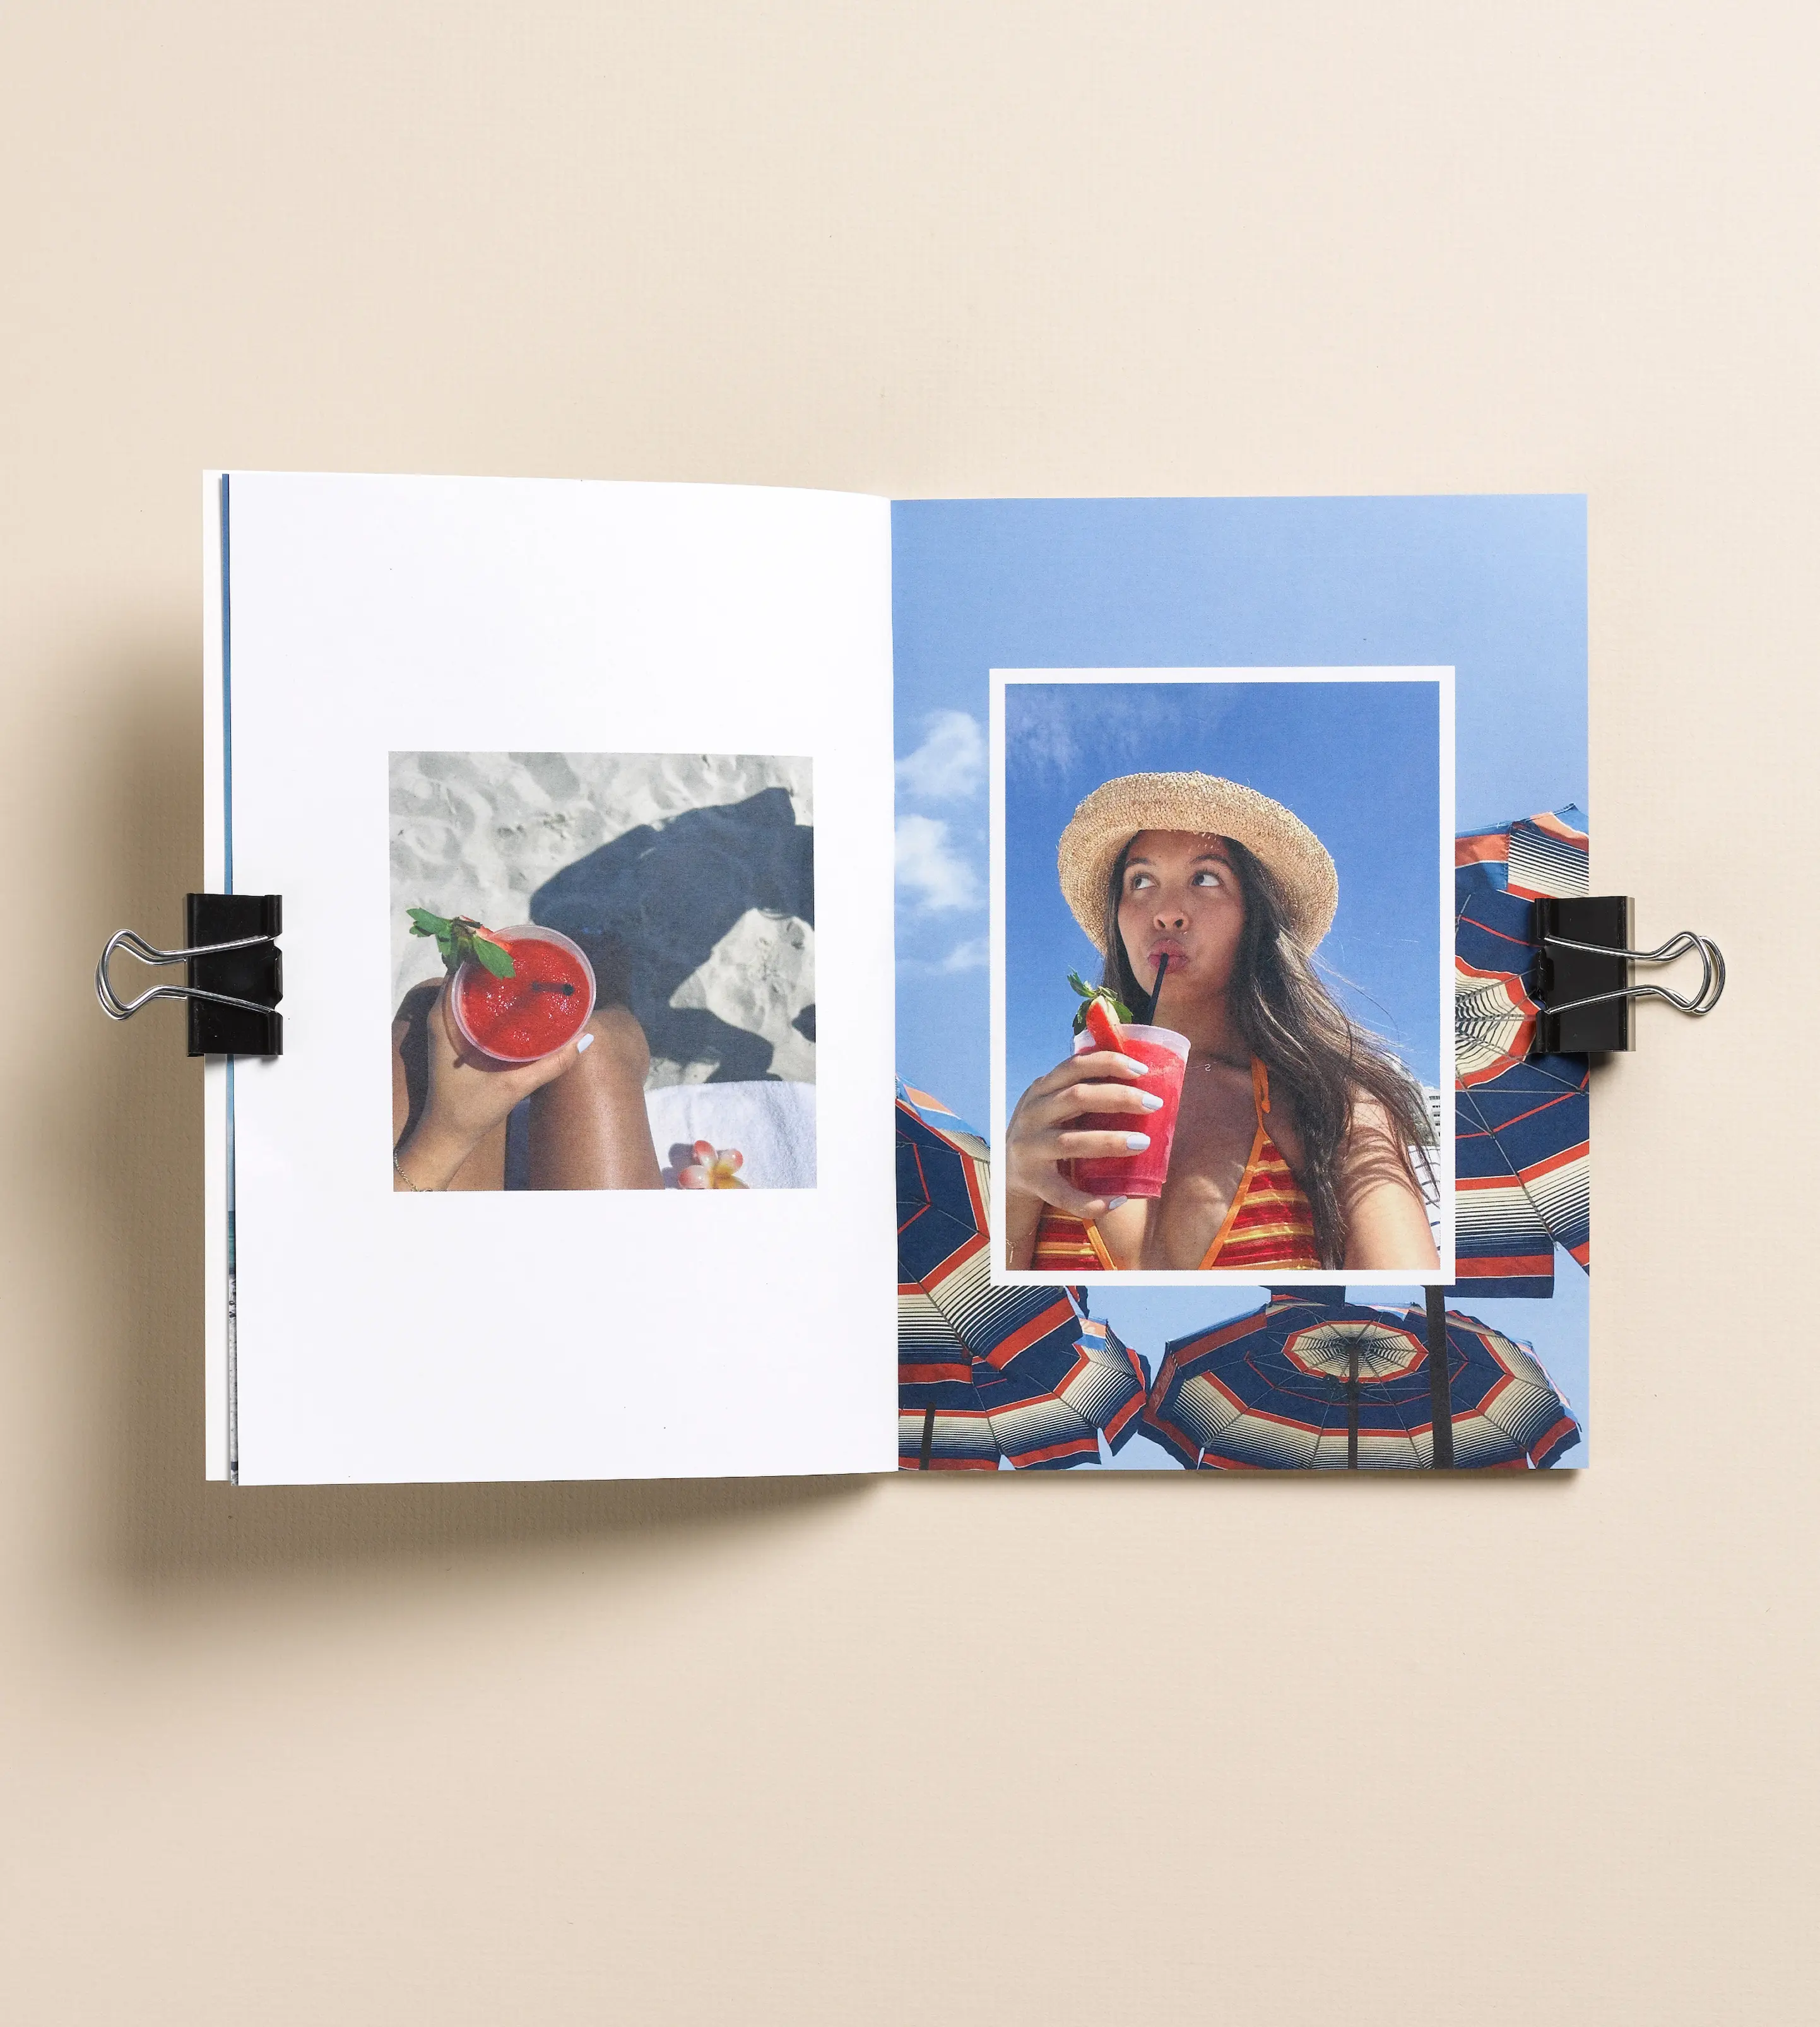
Long coveted for its textured, matte paper covers, our new magazine-inspired designs make it even more eye-catching. Full-bleed layouts give it a true editorial feel and DIY spirit that will allow you to express yourself in new and interesting ways. Because when you’re feeling your most creative, there’s no room for white space.

02

Ideas for Printing

Now for the fun part: choosing what to create first! Here are a few of our favorite ideas for a custom Softcover that is equal parts satisfying to make and delightful to reread.

  1. Travel Journal: Create a visual diary from a recent trip. This doesn’t require an epic, bucket-list adventure—you can highlight a camping weekend, a bachelorette, or even a staycation. Get creative and pick a theme, maybe drop in every picture you took of the food you ate, the wildlife you spied, or the selfies you took. How many pictures of the sunsets did you take (be honest)? Caption them with handwritten notes or illustrations. Whatever you want it to be, the Softcover is along for the ride.

  2. Mini Memoir: Reflect on a season of your life, and document it with photos. Perhaps it’s your college years, your pregnancy journey, or a big move. Mark that chapter in print, and then again and again (nothing is more chic than a collection).

  3. Memory Capsule: Compile a year-in-review of sorts—a visual journal, including every outfit pic, silly face, matcha order, or good hair day. Maybe toss in some of your favorite quotes or mantras from the year, too. This gives you a permanent, tangible archive to look back on, beyond the scroll of social media.

03

Pro Tips for Designing

The hardest part is simply getting started. So we’re sharing some nitty-gritty tactical advice to get you over the hurdle.

  1. One of our favorite design hacks for the new duo-photo layout is to crop one image into two frames. This will give your cover an artistic yet cohesive touch. And don’t forget to pick a custom background color—that’s what makes this design so iconic!

  2. For a zine-style book, choose a bold image with a portrait orientation and pair it with the 8.25x11” size.

  3. You guessed it—the opposite is also true. If you want to create a landscape book, like the 8x6” size, choose a cover image with a landscape orientation. Don’t be afraid to experiment with cropping and framing. Sometimes the most dynamic covers feature a close-up shot rather than a big-picture landscape.

  4. When designing your cover, double check that you’ve uploaded high-resolution images to ensure they will make the biggest (and clearest) impact.

  5. Next, consider your book’s title and how it will pair with your image. You might use all-caps to lend your book a modern vibe, or stick to sentence case for a more traditional look. Keep negative space in mind when selecting a photo, and use a minimal text layout to let your cover star do the talking.

  6. The same goes for your book’s interior—mix and match image layouts from page to page, and spend some time thinking through where you may want to add handwritten notes or doodles. If the blank canvas feels overwhelming, the easiest thing you can do is dump every photo onto its own page and make it full-bleed. Even if you’re creating a 8.25x11” book and some of your shots are landscape, rotate them 90 degrees and let them live there sideways. Trust us, it is striking to flip through.

The most important thing to remember? There is no right or wrong—only what feels good to you.

It’s Easier Than You Think

Conclusion

Instead of spending hours curating only your best shots for an heirloom-worthy album, you can dive right in with moments from your camera roll to create something meaningful and one-of-a-kind. With three new cover designs, you’ll have more creative freedom than ever.

design yours

Related Articles