


How to Hang Photos
and Artwork in
Your Home
contents
01
Color Theory
02
Perfect Pairings
03
How to Hang
04
Leaning and Layering
05
Call in the Professionals
We might be biased, but how you hang your pictures and artwork can make or break a
room. Your walls deserve just as much attention as every other area of your home.
But the sense of permanence that comes with nailing something into your wall can be
daunting, and the task isn’t always as effortless as it seems.
We recently asked two of our very own—Creative Director Aslee Livingston and Strategic Sourcing Manager Eloise Heath—to spill their secrets for framing and hanging those treasured objects on the walls, and they did not hold back. While we can’t guarantee to help you pull an entire room together, we can help you focus on making your walls look better than you ever imagined. Here are some ground rules, along with tips and tricks for nailing the look.
We recently asked two of our very own—Creative Director Aslee Livingston and Strategic Sourcing Manager Eloise Heath—to spill their secrets for framing and hanging those treasured objects on the walls, and they did not hold back. While we can’t guarantee to help you pull an entire room together, we can help you focus on making your walls look better than you ever imagined. Here are some ground rules, along with tips and tricks for nailing the look.
01
Color Theory
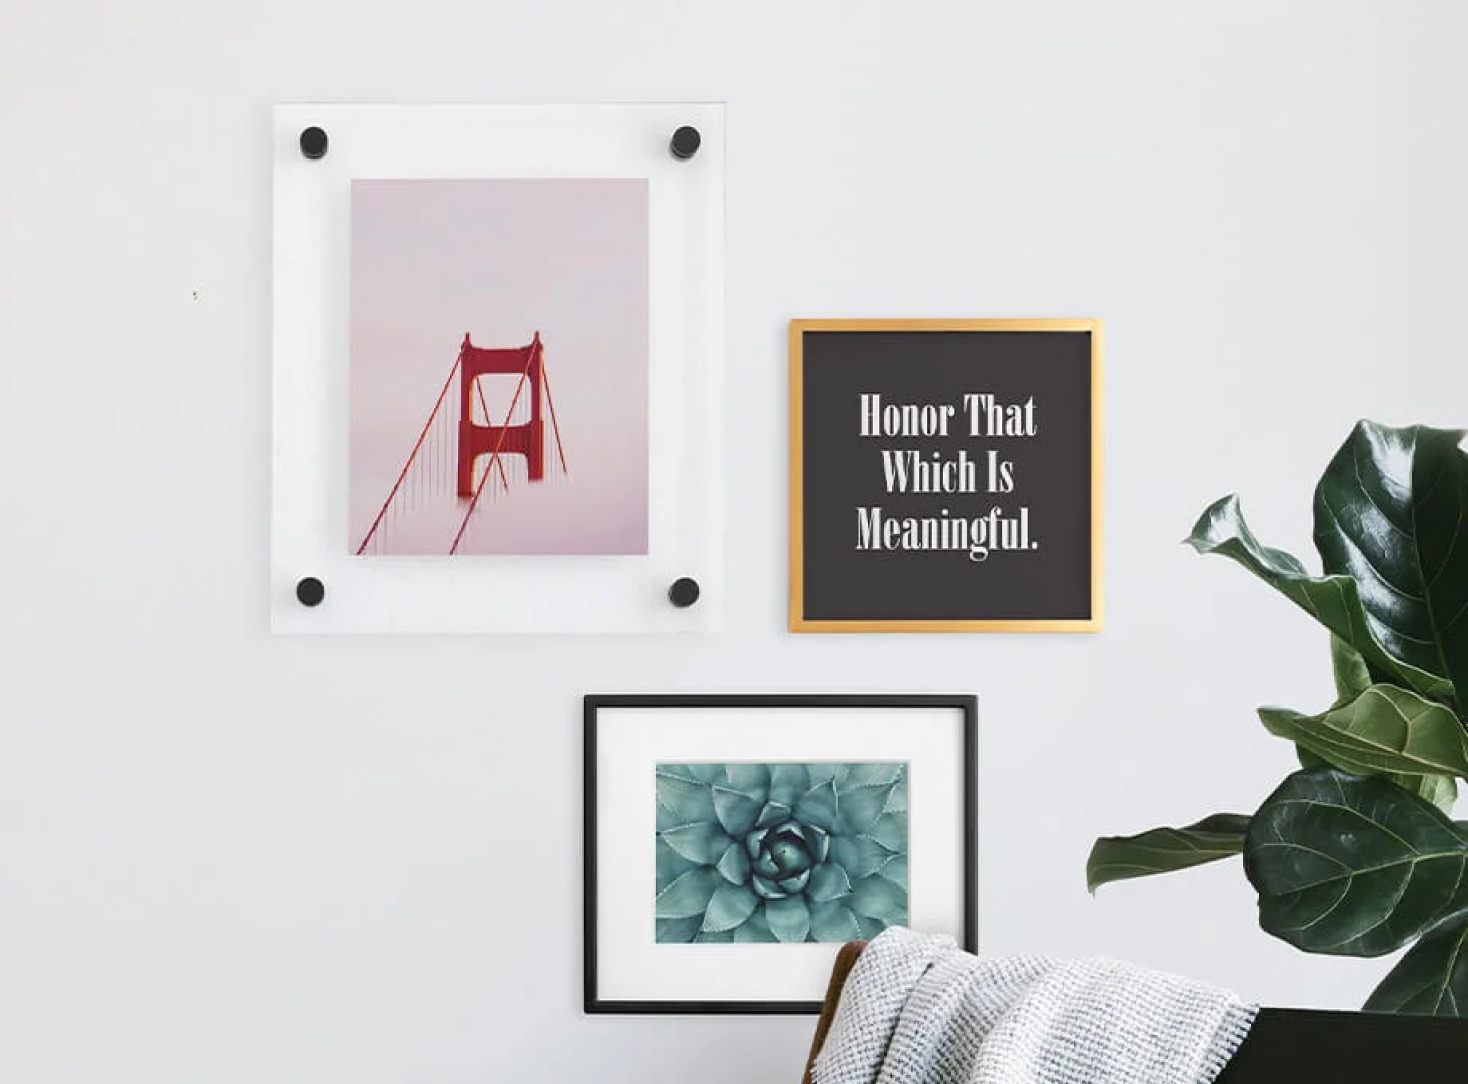
For most (especially the minimalists among us), it’s easy to shy away from adding
color in big, or even small, doses. But with a little confidence here and a little
contrast there, adding the perfect pops of color is not only attainable, but
game-changing.
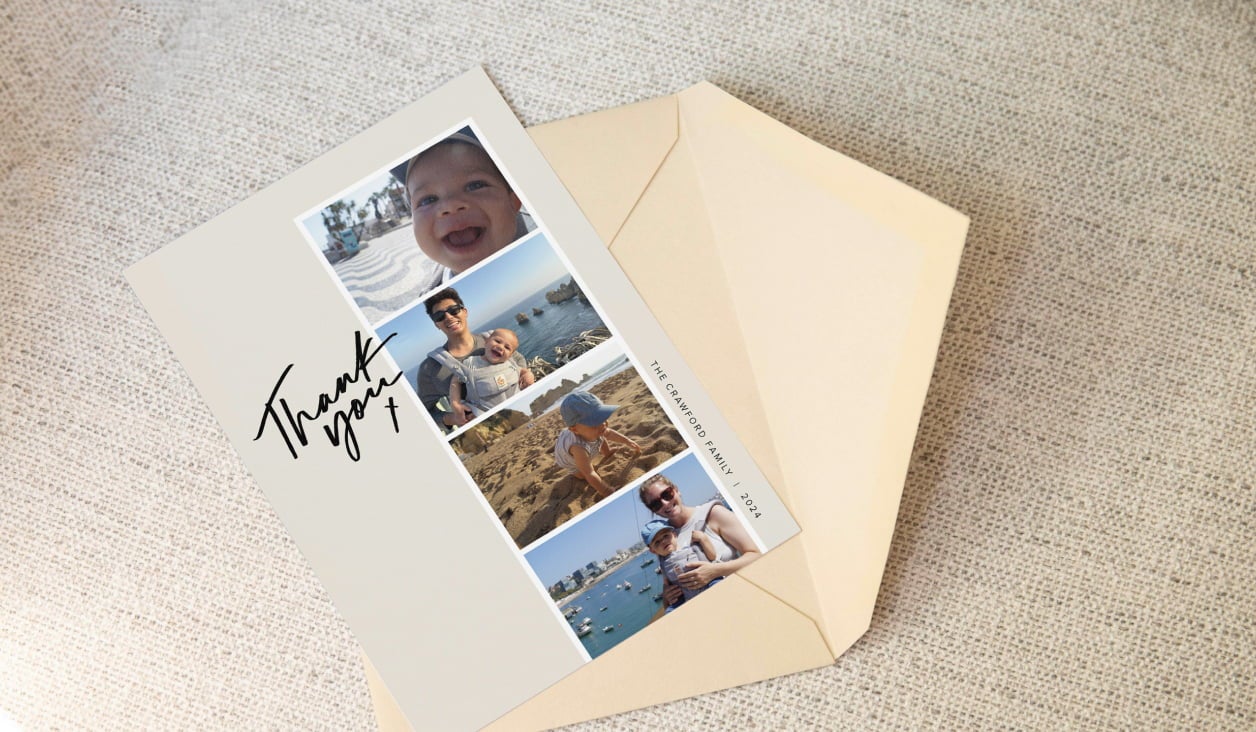
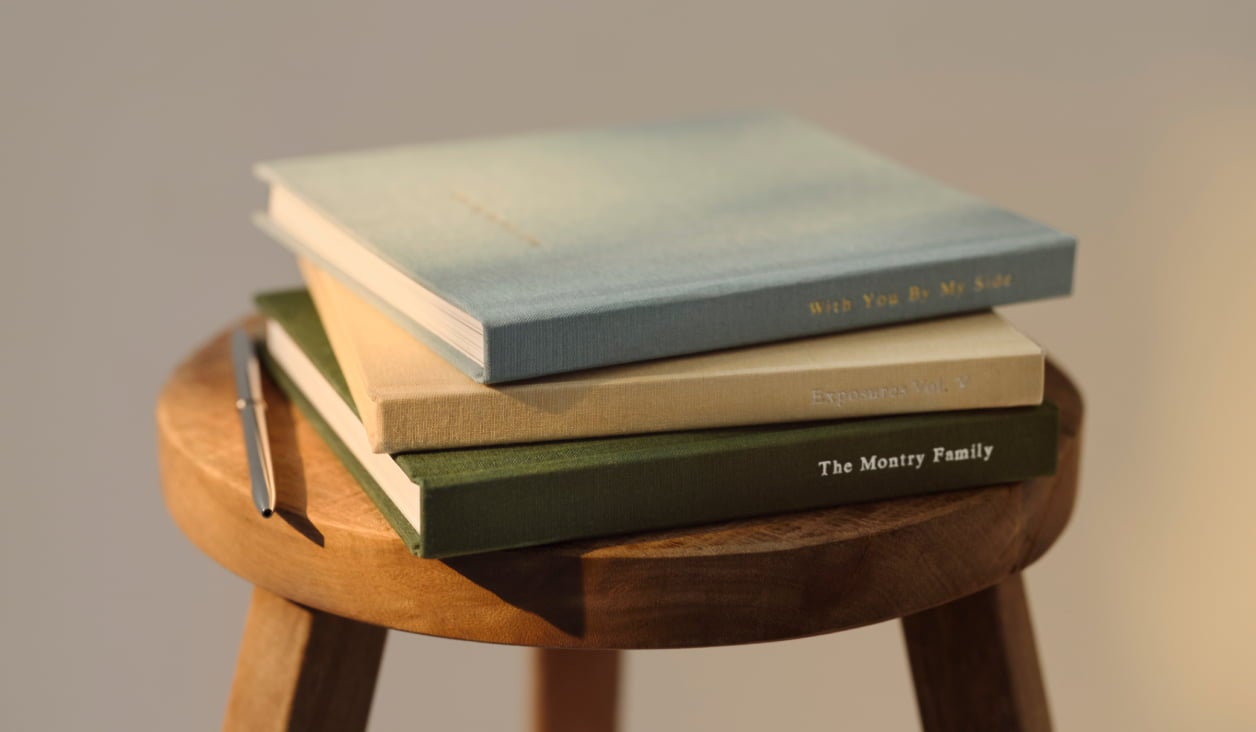
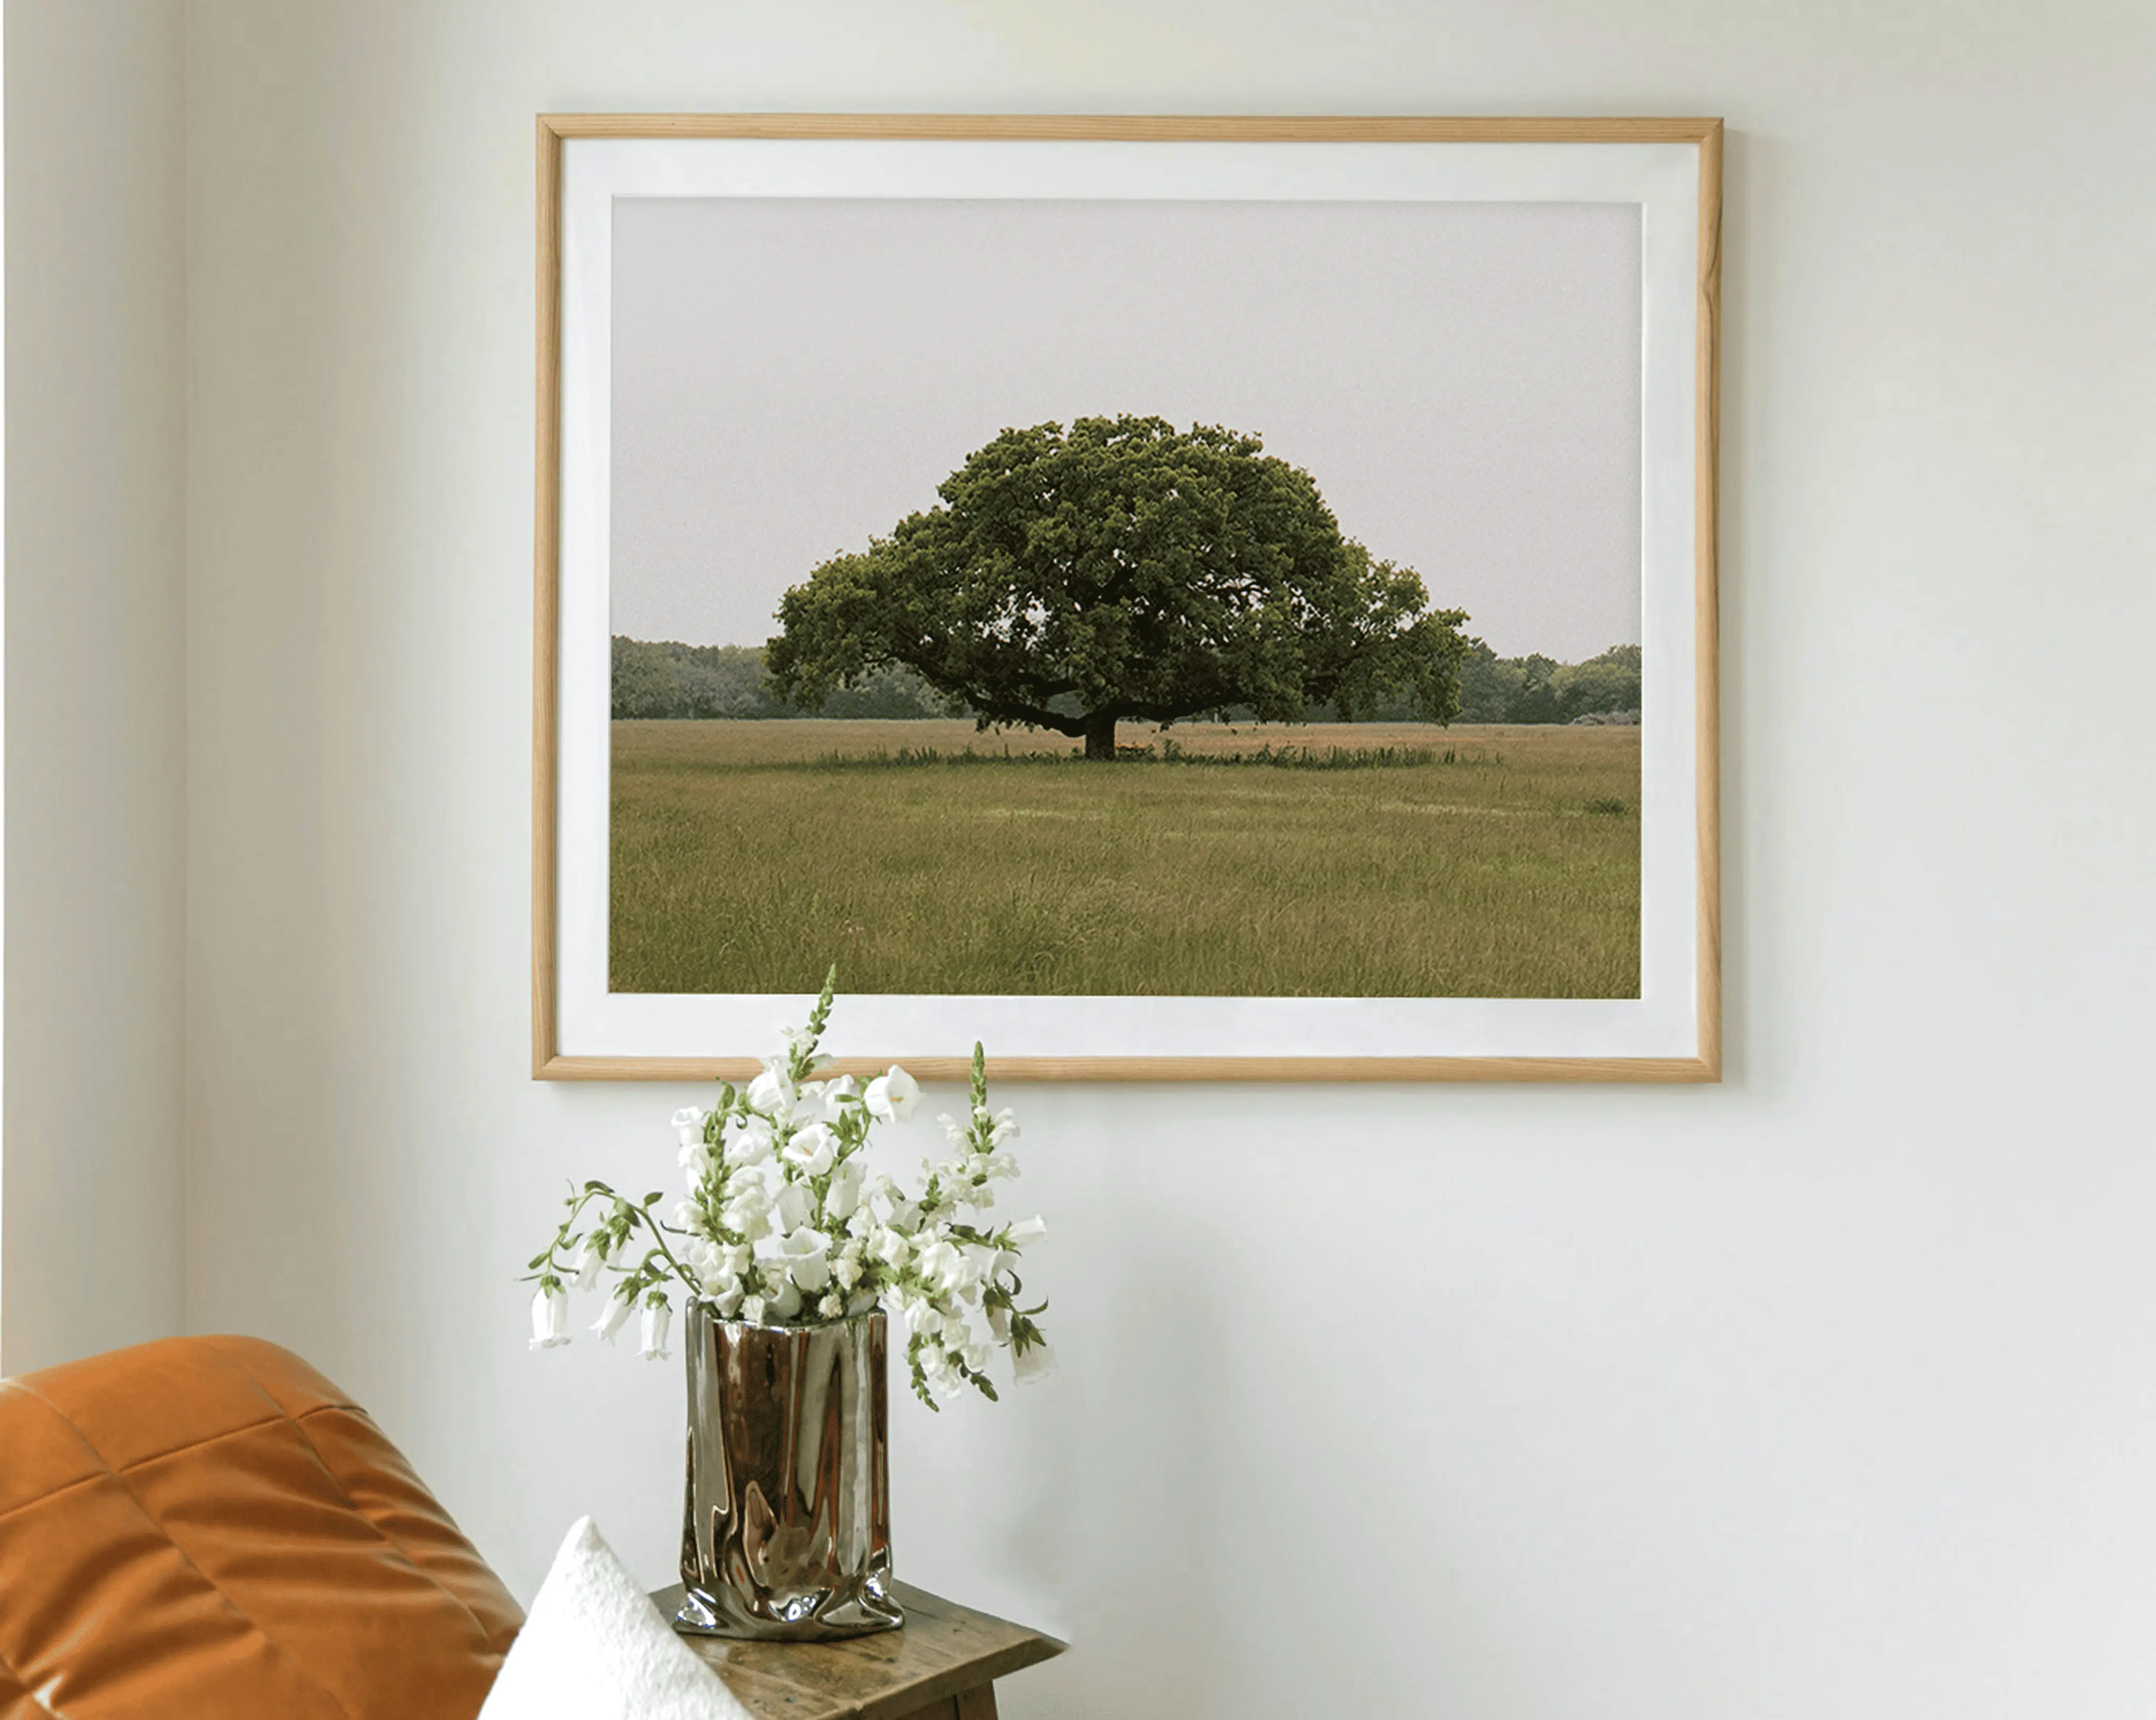
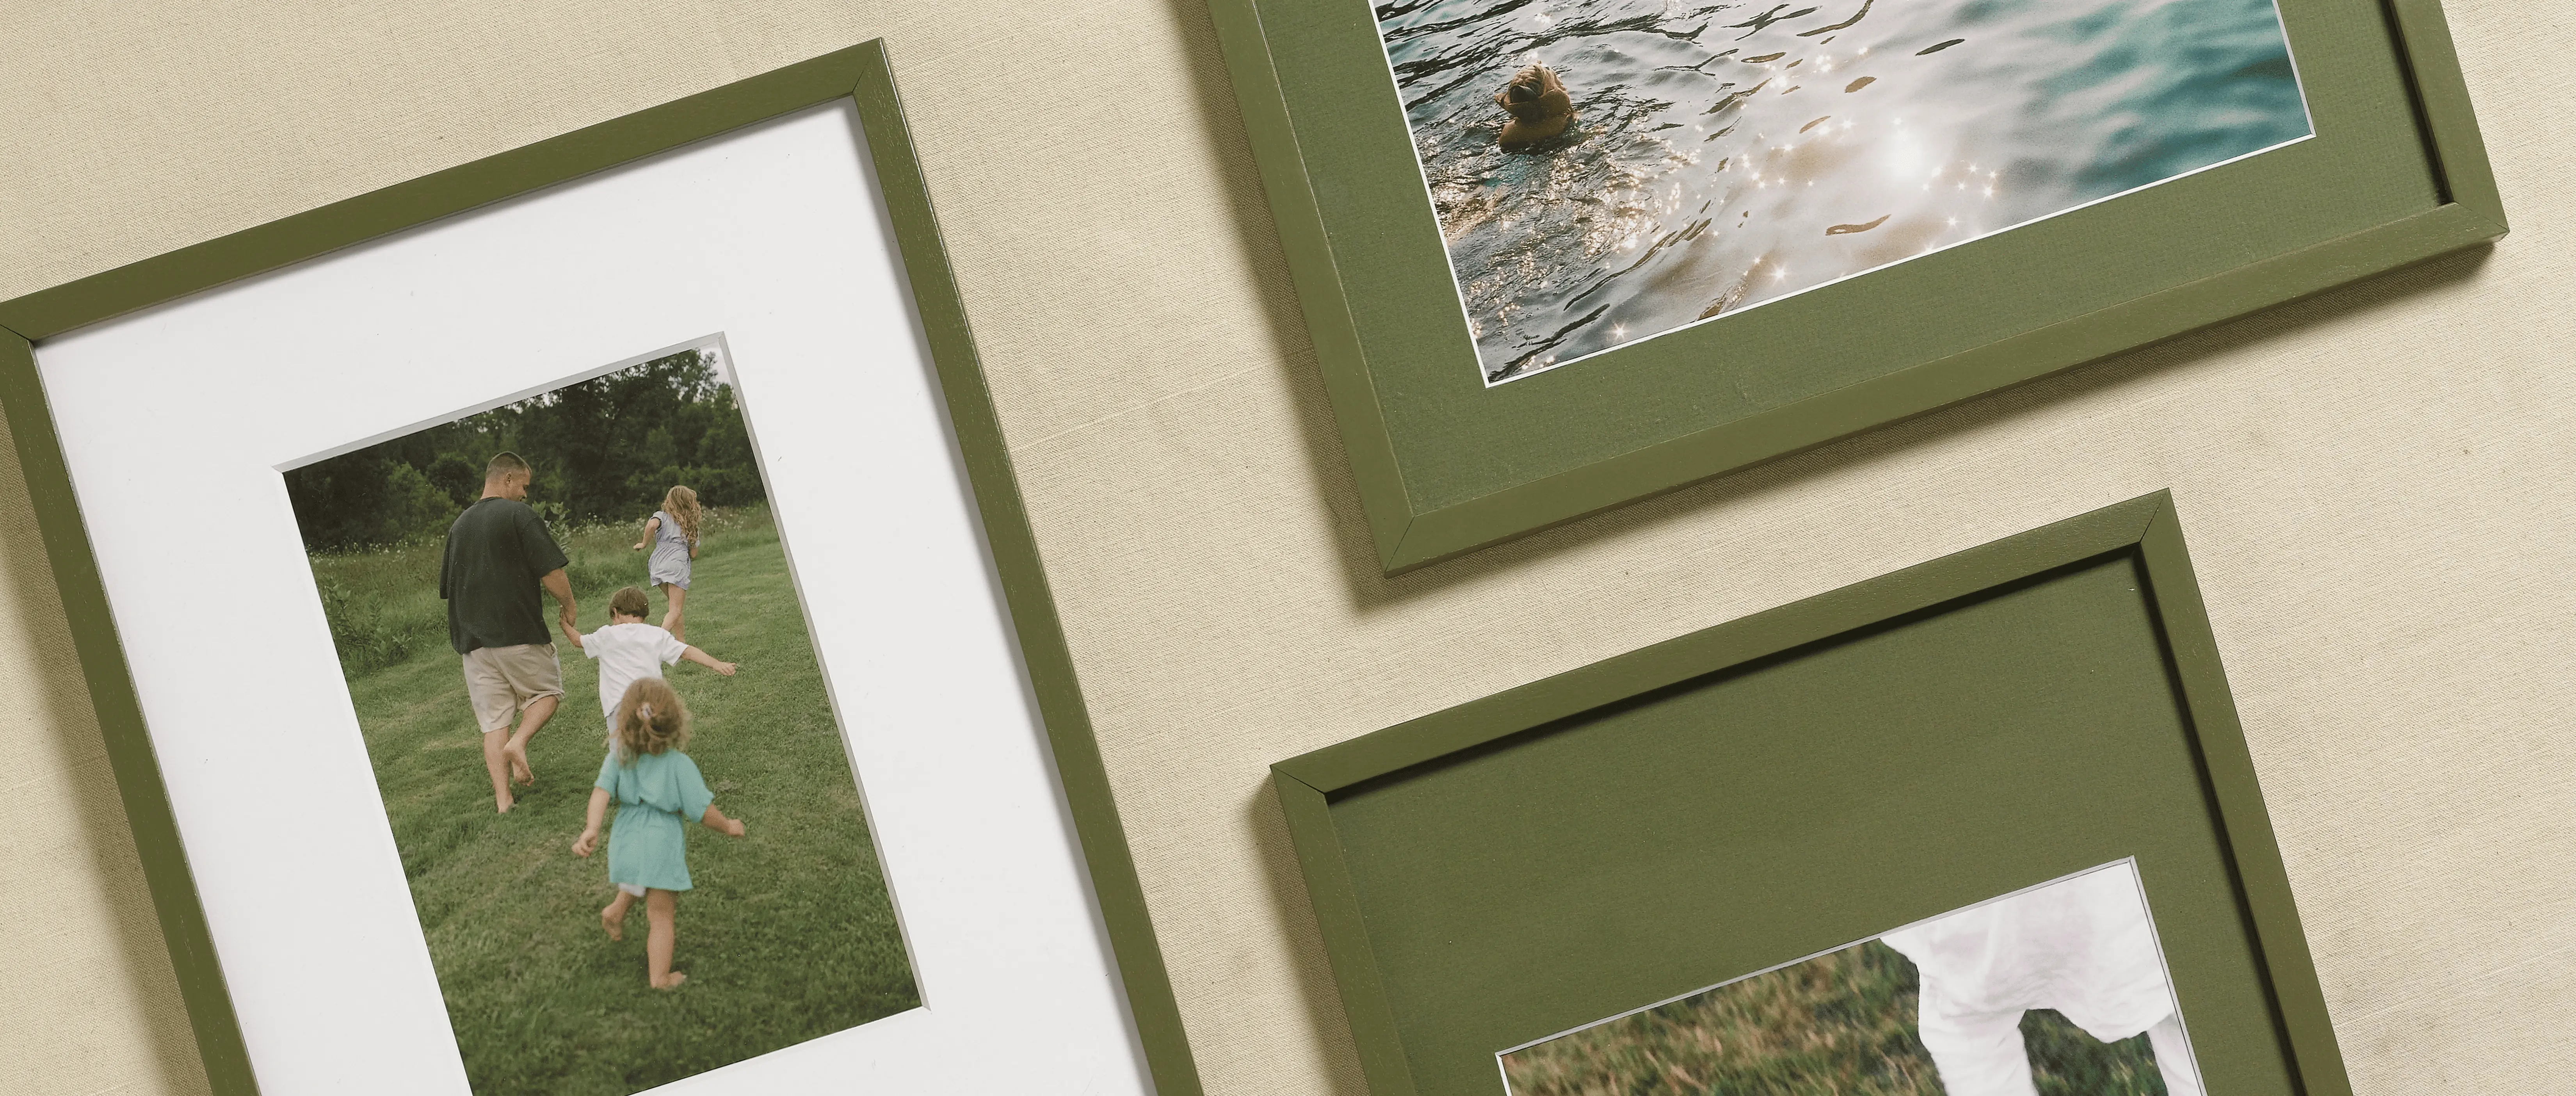
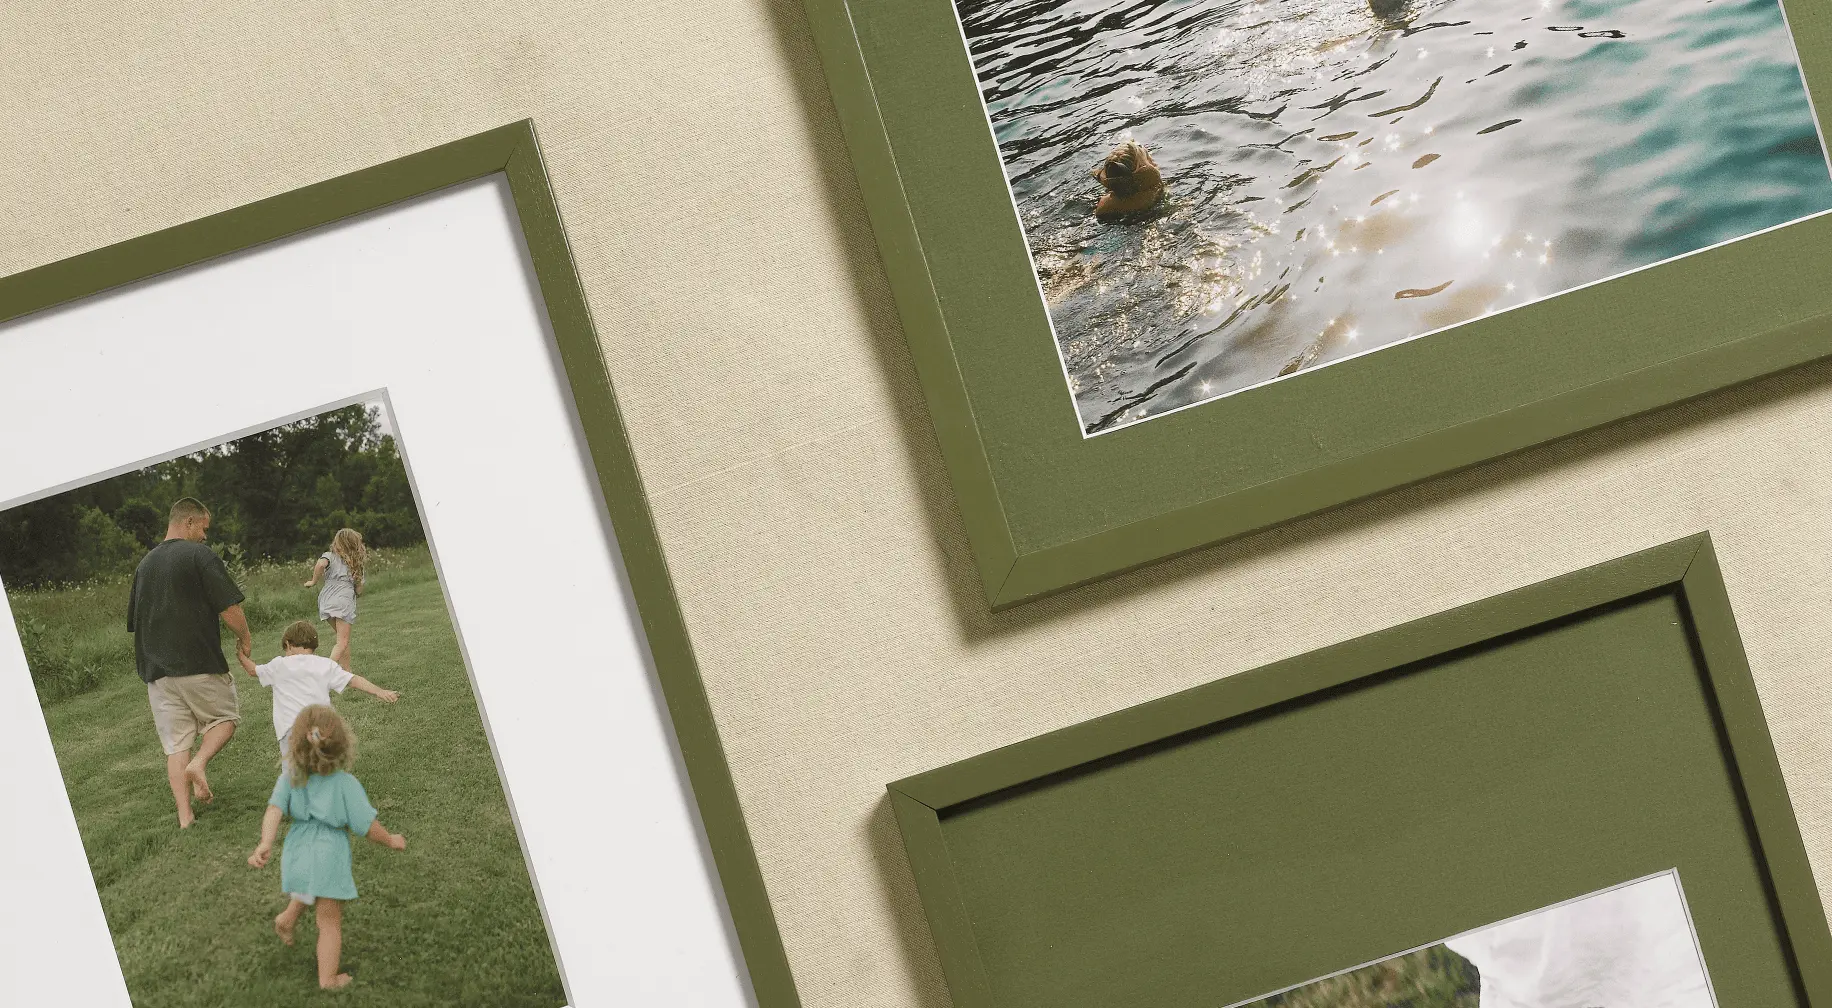
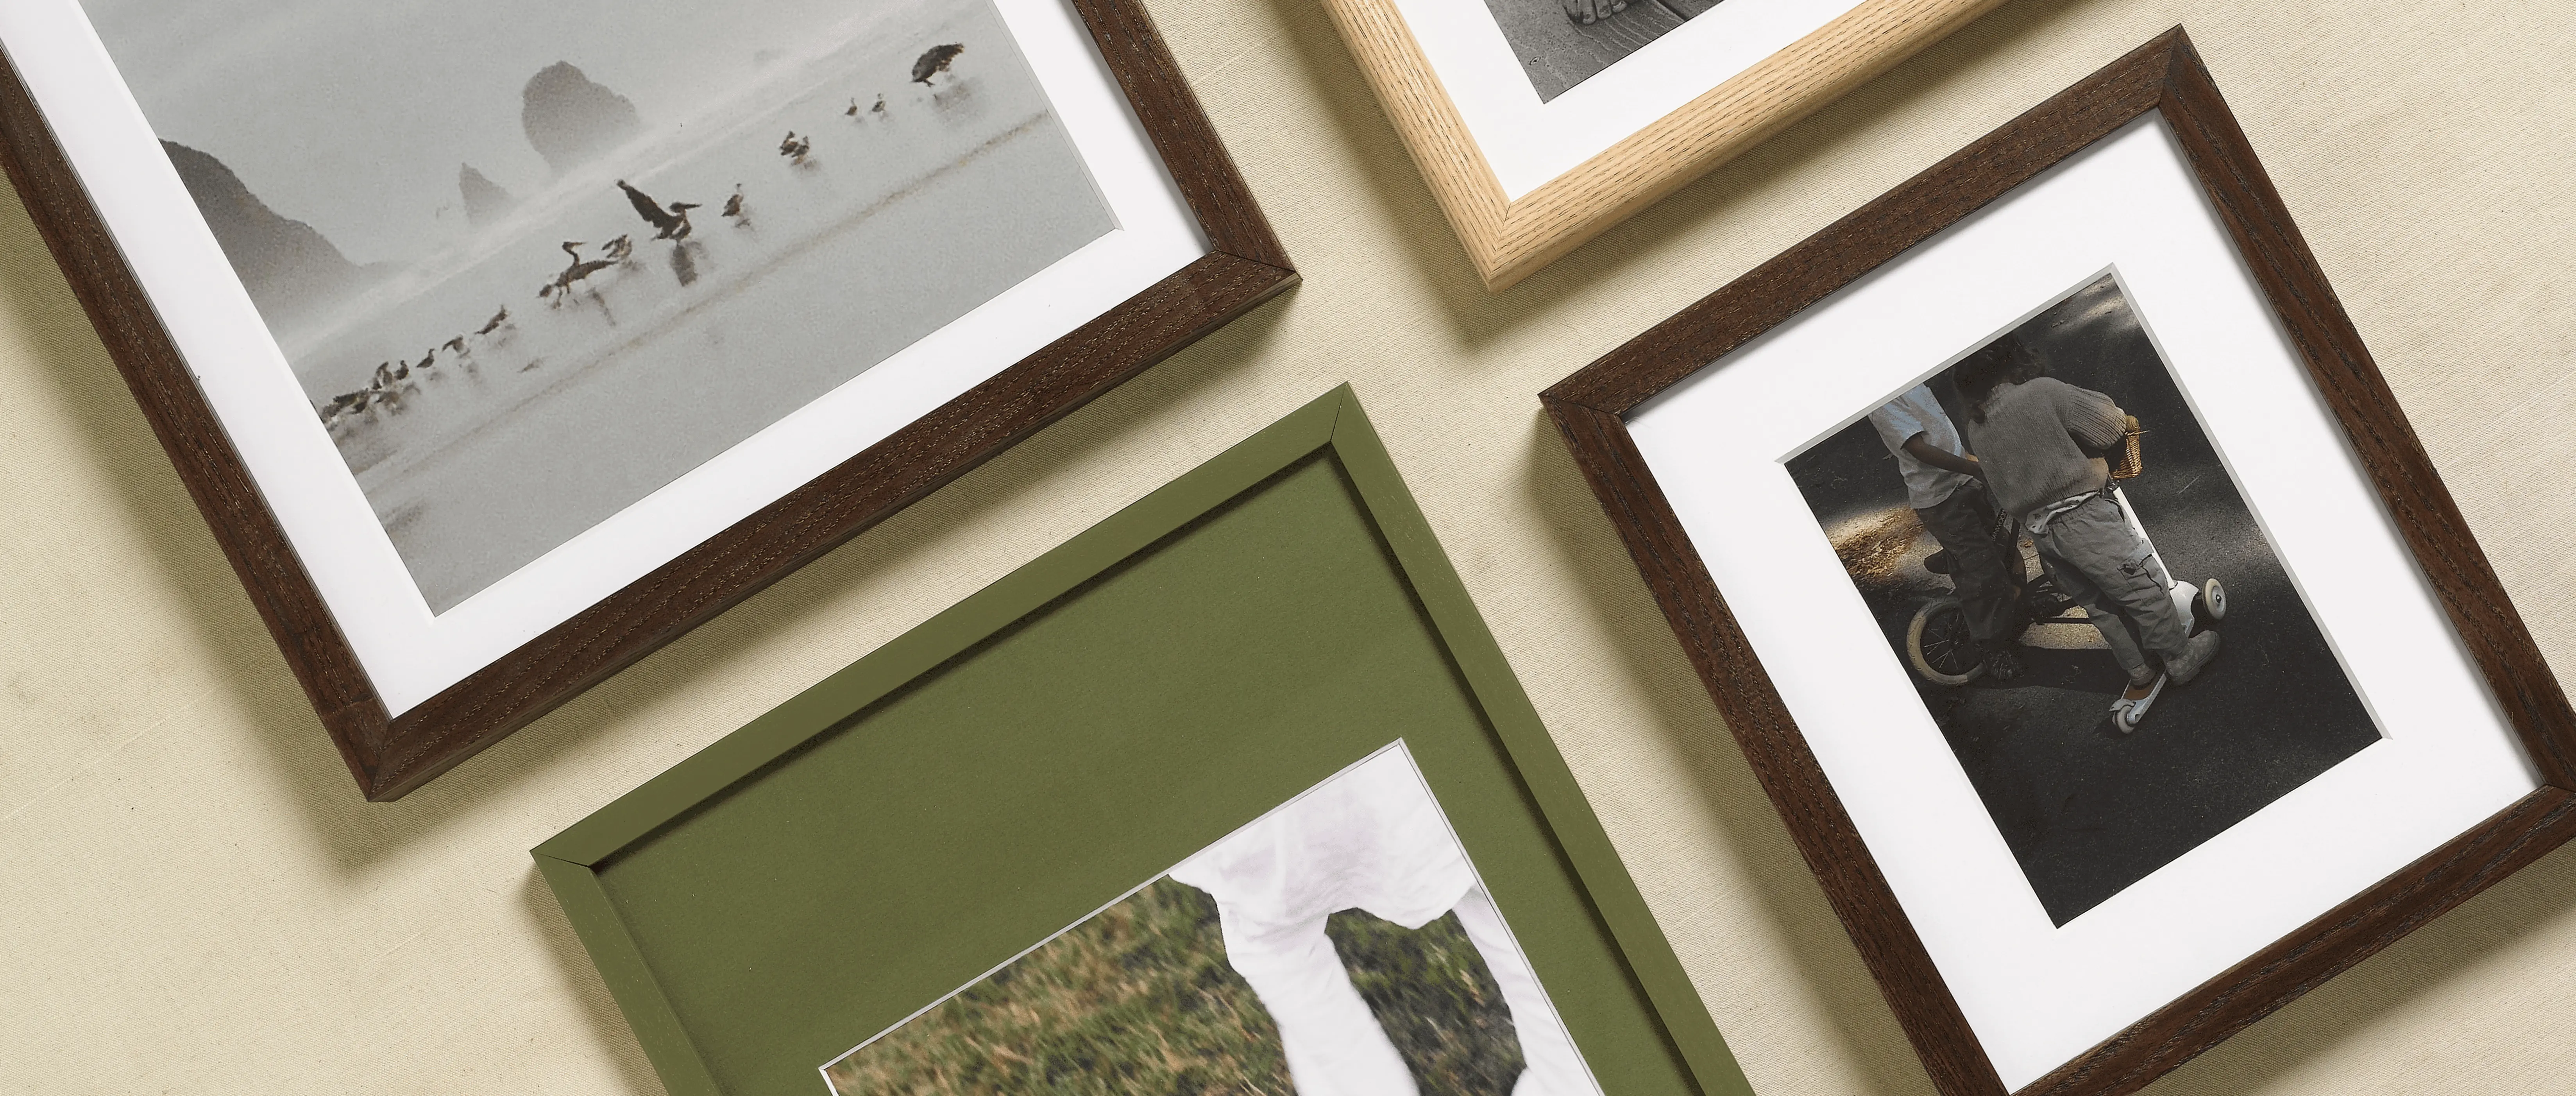
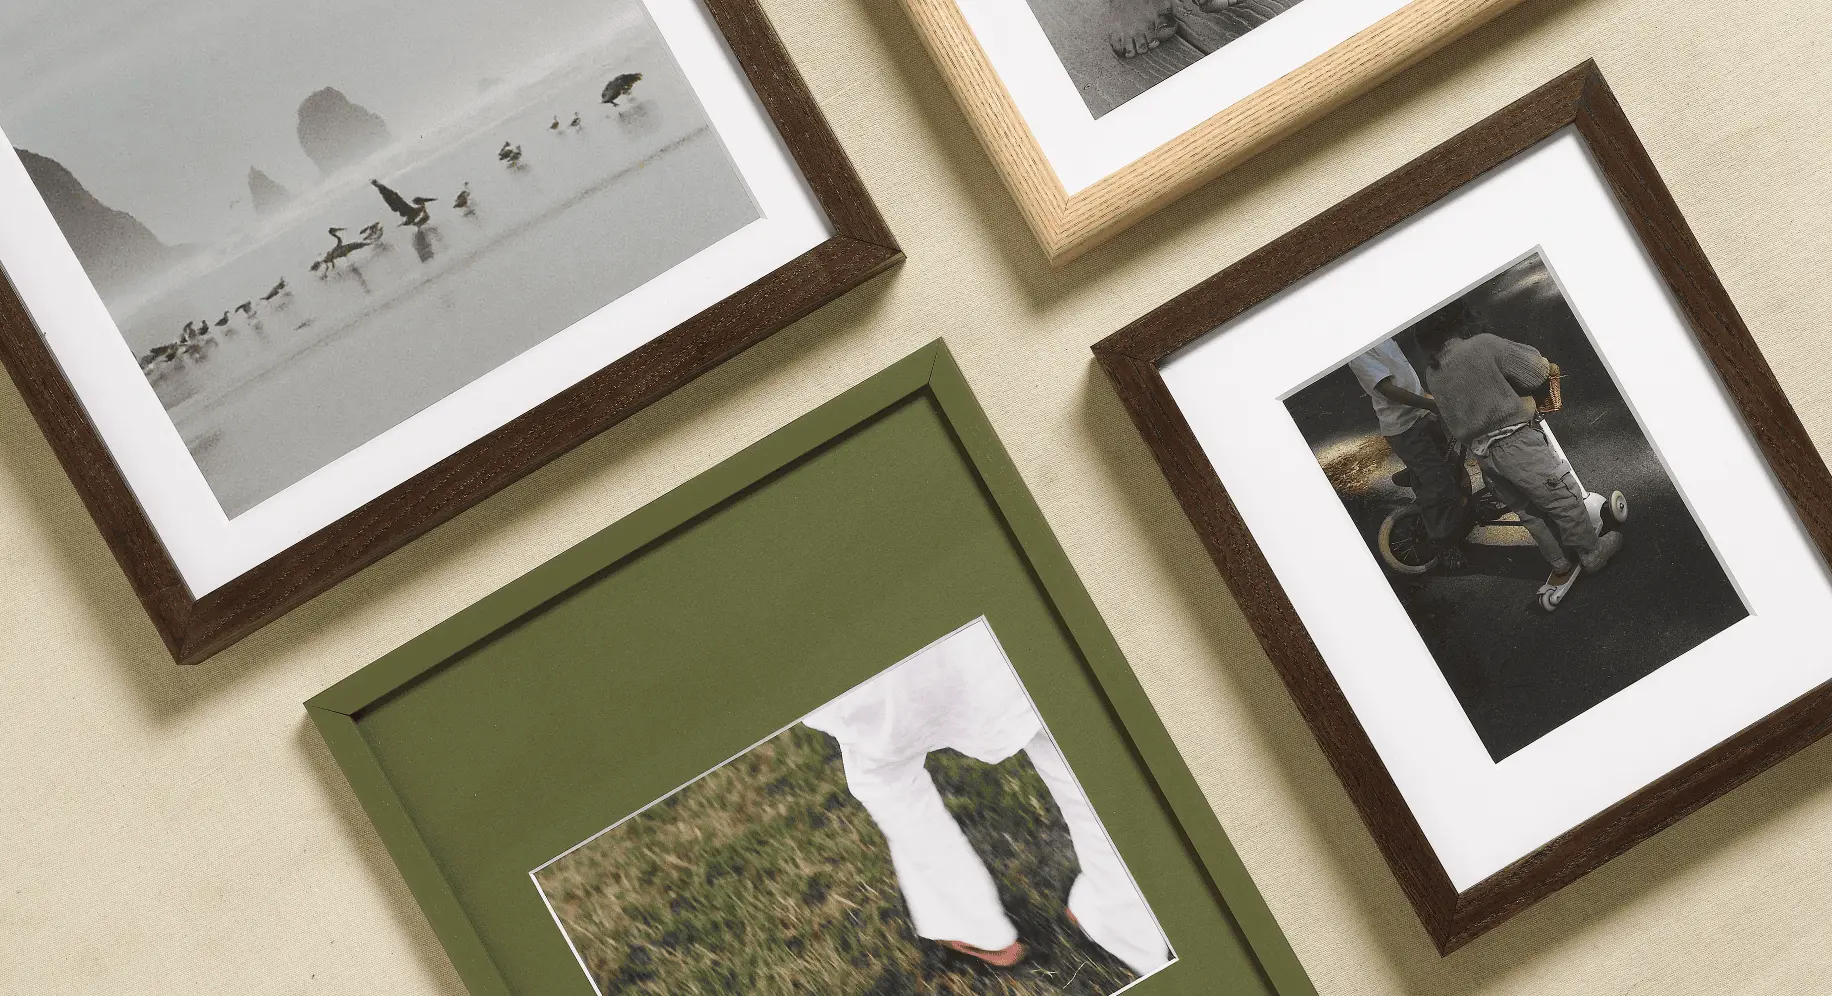
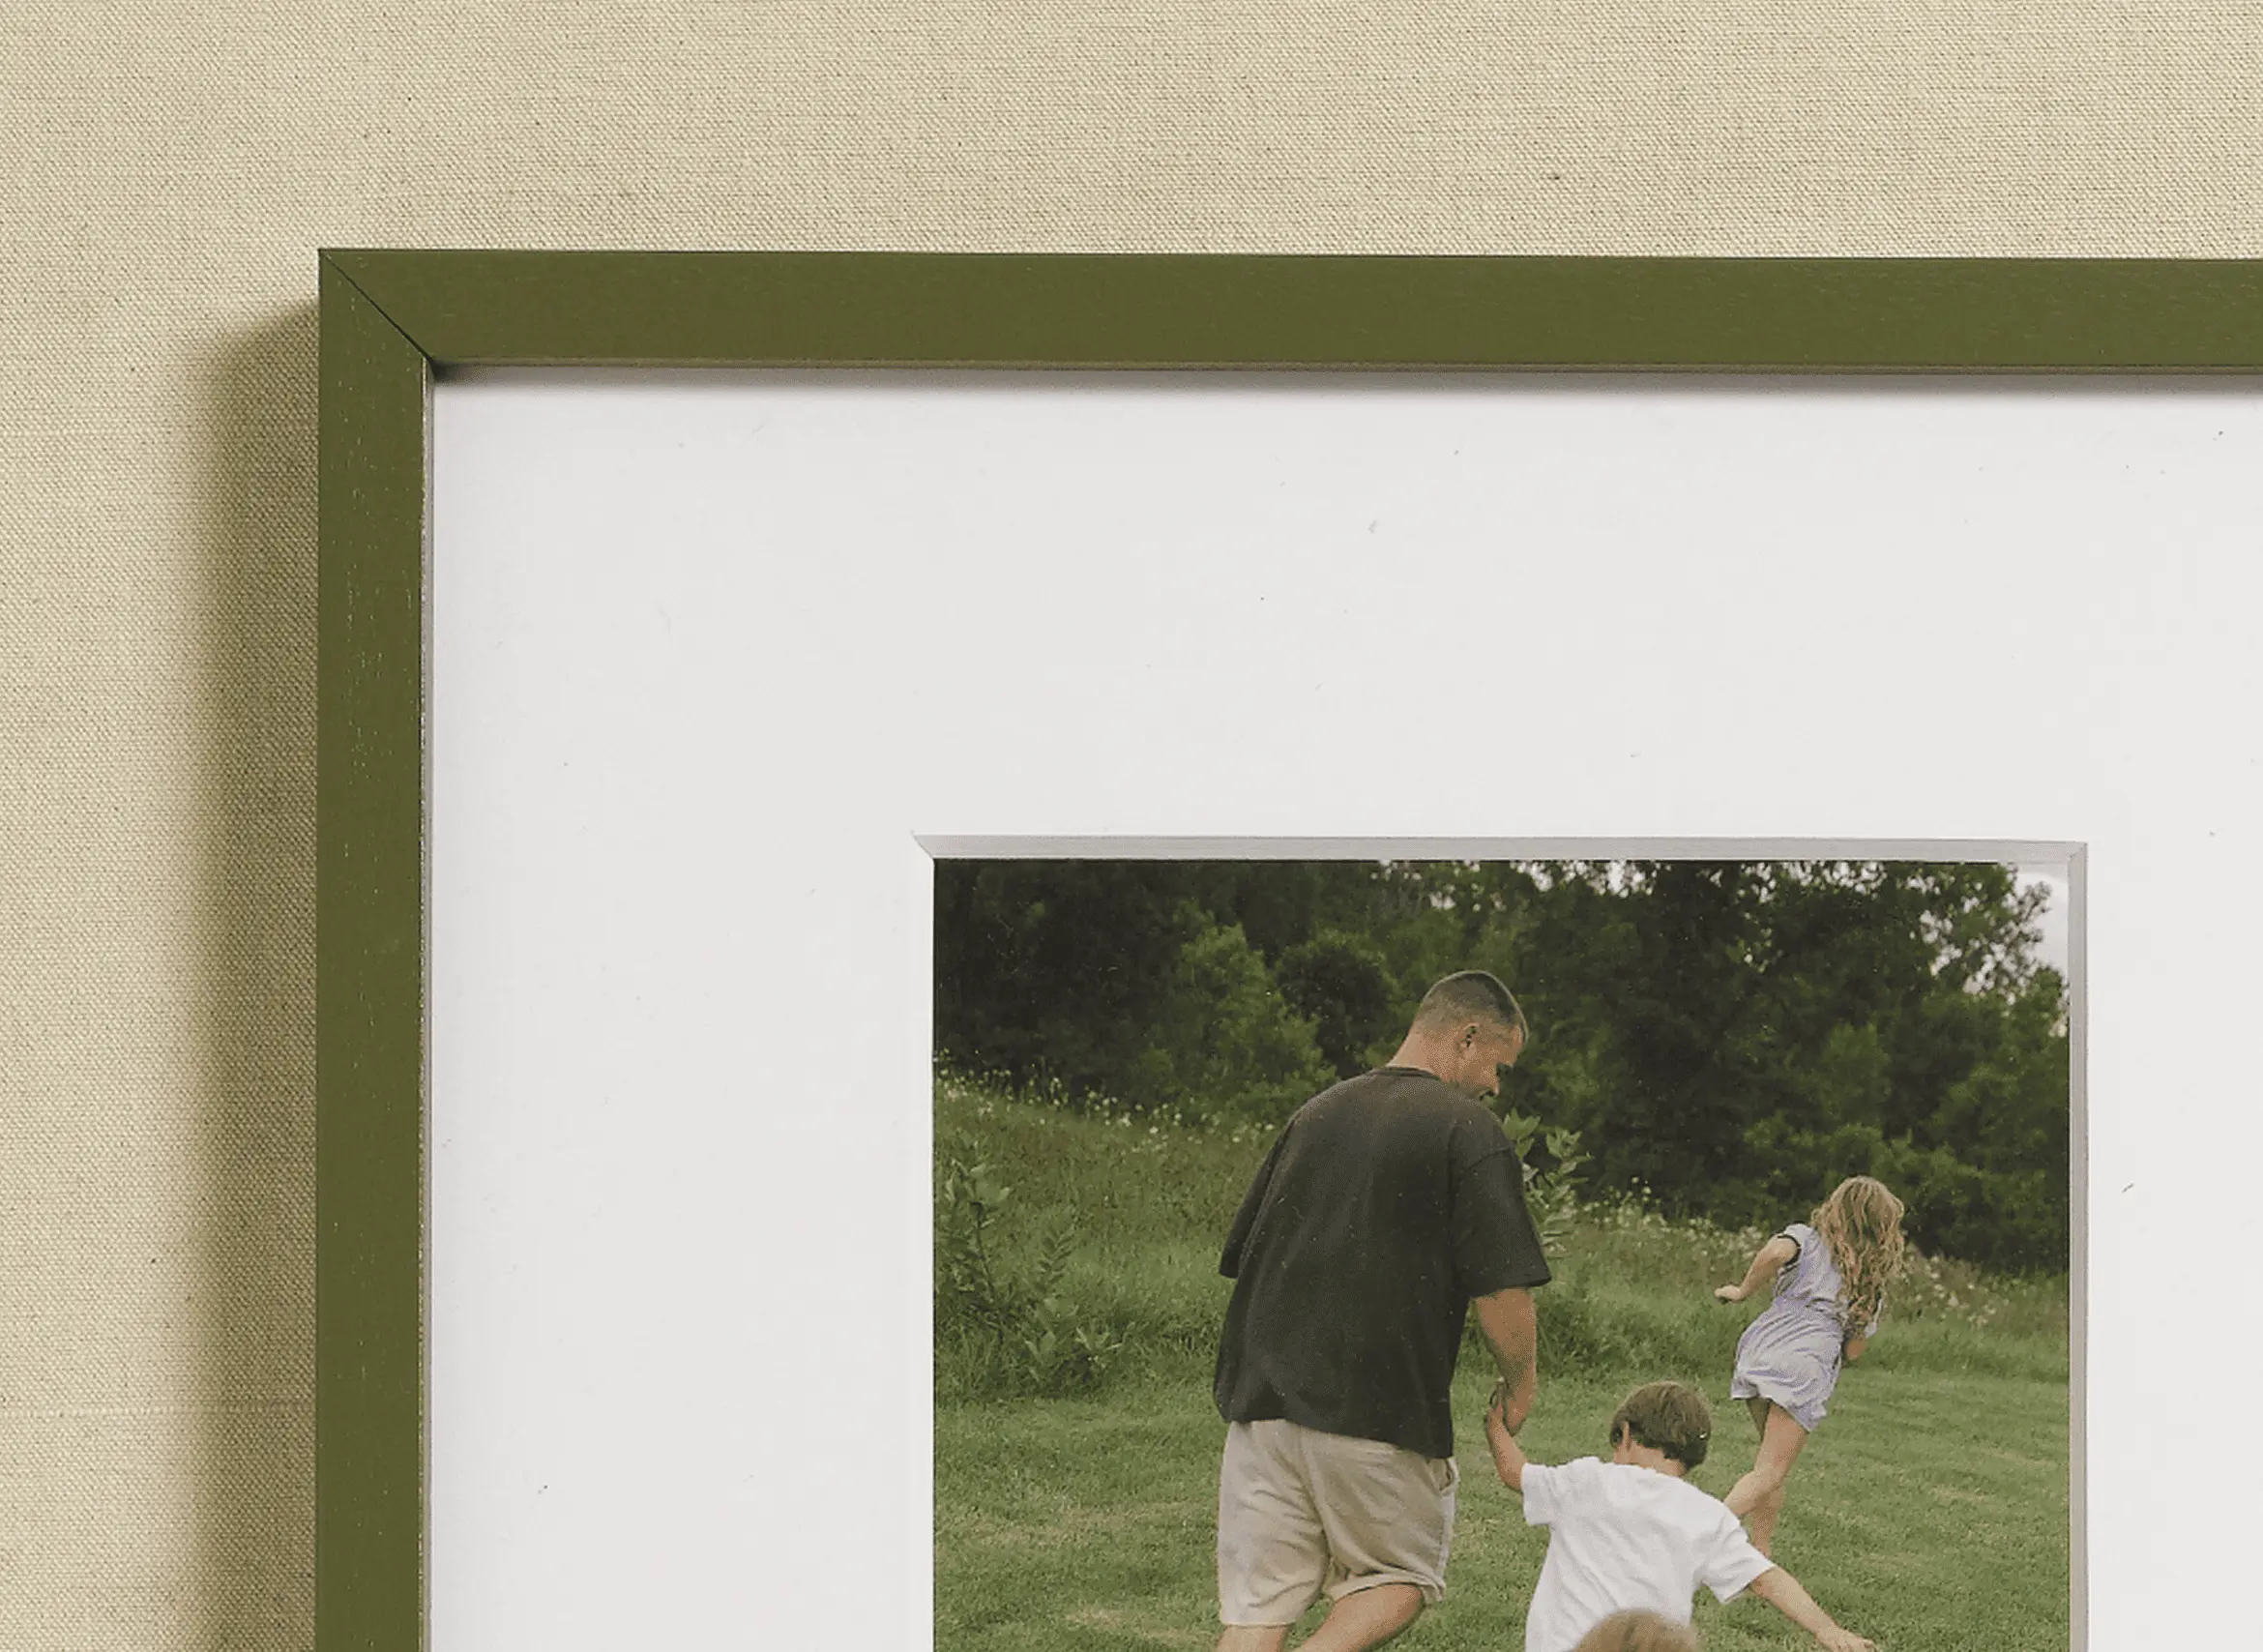
Artifact Uprising’s Strategic Sourcing Manager, Eloise Heath, recommends our Tone-On-Tone Frames as an easy means for introducing color. “My advice for pairing frames with photos or prints is to really lean into one tone. For example, choose a cobalt frame and matching mat to pair with a blue graphic print for a pop-of-blue moment,” she says. On the other hand, our Creative Director suggests sticking to complementary colors for a punchy combination. “We all remember the color wheel from elementary school. Putting a green landscape photo in a red frame is going to make it pop and look really beautiful,” says Aslee. “Alternatively, colorful frames and mats look especially good with a black-and-white photo. Because the color will set off that black-and-white more than a plain white mat would.”
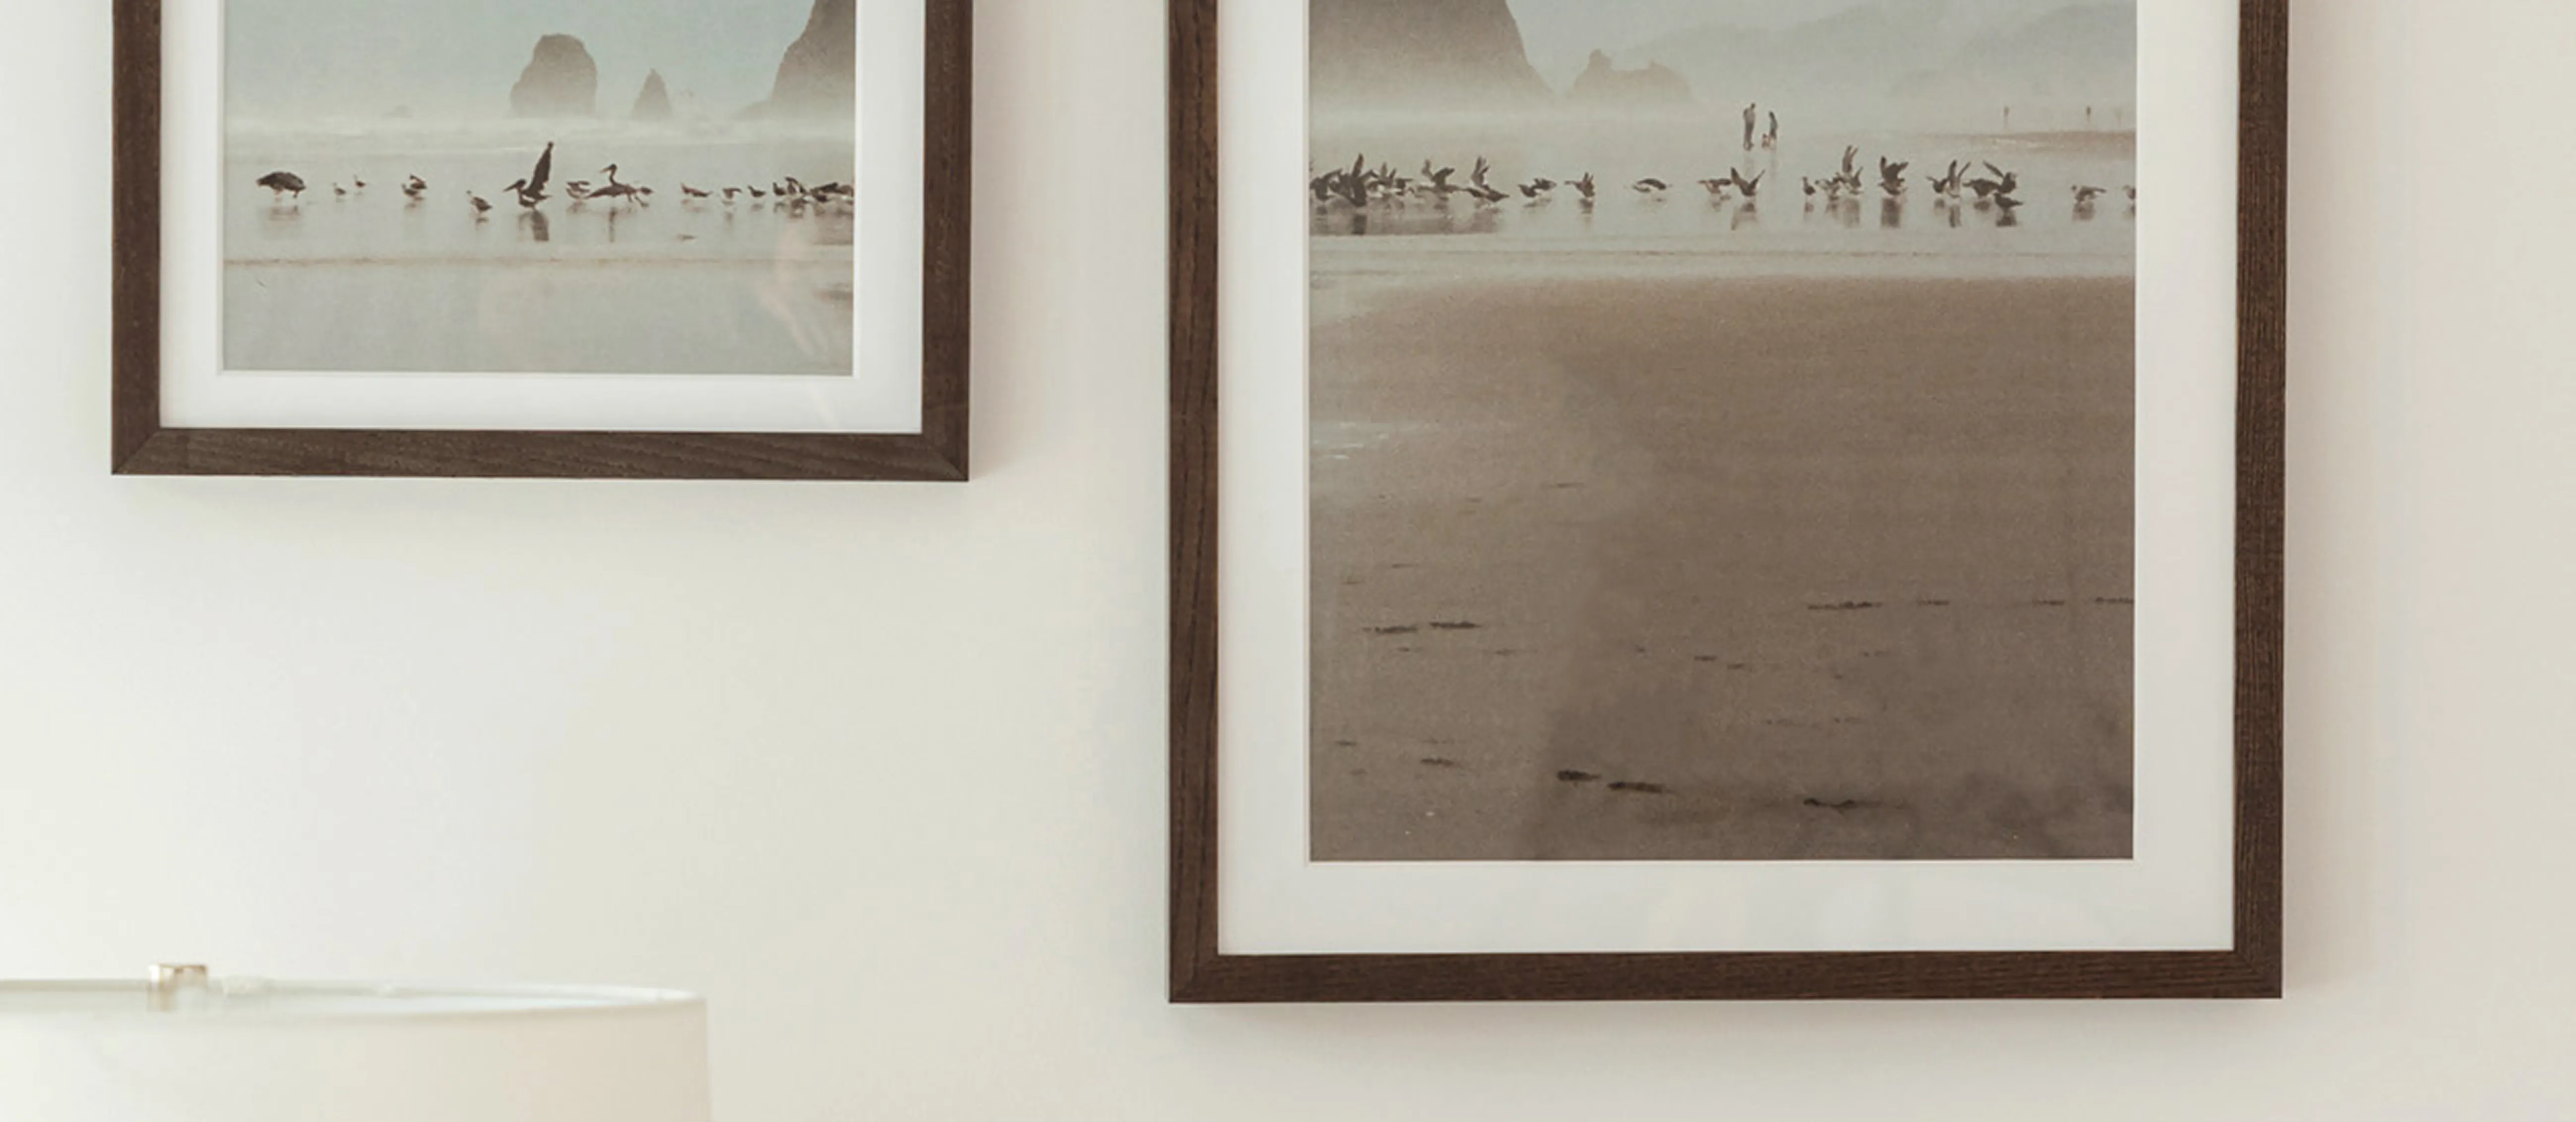
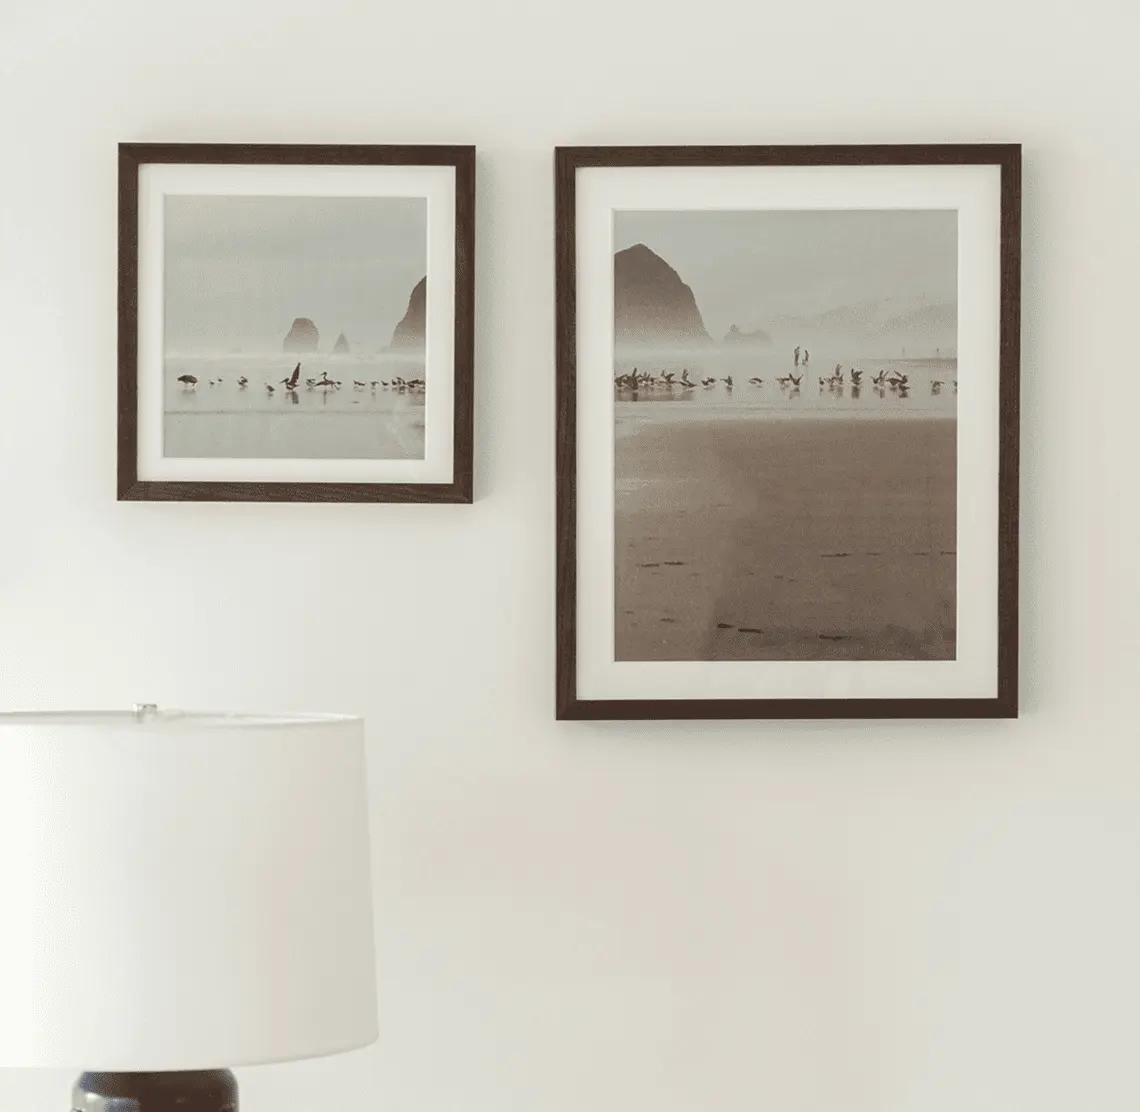
When it comes to more commonly sought-after metal and wooden frames, there are two avenues you can take to keep it simple. Go the high-contrast route and couple a lighter photo with a darker frame, or a darker photo with a lighter frame. The other option? Go monochrome and commit to one color story. For example, you may want to pair a sandy-tone beach photo with a maple frame or an earth-tone photo with a warm wood or brass frame.
Artifact Uprising’s Strategic Sourcing Manager, Eloise Heath, recommends our Tone-On-Tone Frames as an easy means for introducing color. “My advice for pairing frames with photos or prints is to really lean into one tone. For example, choose a cobalt frame and matching mat to pair with a blue graphic print for a pop-of-blue moment,” she says. On the other hand, our Creative Director suggests sticking to complementary colors for a punchy combination. “We all remember the color wheel from elementary school. Putting a green landscape photo in a red frame is going to make it pop and look really beautiful,” says Aslee. “Alternatively, colorful frames and mats look especially good with a black-and-white photo. Because the color will set off that black-and-white more than a plain white mat would.”
When it comes to more commonly sought-after metal and wooden frames, there are two avenues you can take to keep it simple. Go the high-contrast route and couple a lighter photo with a darker frame, or a darker photo with a lighter frame. The other option? Go monochrome and commit to one color story. For example, you may want to pair a sandy-tone beach photo with a maple frame or an earth-tone photo with a warm wood or brass frame.
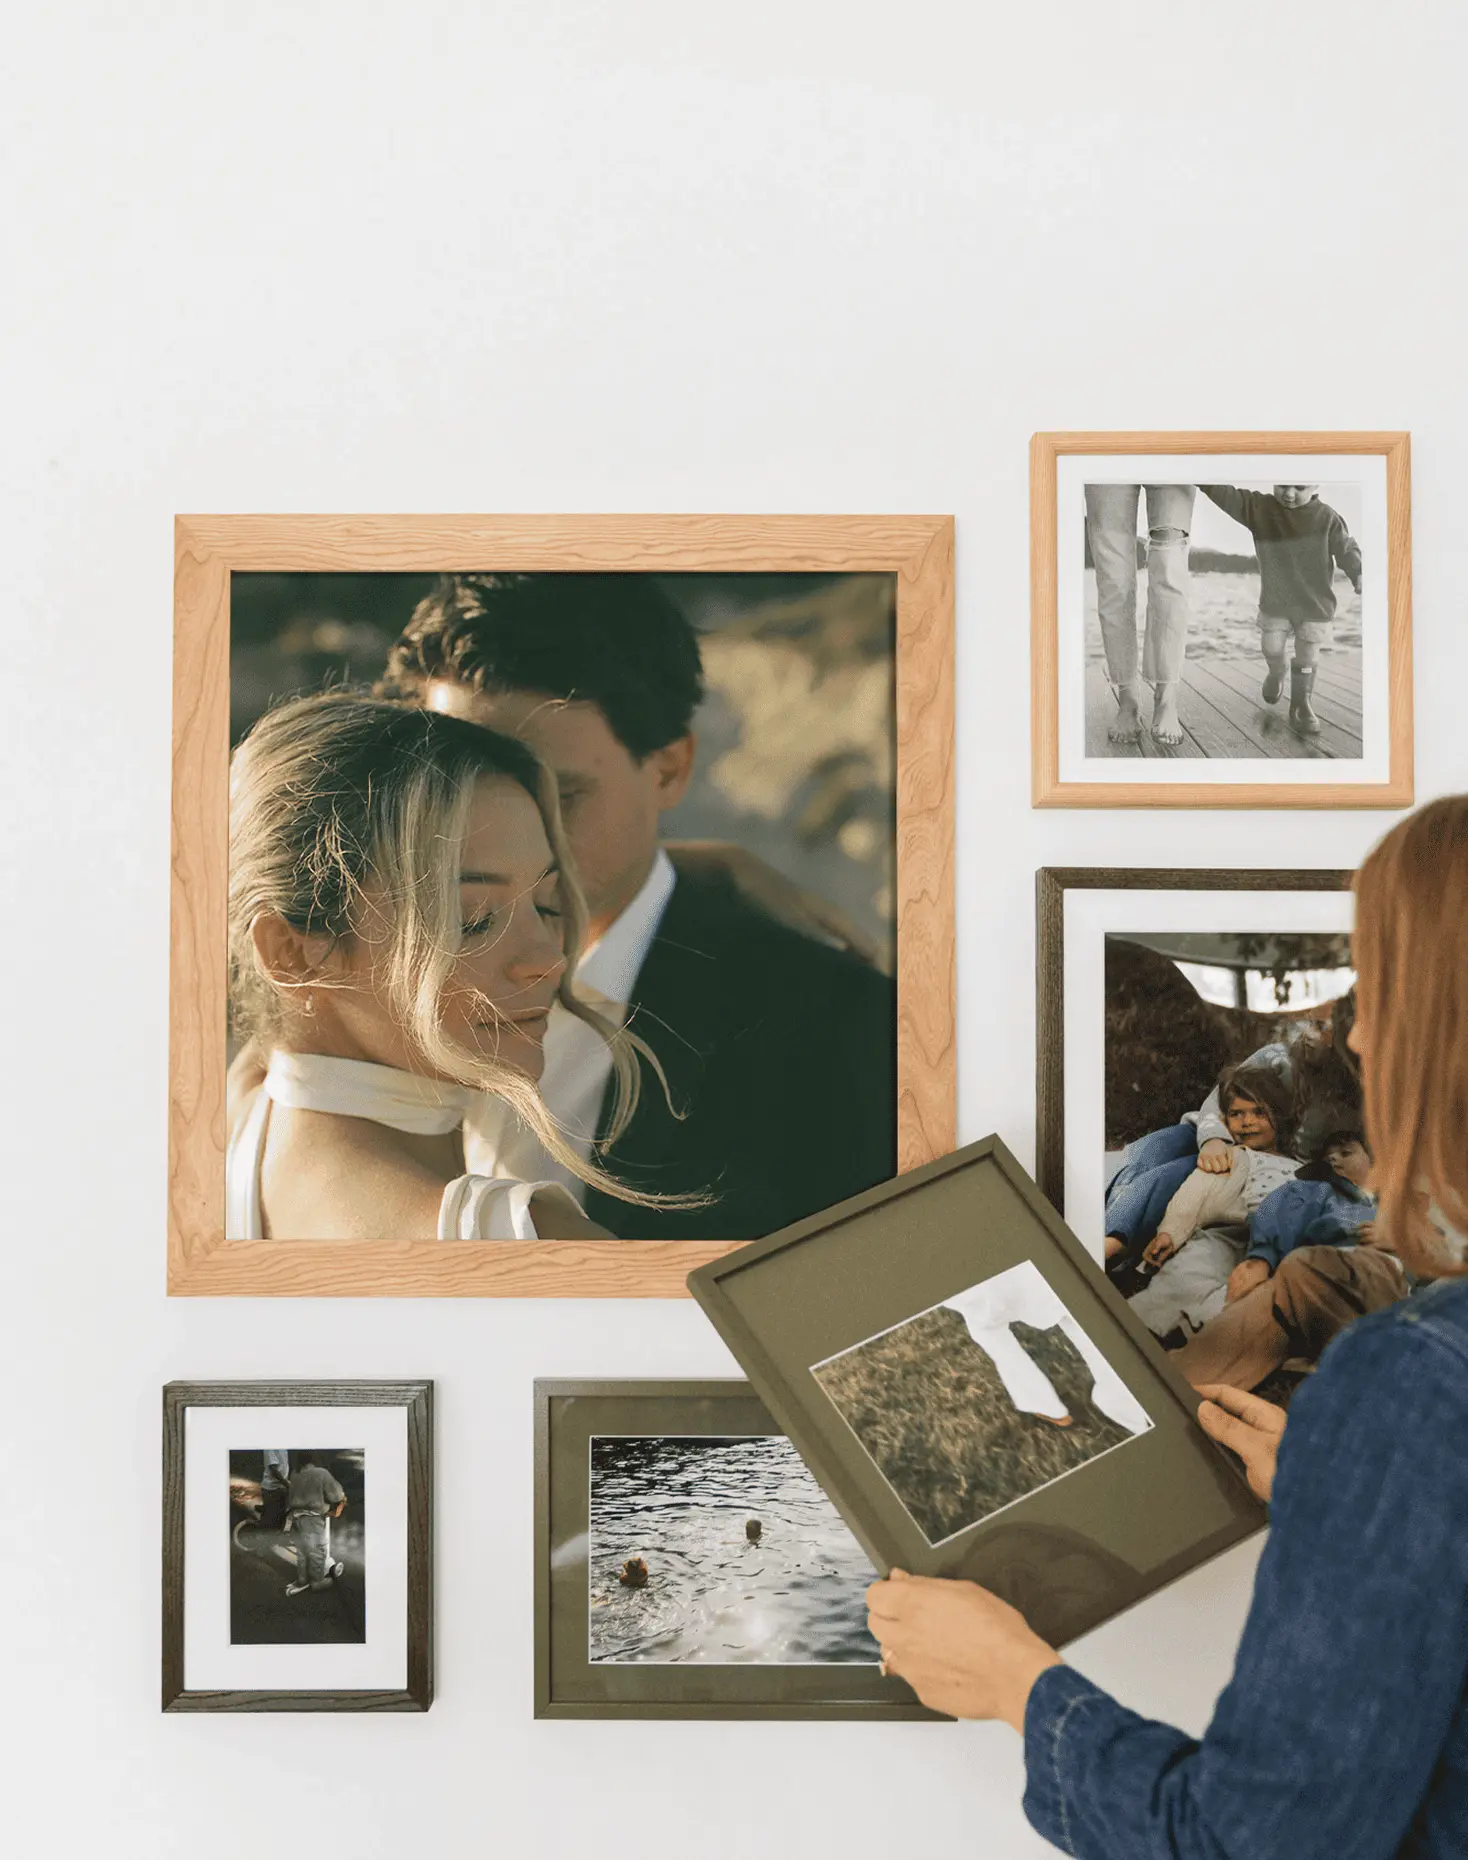
“Most people design their homes over a long period of time, collecting
furniture and decor along the way. So don’t stress if your floors are oak,
your frames are maple, and your table is walnut. Mixing woods creates a more
balanced, lived-in look.”
-Aslee Livingston, Creative Director
“Most people design their homes over a long period of time, collecting furniture
and decor along the way. So don’t stress if your floors are oak, your frames are
maple, and your table is walnut. Mixing woods creates a more balanced, lived-in
look.”
-Aslee Livingston, Creative Director
 03
03
 04
04
02
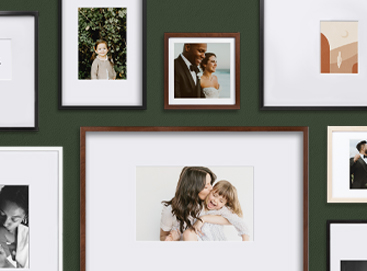
Perfect Pairings
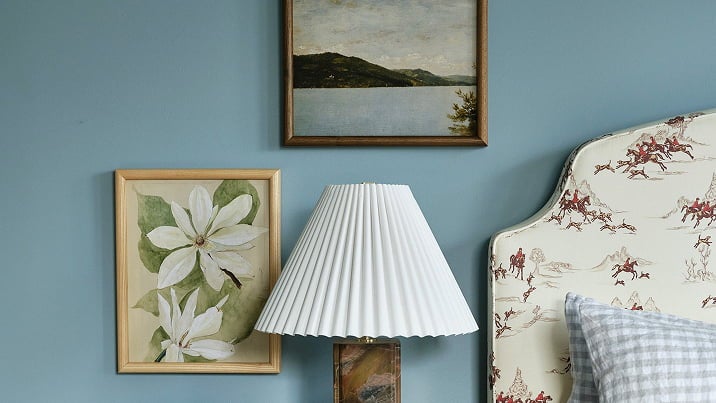
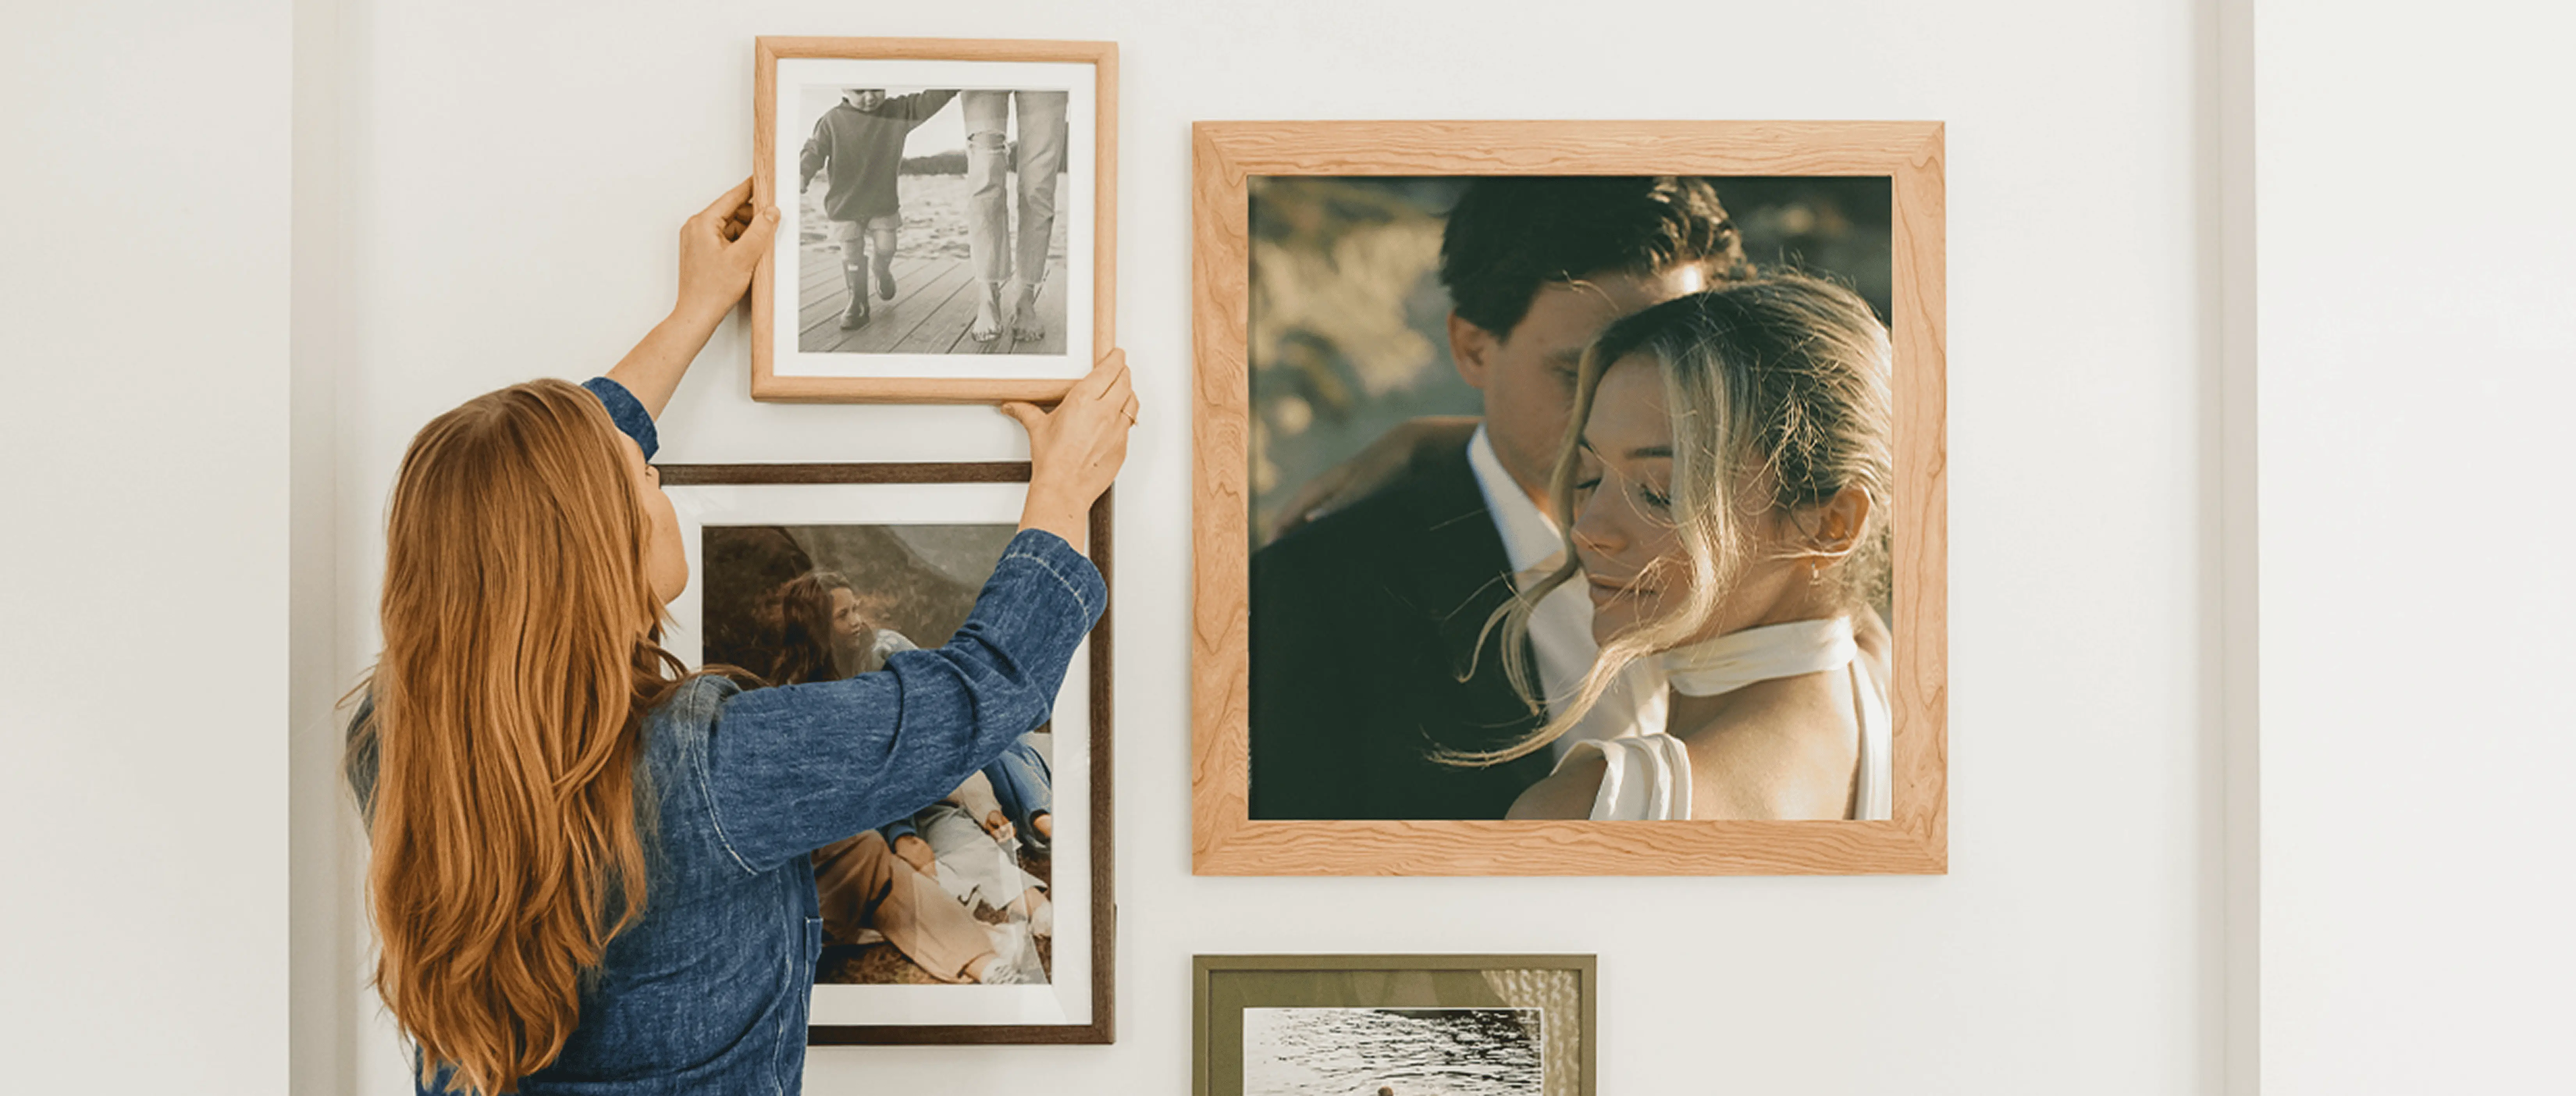
Pairing framed pictures and artwork is an art in itself—one that balances cohesion
with creative freedom. “You can mix and match to your heart’s desire, but hold one
thing constant,” Aslee advises. “Whether it’s the frame, the mat size, or the photo
style, choose to keep one thing consistent, especially if you’re worried about the
wall getting too busy.” However, she also emphasizes that symmetry isn’t everything.
“In an attempt to create order, you can lose hierarchy, and the room can begin to
look sparse. It’s better to lean into groupings of mixed scale than to try to find a
pattern that is perfectly symmetrical.”
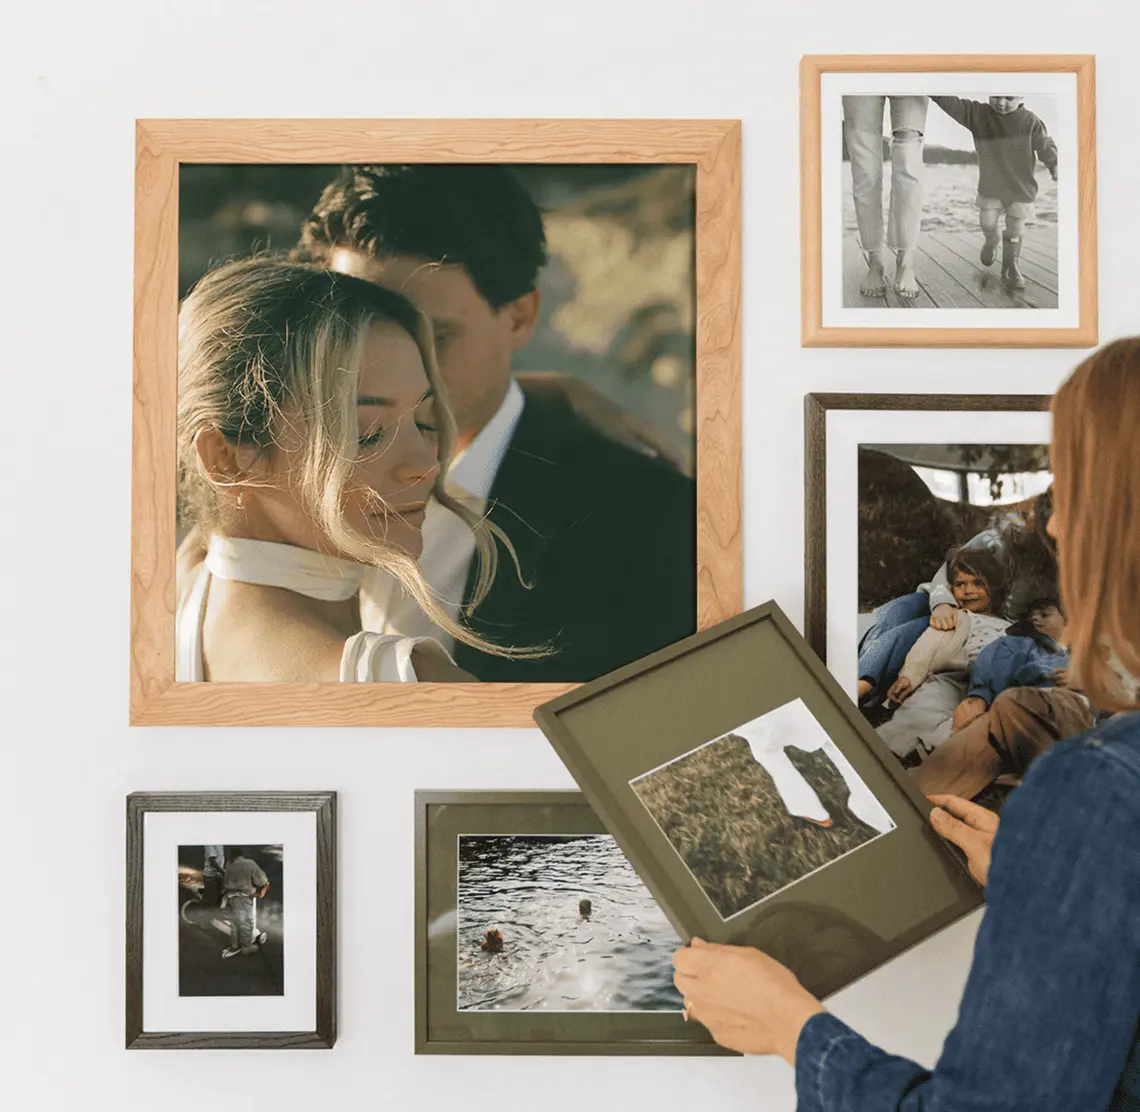
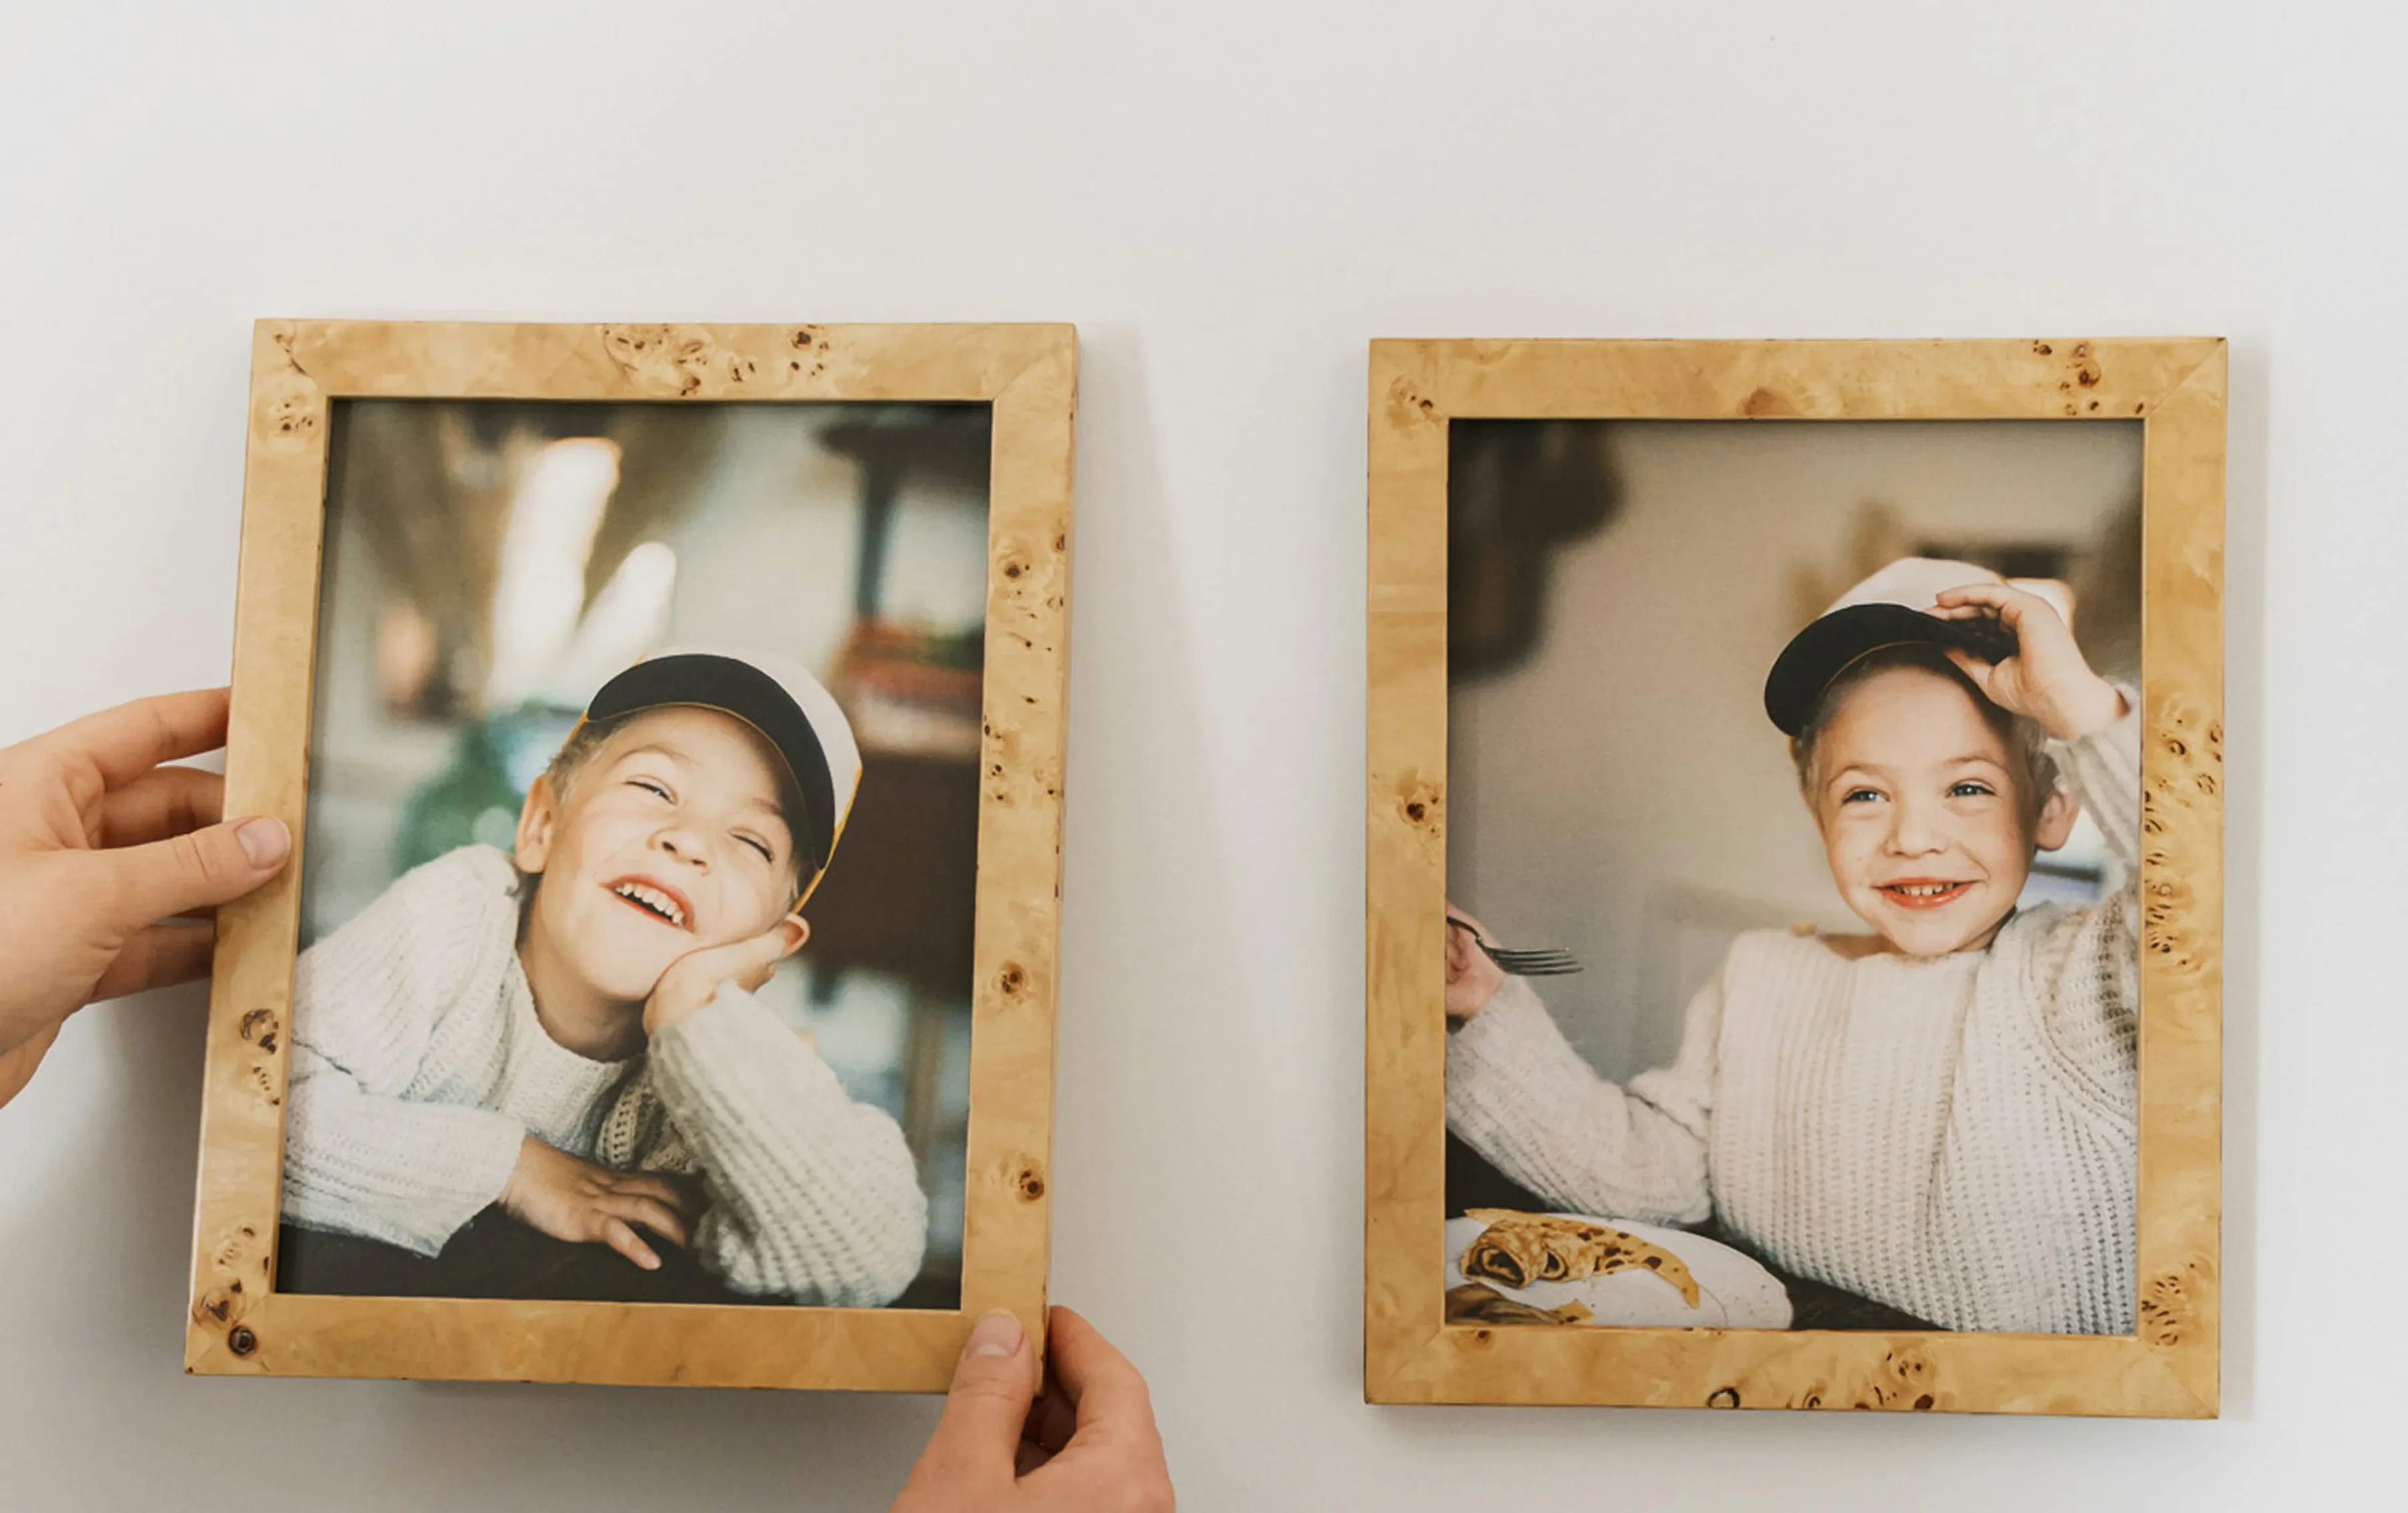
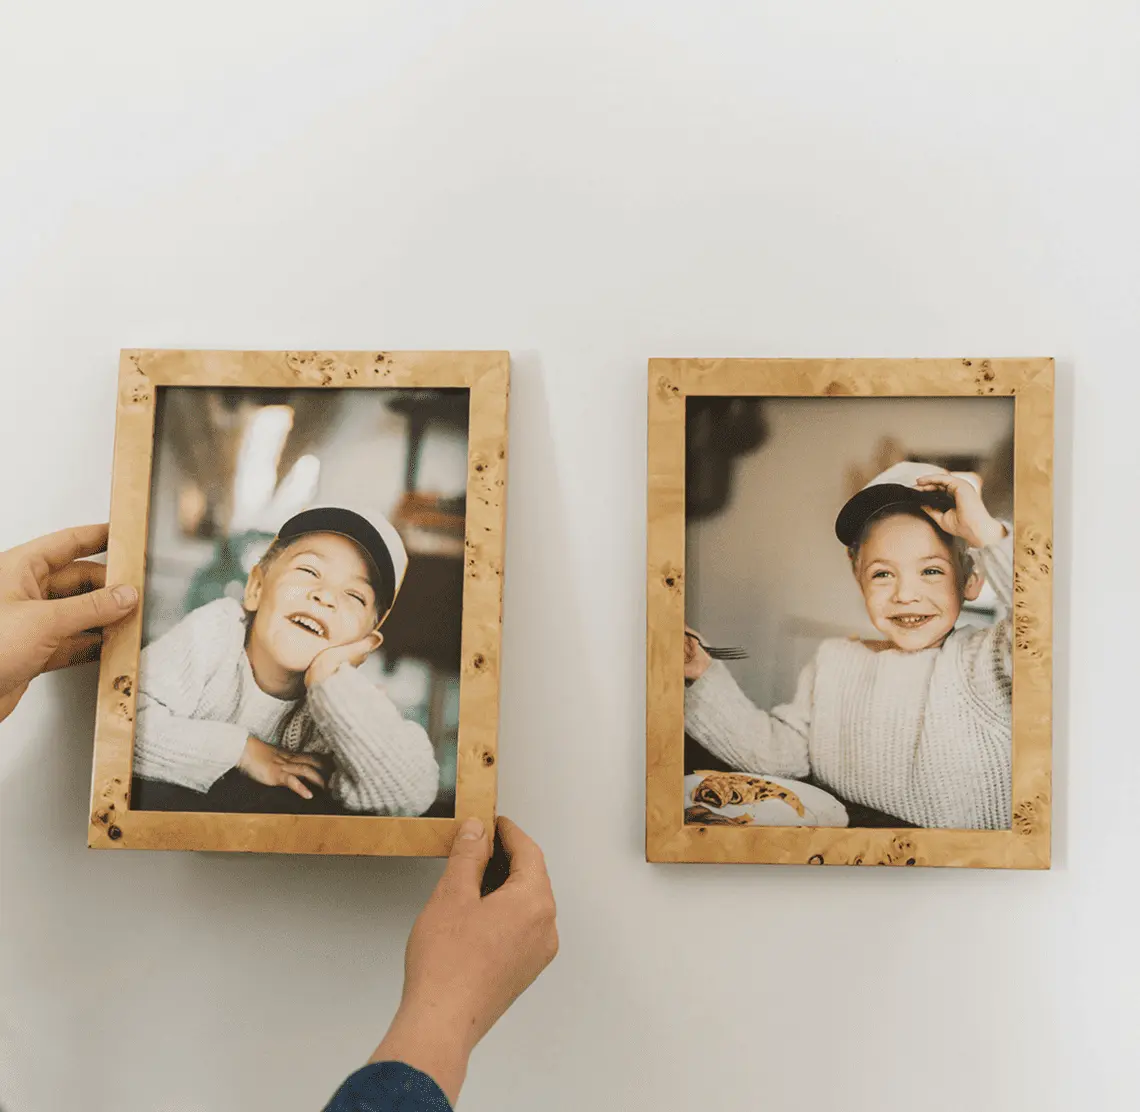
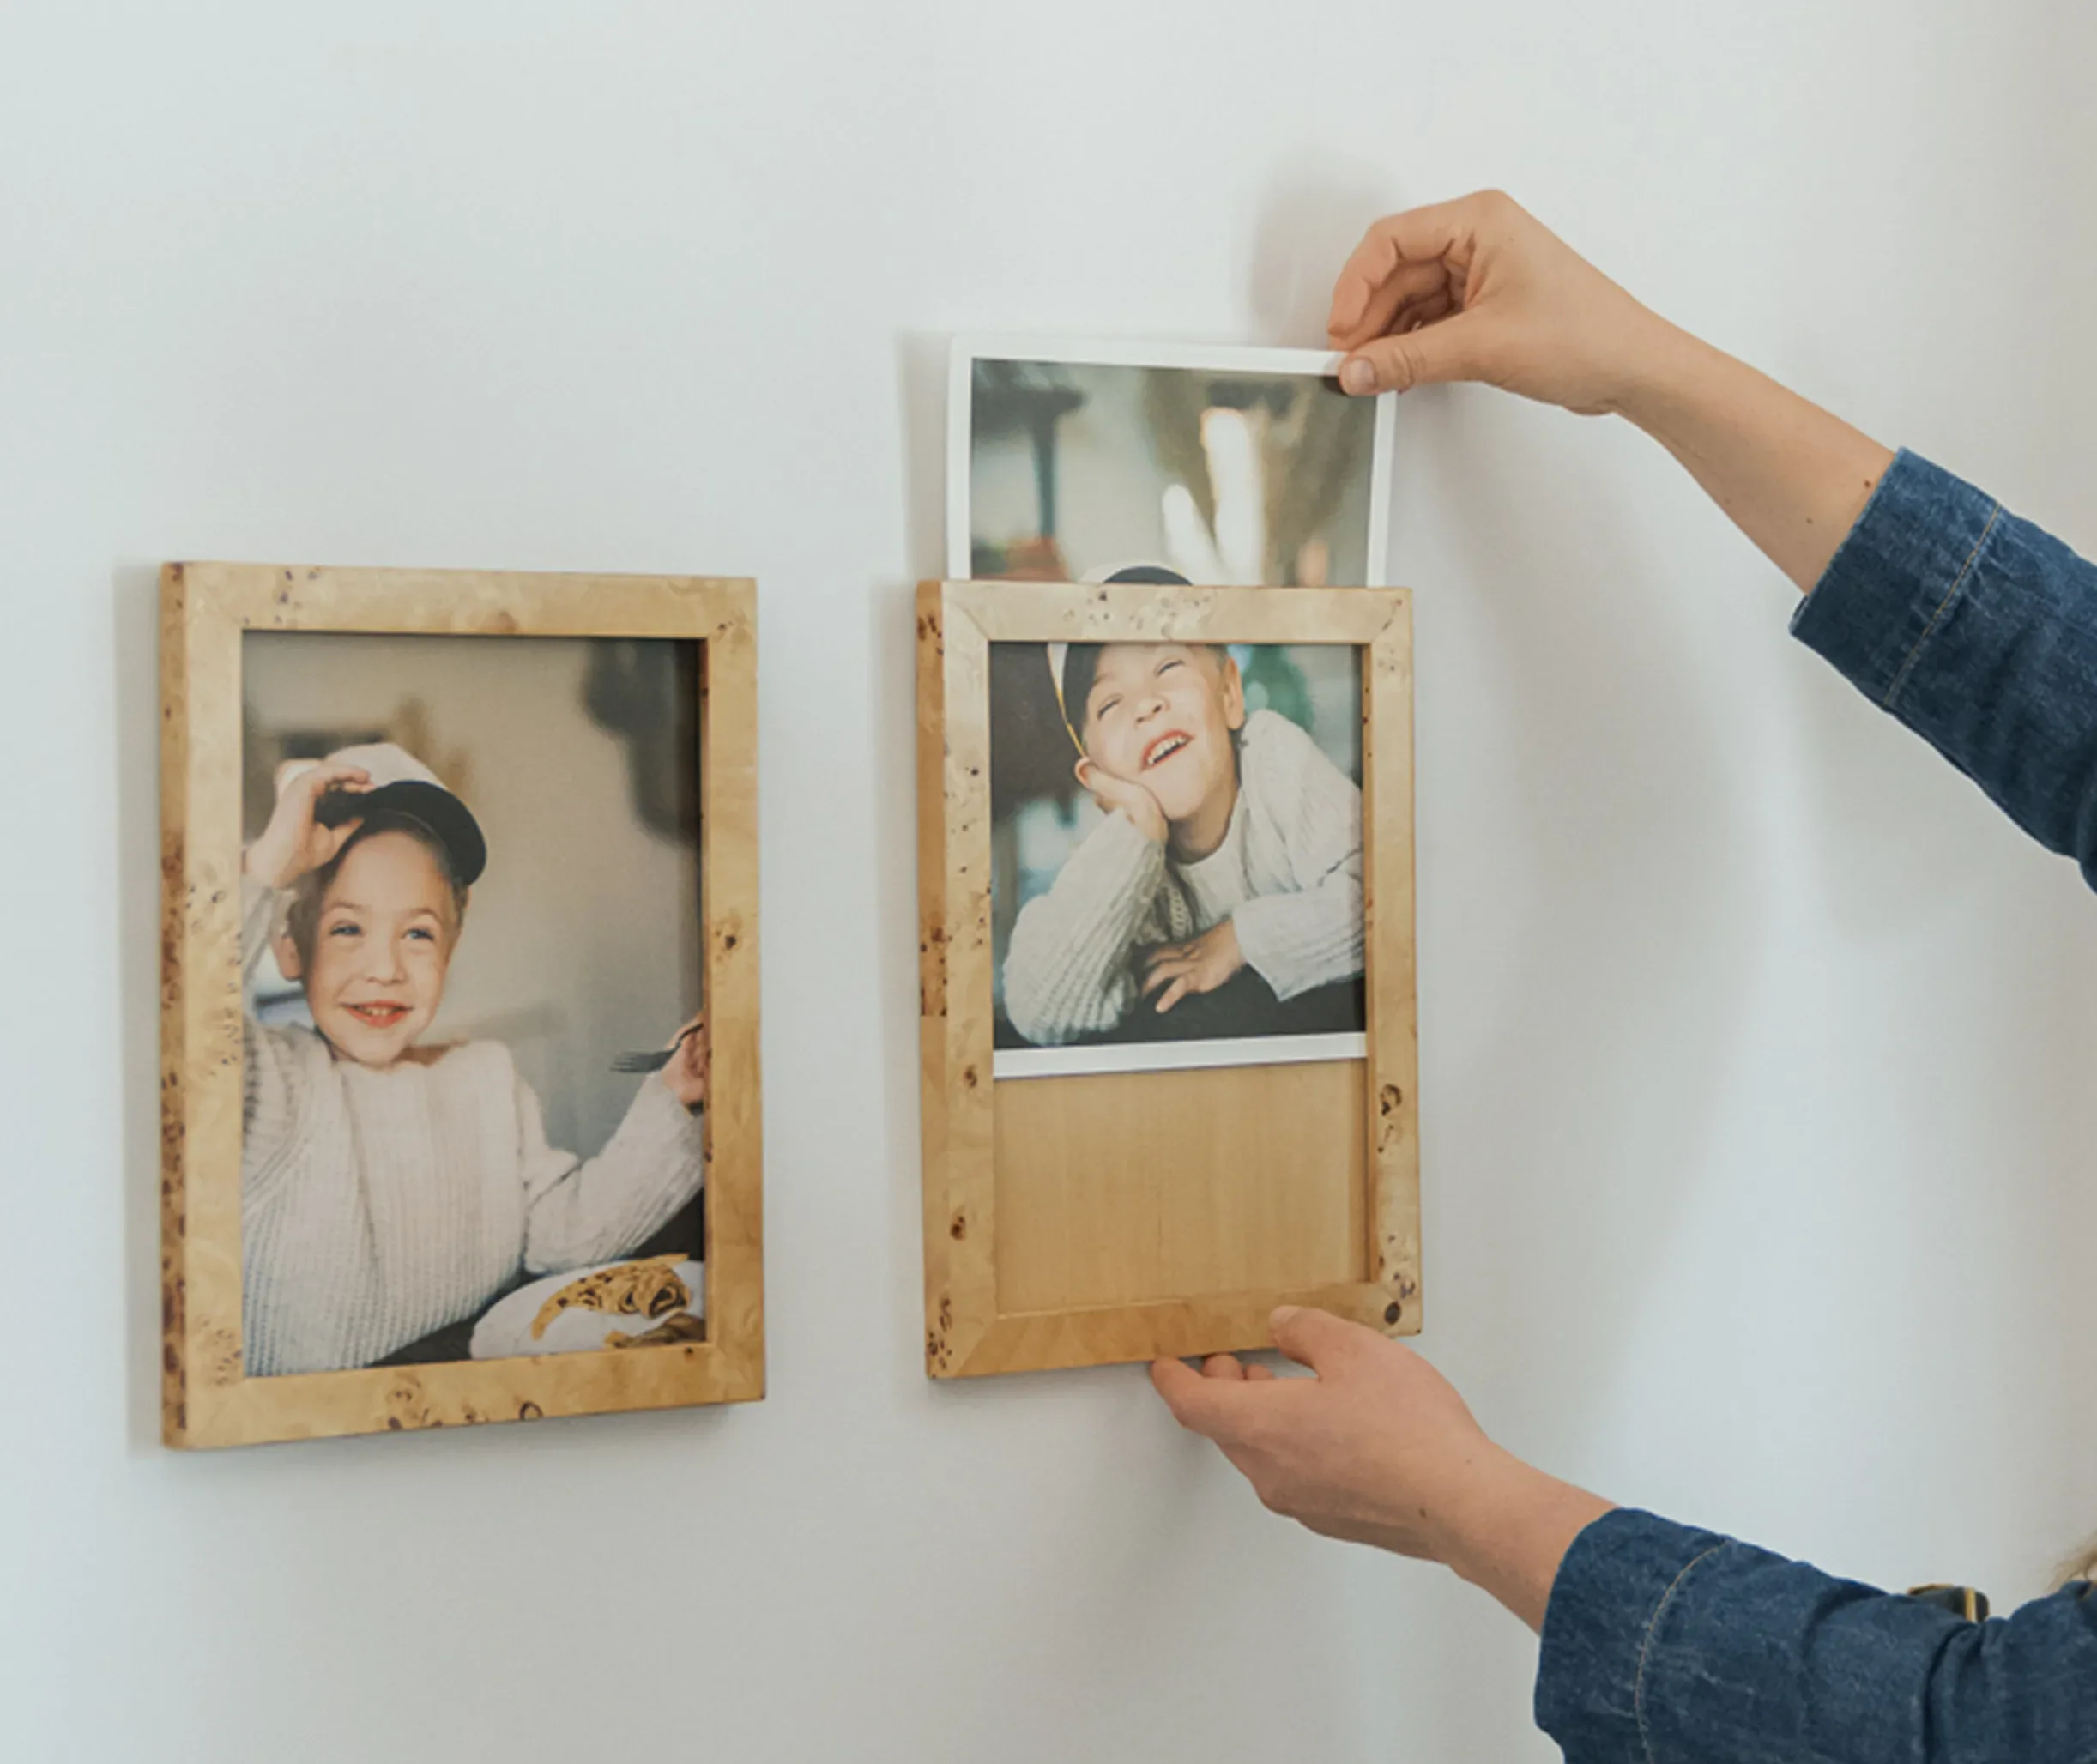
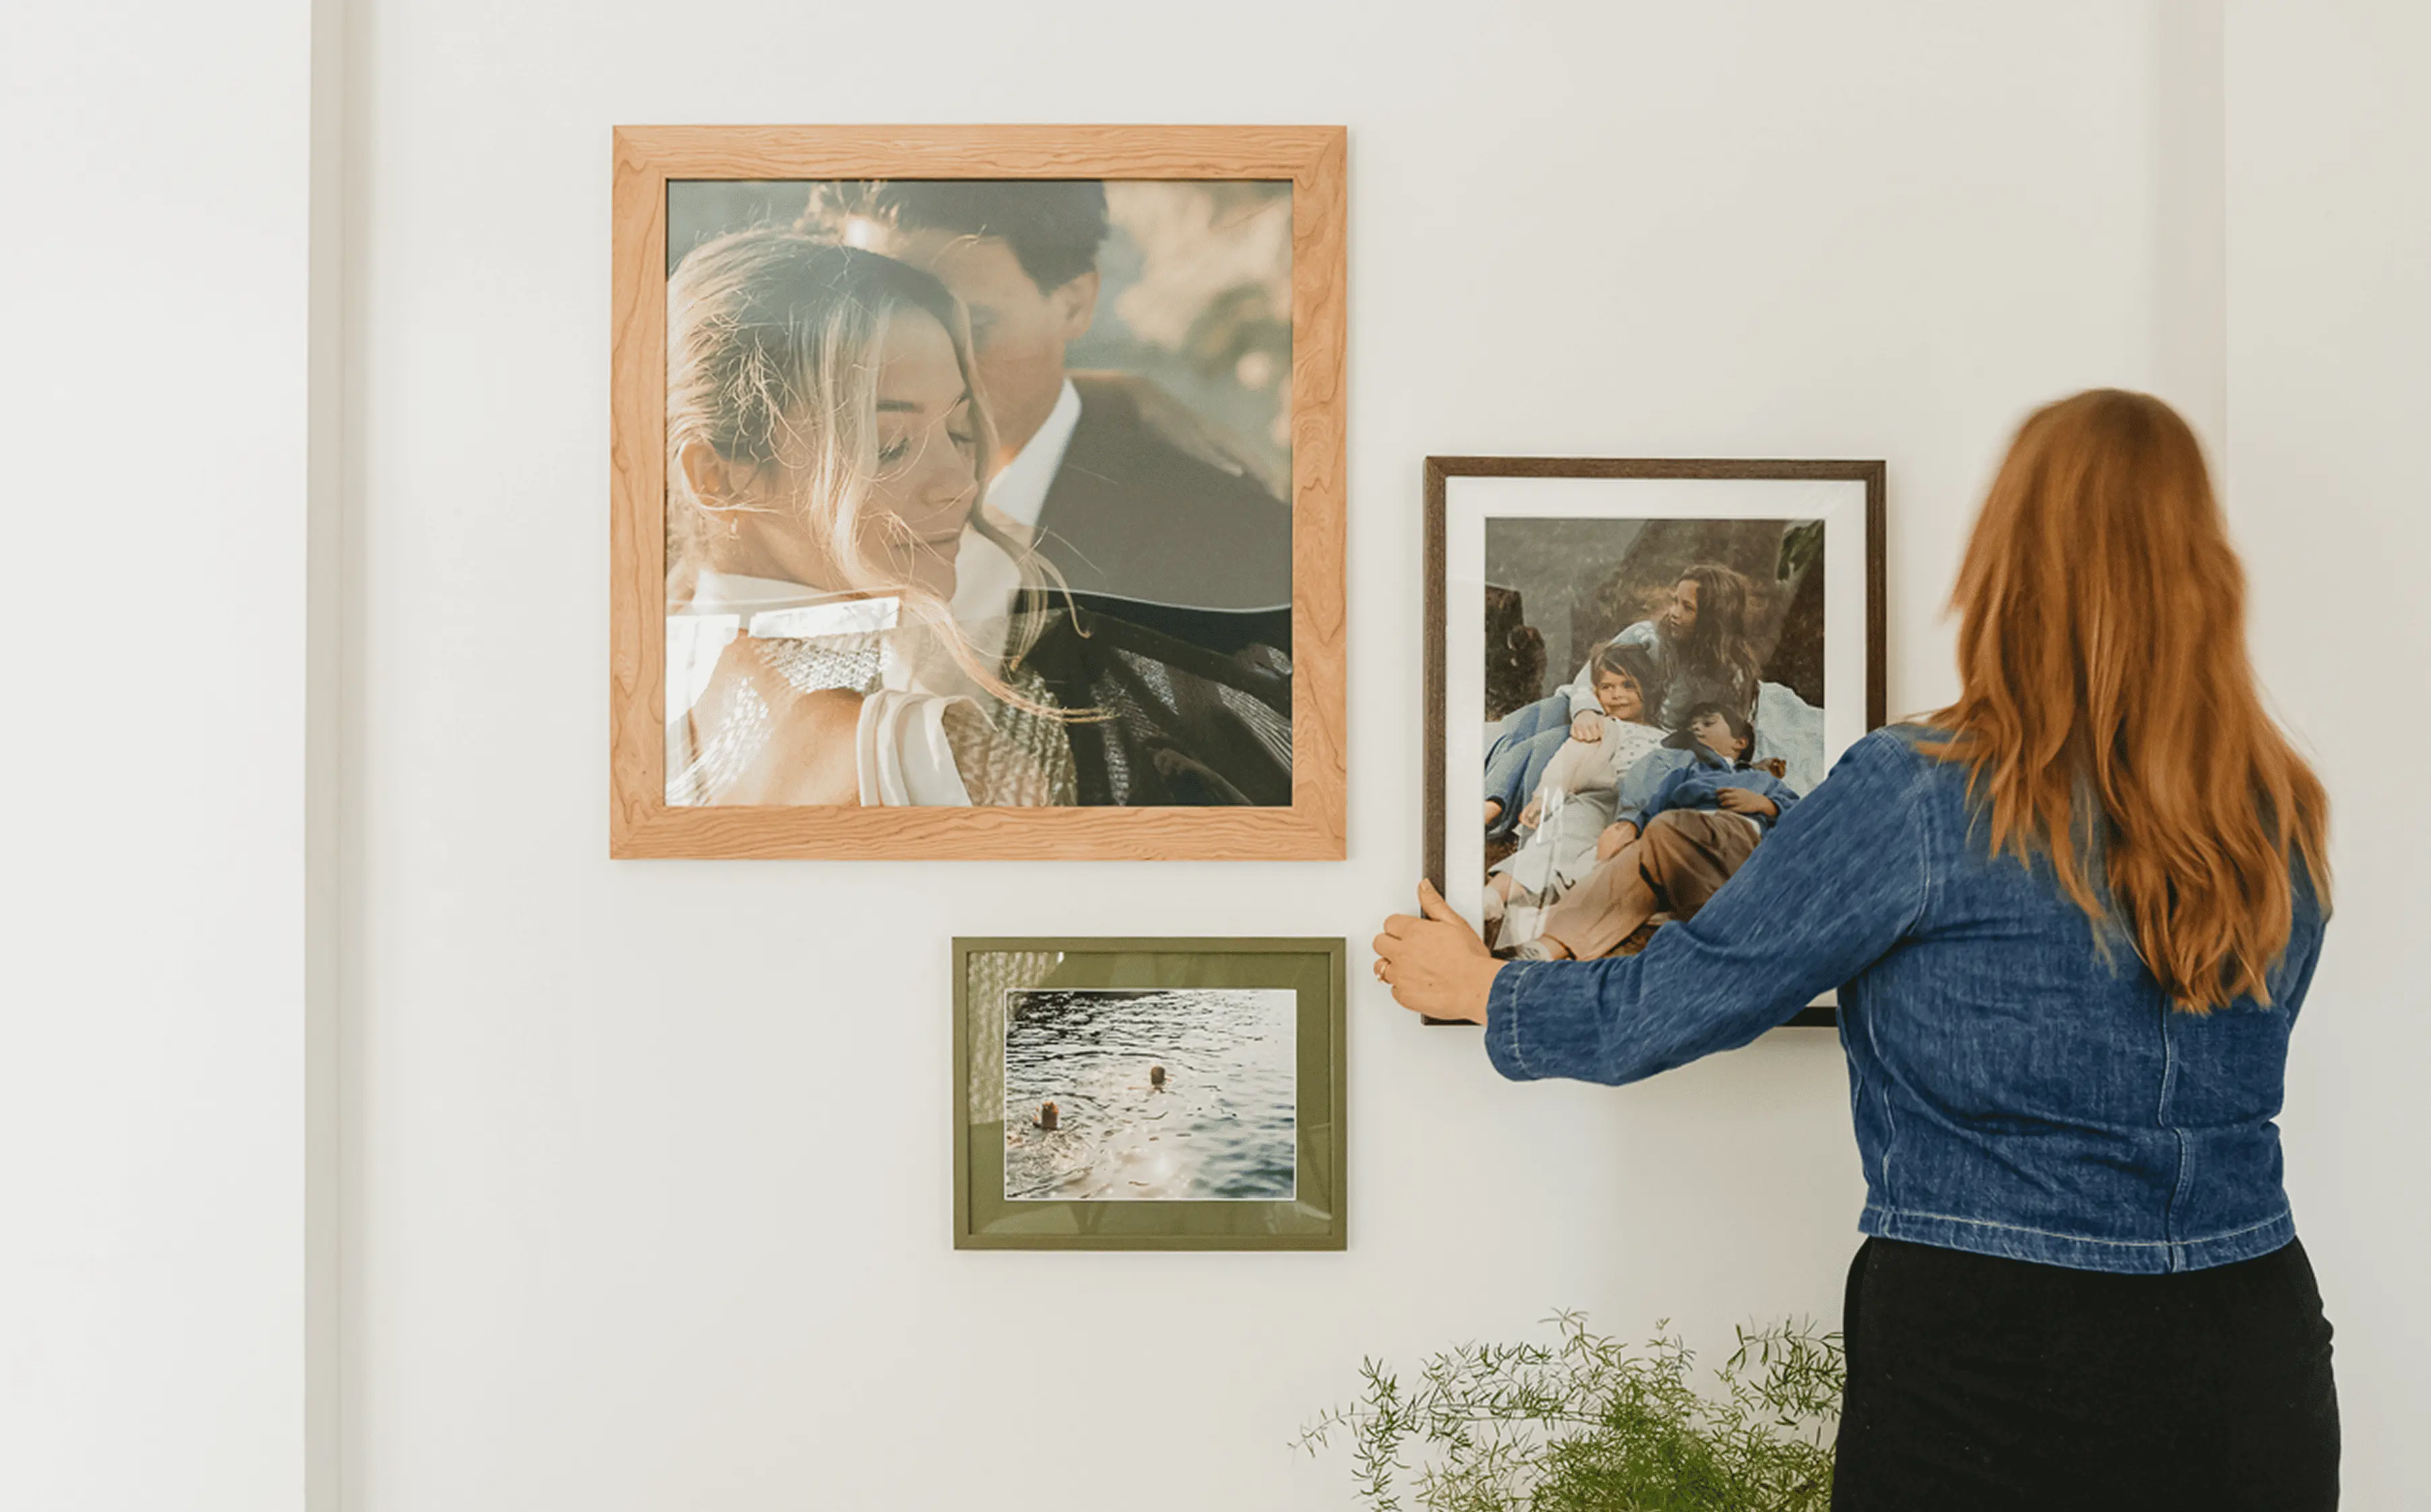
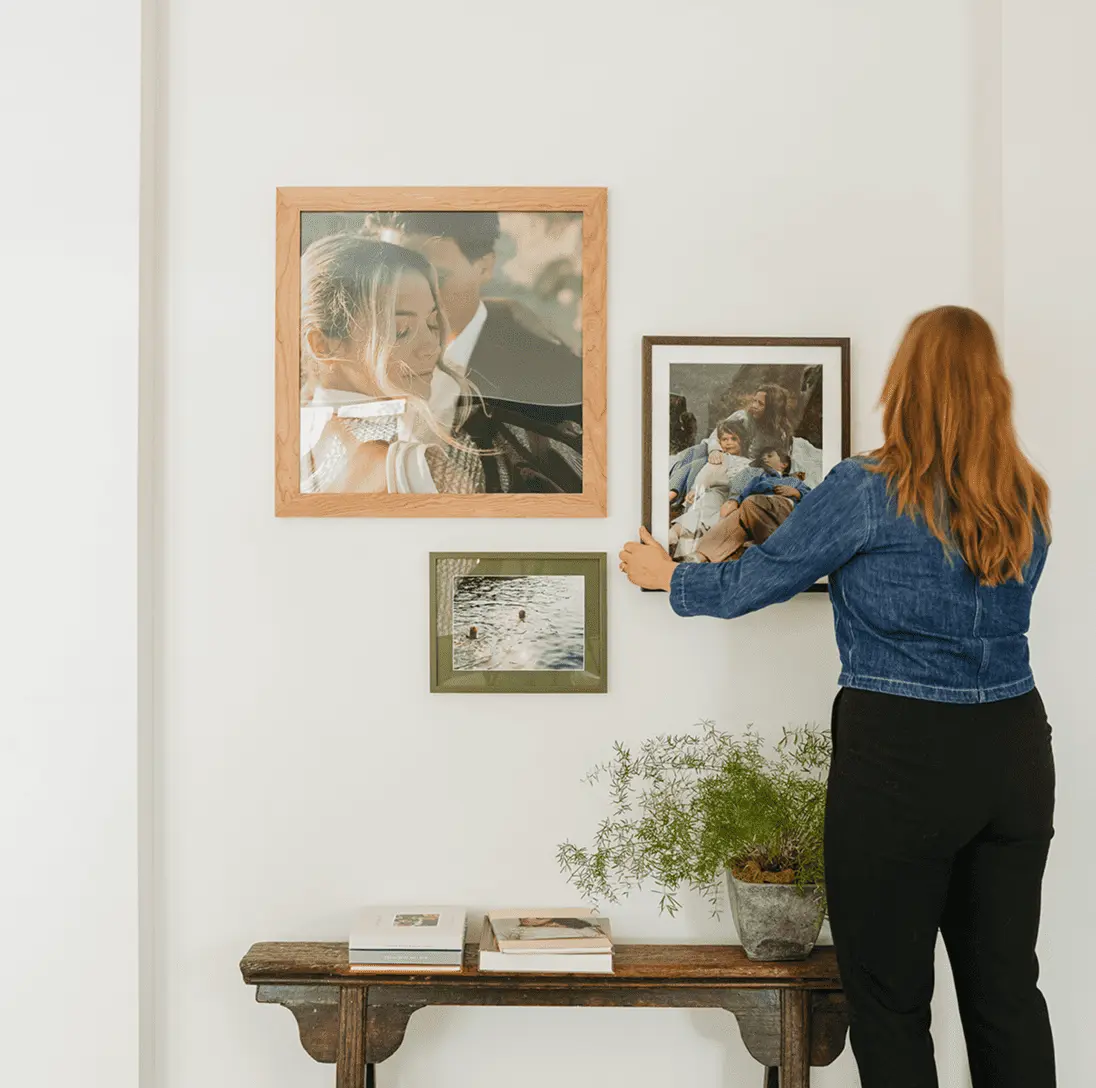
Whether grouping two frames or four, Heath’s key tip for this part of the process is to think of the grouping as one single piece of art. This helps you to create a cohesive gathering and hang it appropriately. If you’re at a loss, place a large frame in the center and start to populate the wall with medium and small frames around it. This way, the decor will always look intentional and anchored—you can’t go wrong with this method.
Eloise’s pro tip: Keep the same distance between frames within a grouping. This keeps things connected and allows you to add to the original gathering later down the road.
 06
06
 07
07
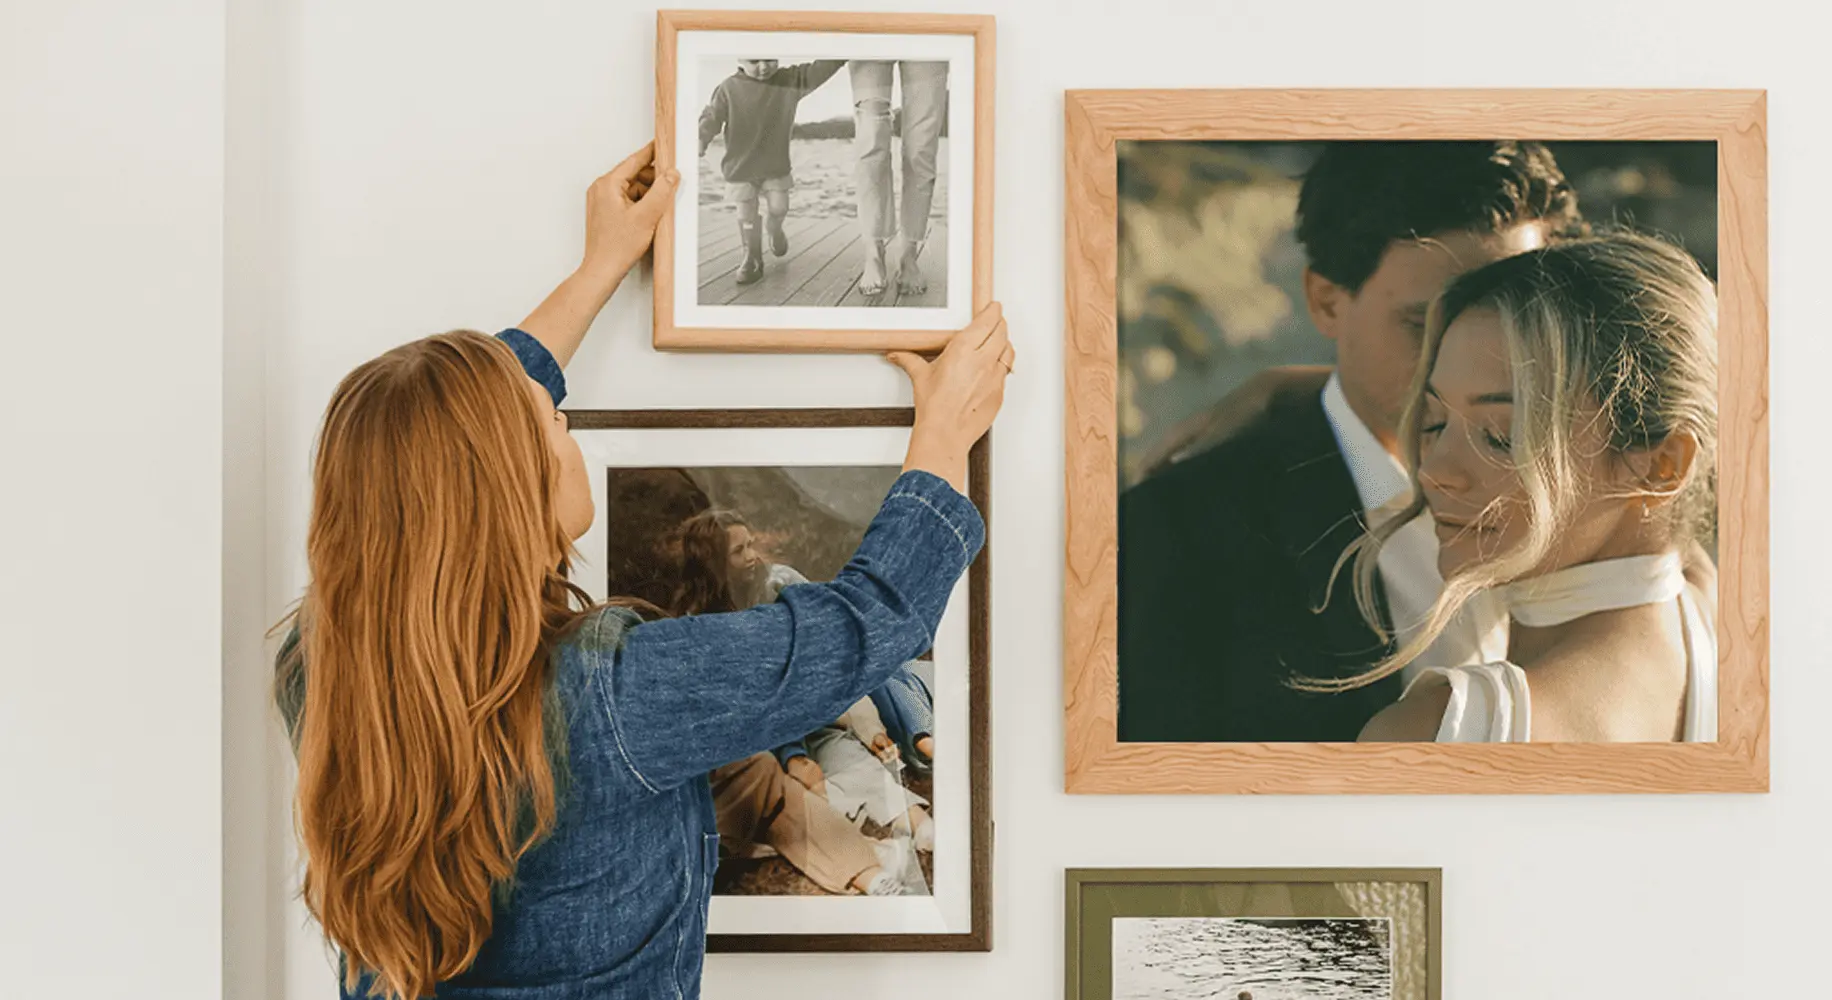
03
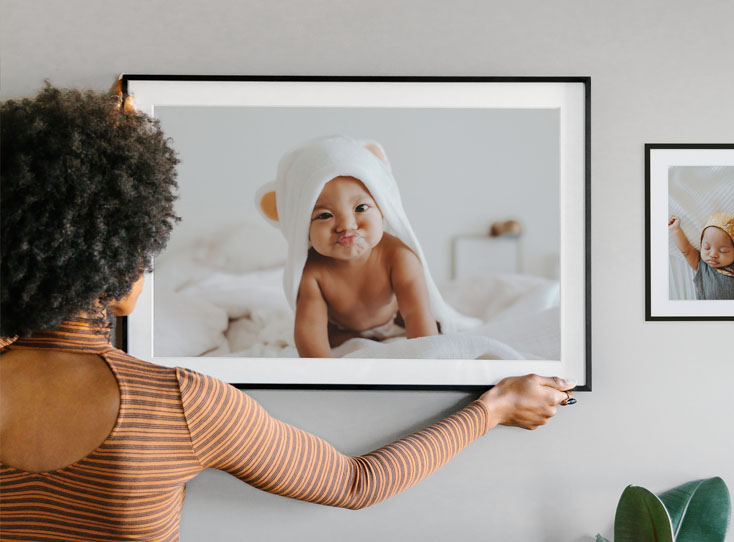
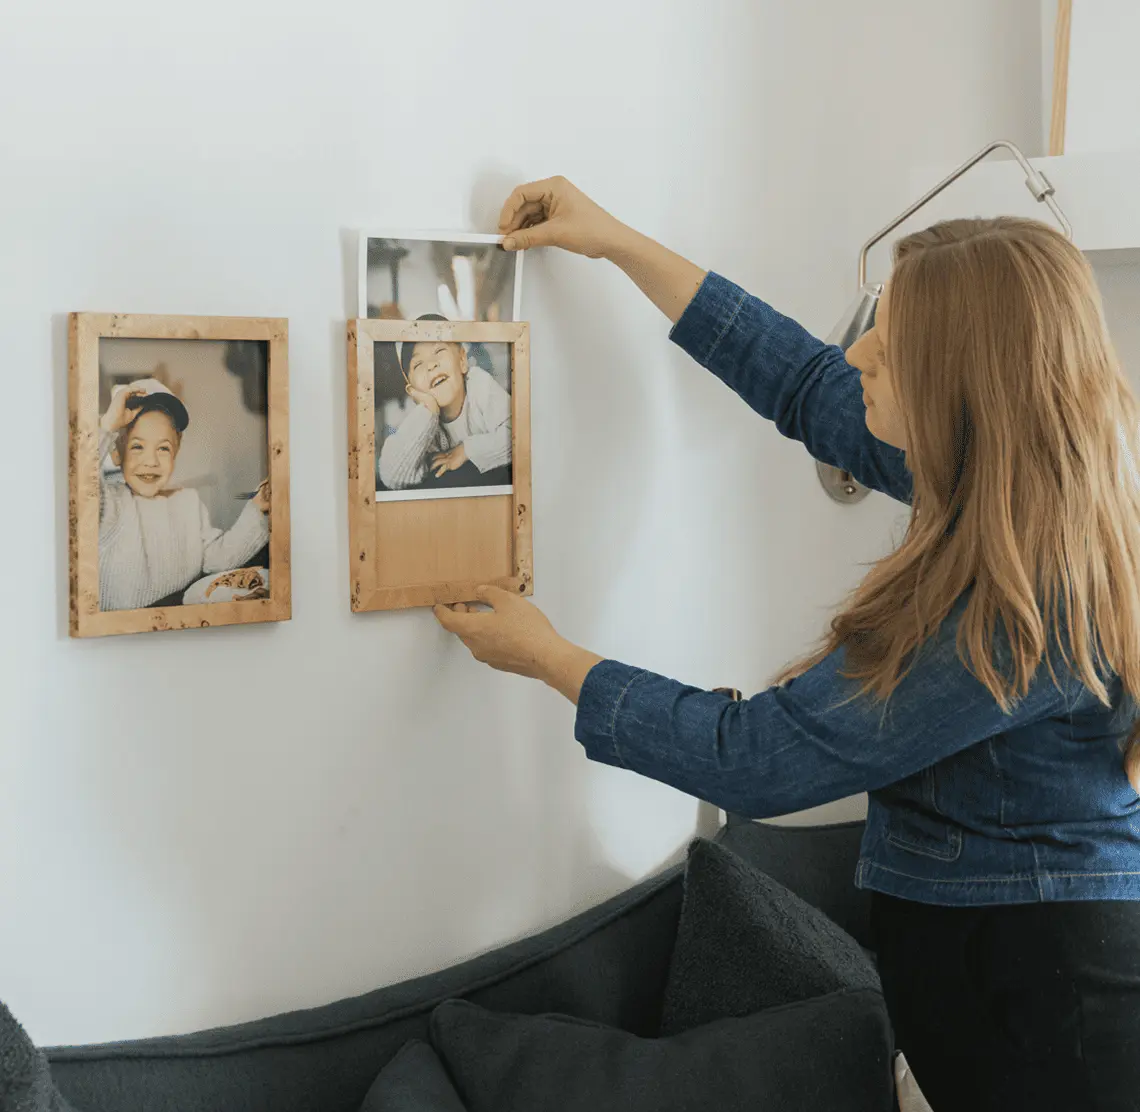
How to Hang
You’ve chosen your photographs or artwork and have an idea for where you would like
to place them. Now for the hard part: hanging it. “As someone who is a little bit
impulsive and not very patient, it’s hard to resist the urge to start hammering
nails into the wall,” Eloise empathizes. “But I highly recommend taking the time to
sketch out what your wall is going to look like first.” This means laying it out on
the floor to visualize it on the wall or sketching it out on a piece of paper to see
what it will look like in the room. The bottom line: Make a plan before you reach
for the hammer. And don’t forget to reach for the measuring tape and the level, too!
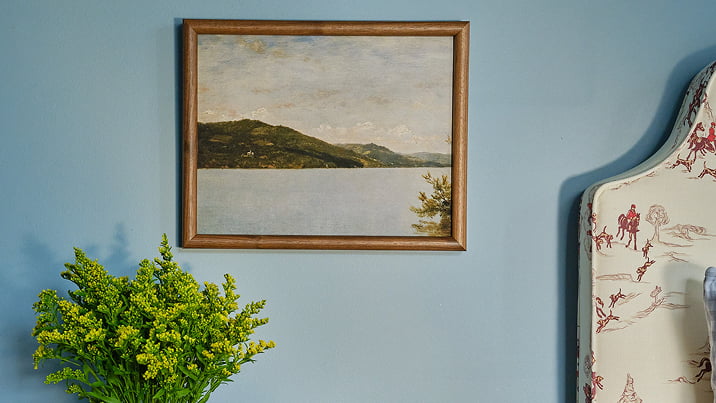
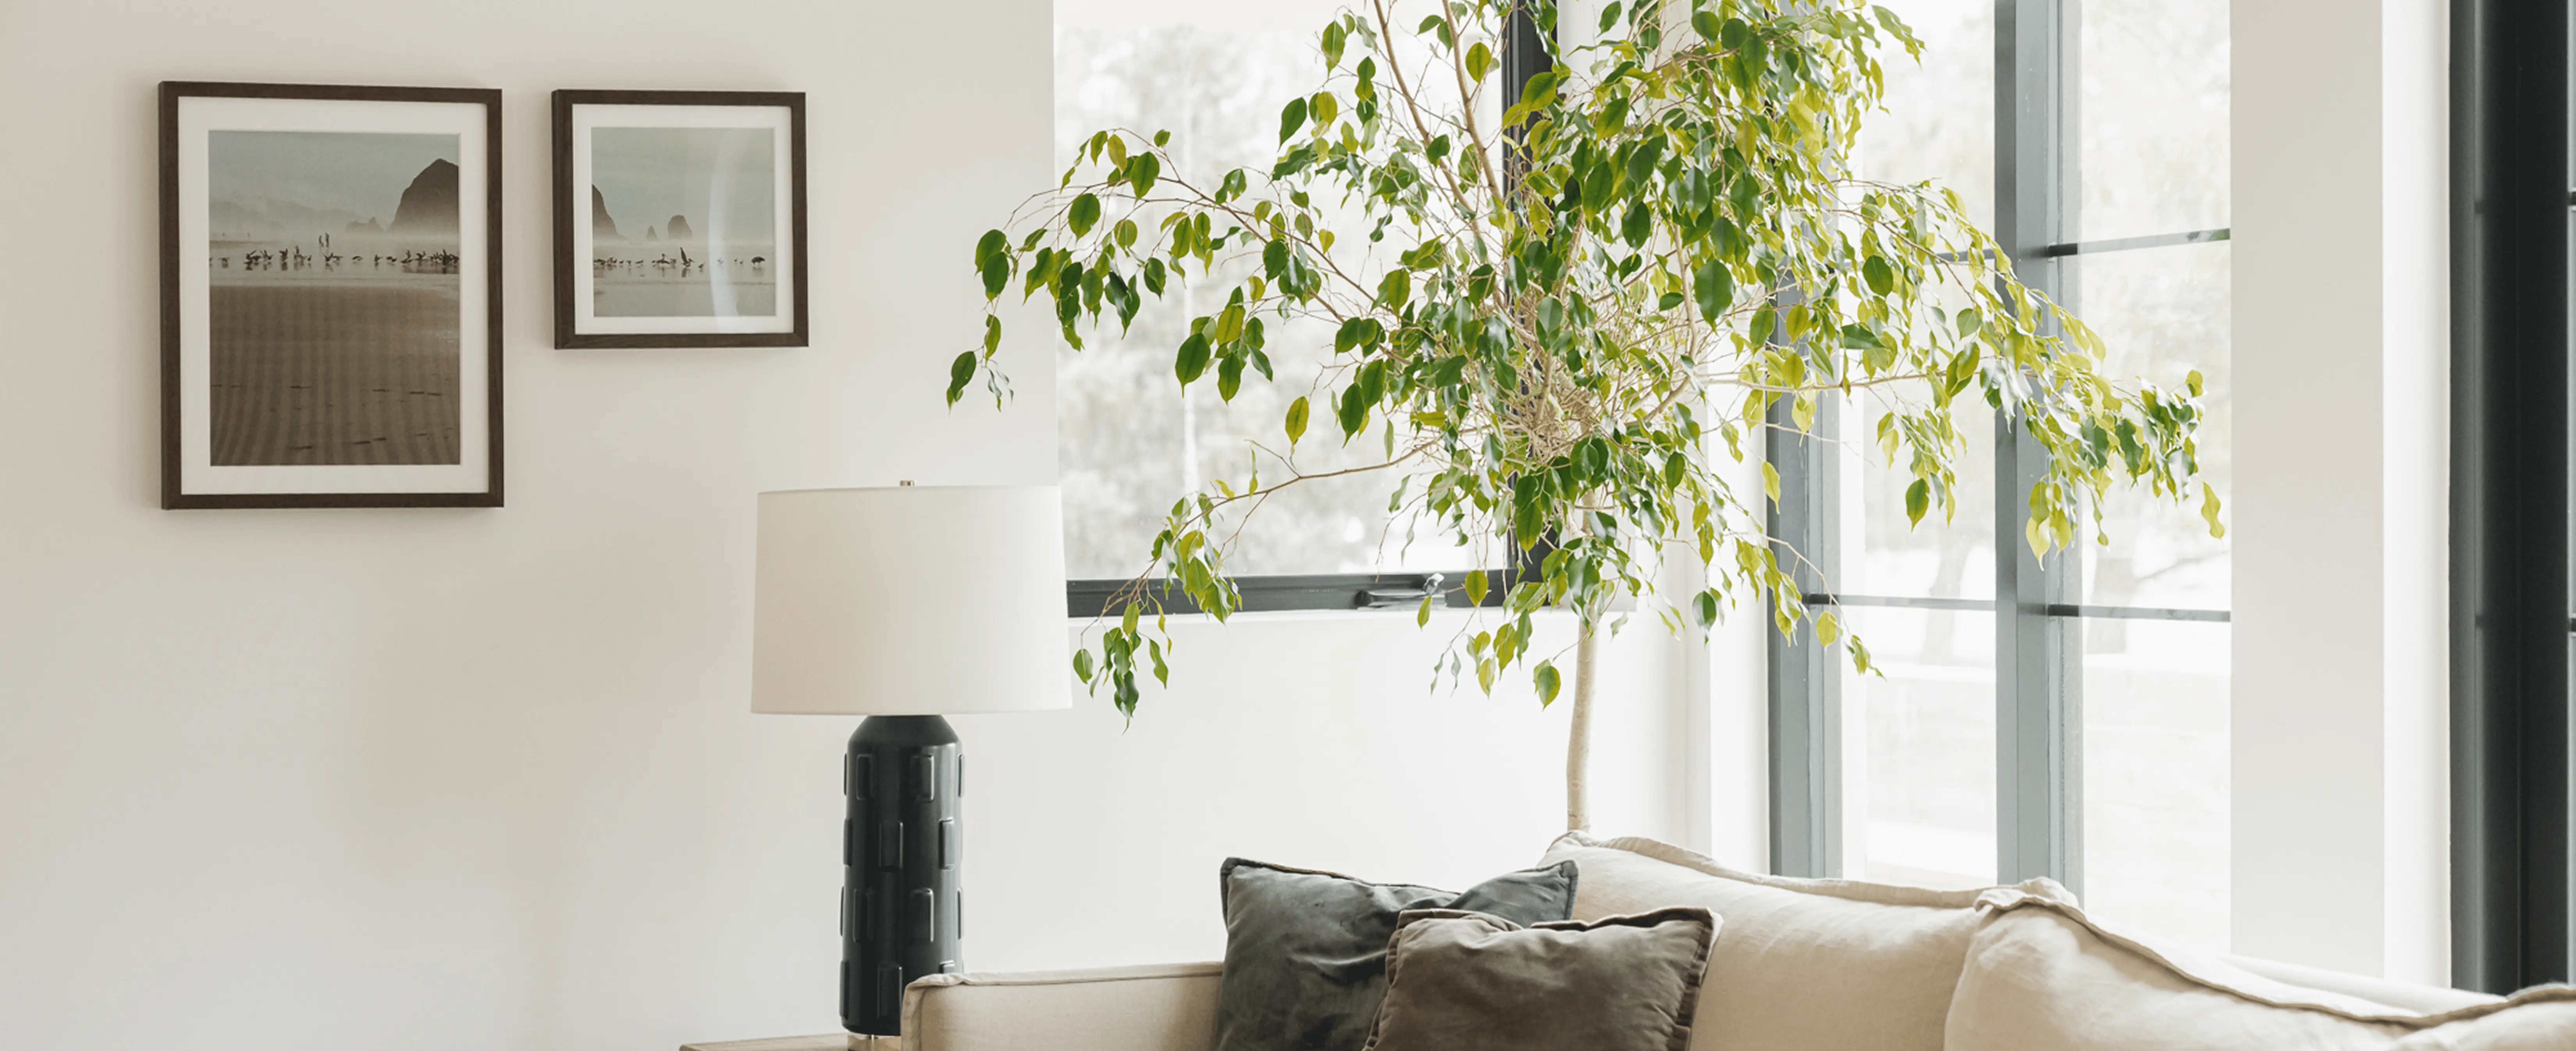
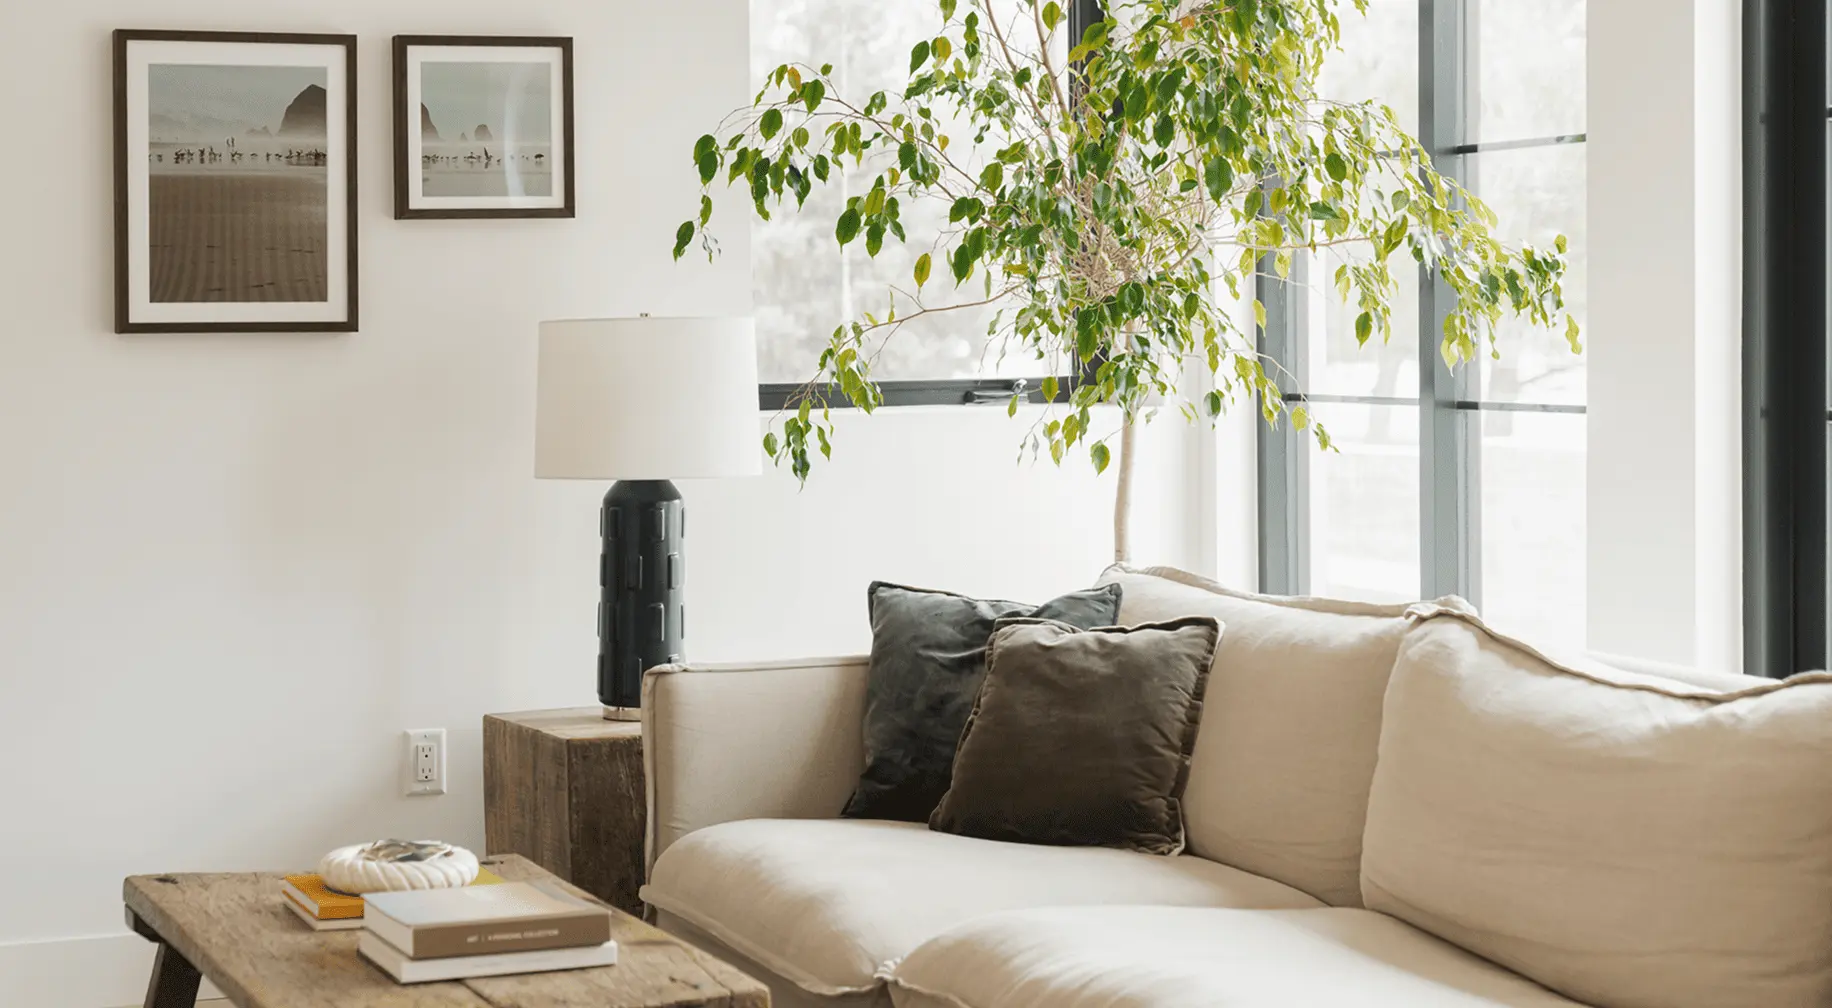
As a Creative Director, Aslee has an eye for details—and one mistake she notices time and time again? “Most people hang their artwork too high. You want your artwork to feel connected to your furnishings.” It’s easy to fall into the trap of thinking your frames should center your wall, but this common misconception often pushes them above eye level. AKA it’s not going to be as impactful as it could be. Instead, think of your art as part of the room’s overall composition, not just something floating on the wall.
If hanging a frame above a chair or sofa, hang it about ten inches above the furnishing. If not hanging them above a piece of furniture, then you should abide by Livingston’s tried-and-true sitting versus standing-room rule. “If it’s a standing room (think: foyer, kitchen, or hallway), you should hang the center of the artwork five-and-a-half feet, or 65 inches, from the floor. If it’s a sitting room (think: living room or bedroom), you should hang the center of the artwork five feet, or 60 inches, from the floor.” How you use the space should determine how you hang your pictures.
Eloise’s trick of the trade: Put a strip of painter’s tape across the back of the frame and mark where the hardware is. Then, put the tape on the wall and use it as a clear reference for where to hammer in the nail.
“Find symmetry in ways that aren’t obvious to make your walls feel curated
and inspired.”
– Eloise Heath, Strategic Sourcing Manager
“Find symmetry in ways that aren’t obvious to make your walls feel curated and
inspired.”
Eloise Heath, Strategic Sourcing Manager
 09
09
 10
10
04
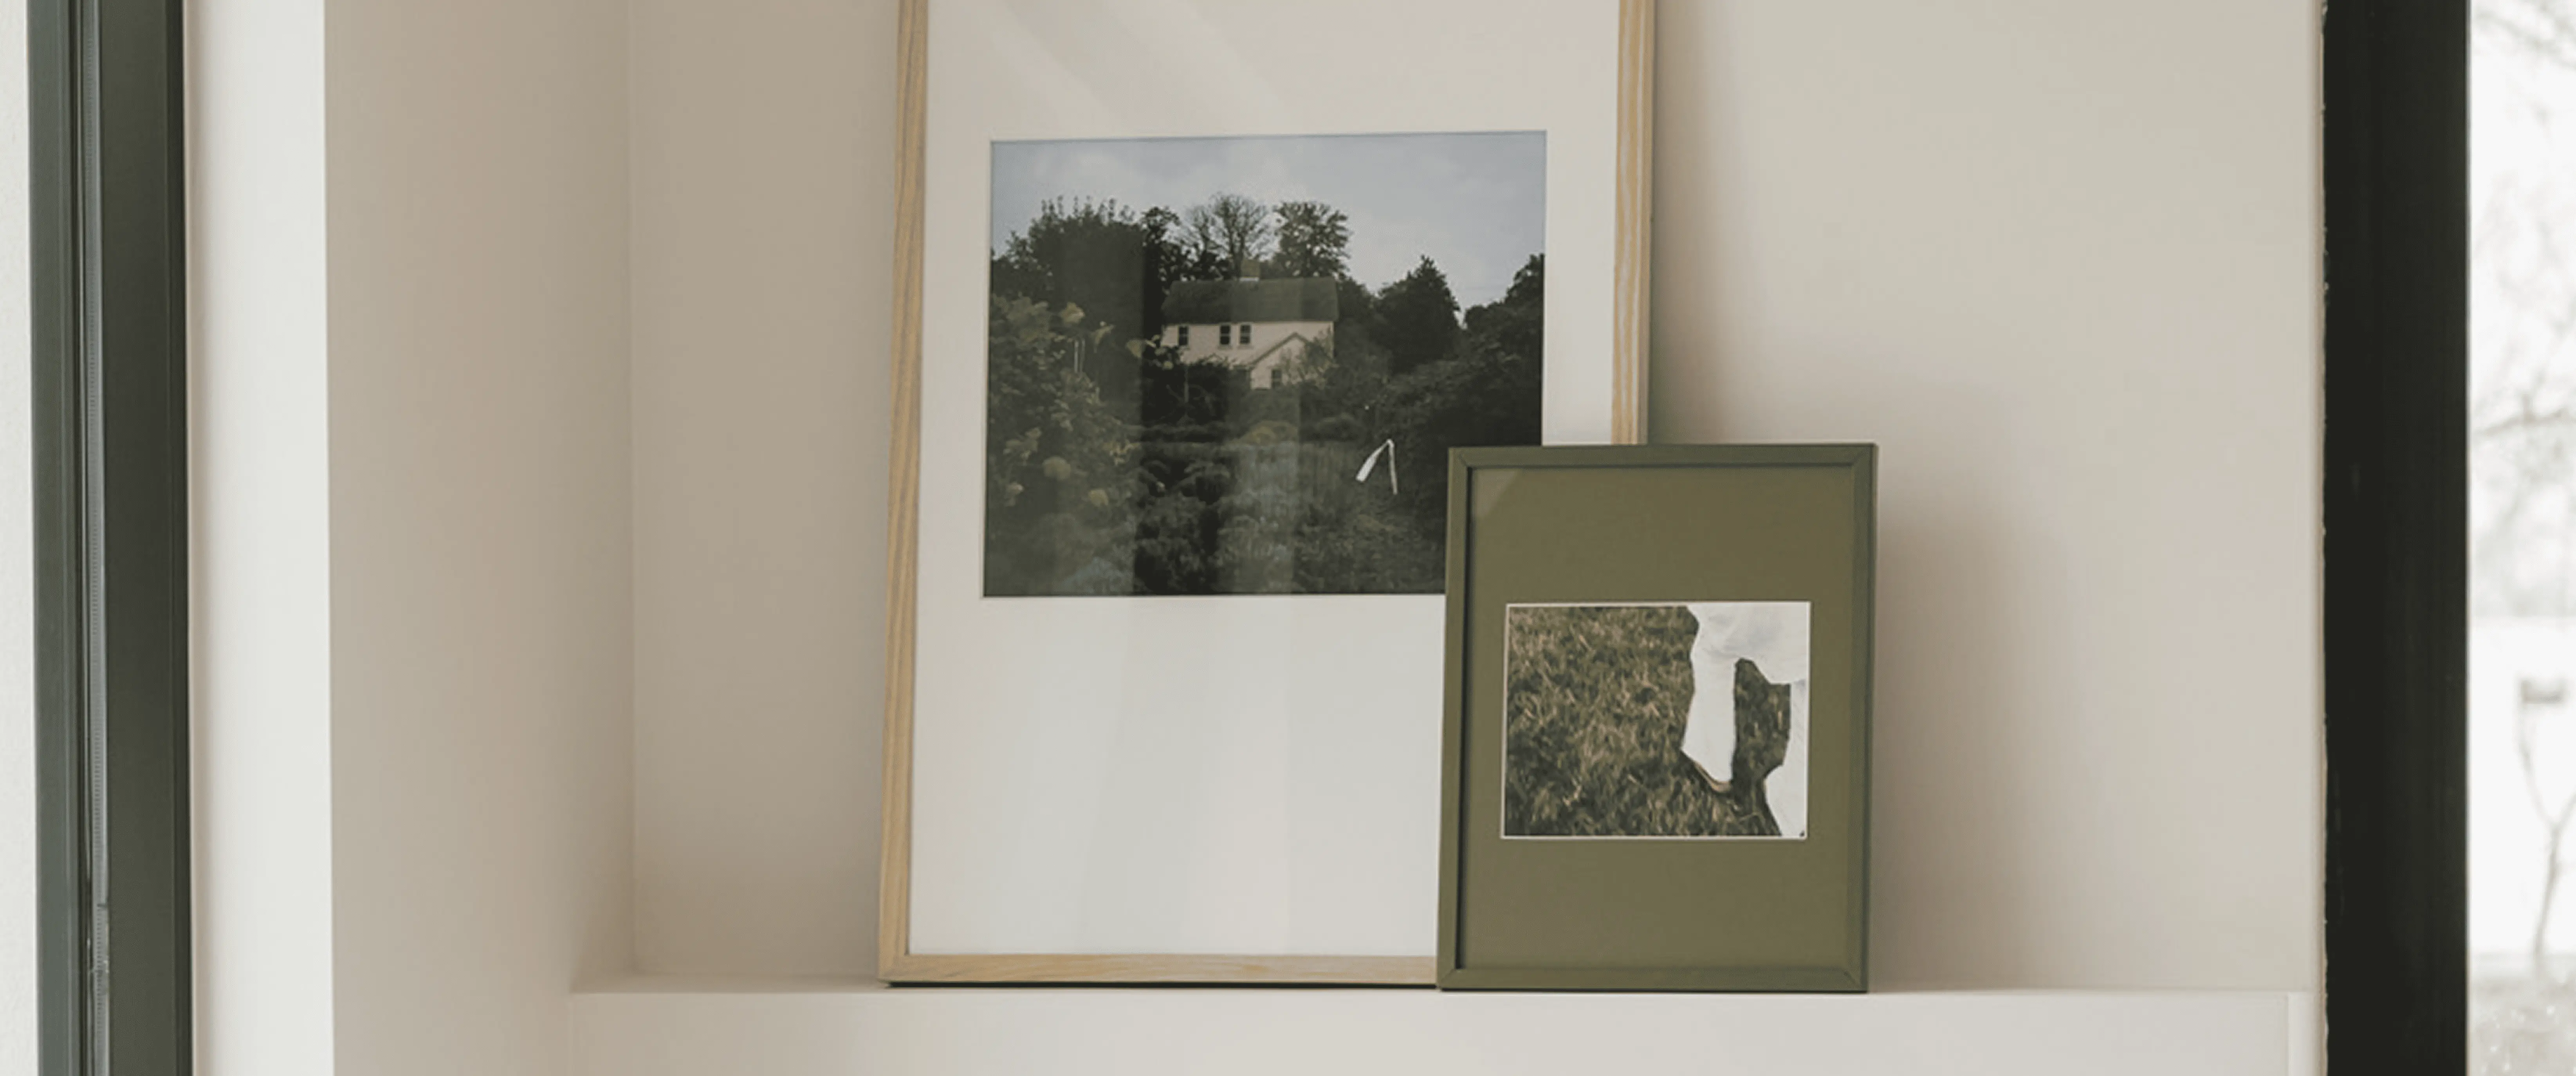
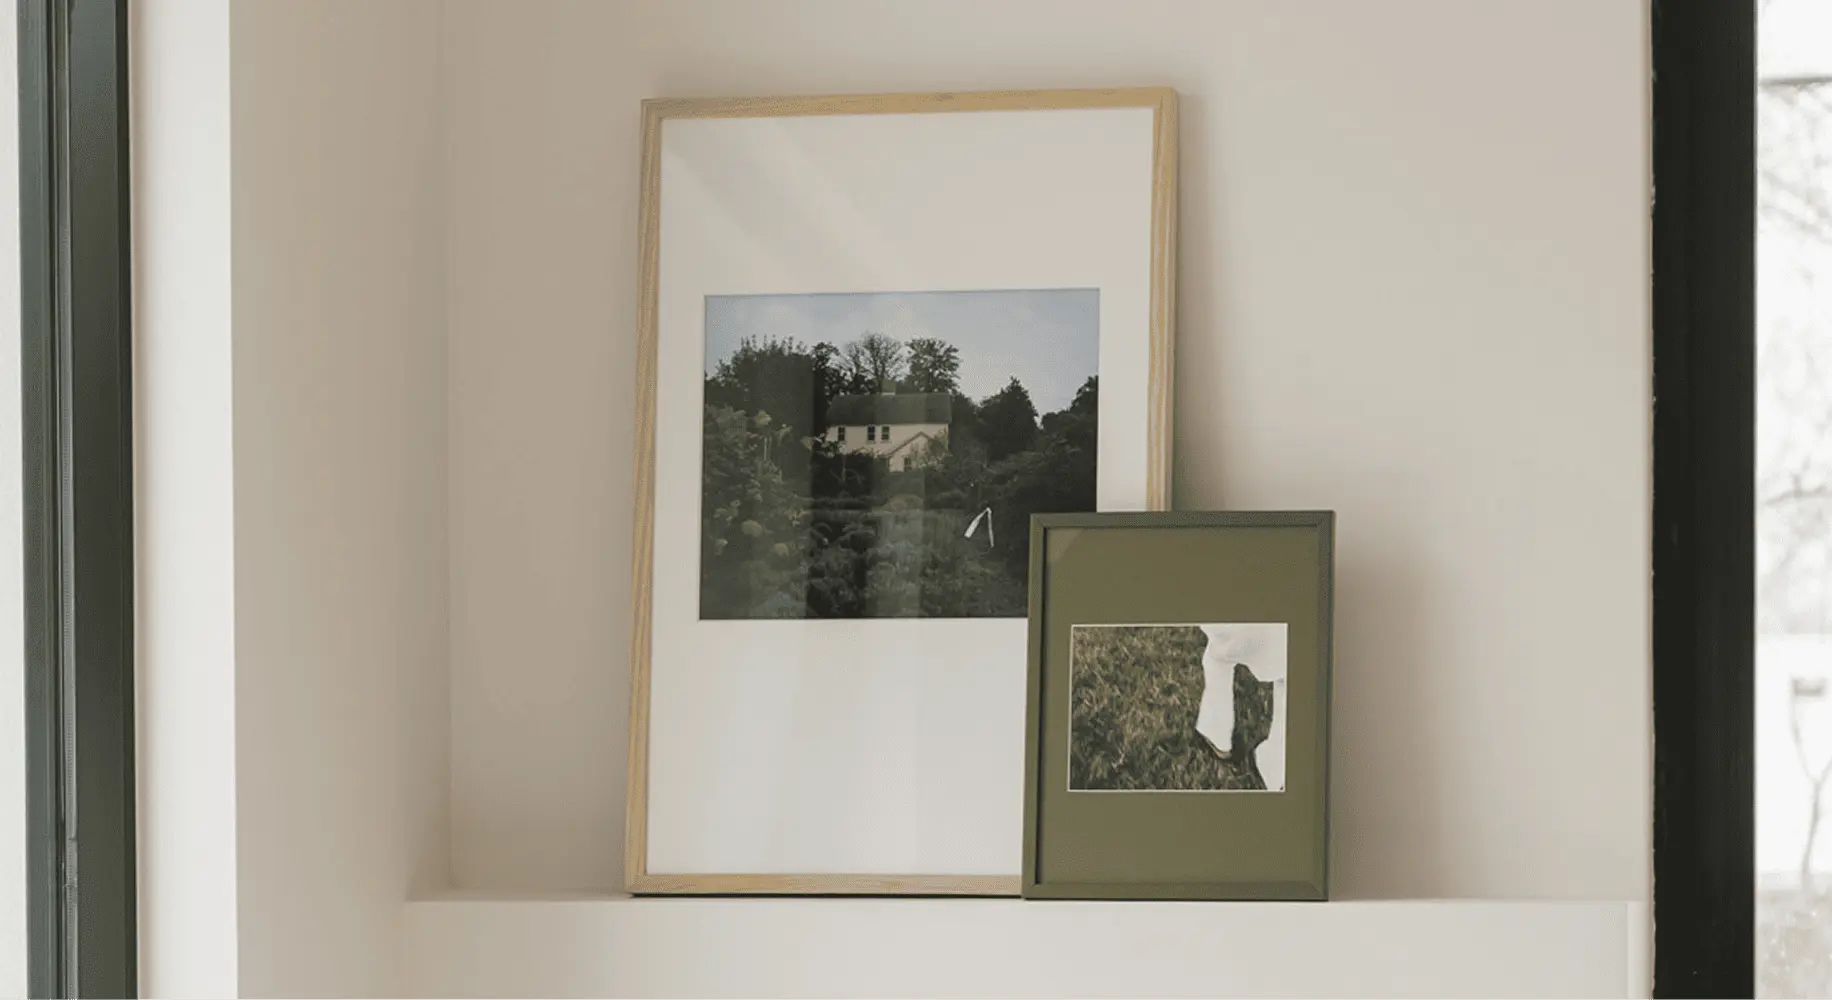
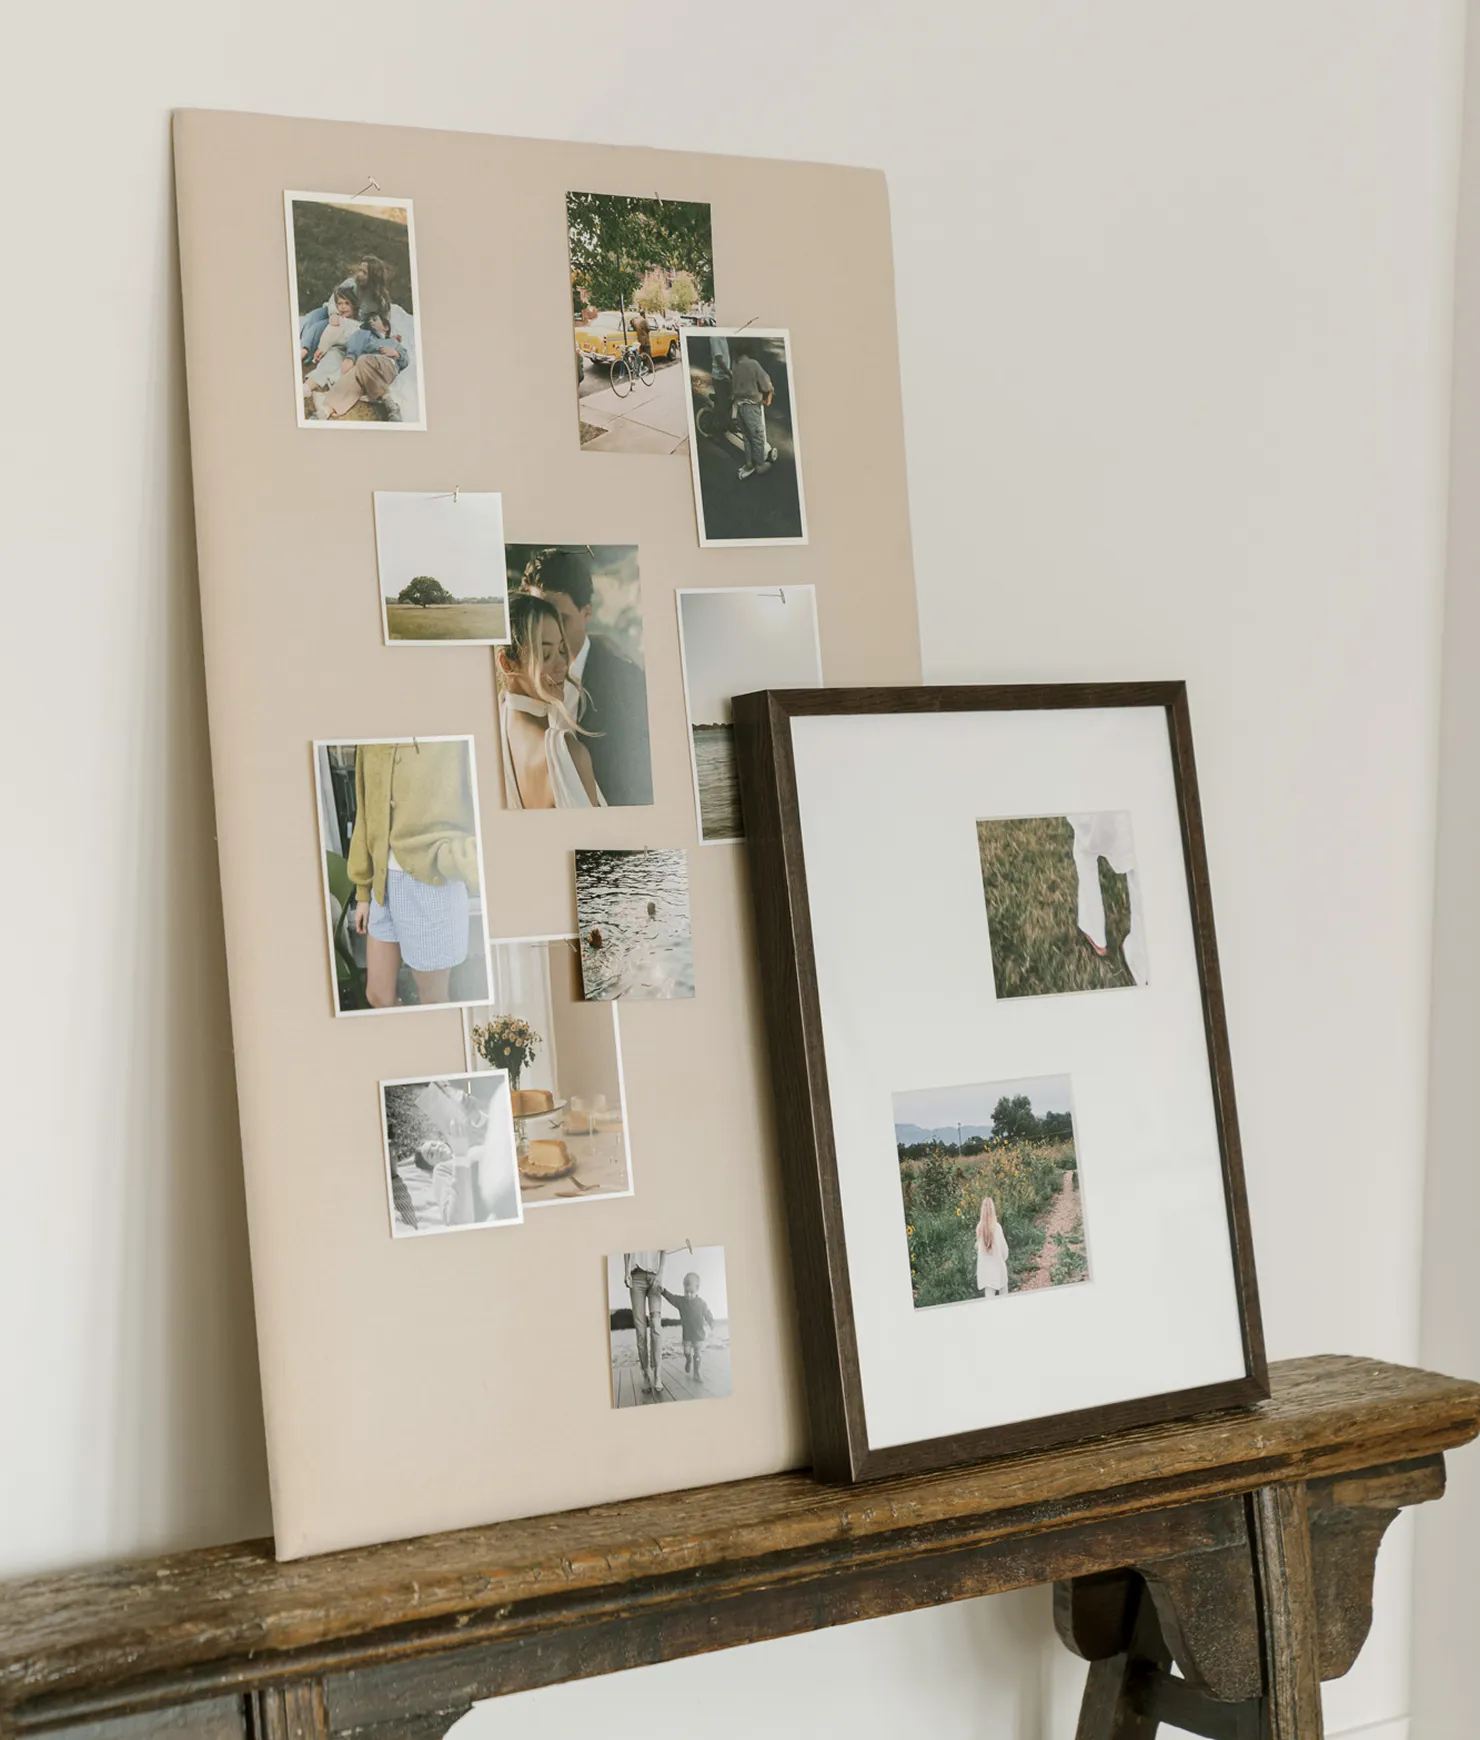
Leaning and Layering
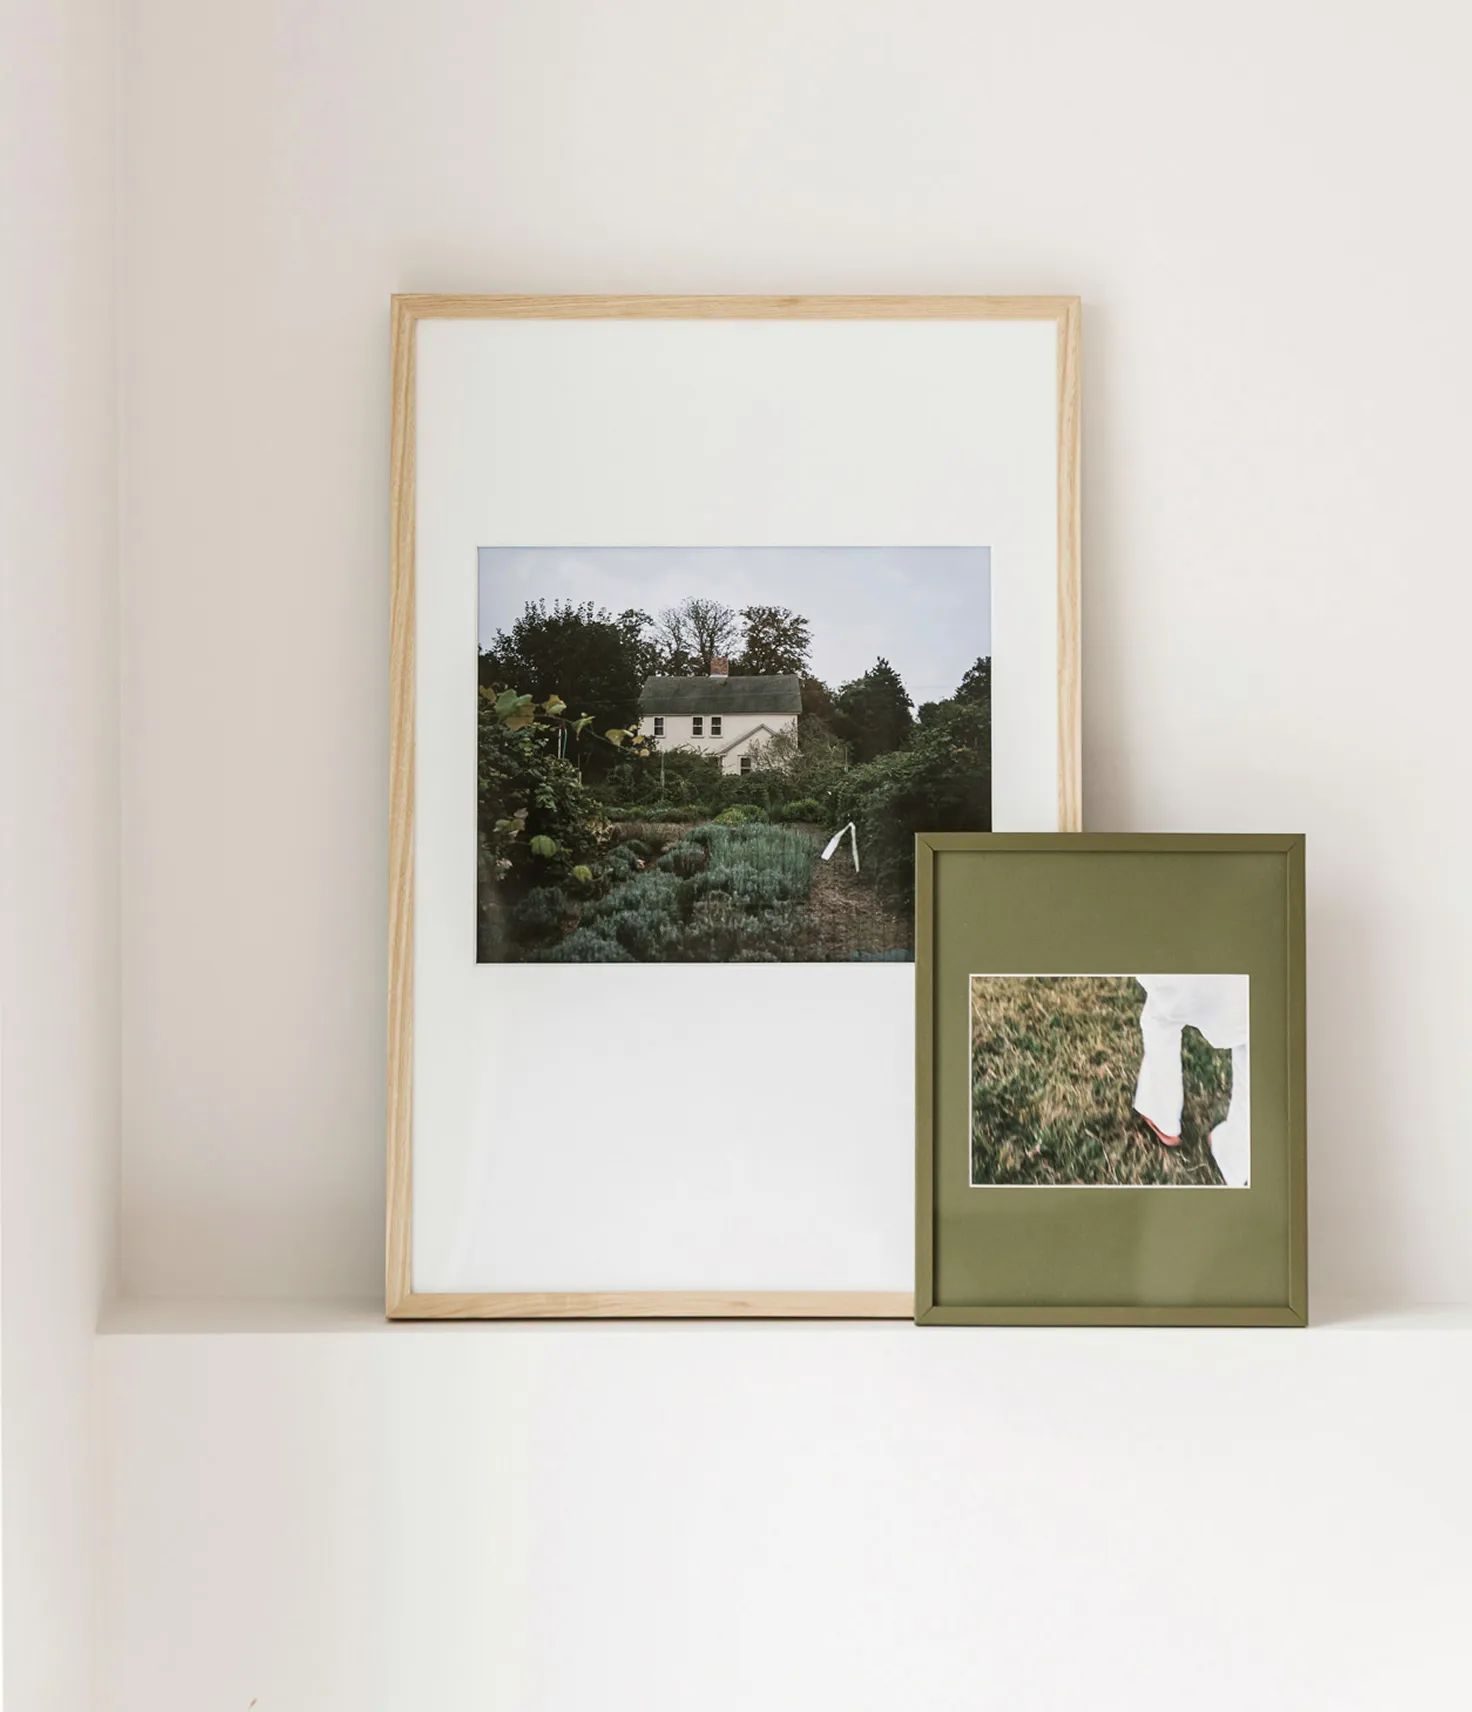
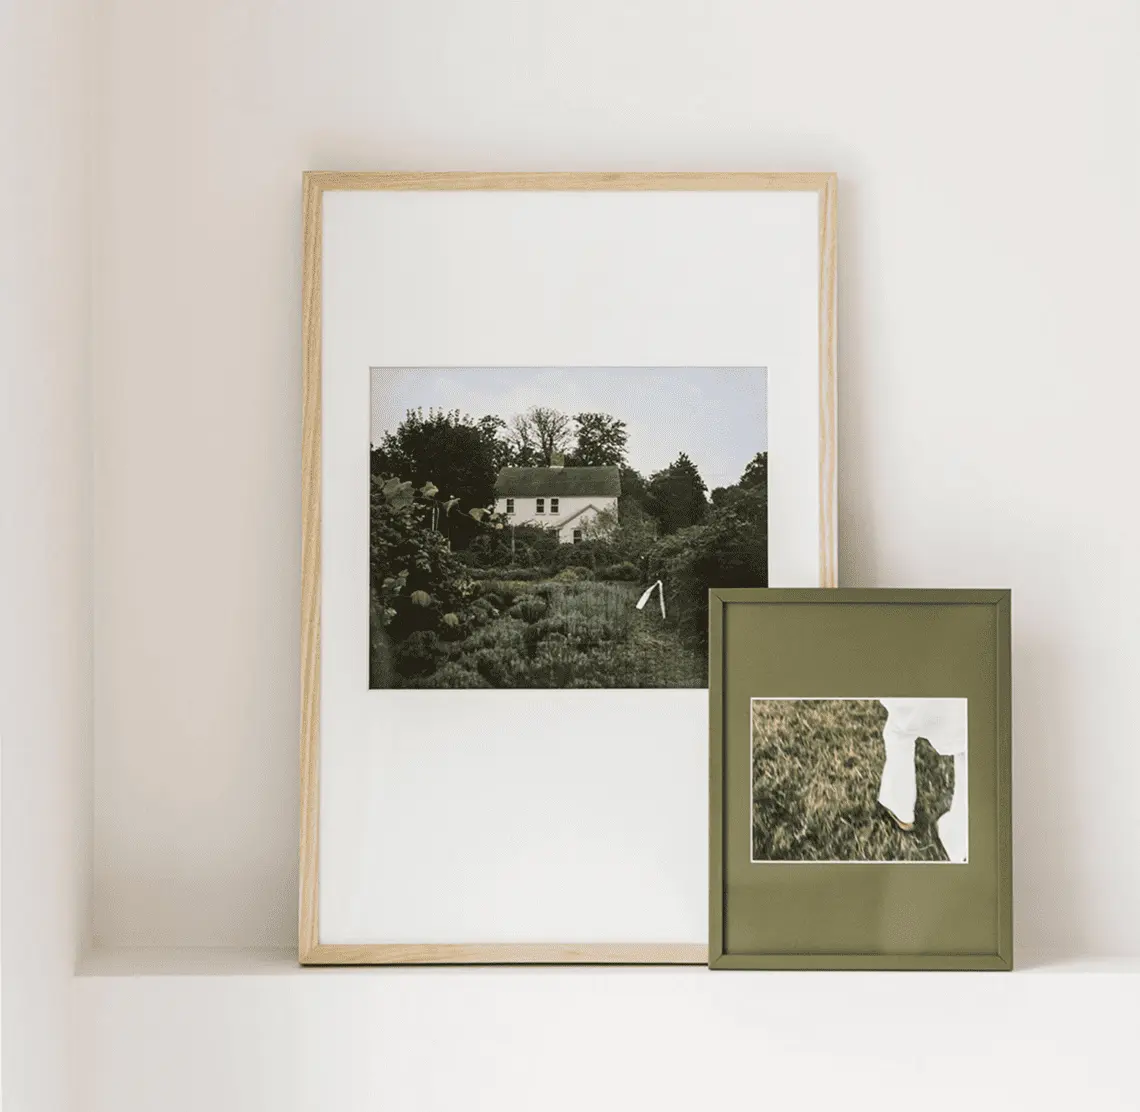
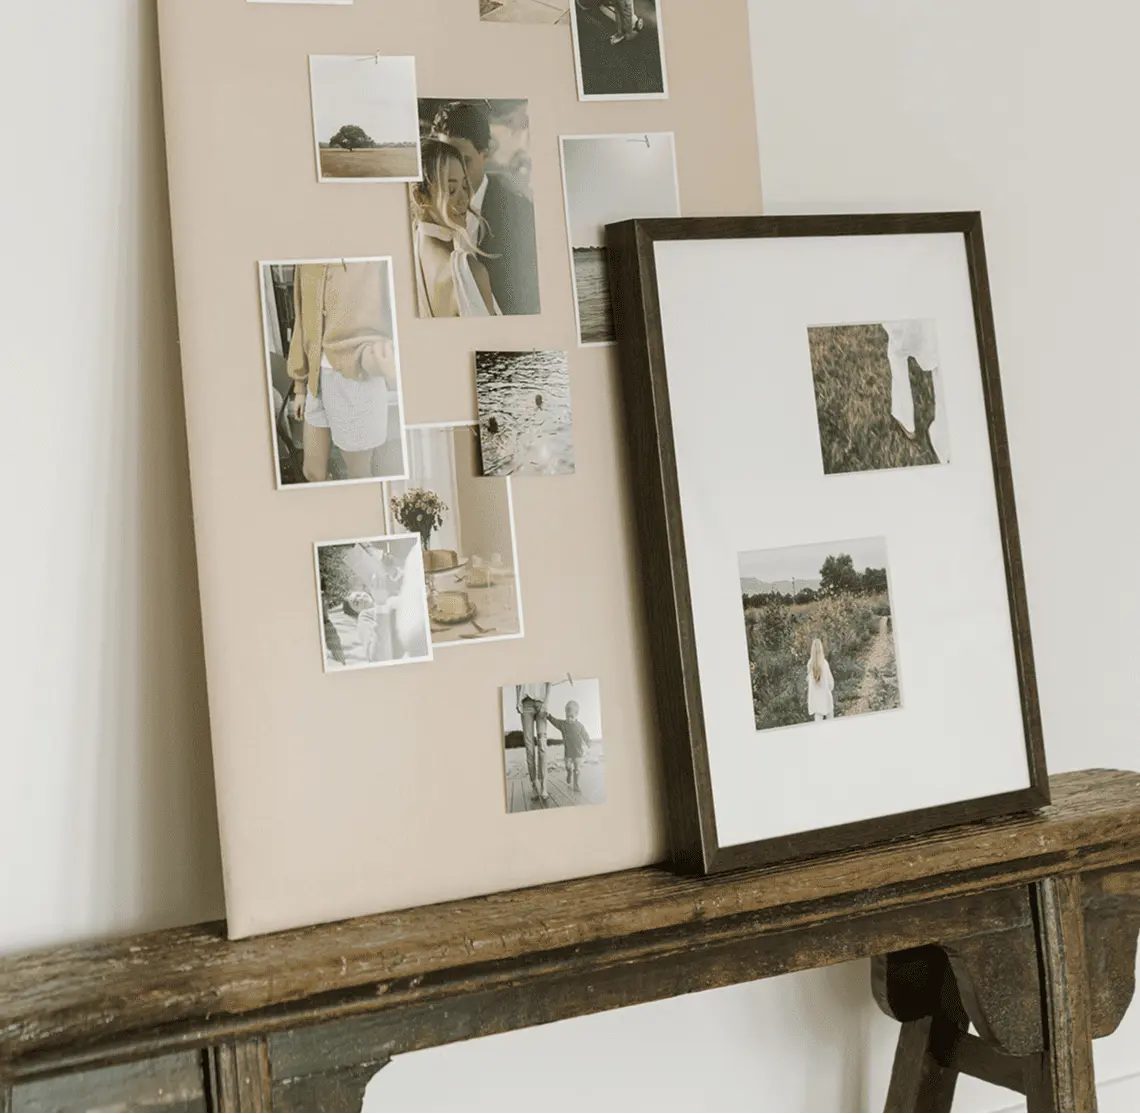
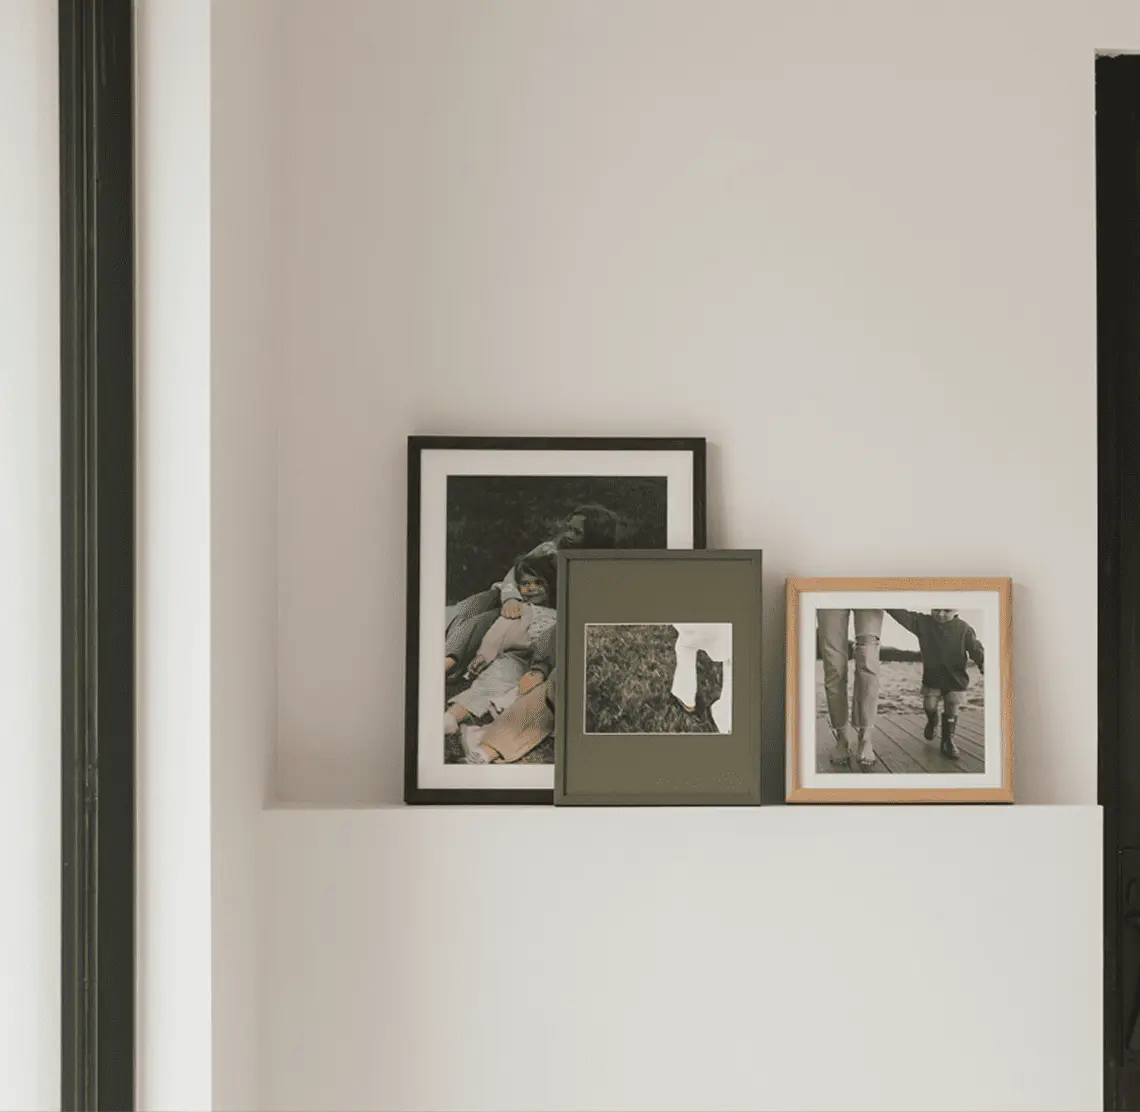
Sometimes, art makes the best impression when it’s not hung at all. Leaning it
against the wall—on a mantel, media console, shelf, dresser, or countertop—can
create a more relaxed, collected look. “This is also a great tool for testing art or
photos in your space,” says Heath. “If you’re indecisive as to where it’s going to
live permanently, prop it for a while to make sure you really want it in that
particular spot.”
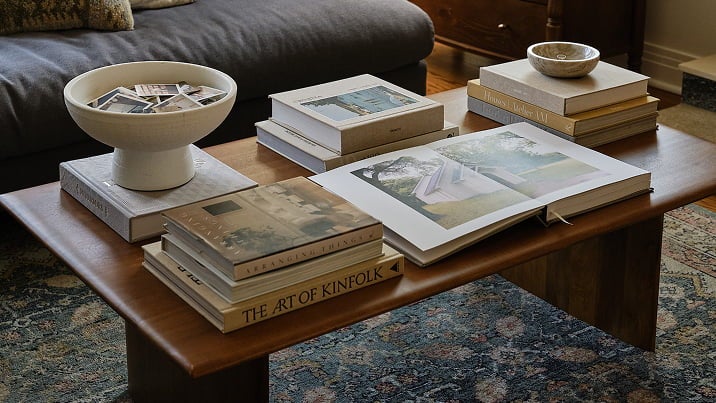
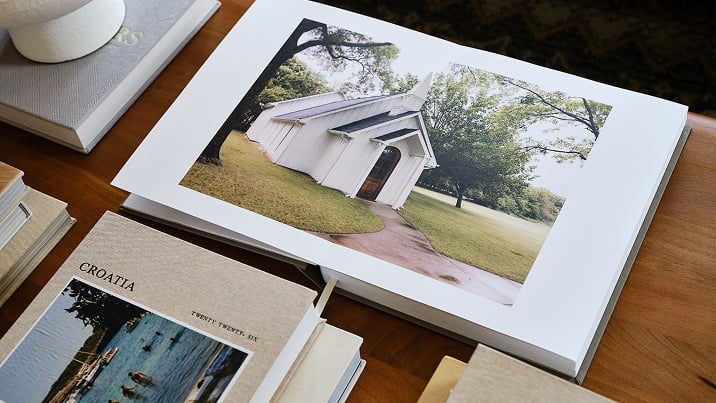
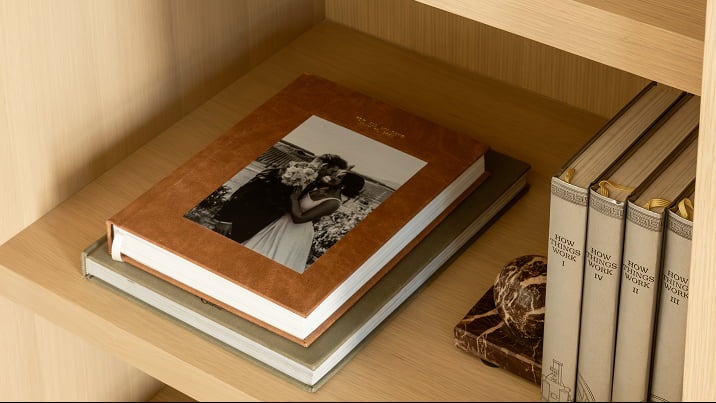
Aslee’s best advice for this more eclectic style of displaying art is to layer leaning pieces with hanging pieces. Maybe they are two similar works of art, or maybe it’s a painting and a mirror. This arrangement makes the leaning piece feel considered and intentional. Using medium to medium-large-scale pieces also reinforces the intentionality and makes the decision seem more deliberate. Reserve your smaller pieces for bookshelves or ledges.
Which brings us to photo ledges—another interesting way to display pictures, frames, textures, and sentimental items. “Ledges are great for trend-driven pieces or seasonal photos you may plan to swap out often,” Eloise points out. They leave room for experimentation and put less pressure on the selection.

 12
12
 13
13
05
Call in the Professionals
If you still find framing to be a bit overwhelming, we’ve got you covered. Our
Gallery Wall Design Service
allows you to take the guesswork out of it by working with one of our in-house
Design Specialists. Simply share your vision with us, and our team will design a
custom gallery wall that you can bring to life with our handcrafted frames.
Learn more about this service, here.
Hanging pictures and artwork about your home is one of the most expressive and personal elements of interior design. Ultimately, you want your walls to be a true reflection of you—so do as much or as little as you are comfortable with. The ceiling is the limit!
Hanging pictures and artwork about your home is one of the most expressive and personal elements of interior design. Ultimately, you want your walls to be a true reflection of you—so do as much or as little as you are comfortable with. The ceiling is the limit!
 15
15
 16
16