


Artifact Uprising Photo Books Editor - Tips and Tricks

Calling all book-builders, frame lovers and print collectors: we’ve spruced up our editor to
streamline your projects and optimize your workflow. If you’re creating a book, a frame or a set
of prints, tune in for some helpful updates to make your next project a breeze.
Part One: Photo Upload, Organization and Management
01.
Upload Photos
Upload Photos
Say hello to the first - and most important - part of your project. Upon entering the editor,
you’ll be prompted to upload and organize your photos – the very blueprint for your project
ahead. For a few best practices, take a peek at the Uploading Images article.
New Feature: Mobile Upload via QR code
Photos on your phone and not your computer? Mobile upload is now available as the quickest way to get those photos off your phone and into your project editor. It’s as easy as 1-2-3 – take a peek!
New Feature: Mobile Upload via QR code
Photos on your phone and not your computer? Mobile upload is now available as the quickest way to get those photos off your phone and into your project editor. It’s as easy as 1-2-3 – take a peek!
New Feature: Mobile Upload via QR code
Photos on your phone and not your computer? Mobile upload is now available as the quickest way to get those photos off your phone and into your project editor. It’s as easy as 1-2-3 – take a peek!
New Feature: Mobile Upload via QR code
Photos on your phone and not your computer? Mobile upload is now available as the quickest way to get those photos off your phone and into your project editor. It’s as easy as 1-2-3 – take a peek!
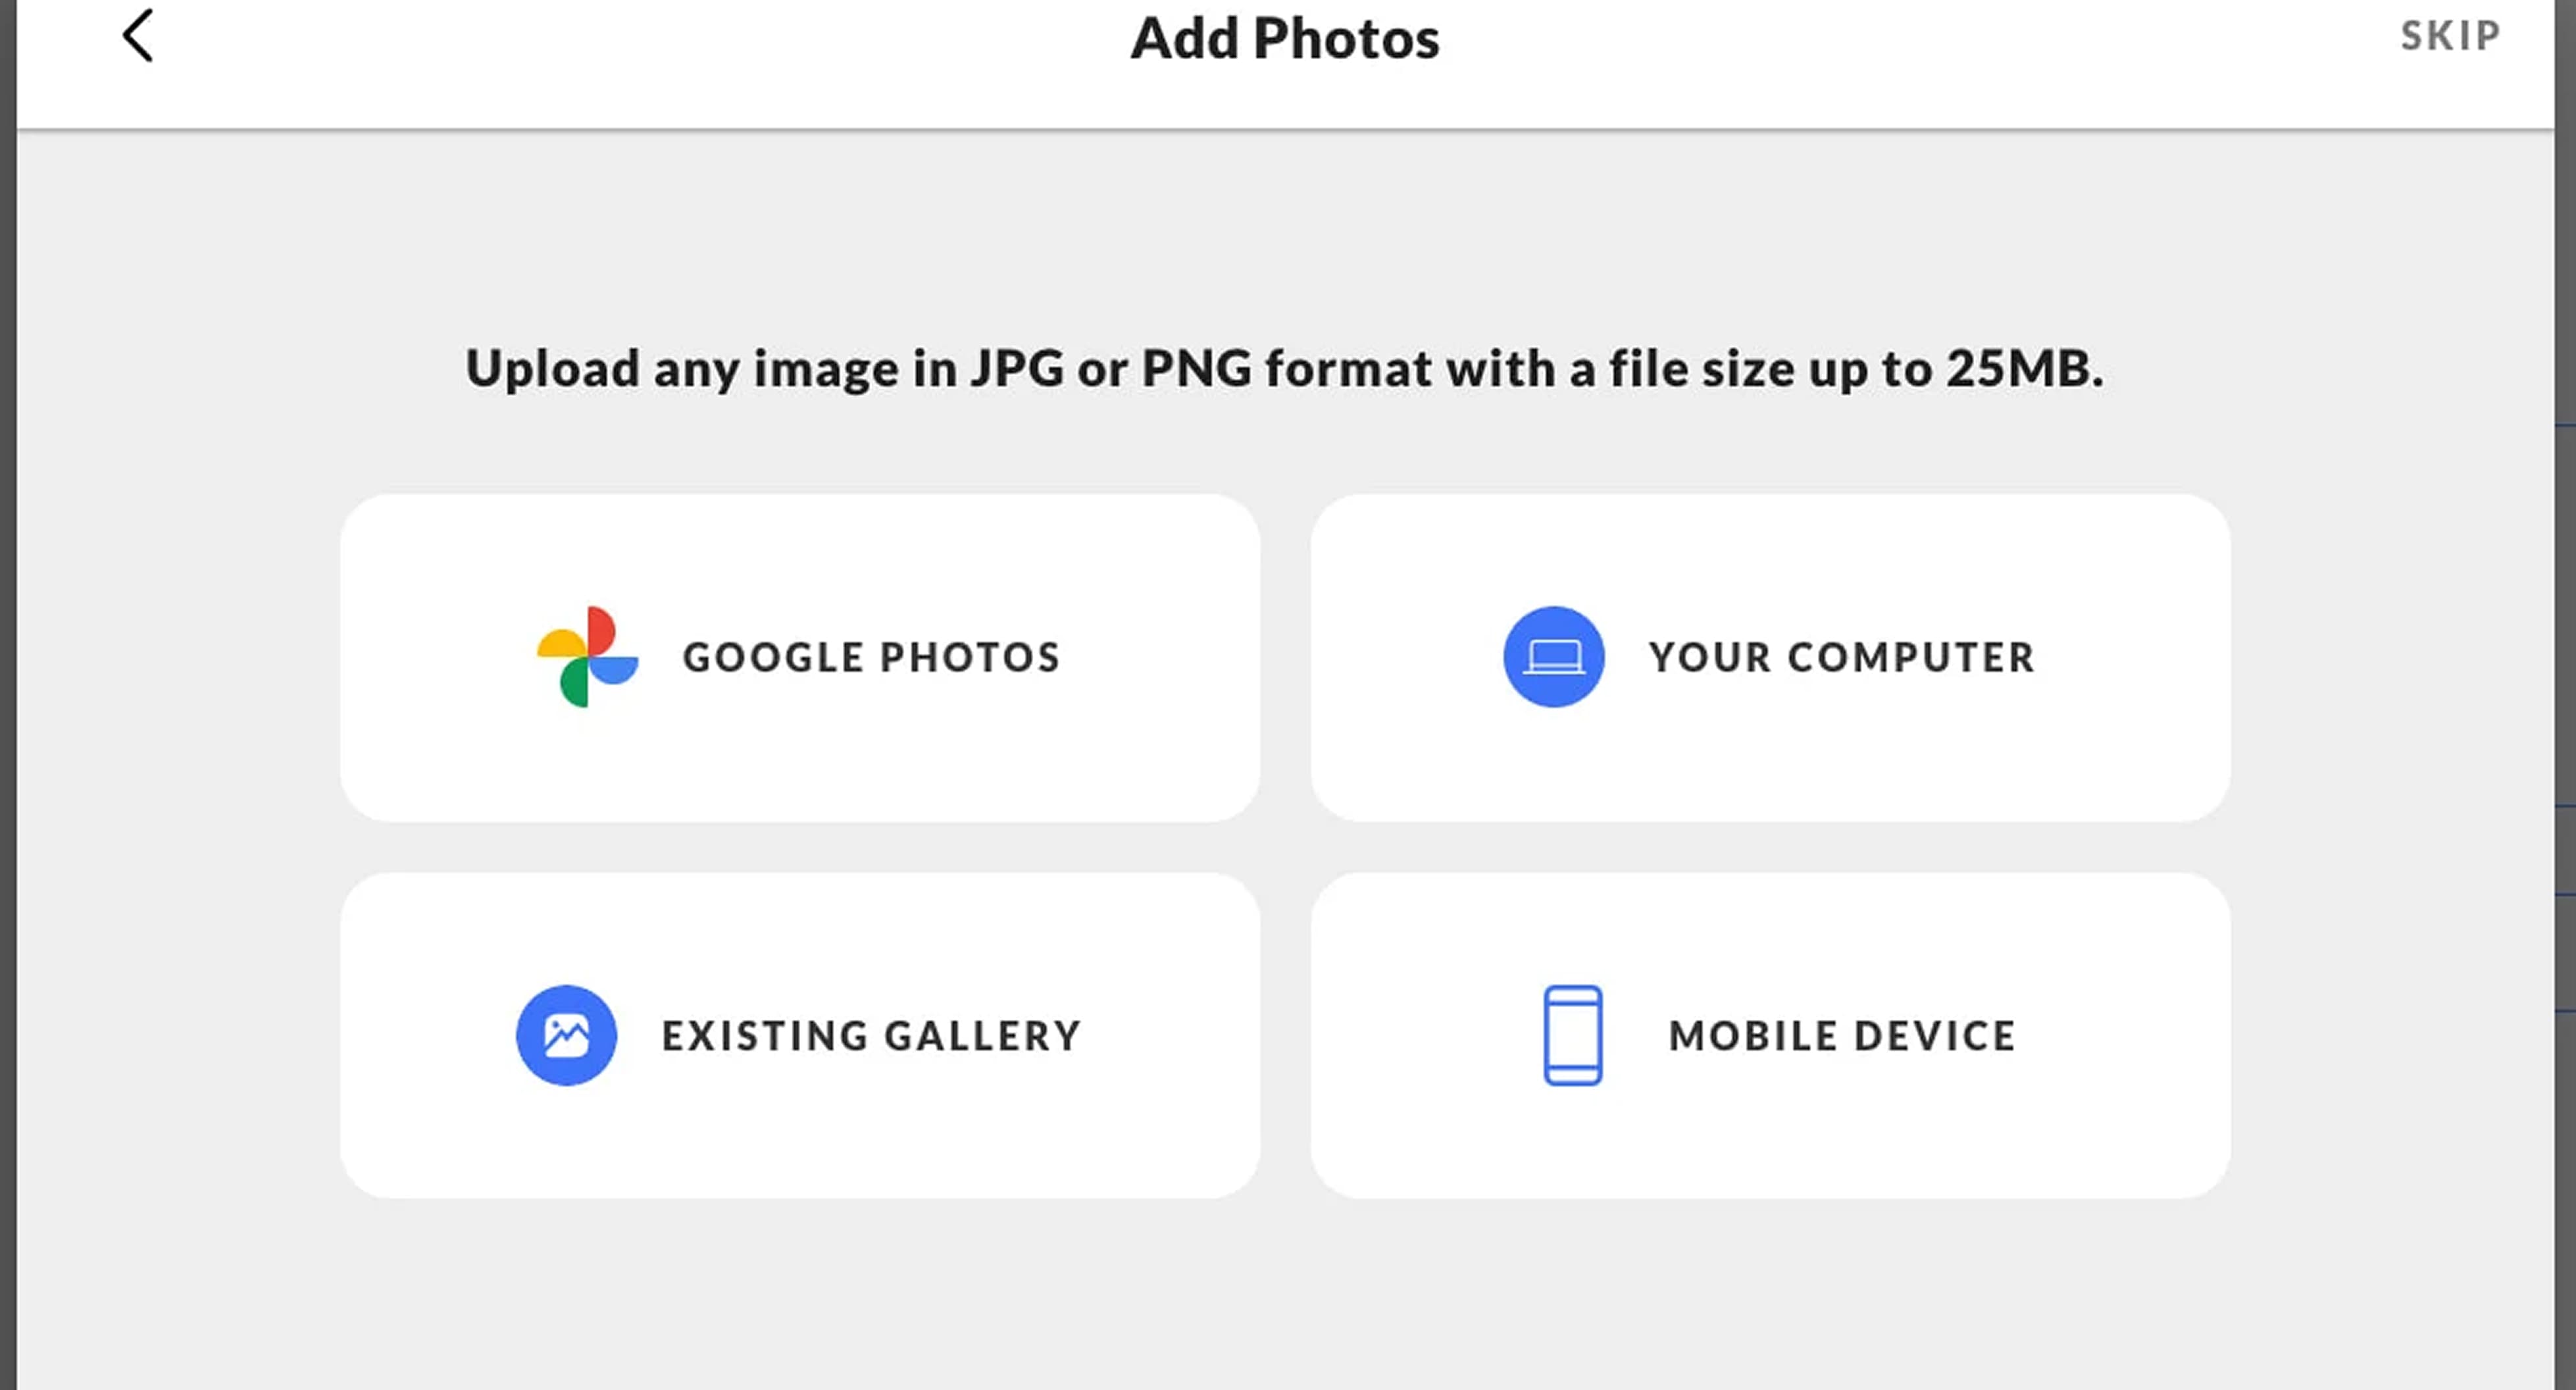
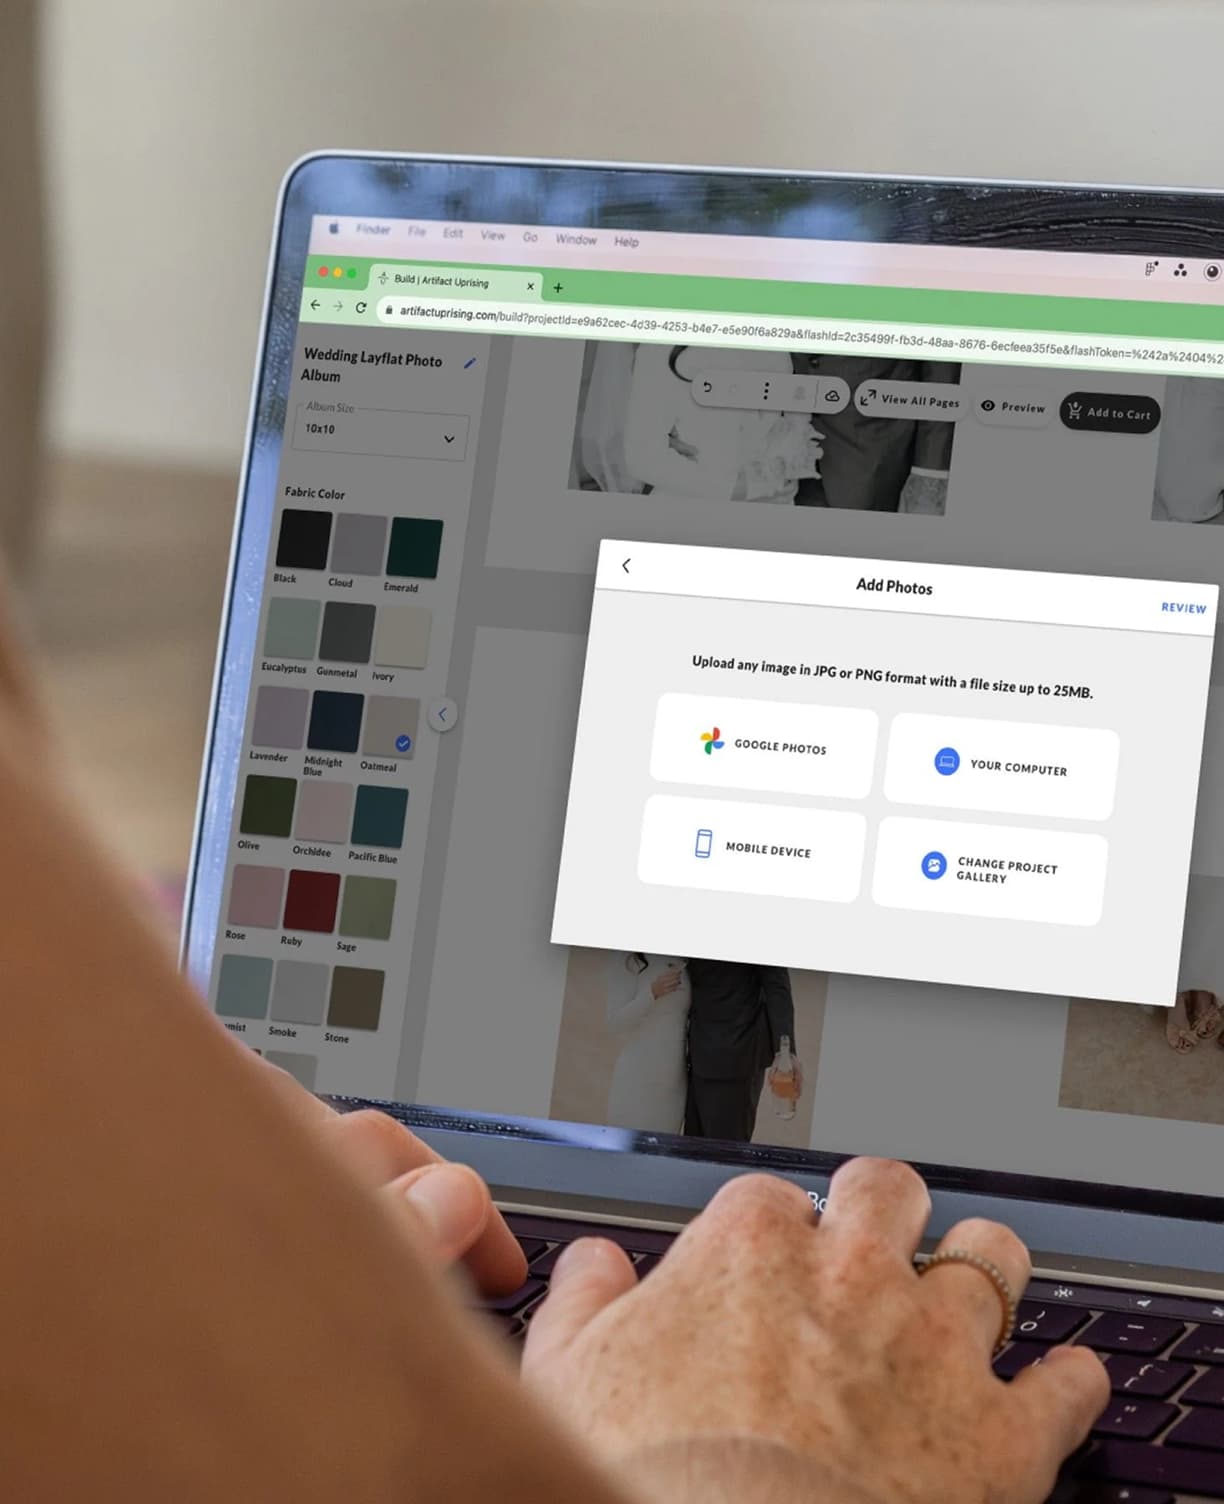
Step 01:
Open a project in the editor on a desktop. When prompted to add photos,
select Mobile Device and wait for the QR code to populate.
Open a project in the editor on a desktop. When prompted to add photos,
select Mobile Device and wait for the QR code to populate.
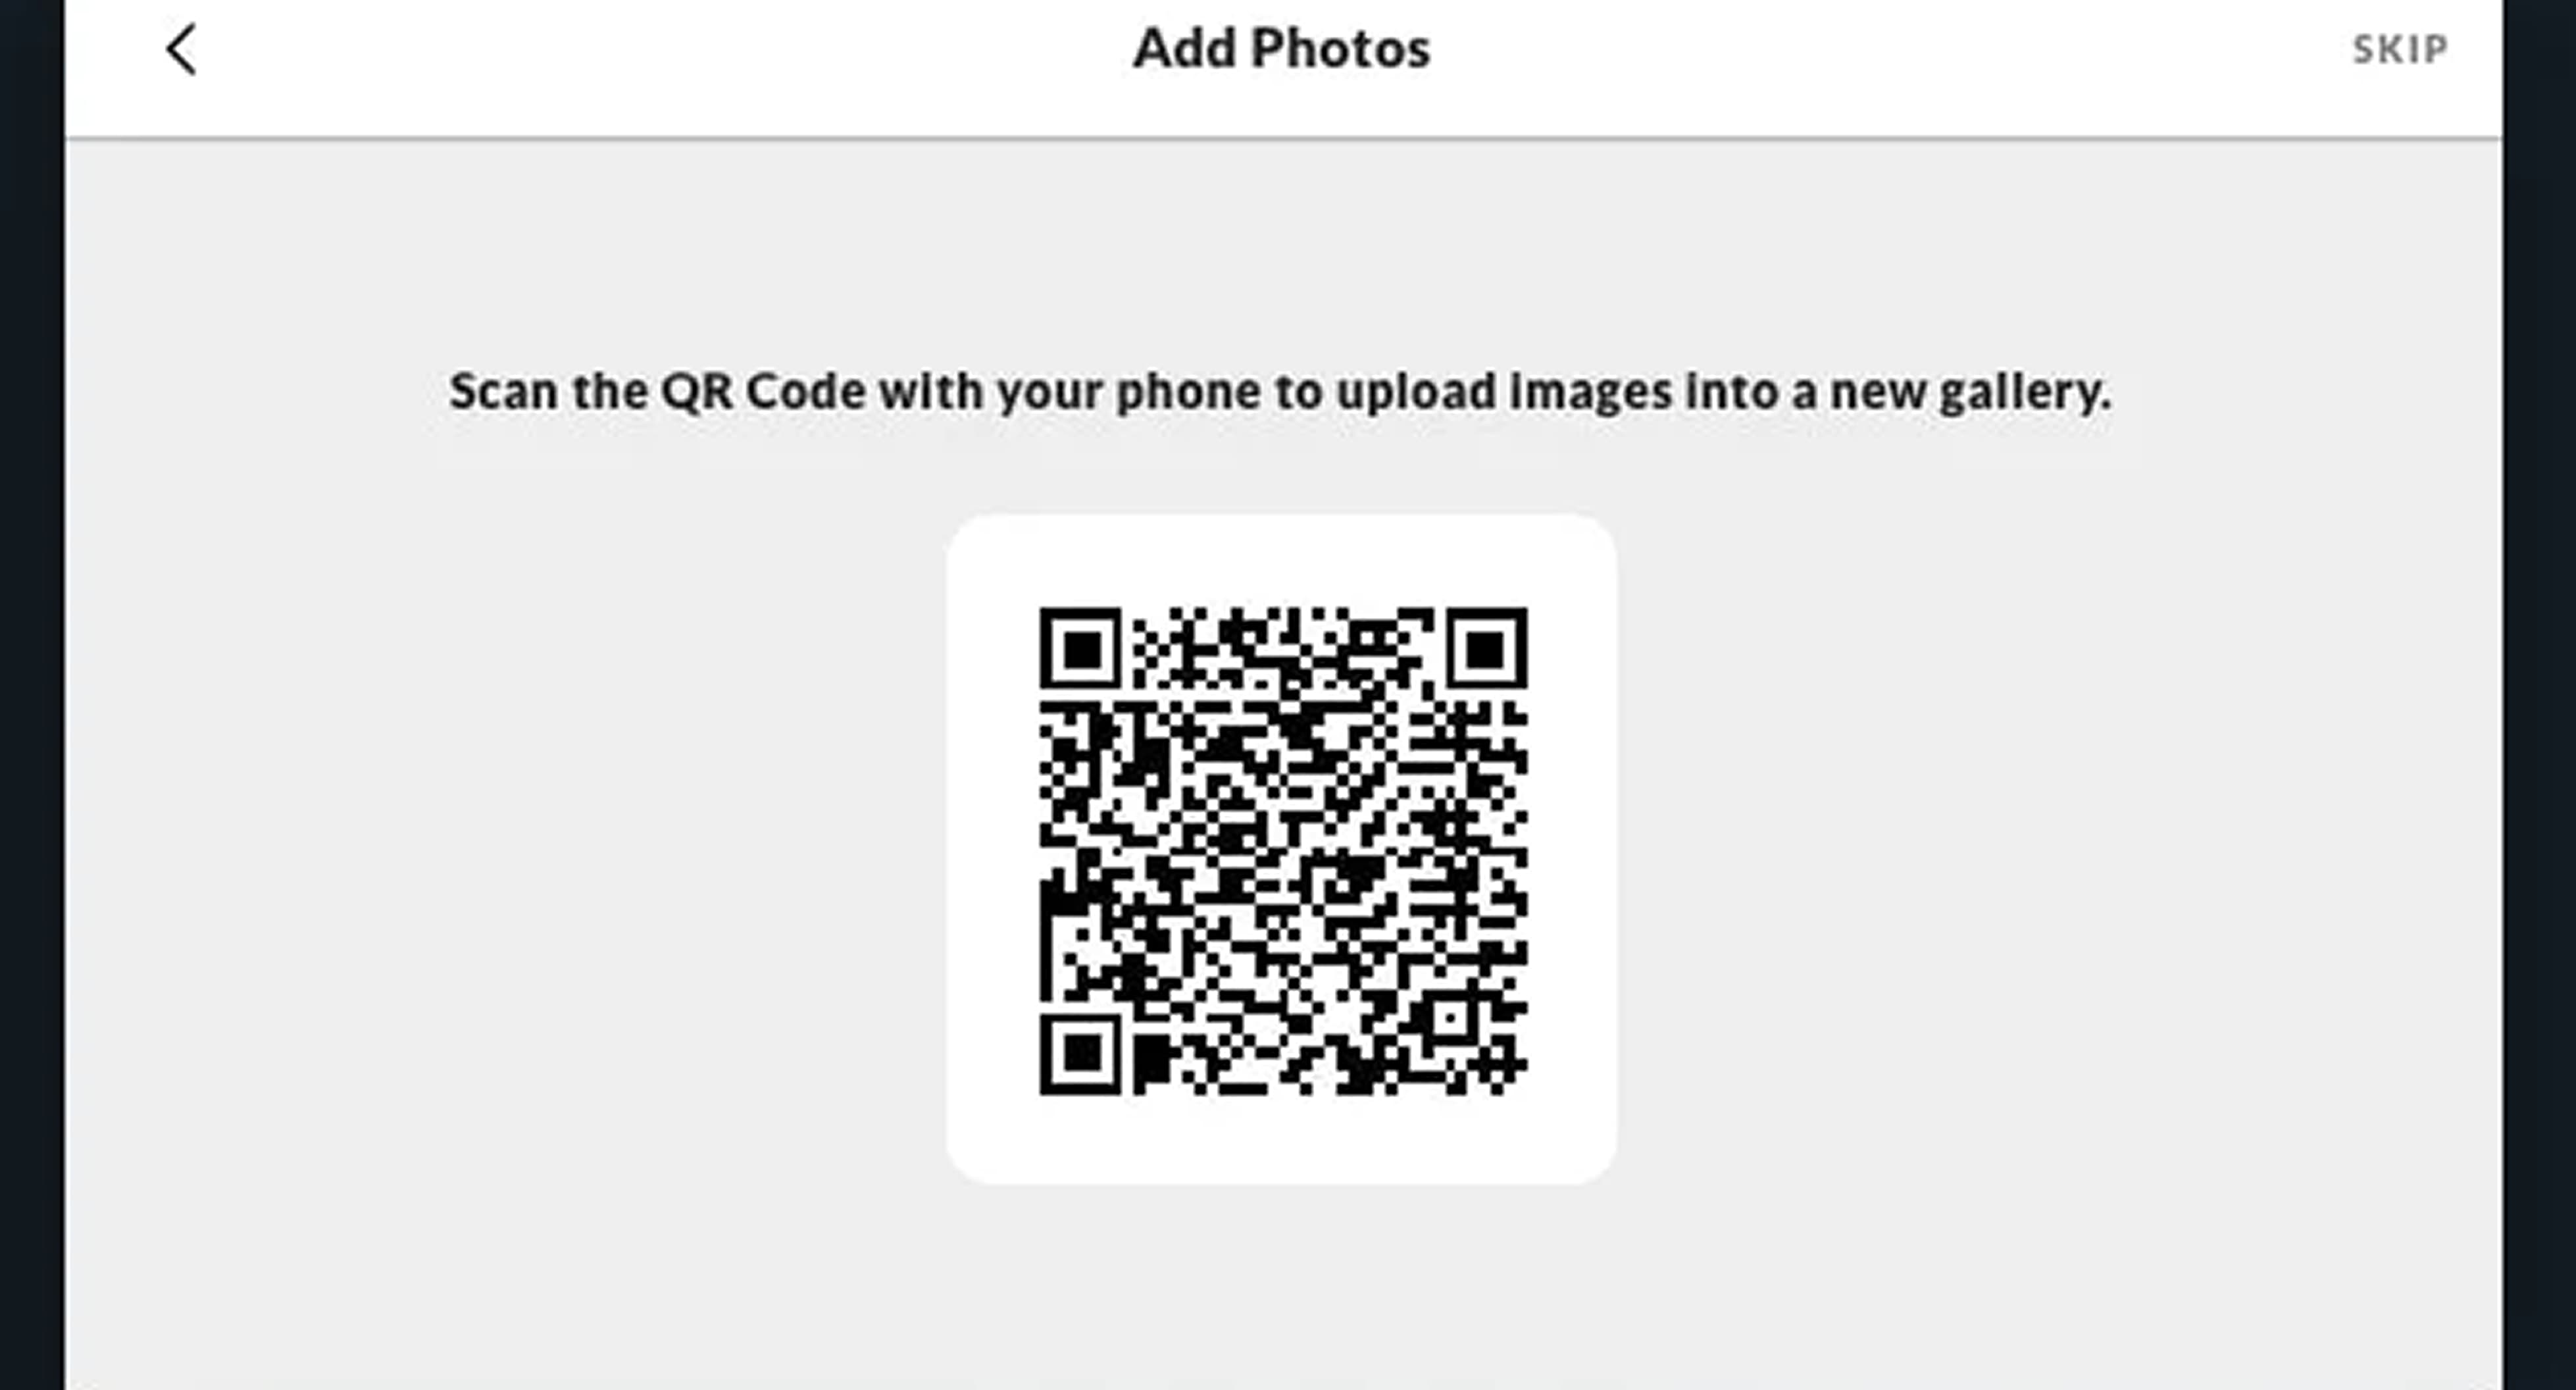
Step 02:
Grab your phone, open your camera and hover over the QR code.
You’ll be guided to an option to upload.
Grab your phone, open your camera and hover over the QR code.
You’ll be guided to an option to upload.
Step 02:
Select your images and watch them (almost) magically appear on your desktop editor!
Select your images and watch them (almost) magically appear on your desktop editor!
Step 01:
Open a project in the editor on a desktop. When prompted to add photos,
select Mobile Device and wait for the QR code to populate.
Open a project in the editor on a desktop. When prompted to add photos,
select Mobile Device and wait for the QR code to populate.
Step 02:
Grab your phone, open your camera and hover over the QR code.
You’ll be guided to an option to upload.
Grab your phone, open your camera and hover over the QR code.
You’ll be guided to an option to upload.
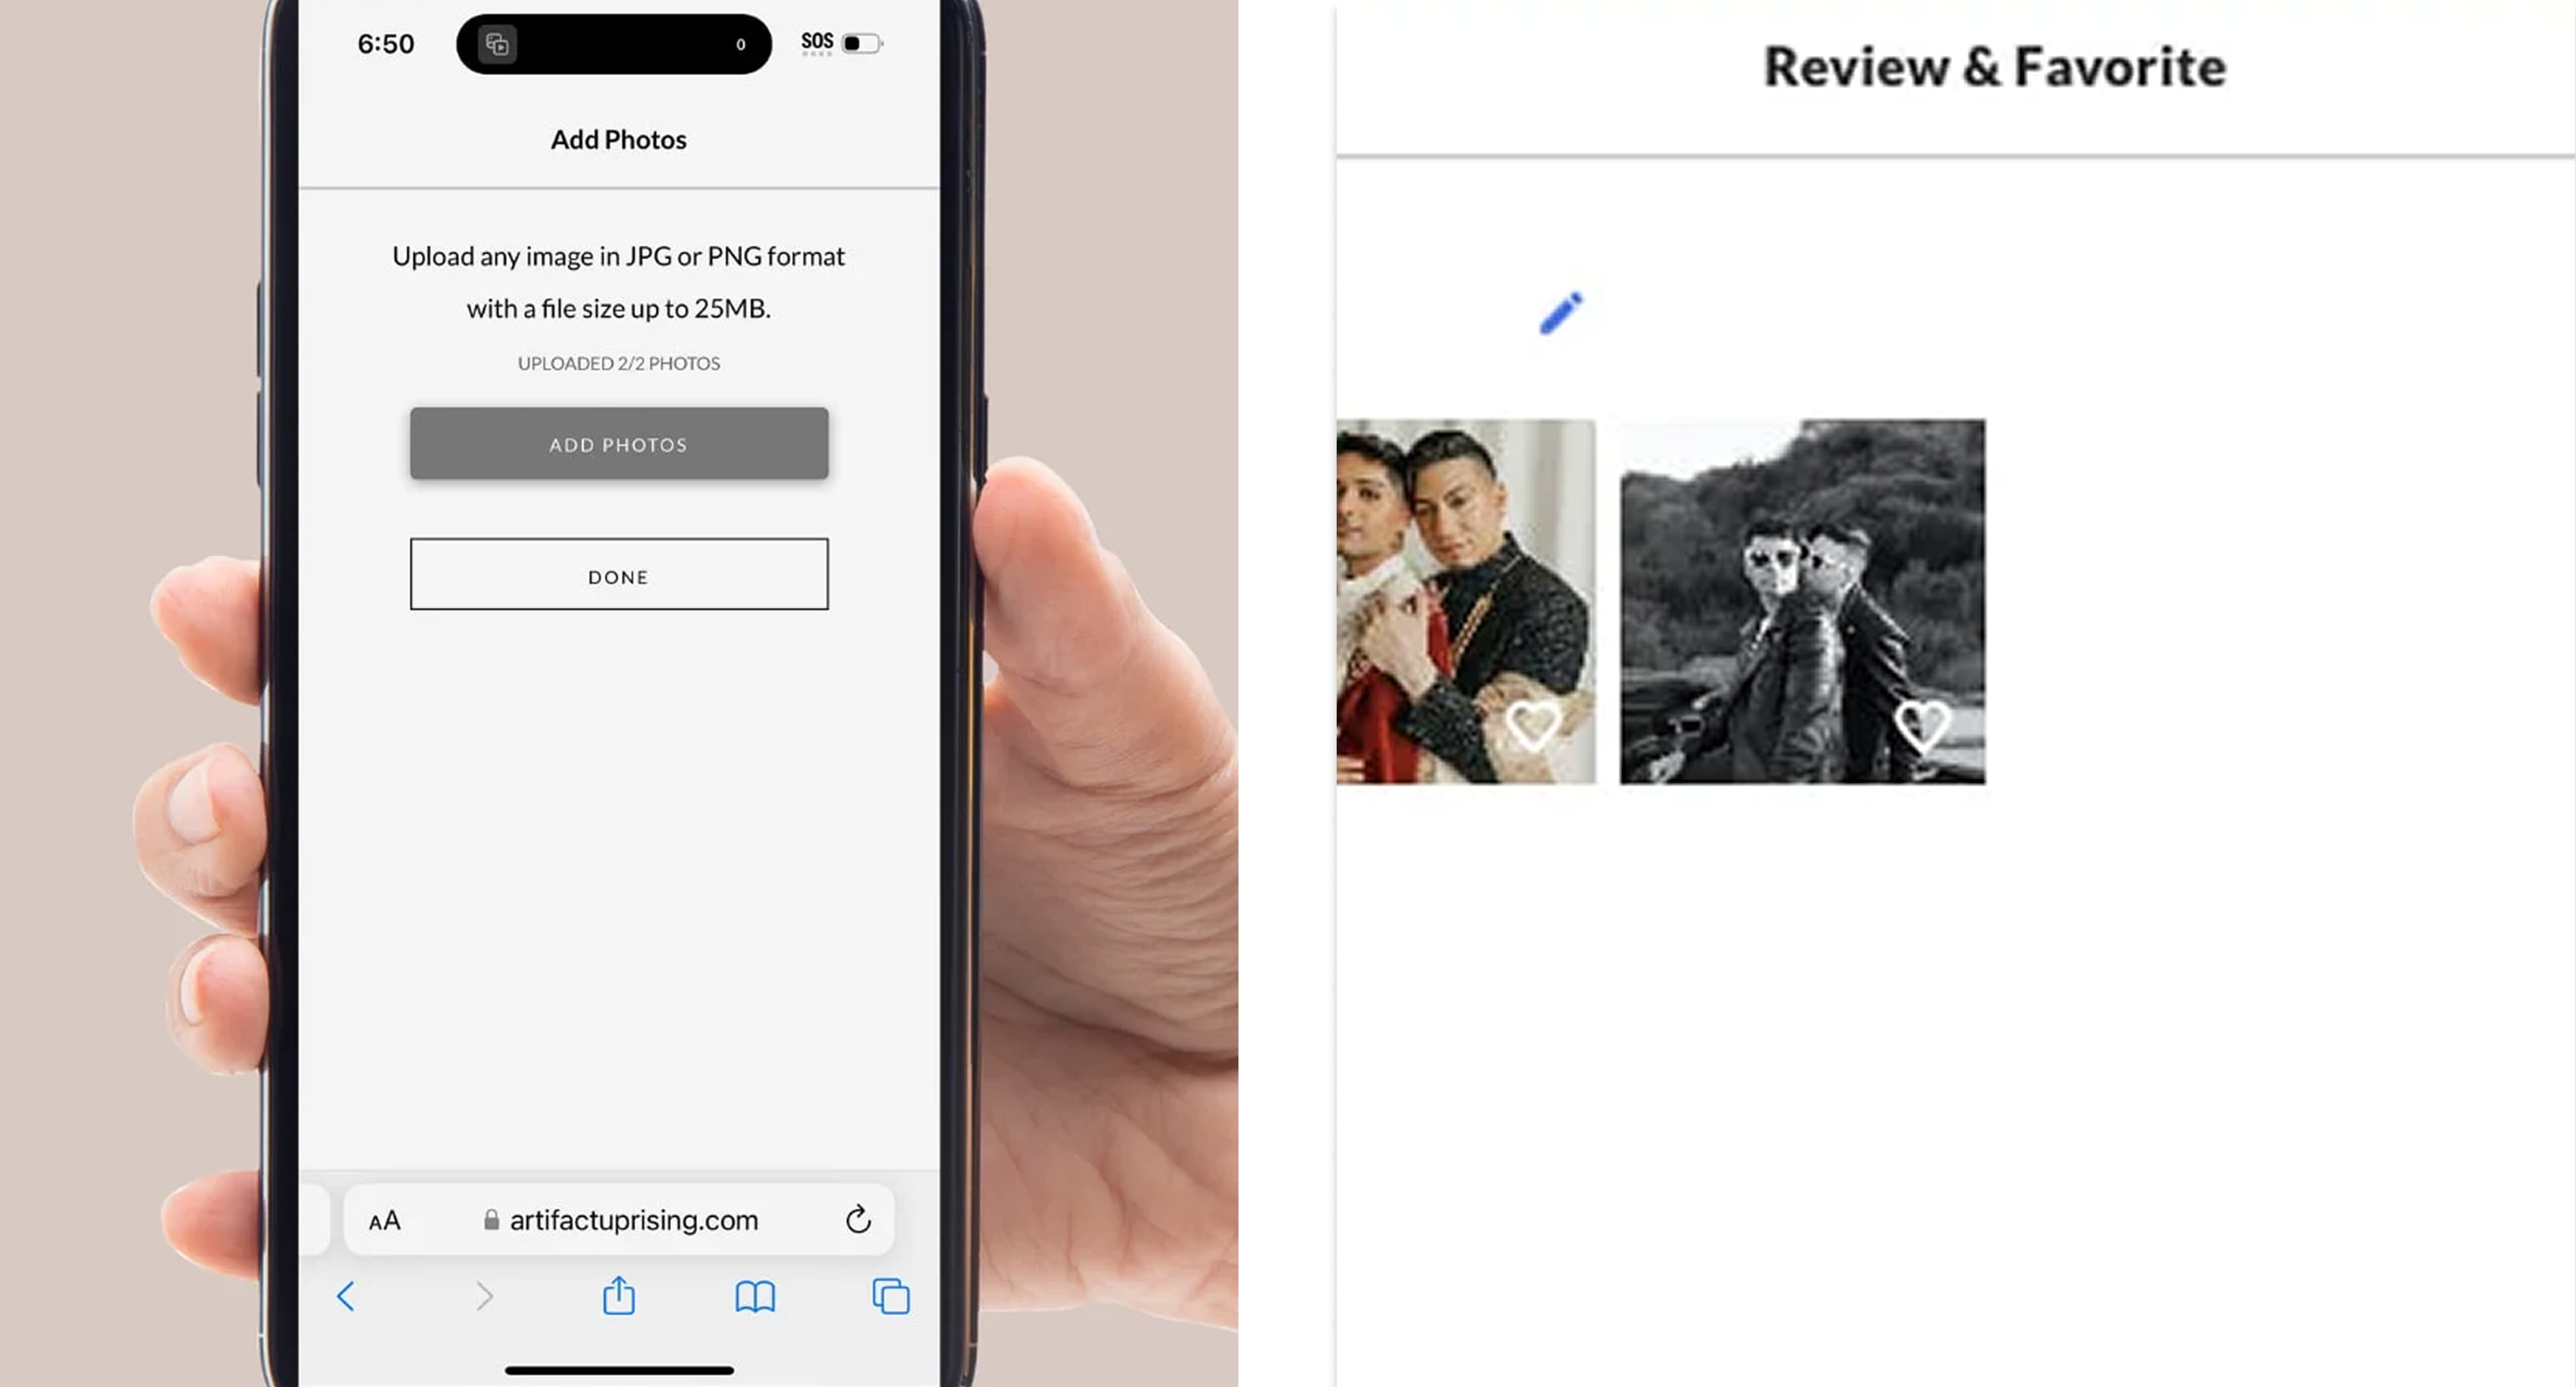
Step 03:
Select your images and watch them (almost) magically appear on your desktop editor!
Select your images and watch them (almost) magically appear on your desktop editor!
02.
Organize
Organize
After the photo upload comes the album sorting. Luckily, we’re introducing
three new features to make this part a breeze.
three new features to make this part a breeze.
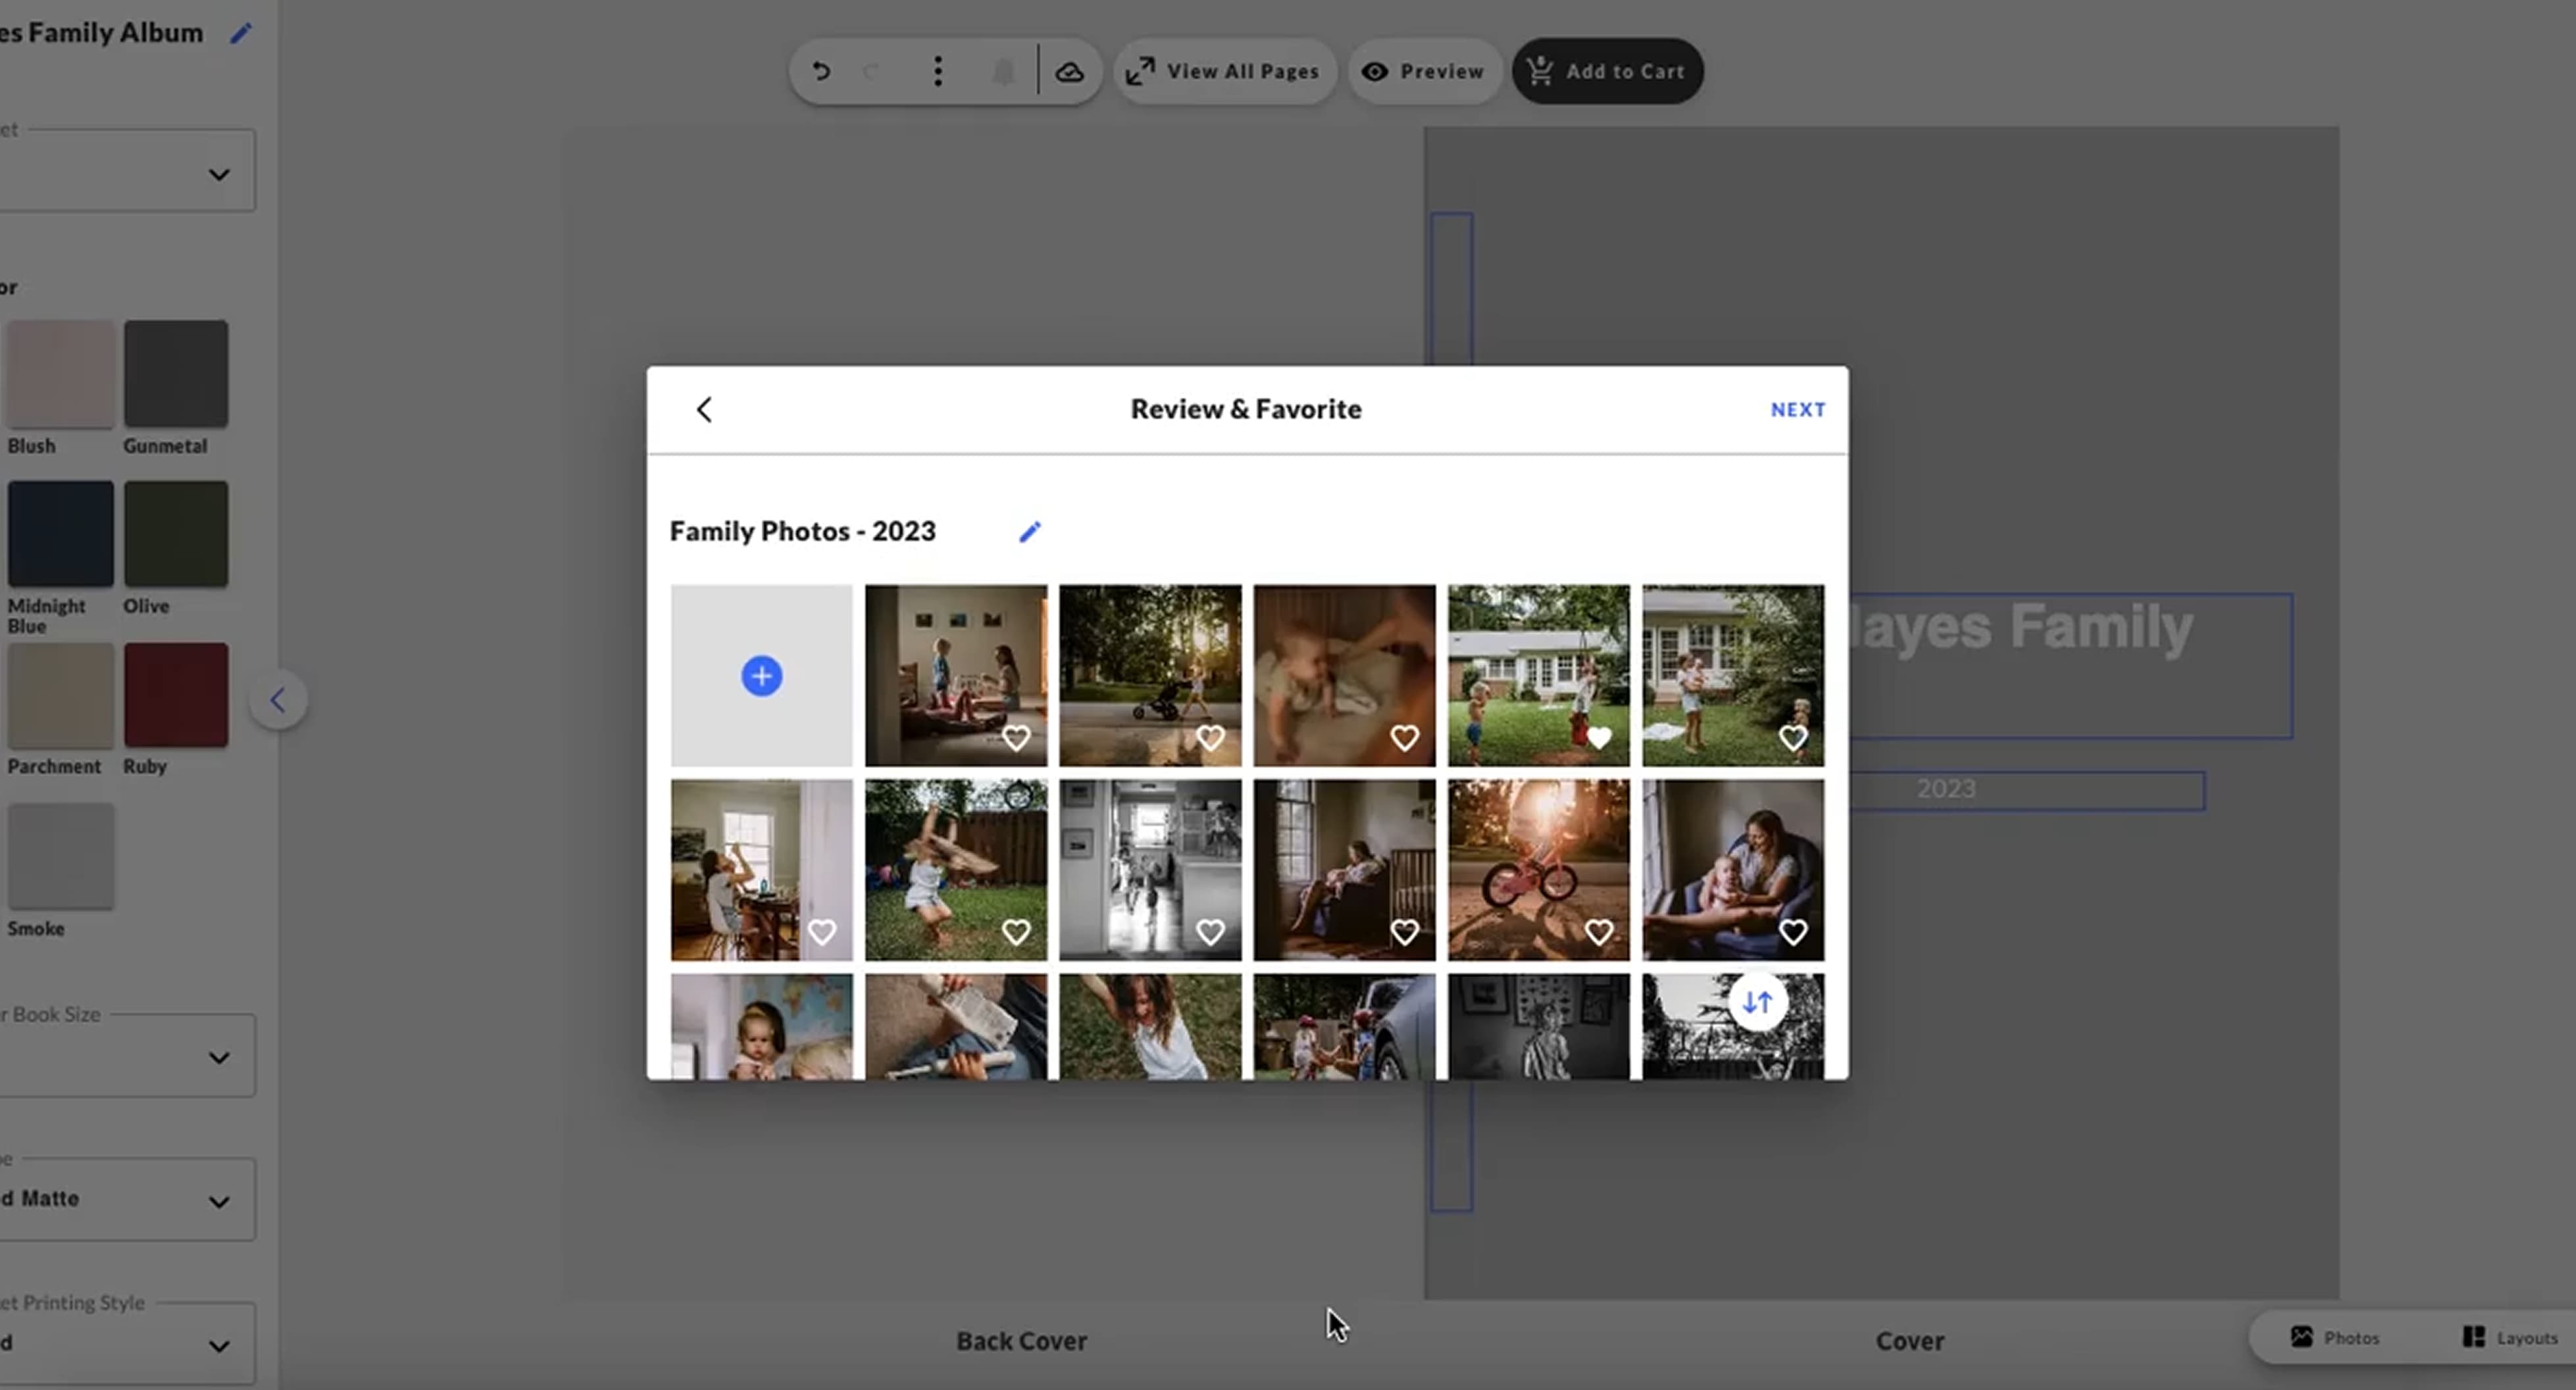
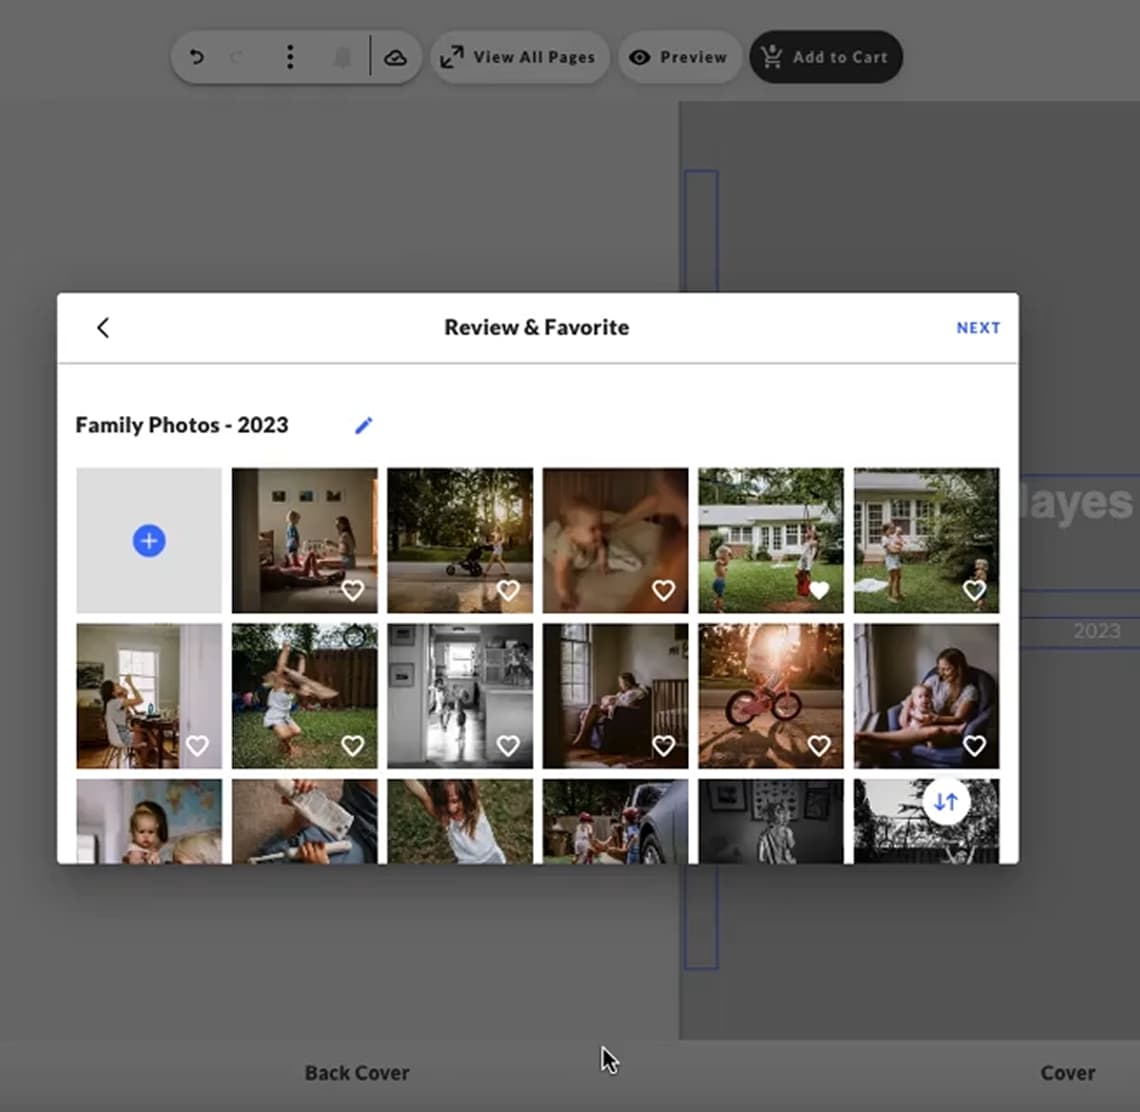
New Feature: Favorite & Filter your photos
Maybe you’re not a fan of galleries, or maybe a few versions of a similar photo populated
(we’ve all been there). Now, just like your most loved mobile phone feature, click the heart
to identify and favorite your first-choice photos. Once selected, filter these favorites in your image bank for easy organization and access.
New Feature: Autofill
If you’re heavy-handed on photos but short on time, this feature was created with you in mind. Maybe you’ve got an album of photos but the build is giving you pause. Enter: Autofill.
We’ll take your imported images and build your book for you, all while taking aspect ratio into account to make sure the layouts fit your photos. Sit back and watch your book being built
in seconds. Don’t worry – after the photos have populated you’re free to adjust any layouts
or image selects, perfecting each page until it’s print ready. these favorites in your image bank
for easy organization and access.
→ Pro Tip: Decided book-building just isn’t for you? That’s why we created Album Design
Services
– a complete concierge experience crafted with time efficiency in mind. Enjoy all the benefits of an heirloom album
with none of the time commitment.
– a complete concierge experience crafted with time efficiency in mind. Enjoy all the benefits of an heirloom album
with none of the time commitment.
02.
Adjust As Needed
Adjust As Needed
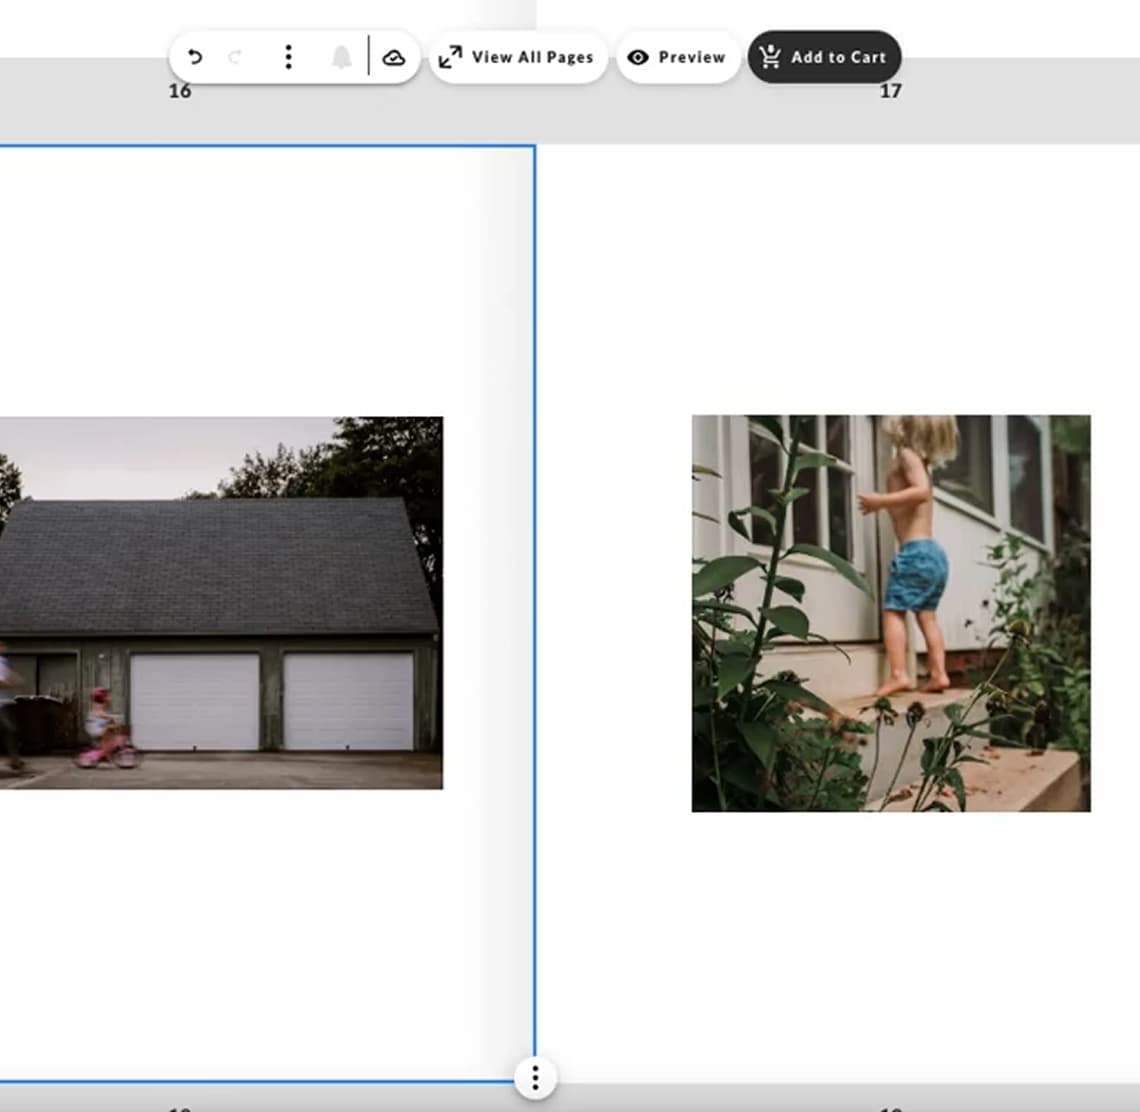
Once in the template, tap the pencil icon in the middle of the image to adjust, resize
and re-edit to your liking. If our system flags something of note (like a low
resolution or missing image),
we’ll send you a ping (look to the bell icon) and share a recommendation on how to fix it.
Tinker around with edit tools: the crop, orientation and enhancements like exposure,
brightness, contrast etc to get your best photo for print.
we’ll send you a ping (look to the bell icon) and share a recommendation on how to fix it.
Tinker around with edit tools: the crop, orientation and enhancements like exposure,
brightness, contrast etc to get your best photo for print.
→ Pro Tip: In case you’re looking for simple edit solutions for print-worthy photos,
we’ve compiled a few from our photographers here.
we’ve compiled a few from our photographers here.
Part Two: Building Your Project
Gone are the days of aimlessly clicking around without much guidance. We’ve identified
and refined three distinct workspaces for easy navigation so you can view, edit and preview
your project in multiple formats.
and refined three distinct workspaces for easy navigation so you can view, edit and preview
your project in multiple formats.
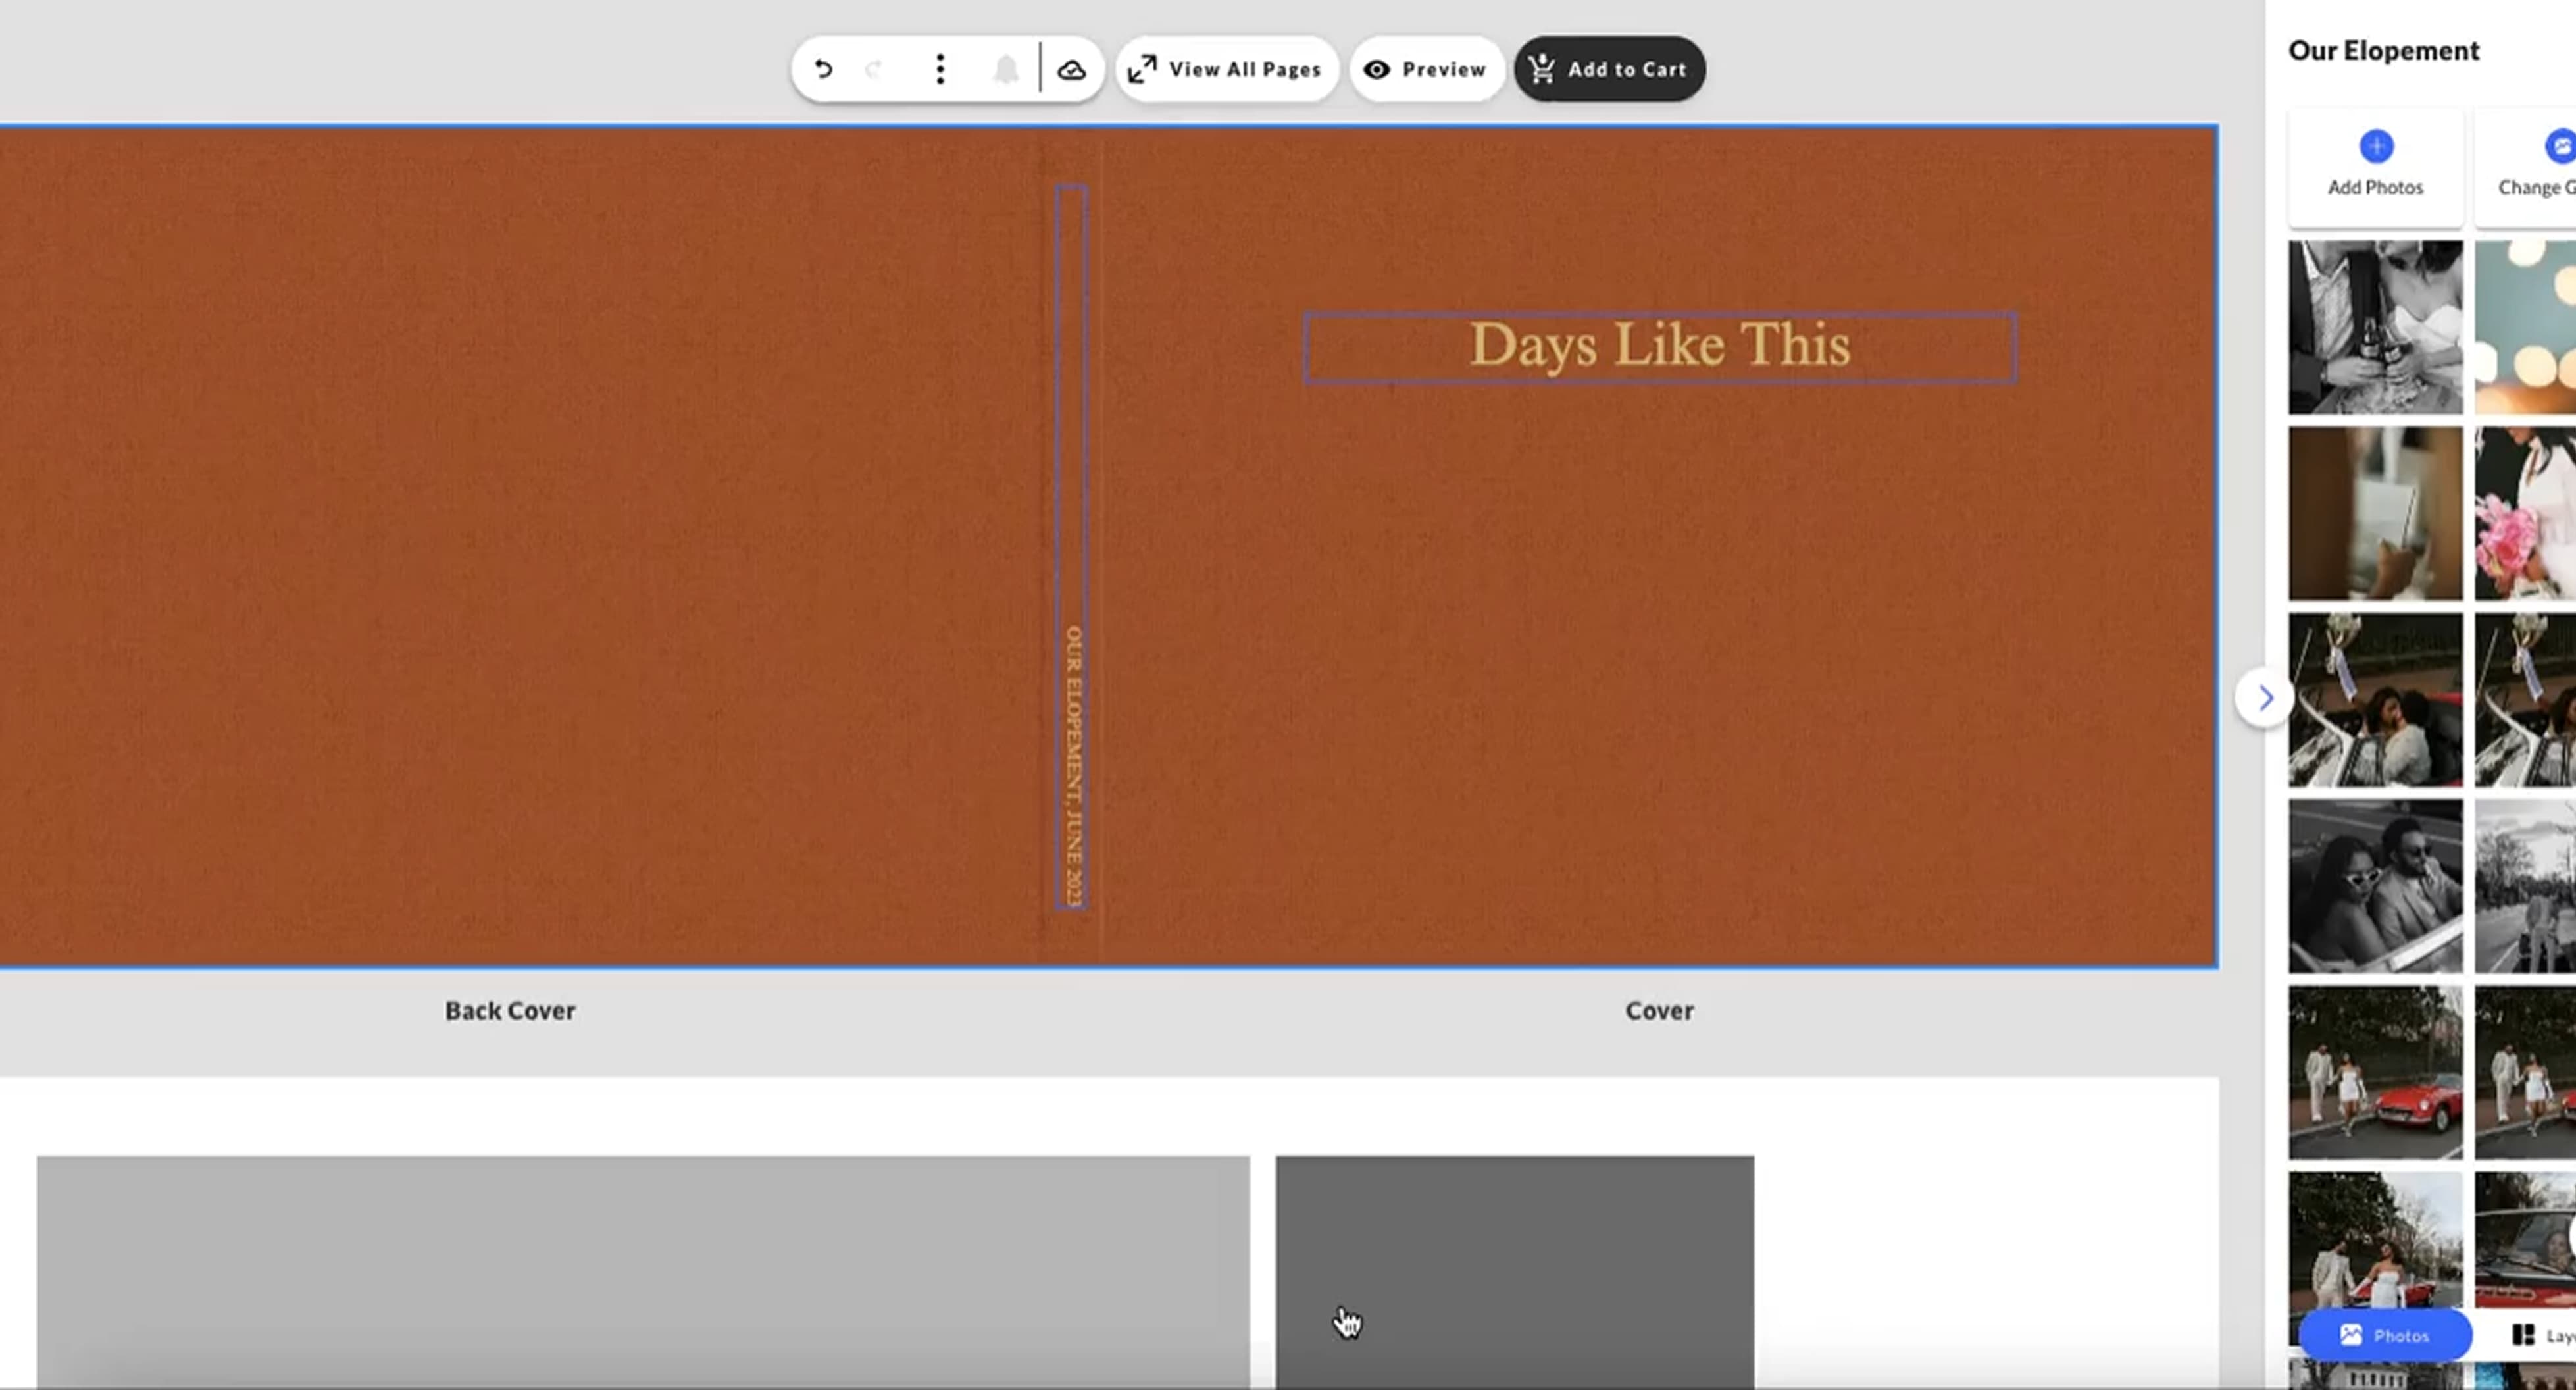
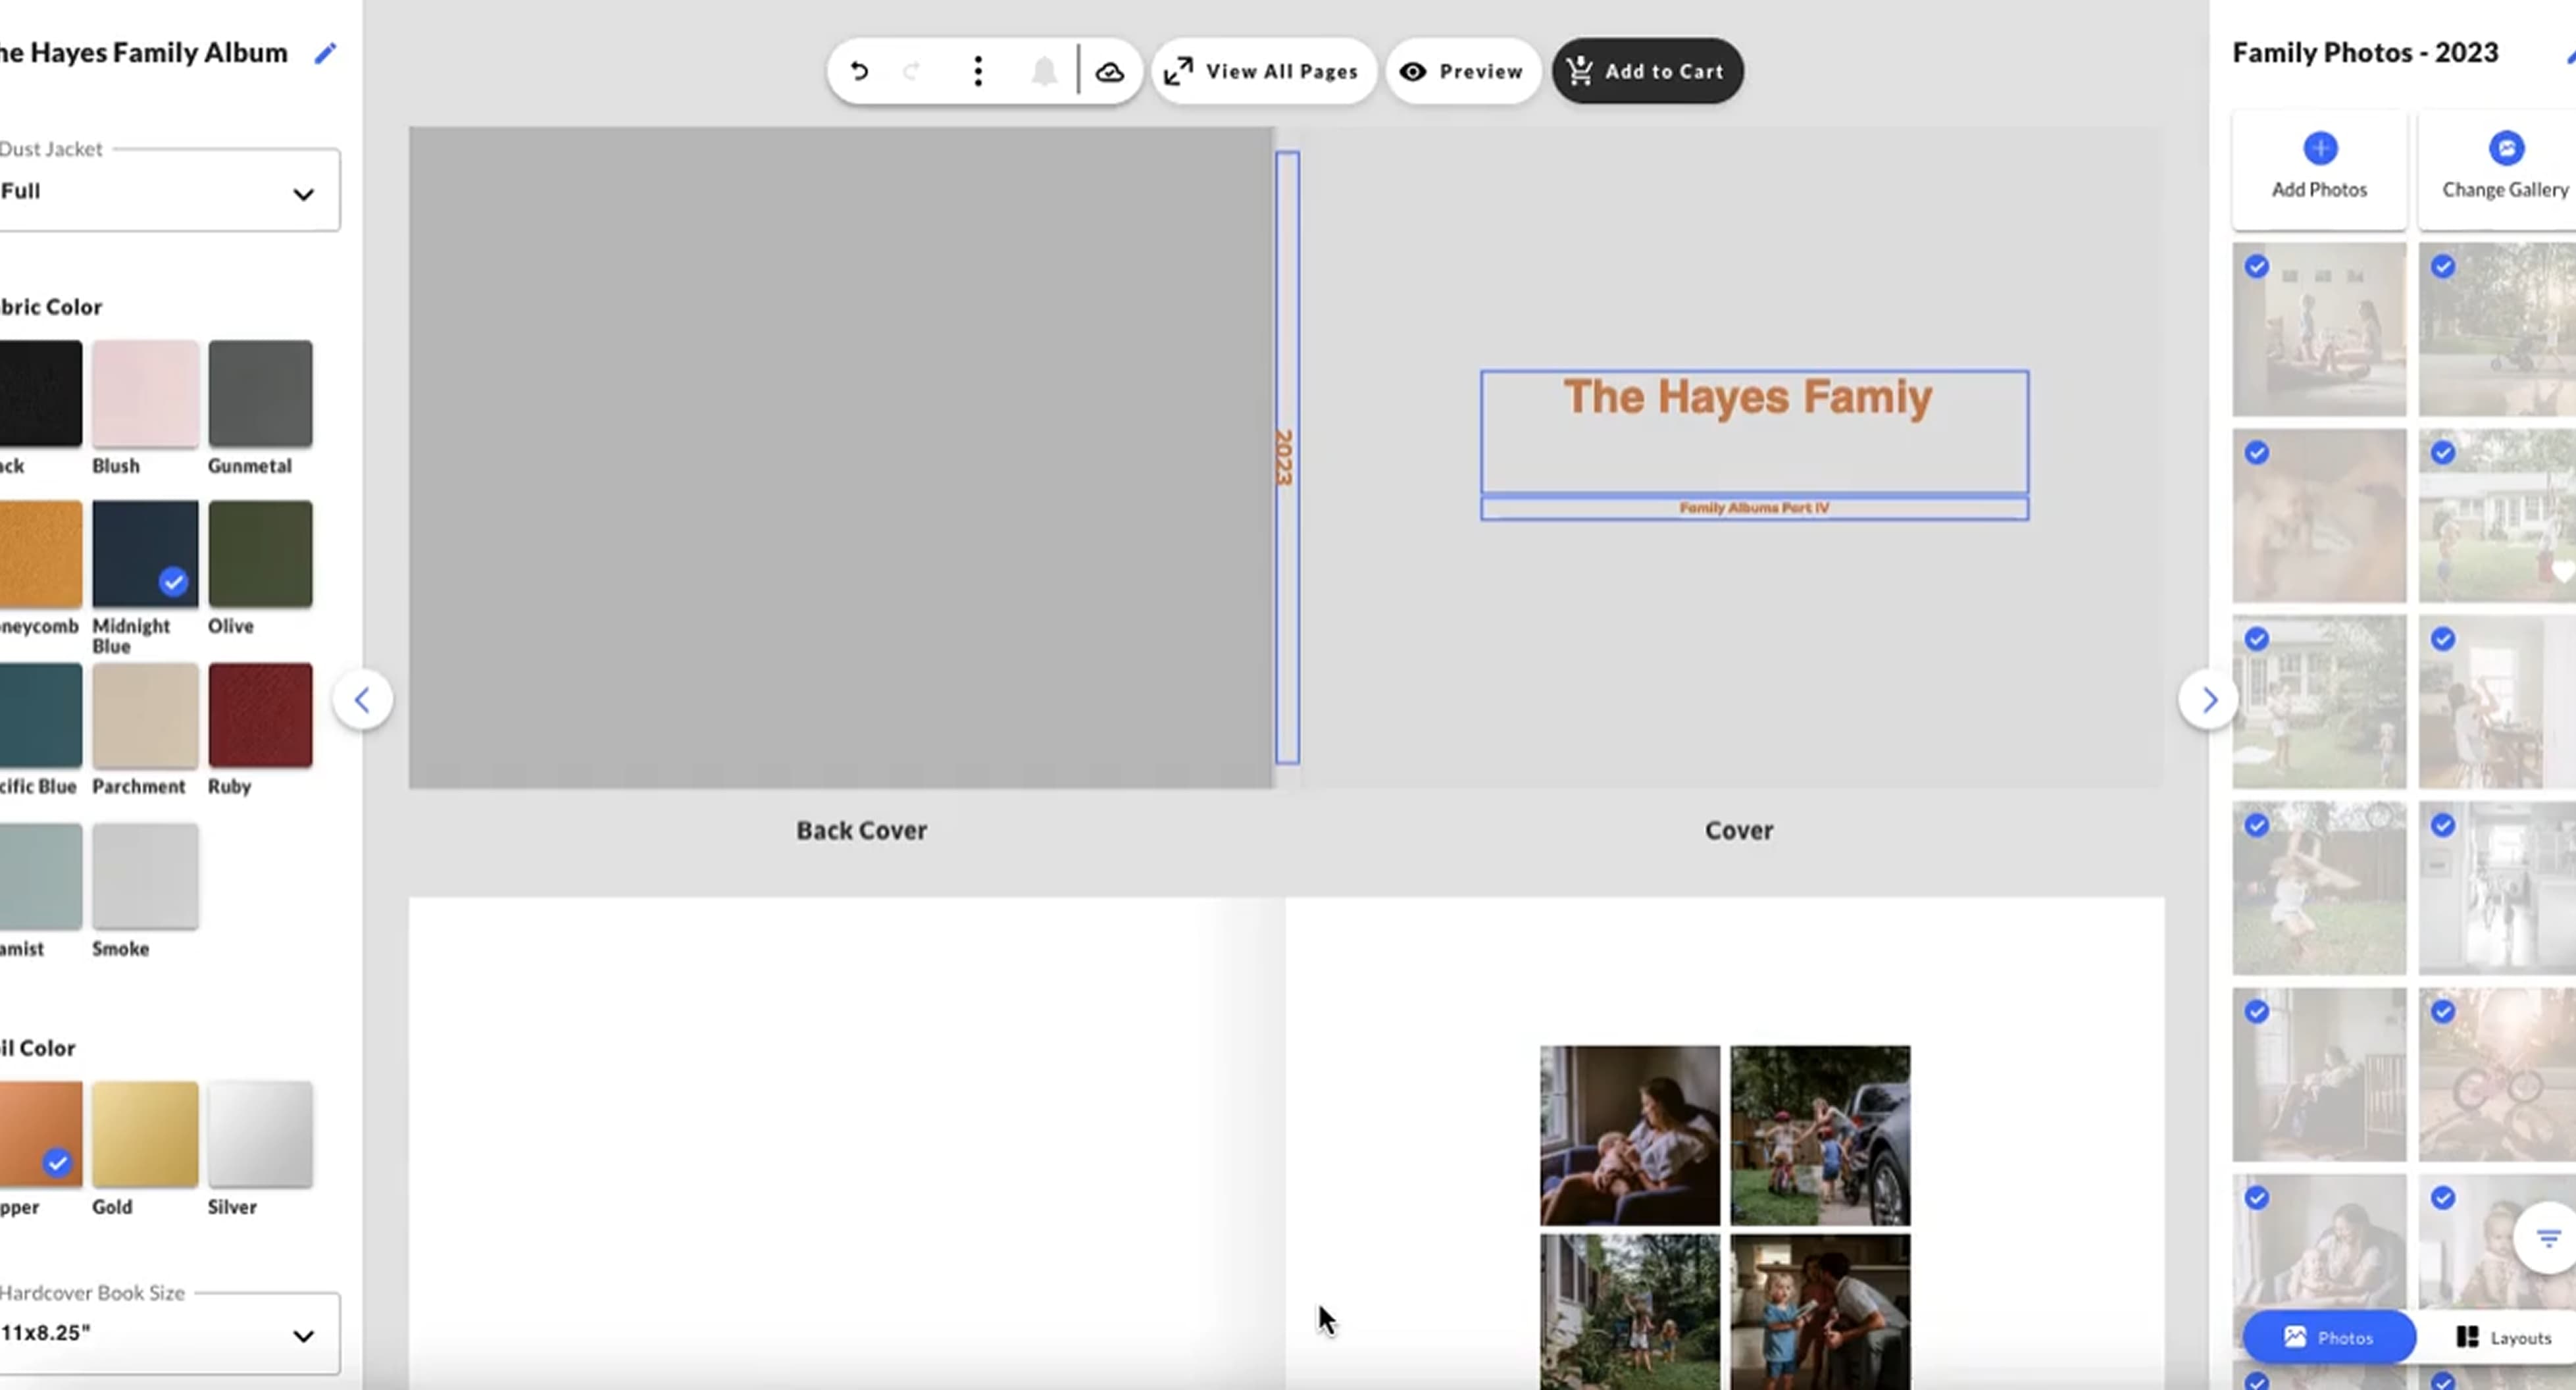
01.
Main Workplace
Main Workplace
Here you hold the control of just about everything you need to easily and efficiently
manage your photos, your layouts, your product options and your control panel.
manage your photos, your layouts, your product options and your control panel.
How To: Change your product options
How To: Choose a layout
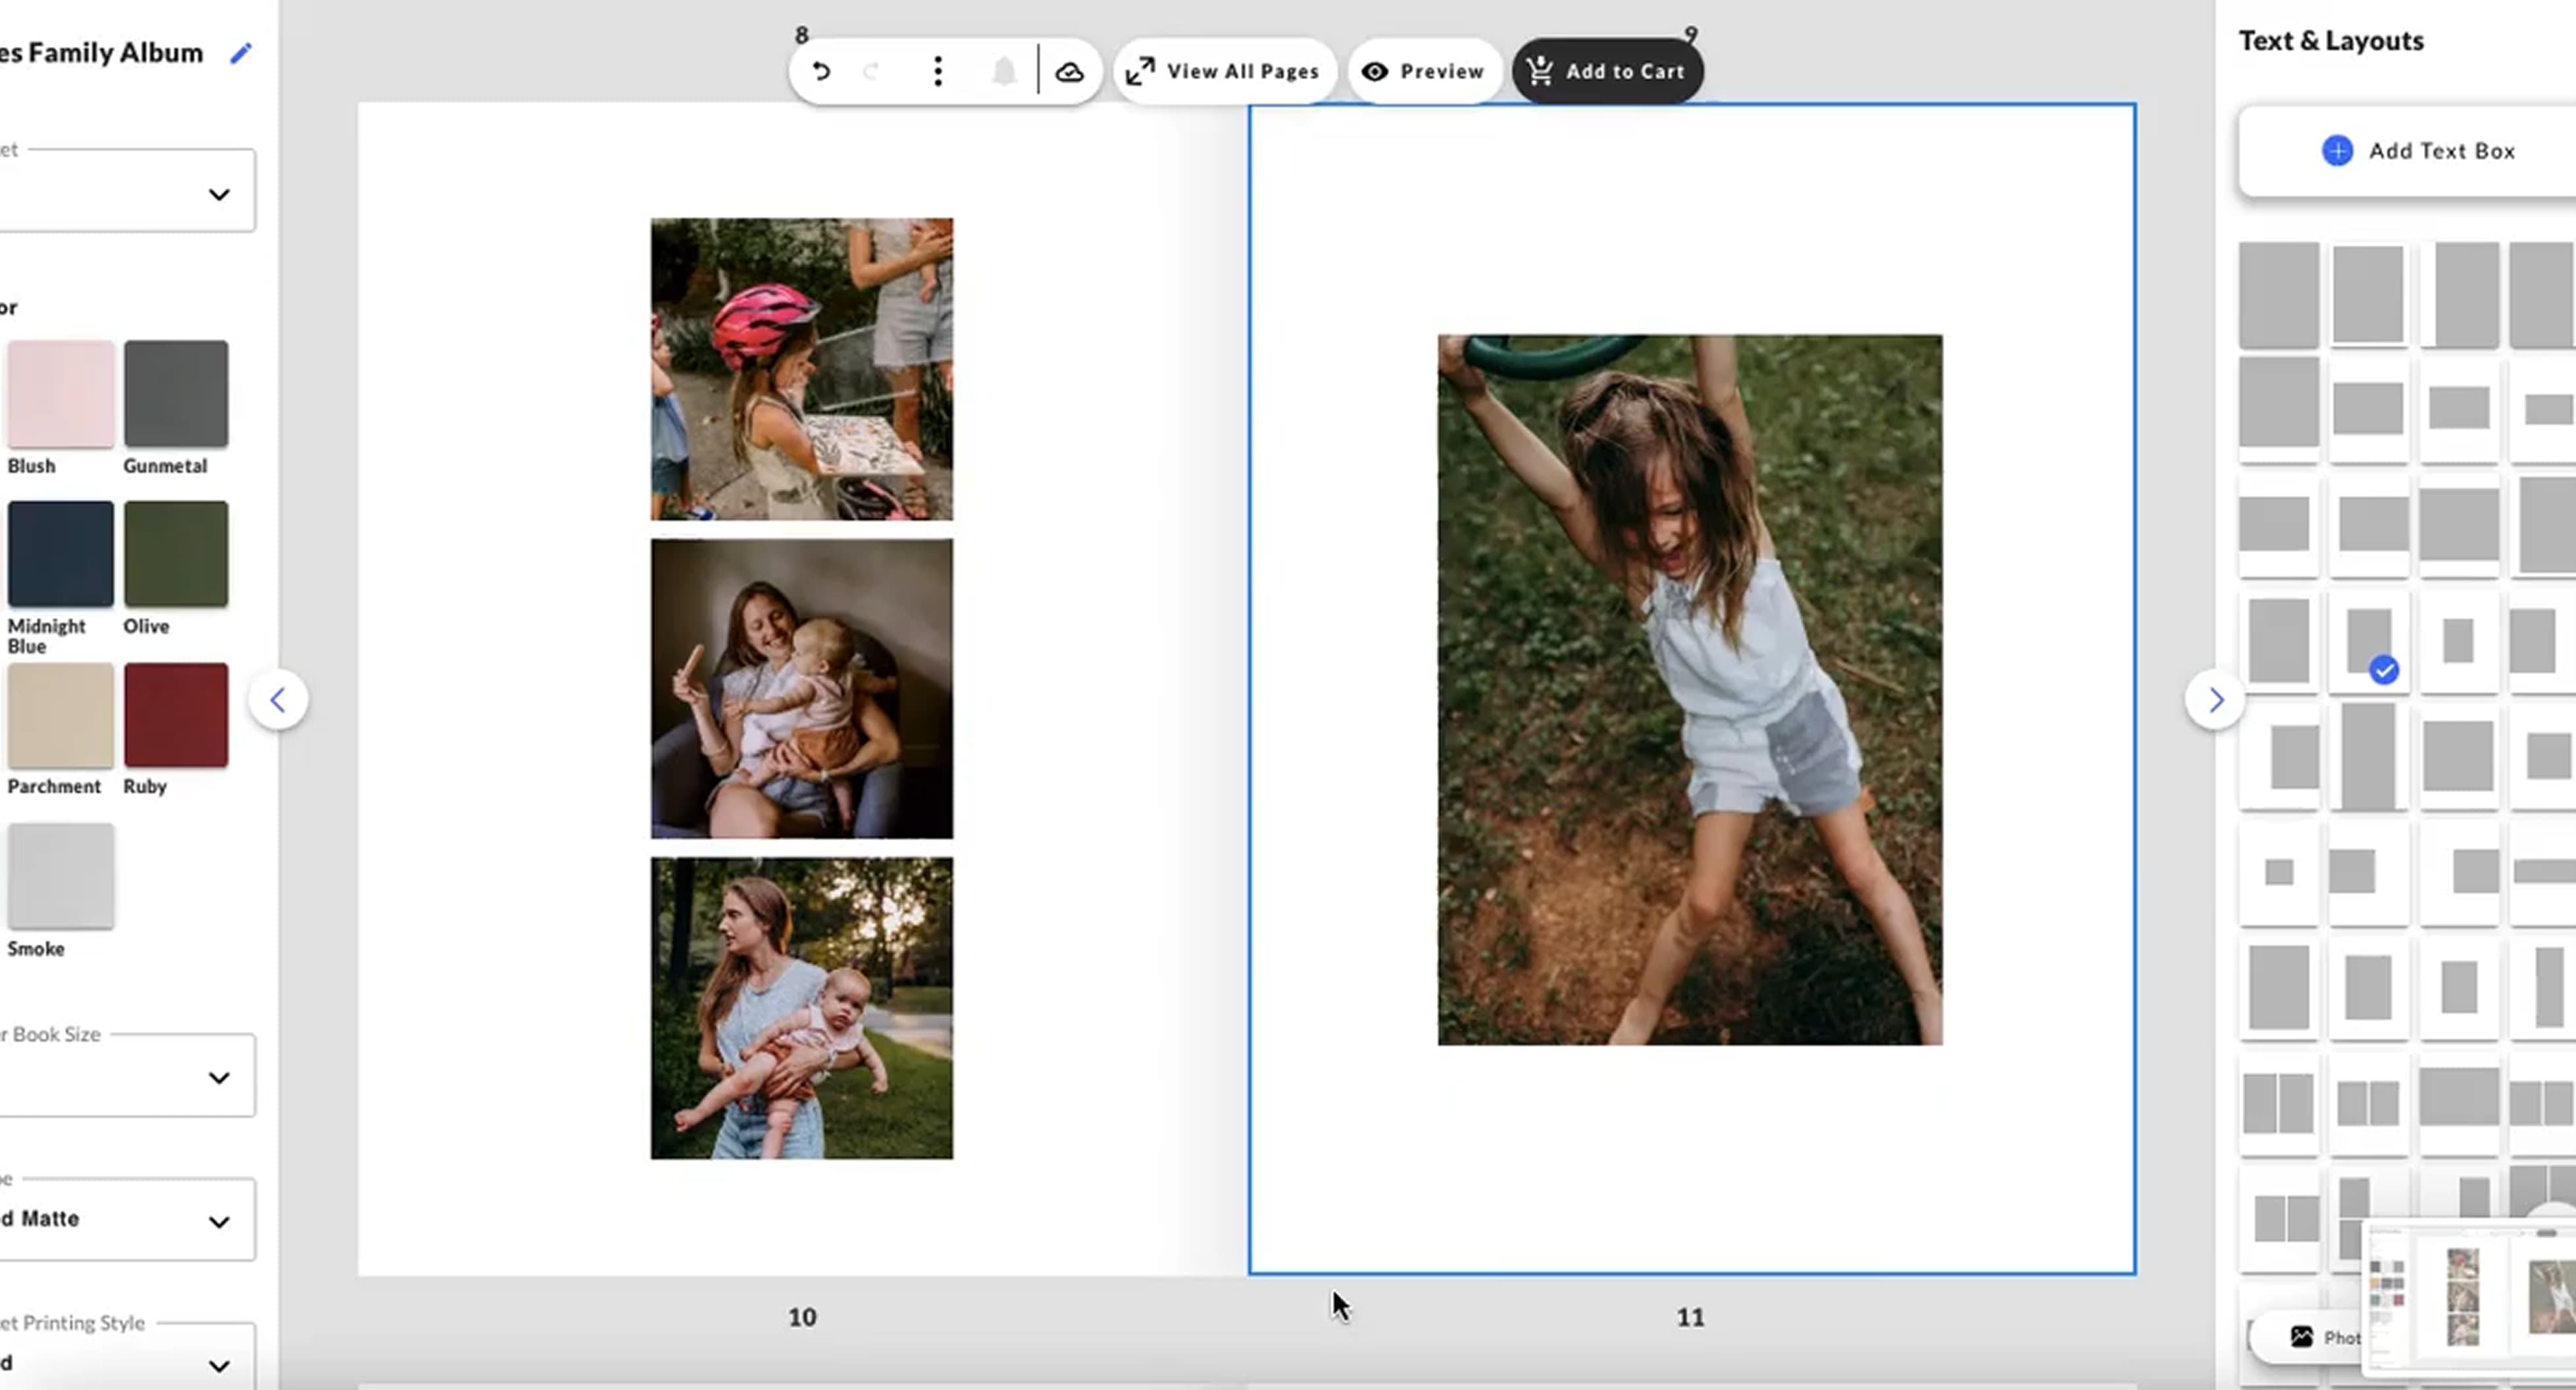
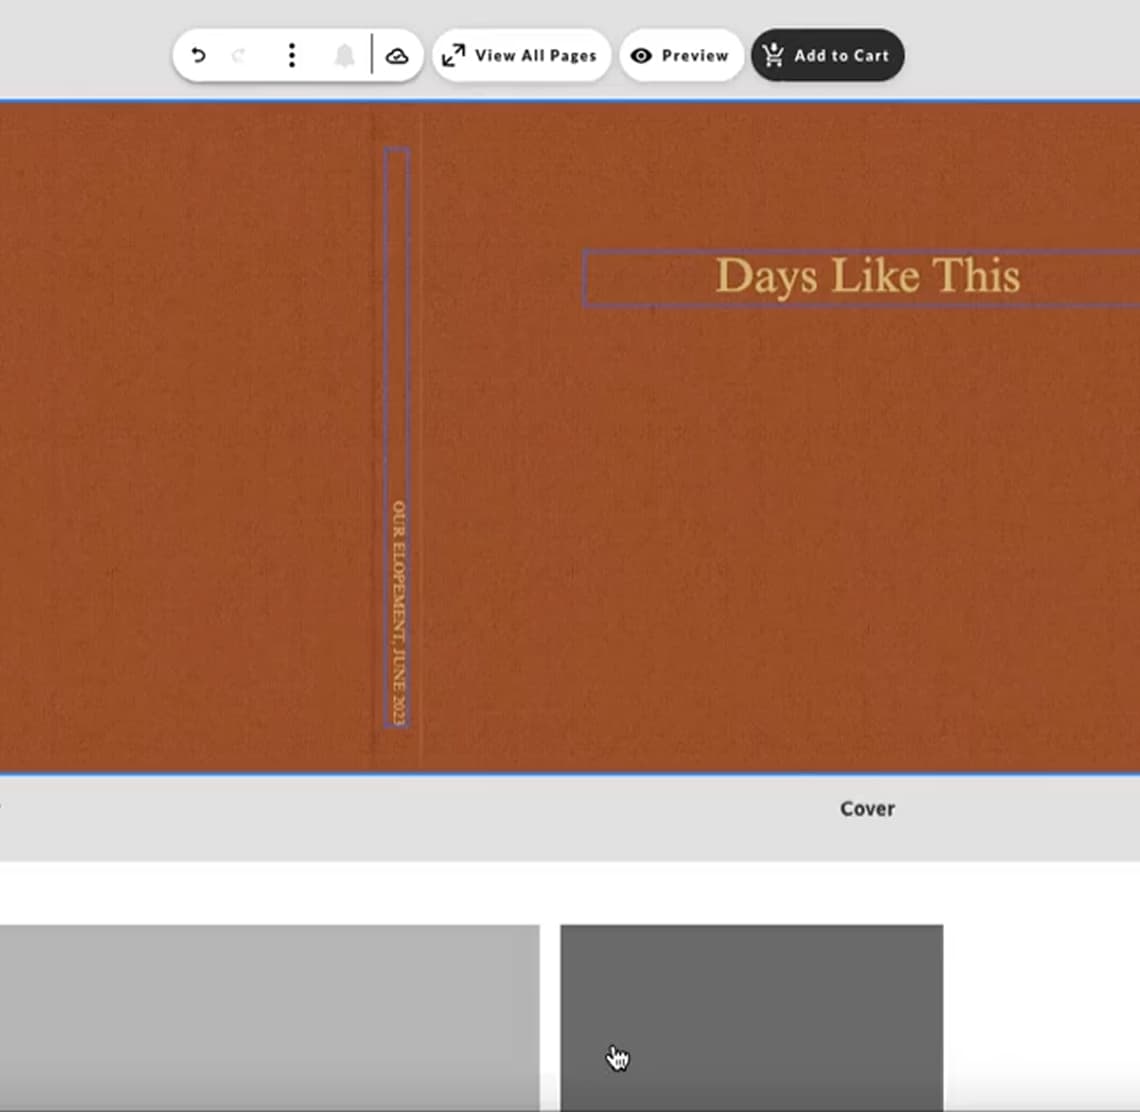
New Feature: Customizable text boxes
We know a picture is worth a thousand words, but sometimes a few words can make
all the difference. Now you can add a text box to any interior page as a simple
yet impactful way to add a little context to the stories you tell.
We know a picture is worth a thousand words, but sometimes a few words can make
all the difference. Now you can add a text box to any interior page as a simple
yet impactful way to add a little context to the stories you tell.
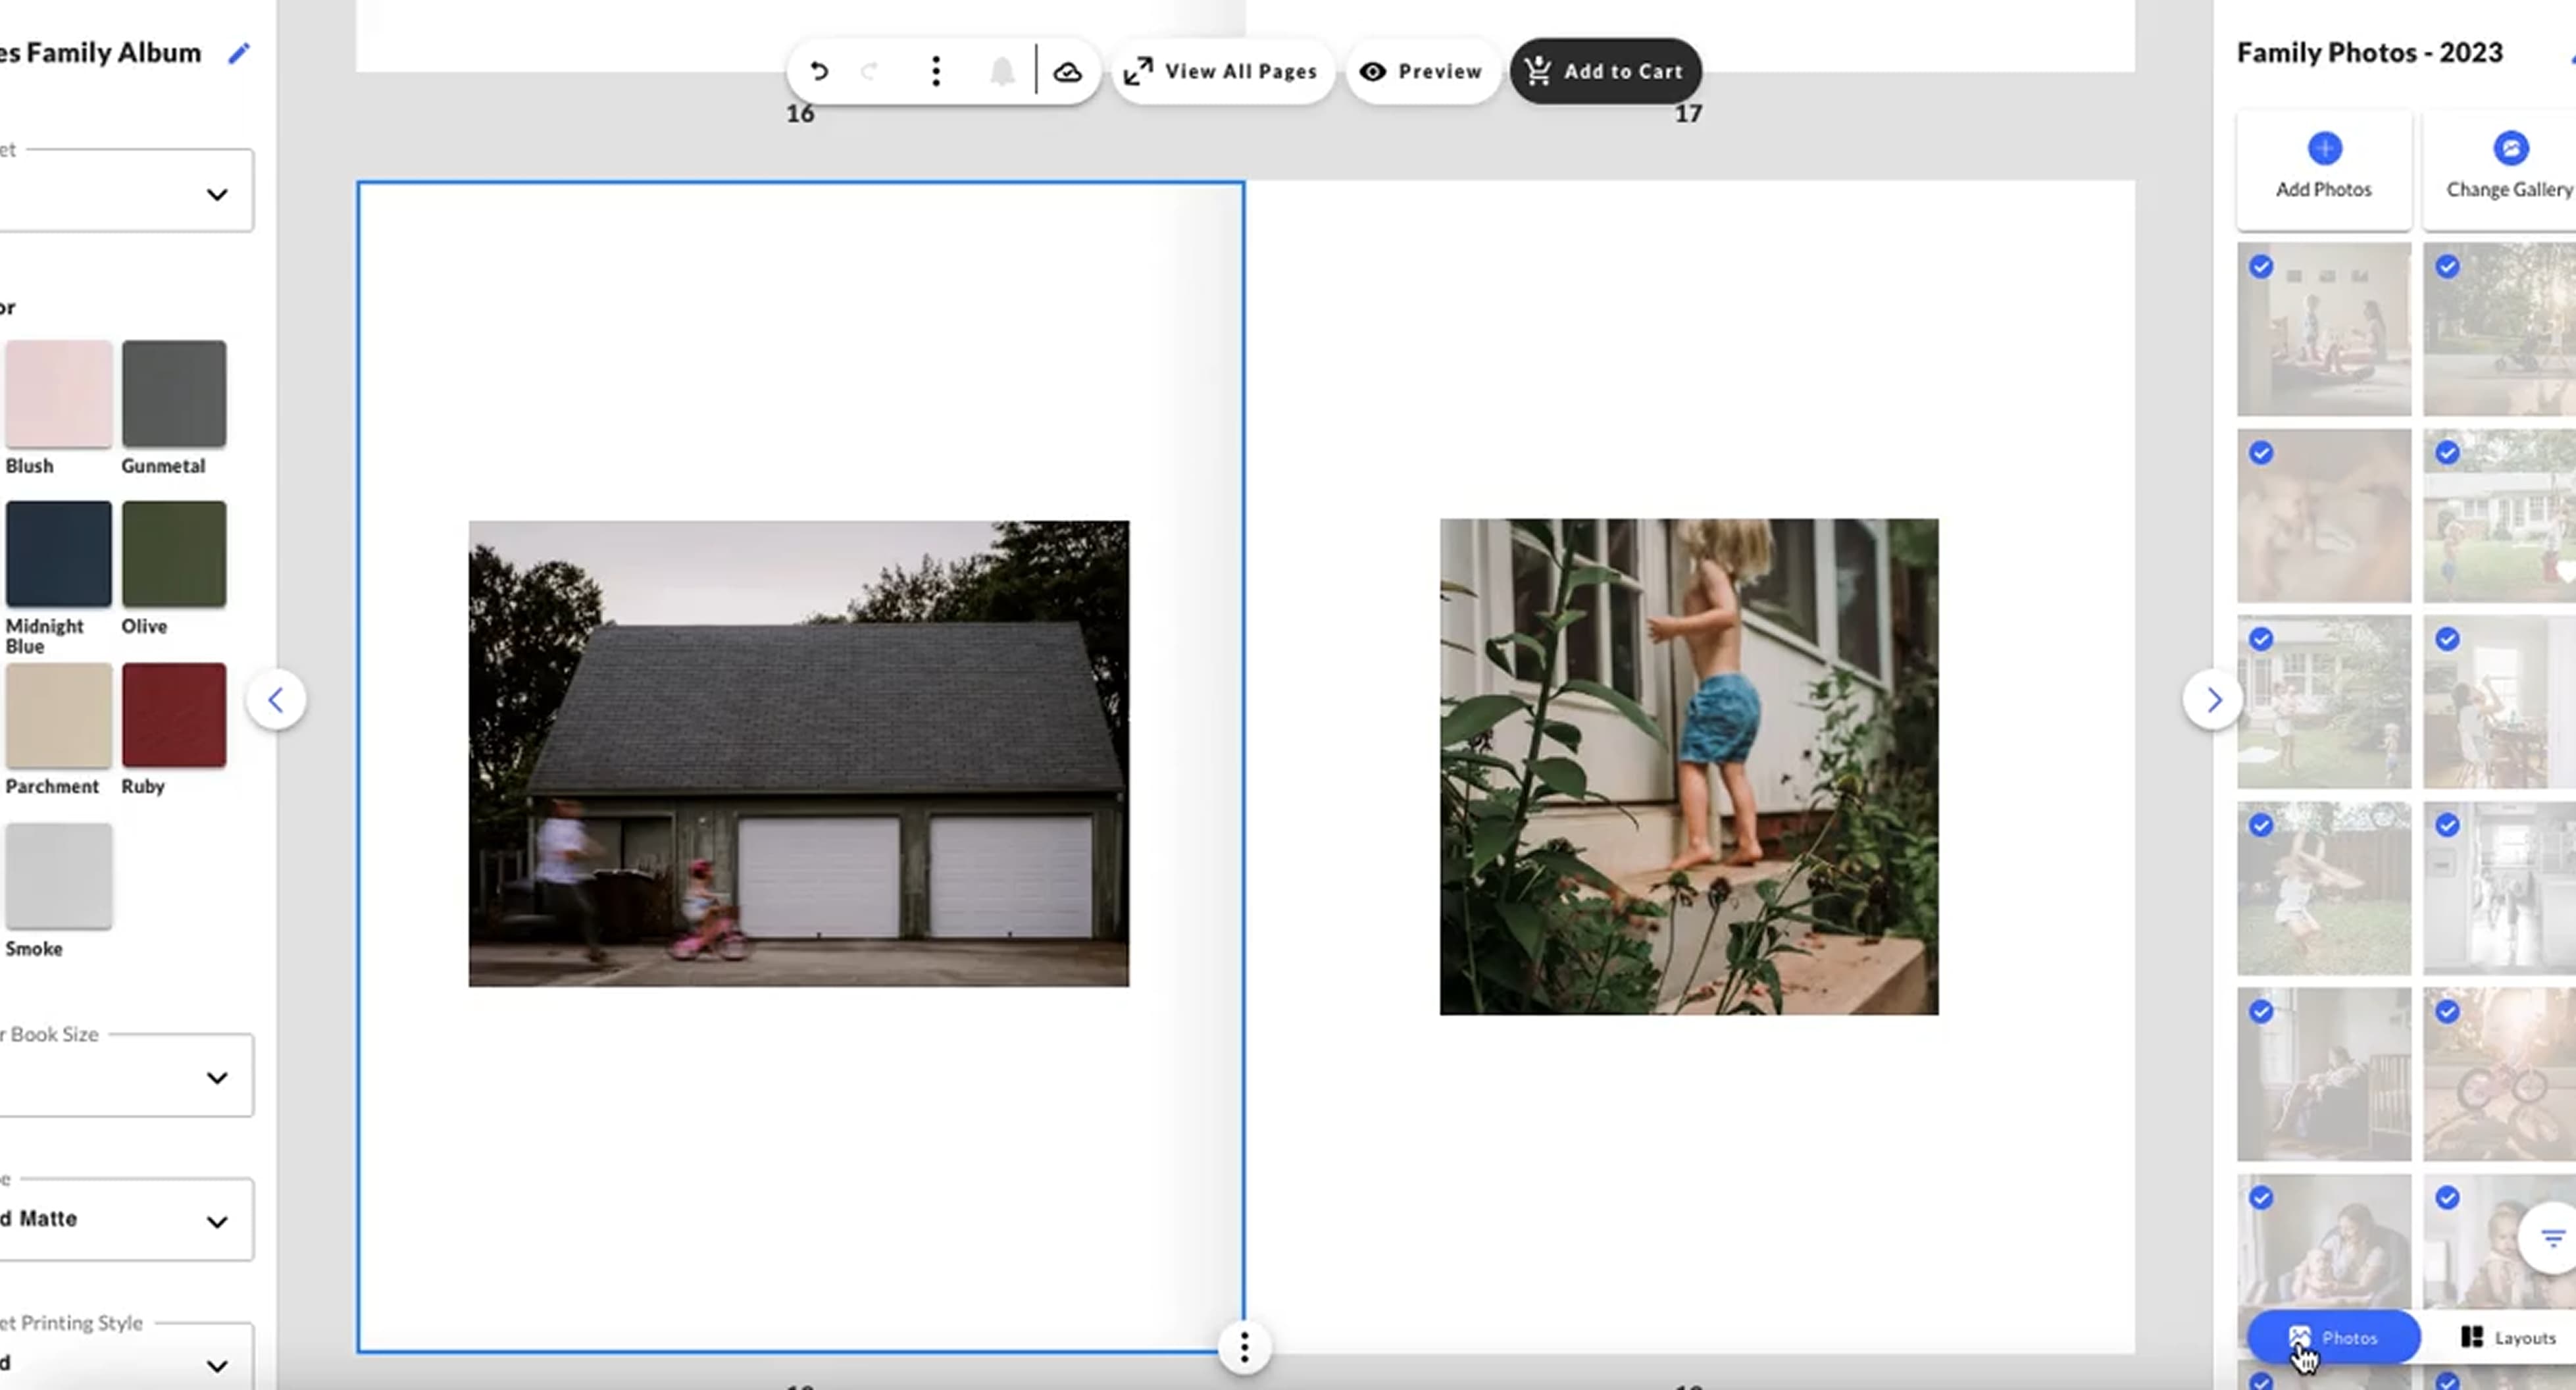
02.
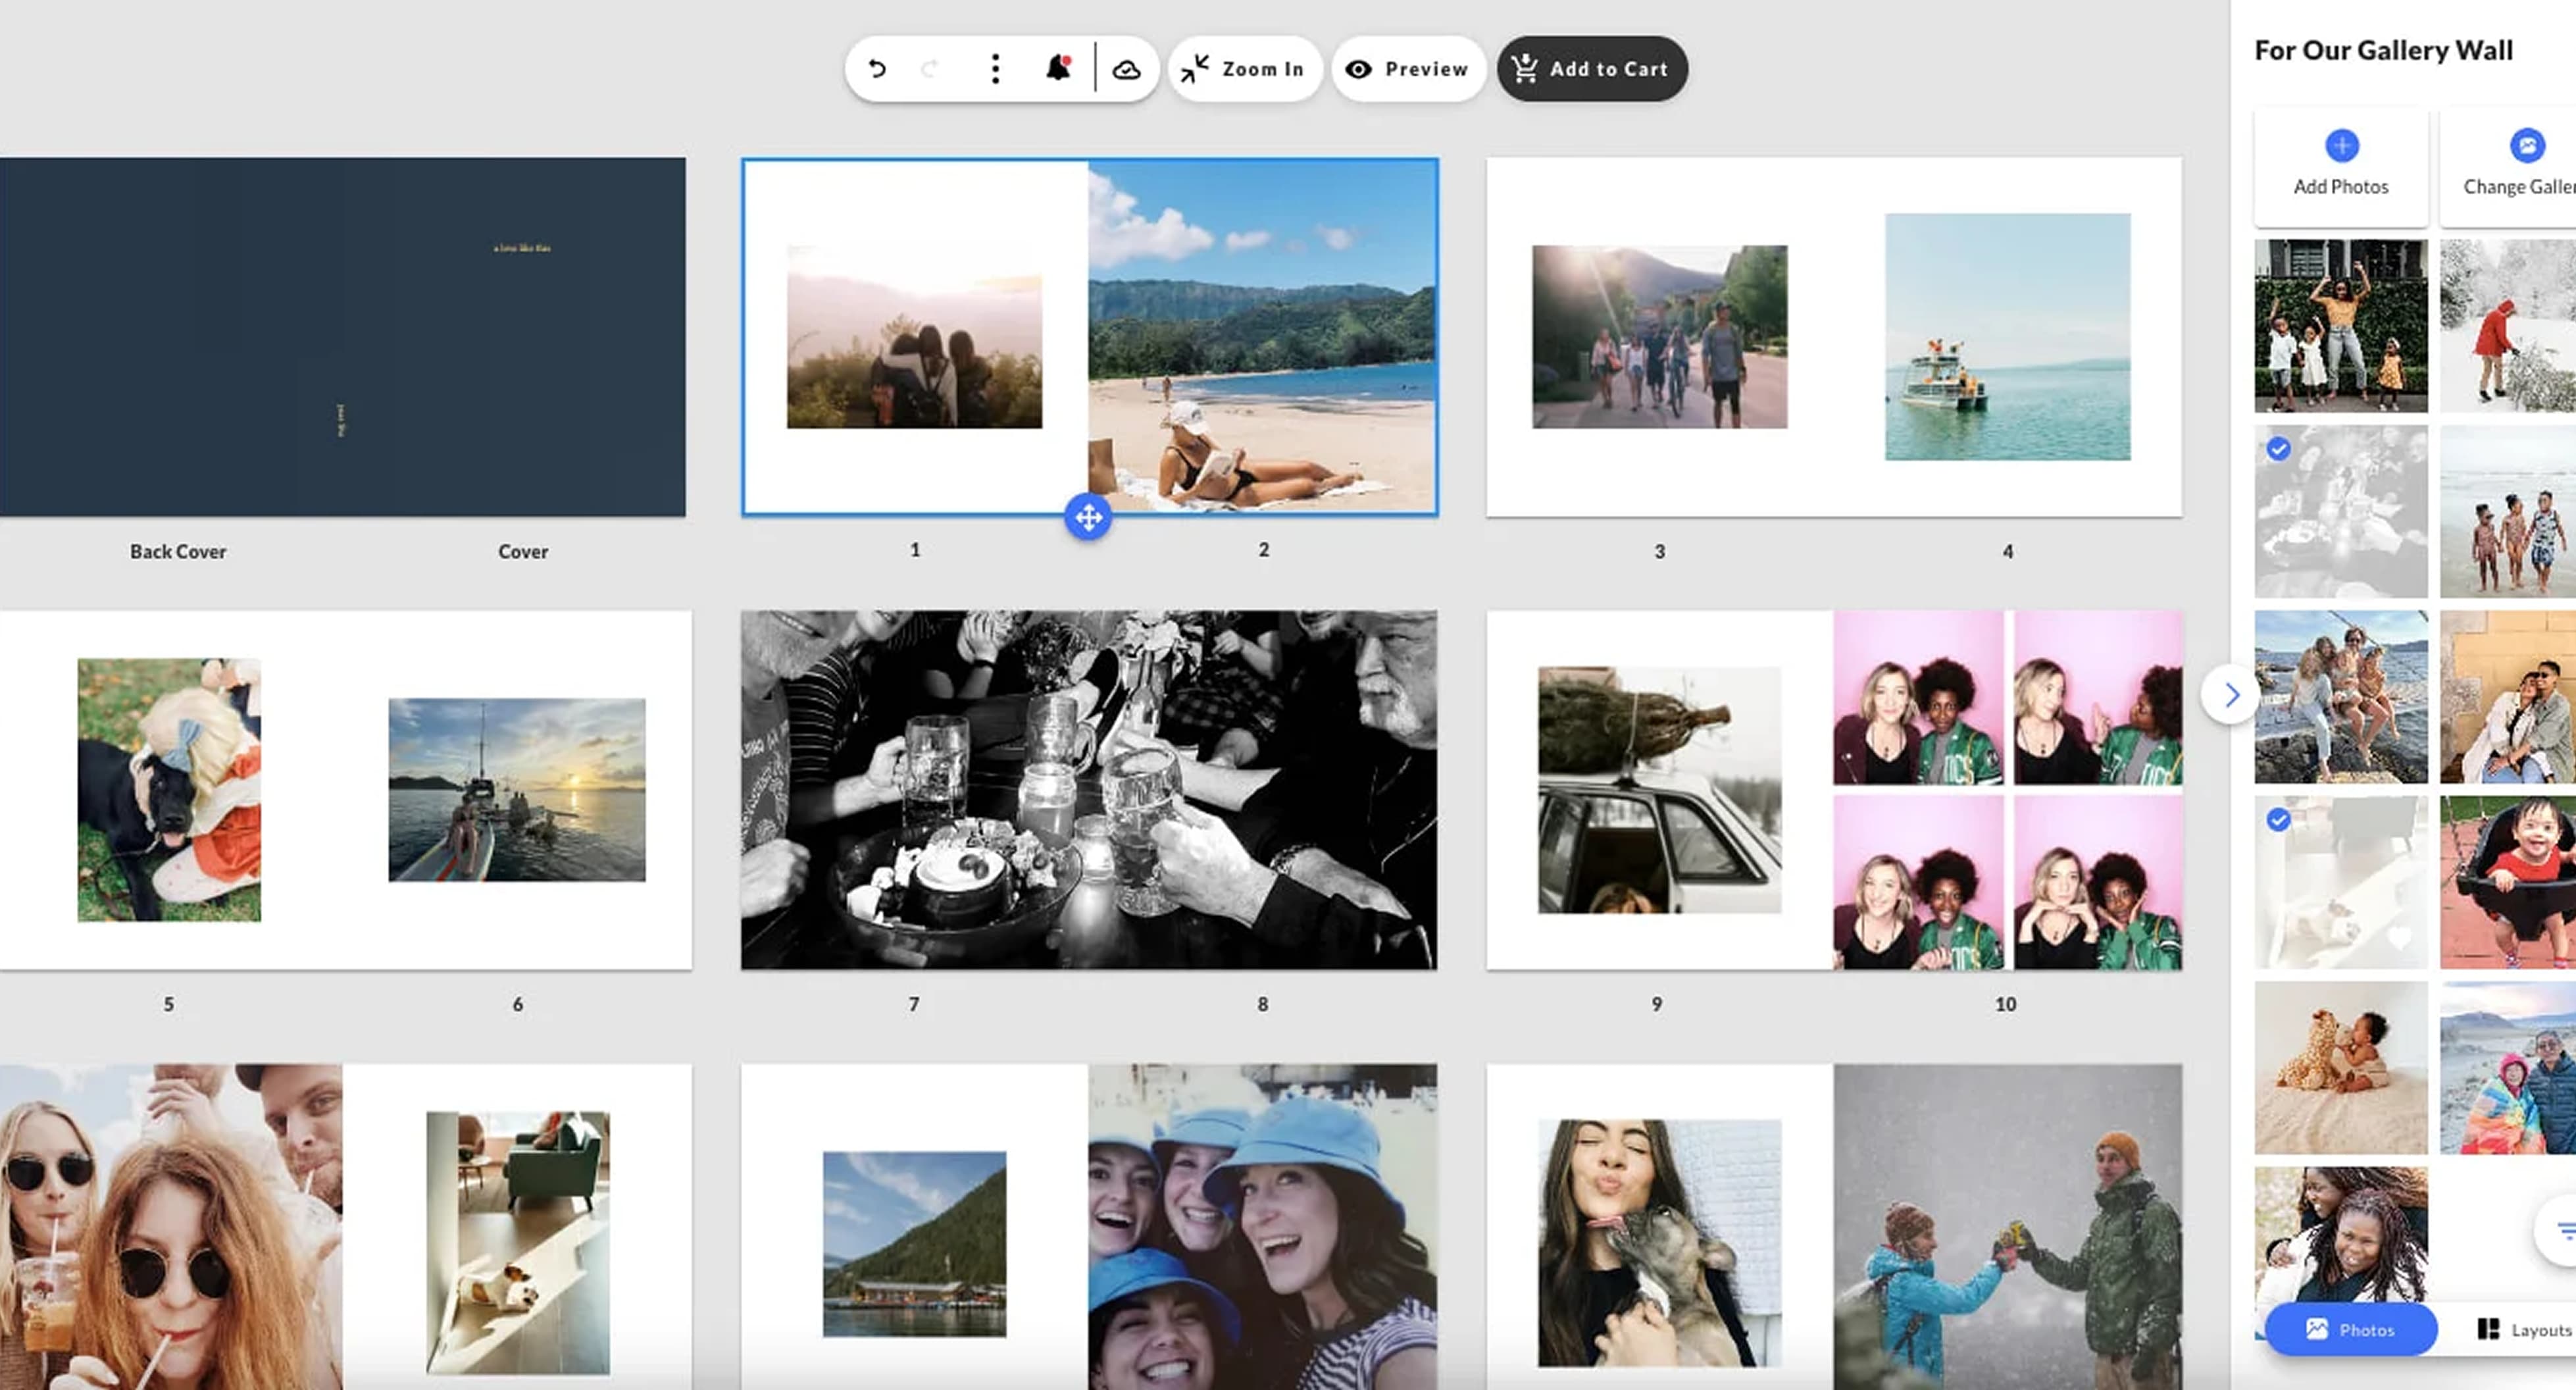
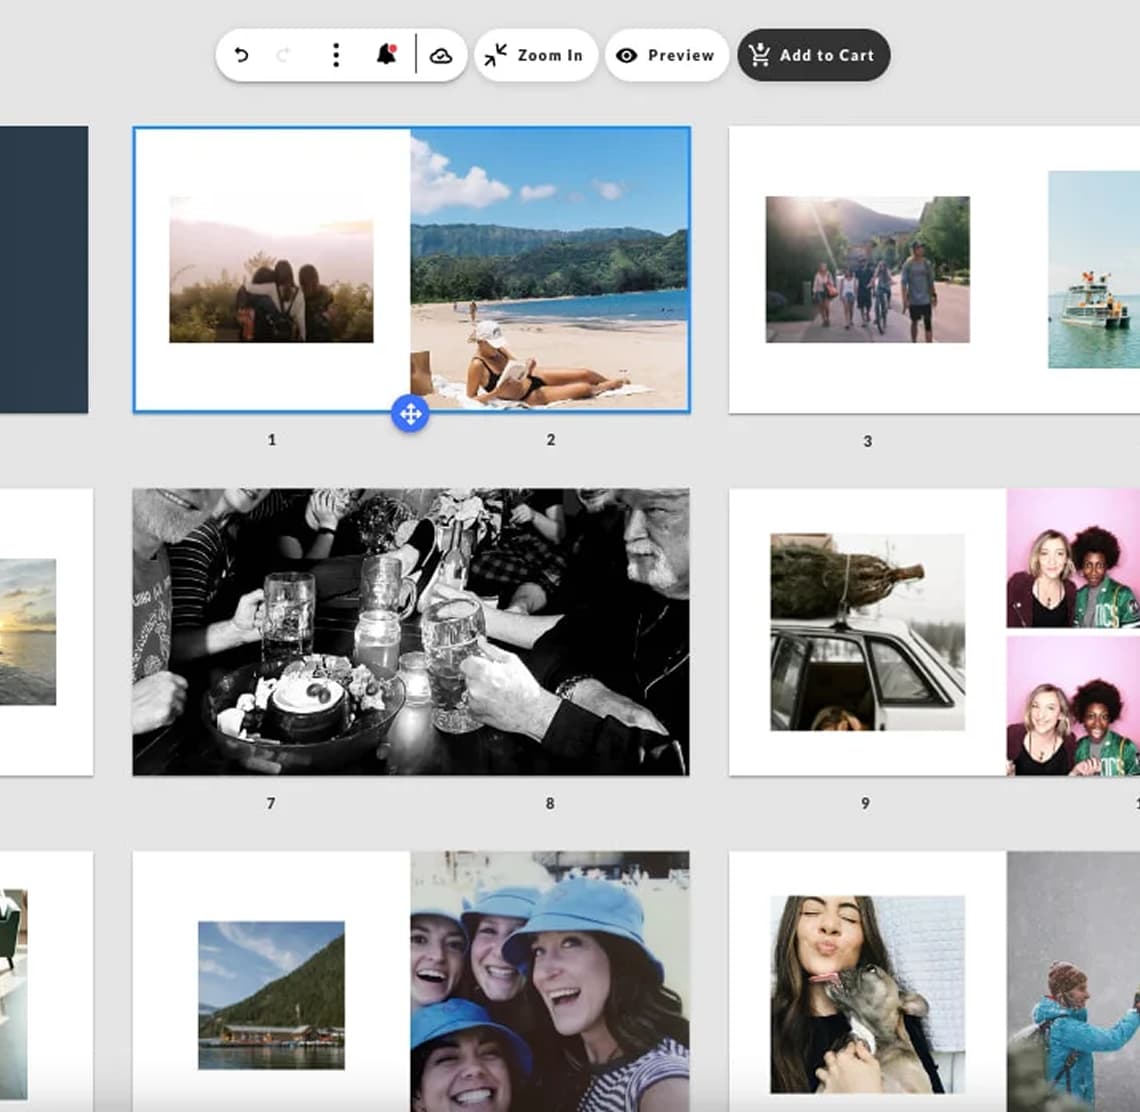
Grid View
Grid View
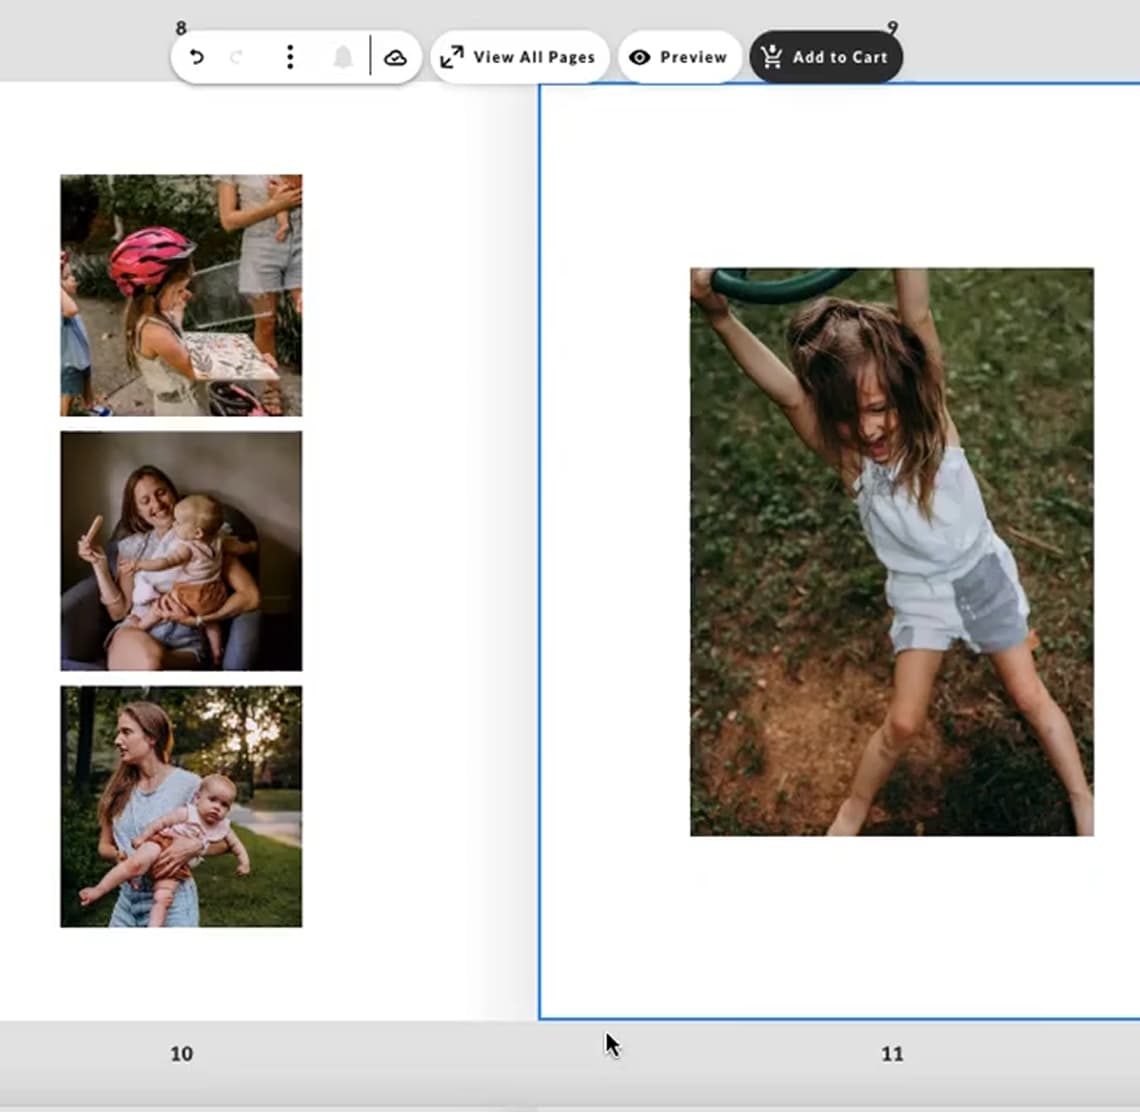
Big picture thinkers and visual minds – this one’s for you. Sometimes you need
to see everything in front of you to tell the best story. Easily manipulate page orders in this view. When you’re ready to finetune the details, click back into your Main Workplace
for those micro-adjustments.
to see everything in front of you to tell the best story. Easily manipulate page orders in this view. When you’re ready to finetune the details, click back into your Main Workplace
for those micro-adjustments.
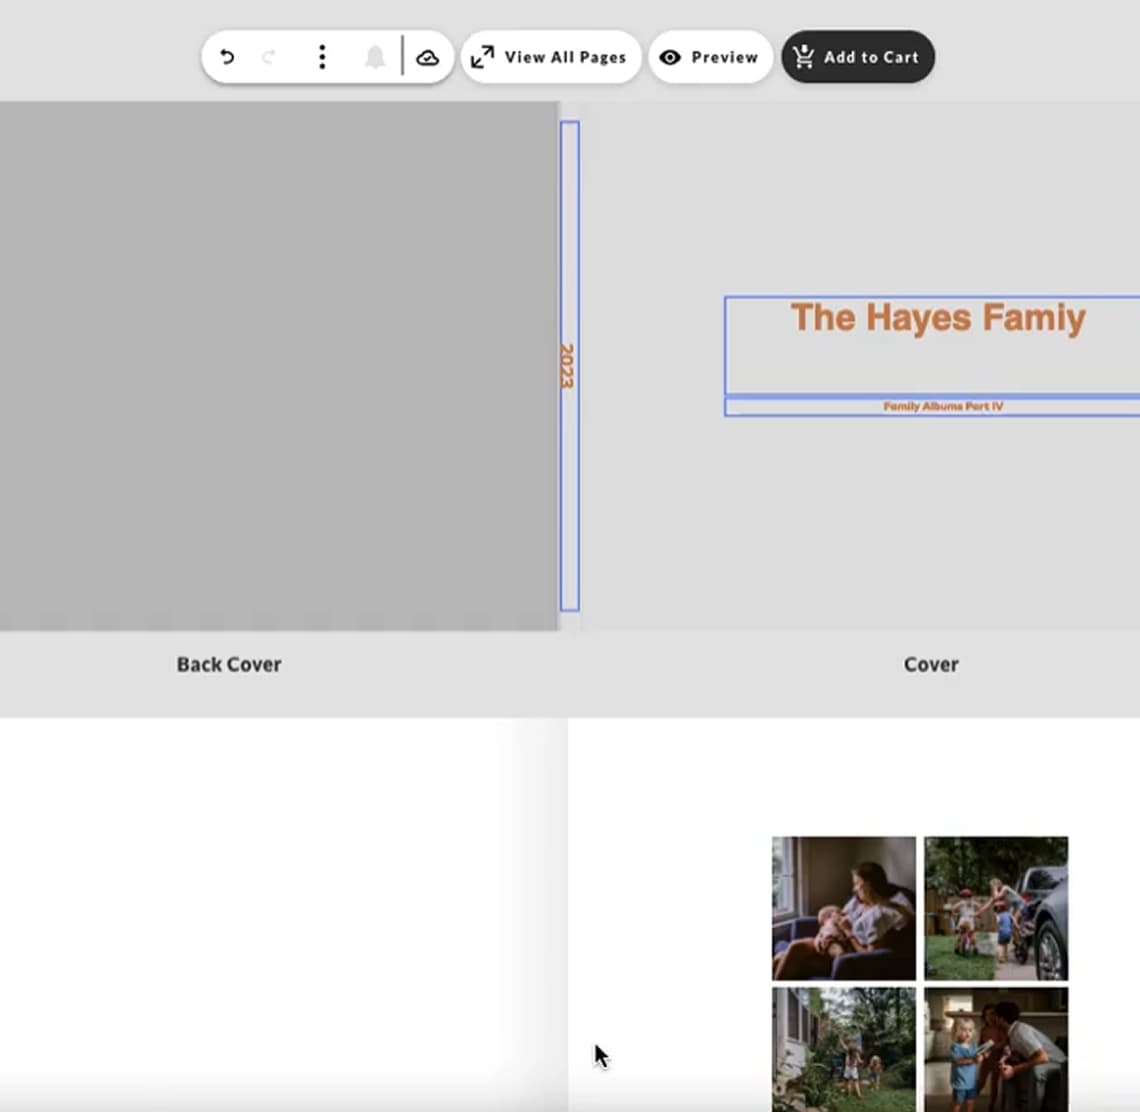
03.
Preview
Preview
For final proofs and finishing touches, this feature shows you how your project
will print. Blank image wells or text boxes won’t be visible so you get
that picture-perfect view of what’s soon to be in hand.
will print. Blank image wells or text boxes won’t be visible so you get
that picture-perfect view of what’s soon to be in hand.
→ Pro Tip - Share a PDF: Working on a collaborative project or want to share with our friend?
Toggle the menu and click “email print proof” for a digital proof to be sent your way.
Toggle the menu and click “email print proof” for a digital proof to be sent your way.
Part Three: Some Additional Tips & Tricks
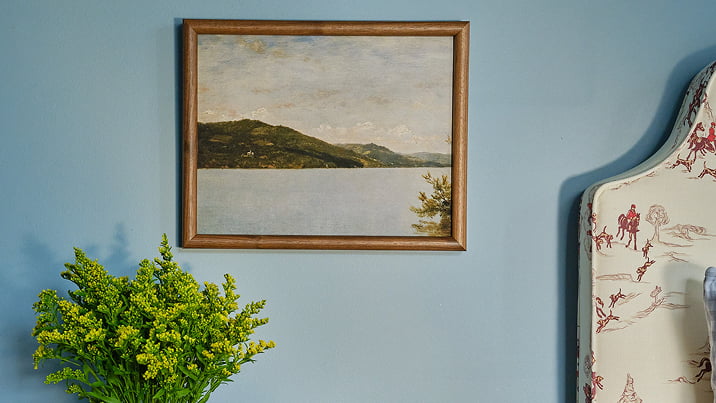
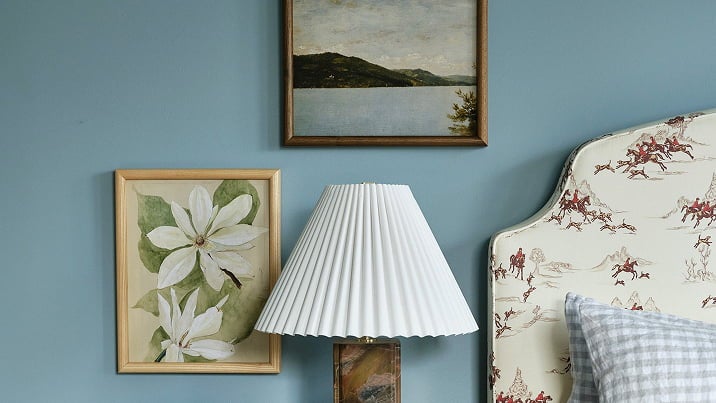
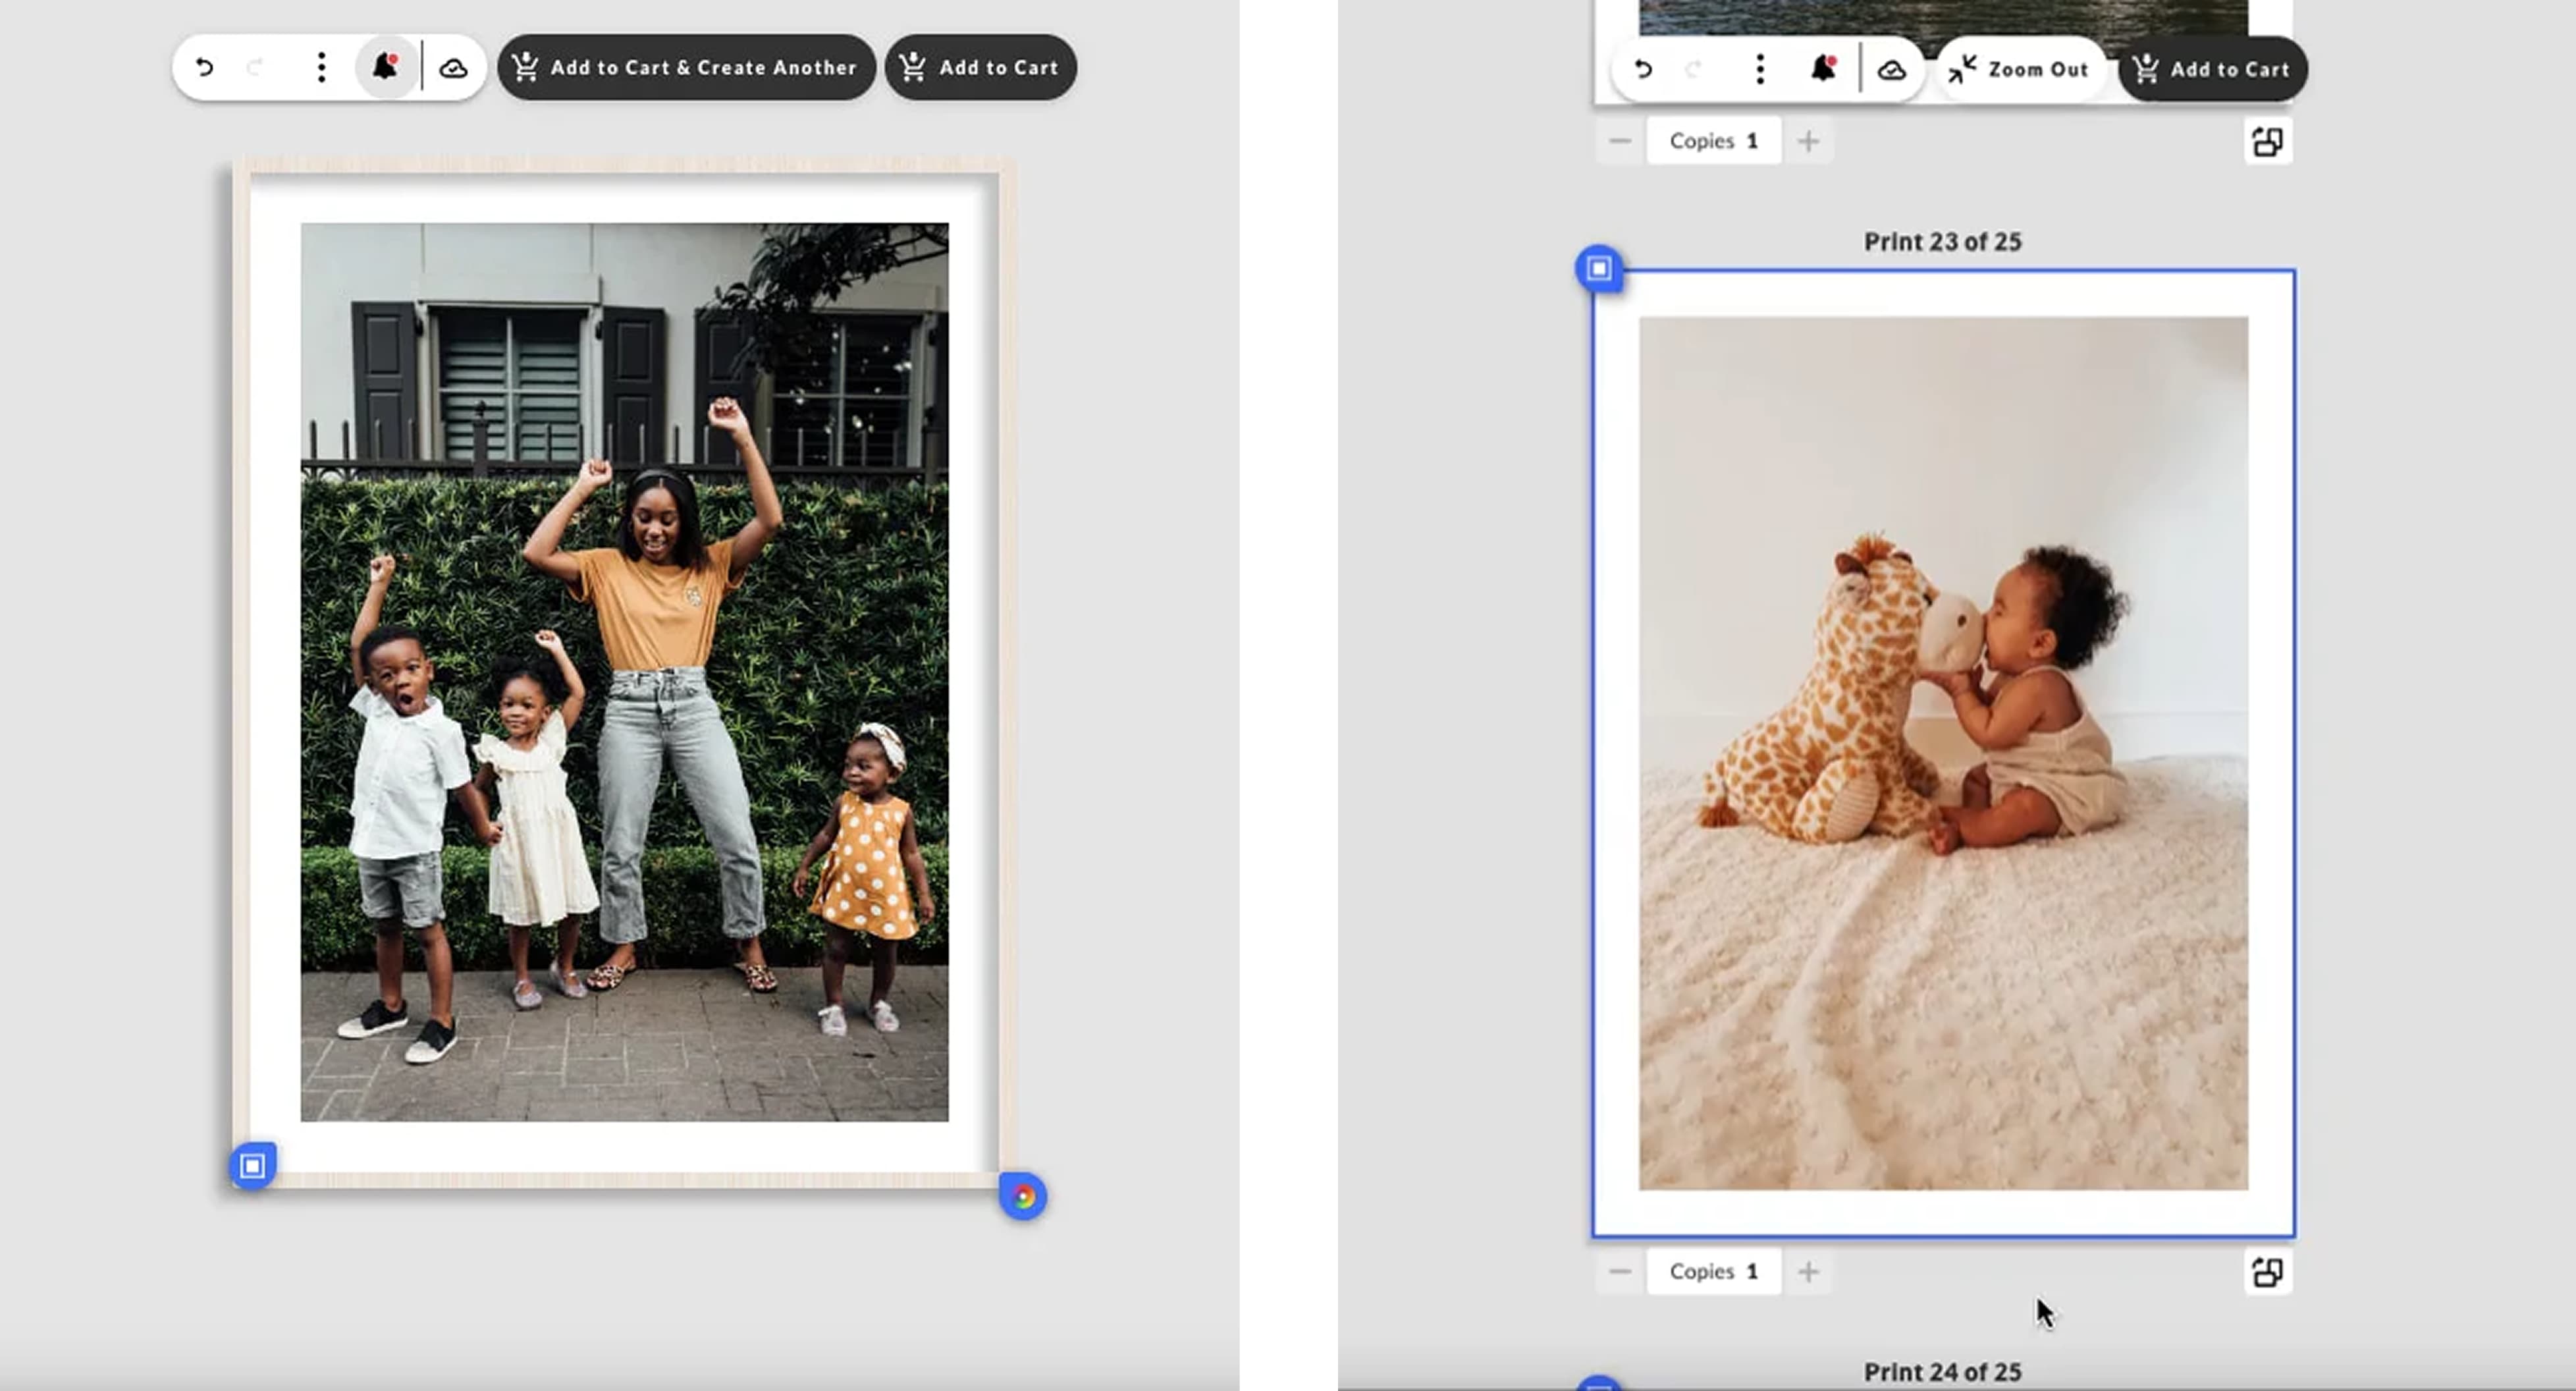
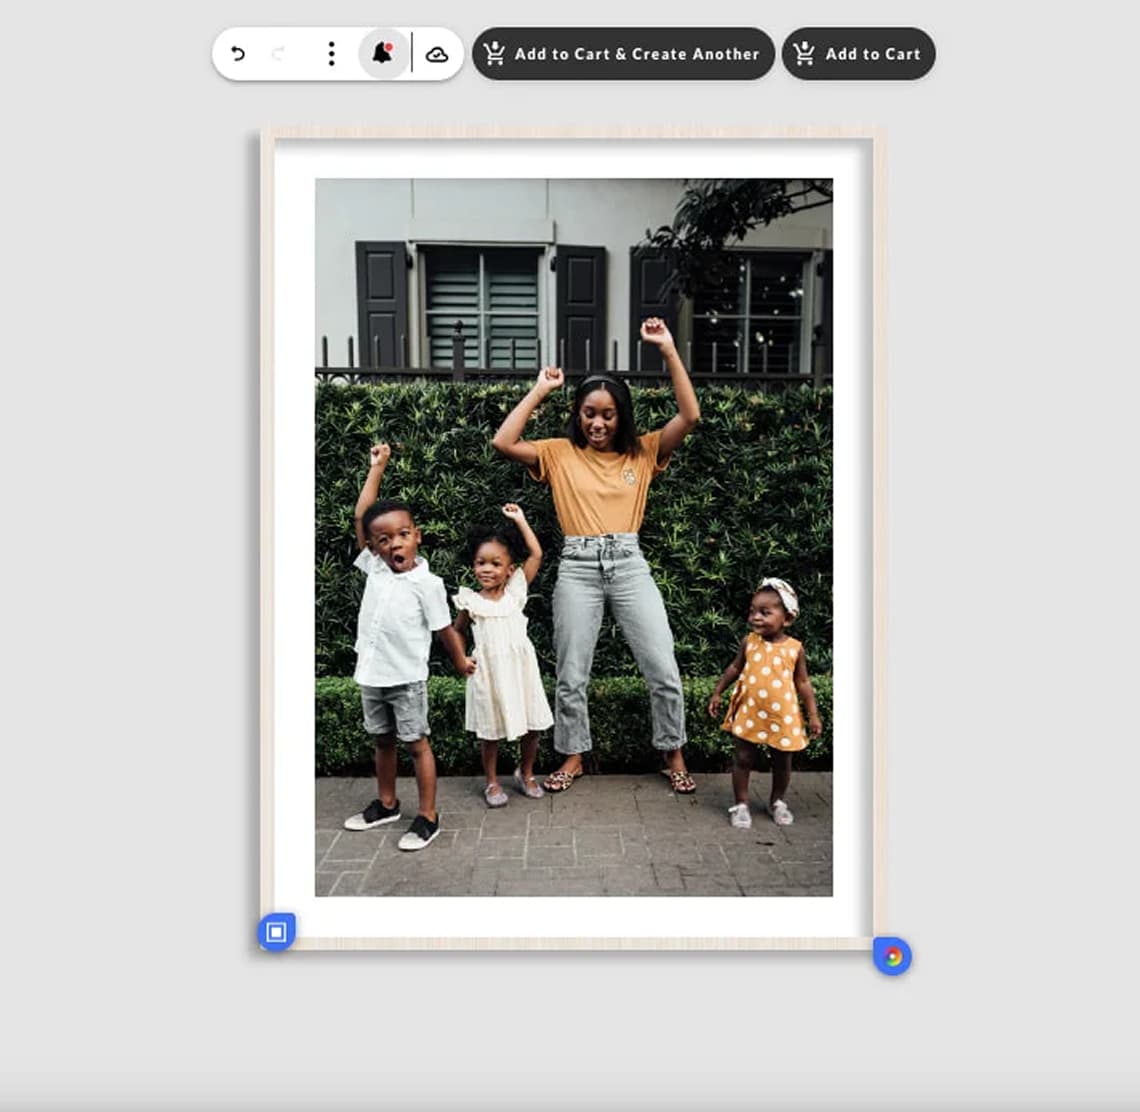
For Frames
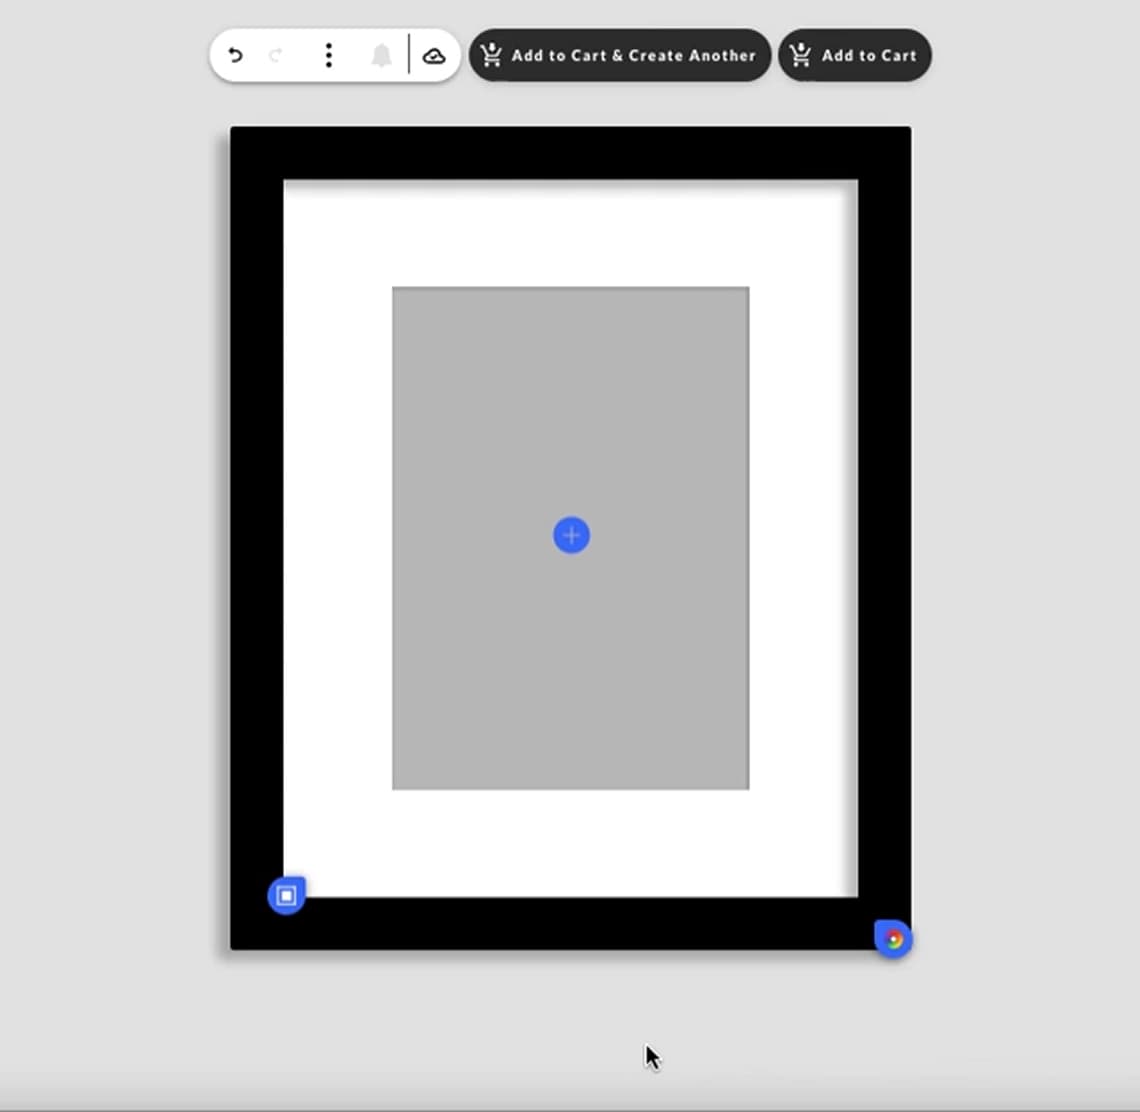
Feel the freedom to choose between your frame size, finish and mat measurements inside
the editor – giving you the best feel of your final frame.
With your specs selected, click “add to cart and start another” to begin again,
getting you one step closer to that must-have gallery wall moment.
Feel the freedom to choose between your frame size, finish and mat measurements inside
the editor – giving you the best feel of your final frame.
With your specs selected, click “add to cart and start another” to begin again,
getting you one step closer to that must-have gallery wall moment.
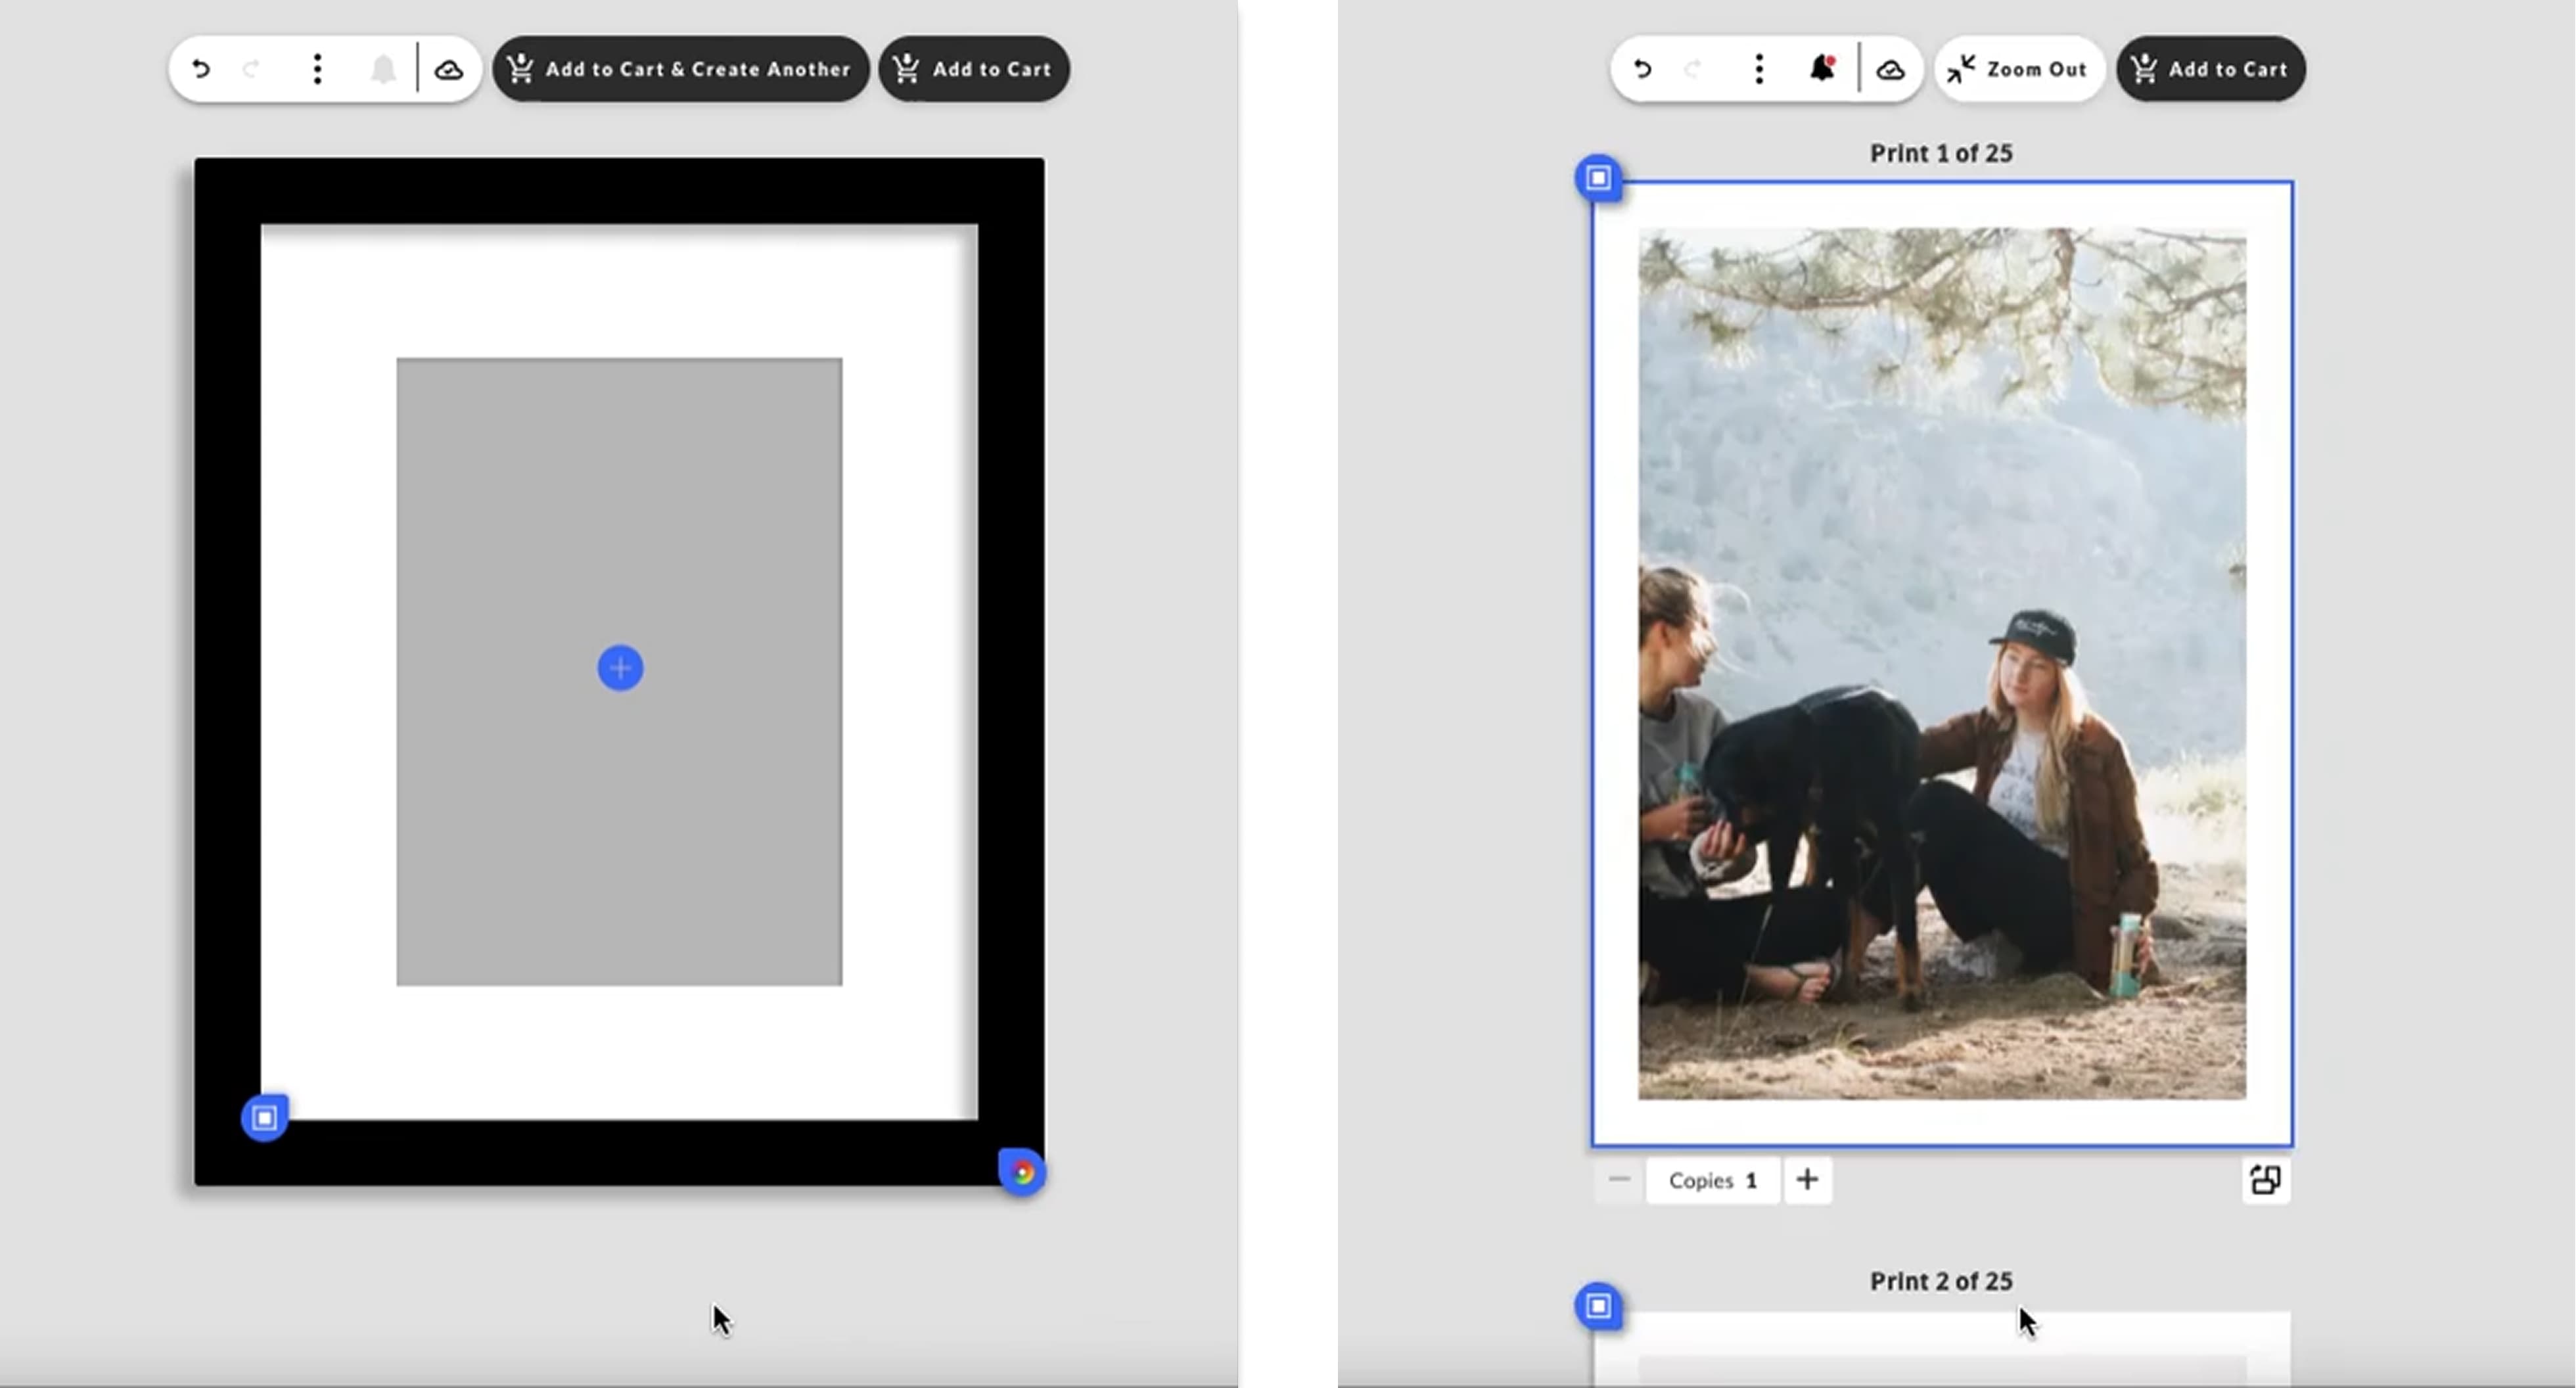
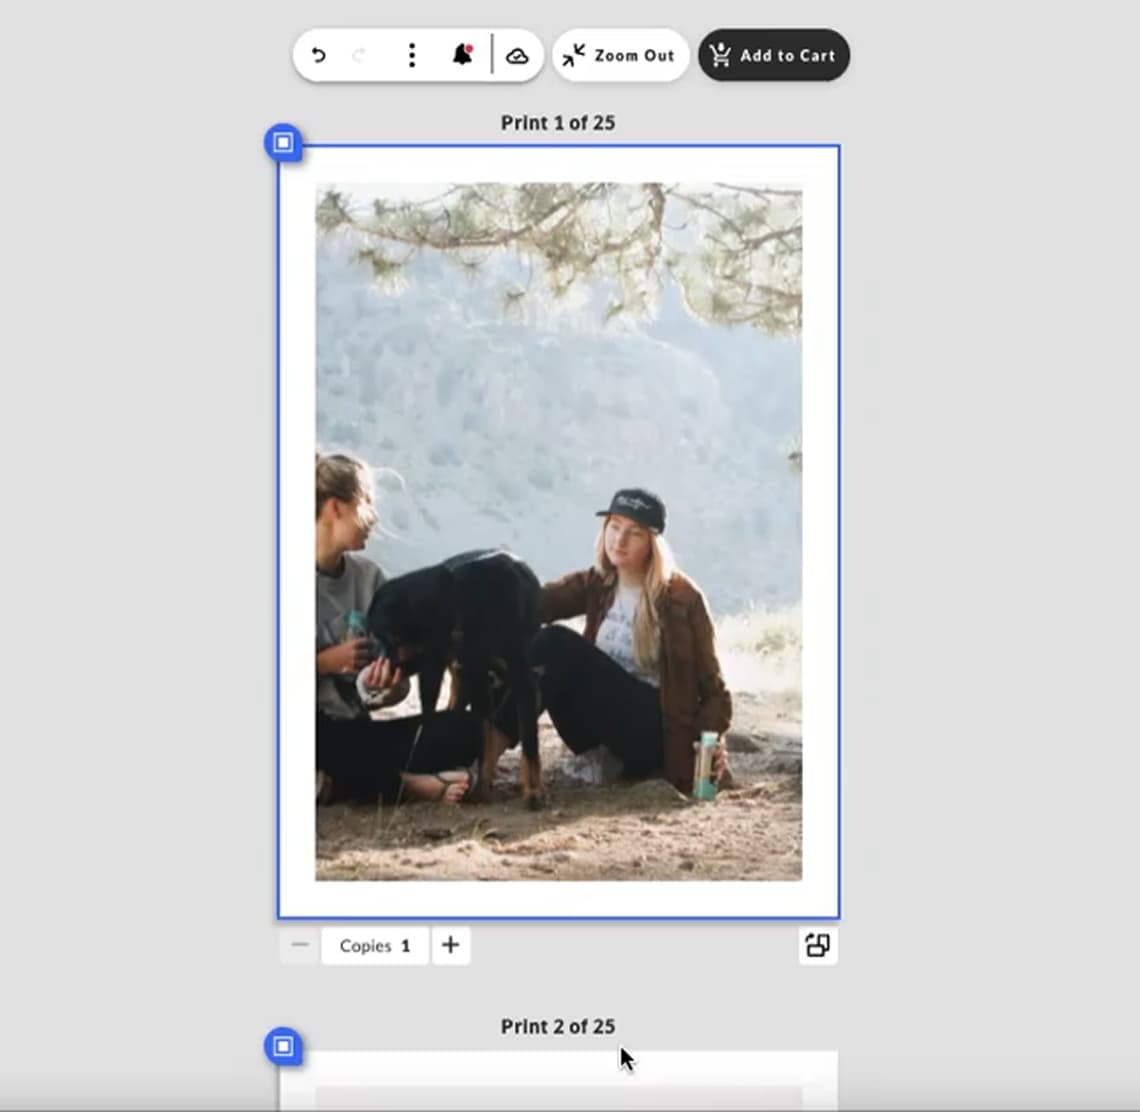
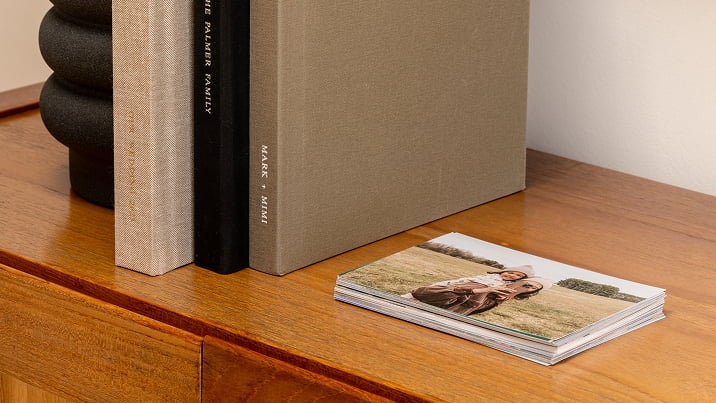
Print Projects
● Maximize your time and embrace the autofill & favorites feature,
quickly populating your prints so you’ll be on your way in no time. ● Easily rotate the print orientation to optimize the photo content
● Don’t worry about duplicating: if you need more than one copy of a
certain print, punch the plus (+) symbol to increase the number we’ll print..
Need a hand?
Bookmark this blog for easy reference while you build, or find our Editor Guide
in the menu that provides a quick refresher. If chatting 1:1 is more your speed,
we’re here– human to human – for any questions along the way.
Bookmark this blog for easy reference while you build, or find our Editor Guide
in the menu that provides a quick refresher. If chatting 1:1 is more your speed,
we’re here– human to human – for any questions along the way.