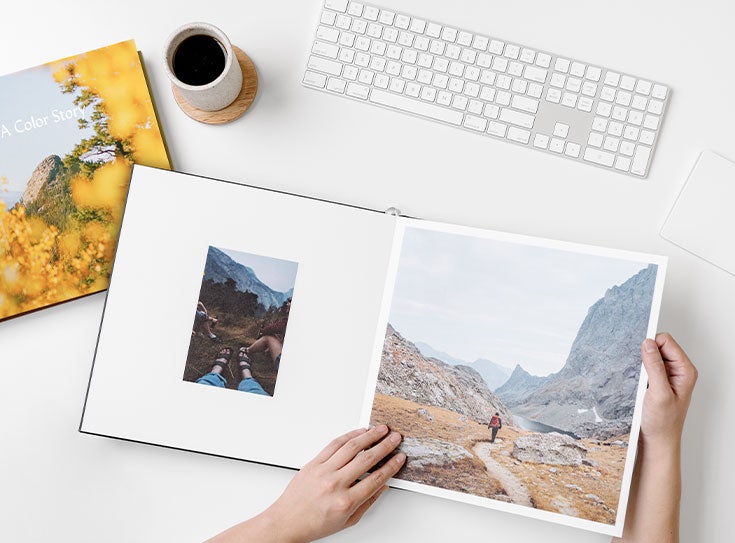
Organizing Photos
First Things First
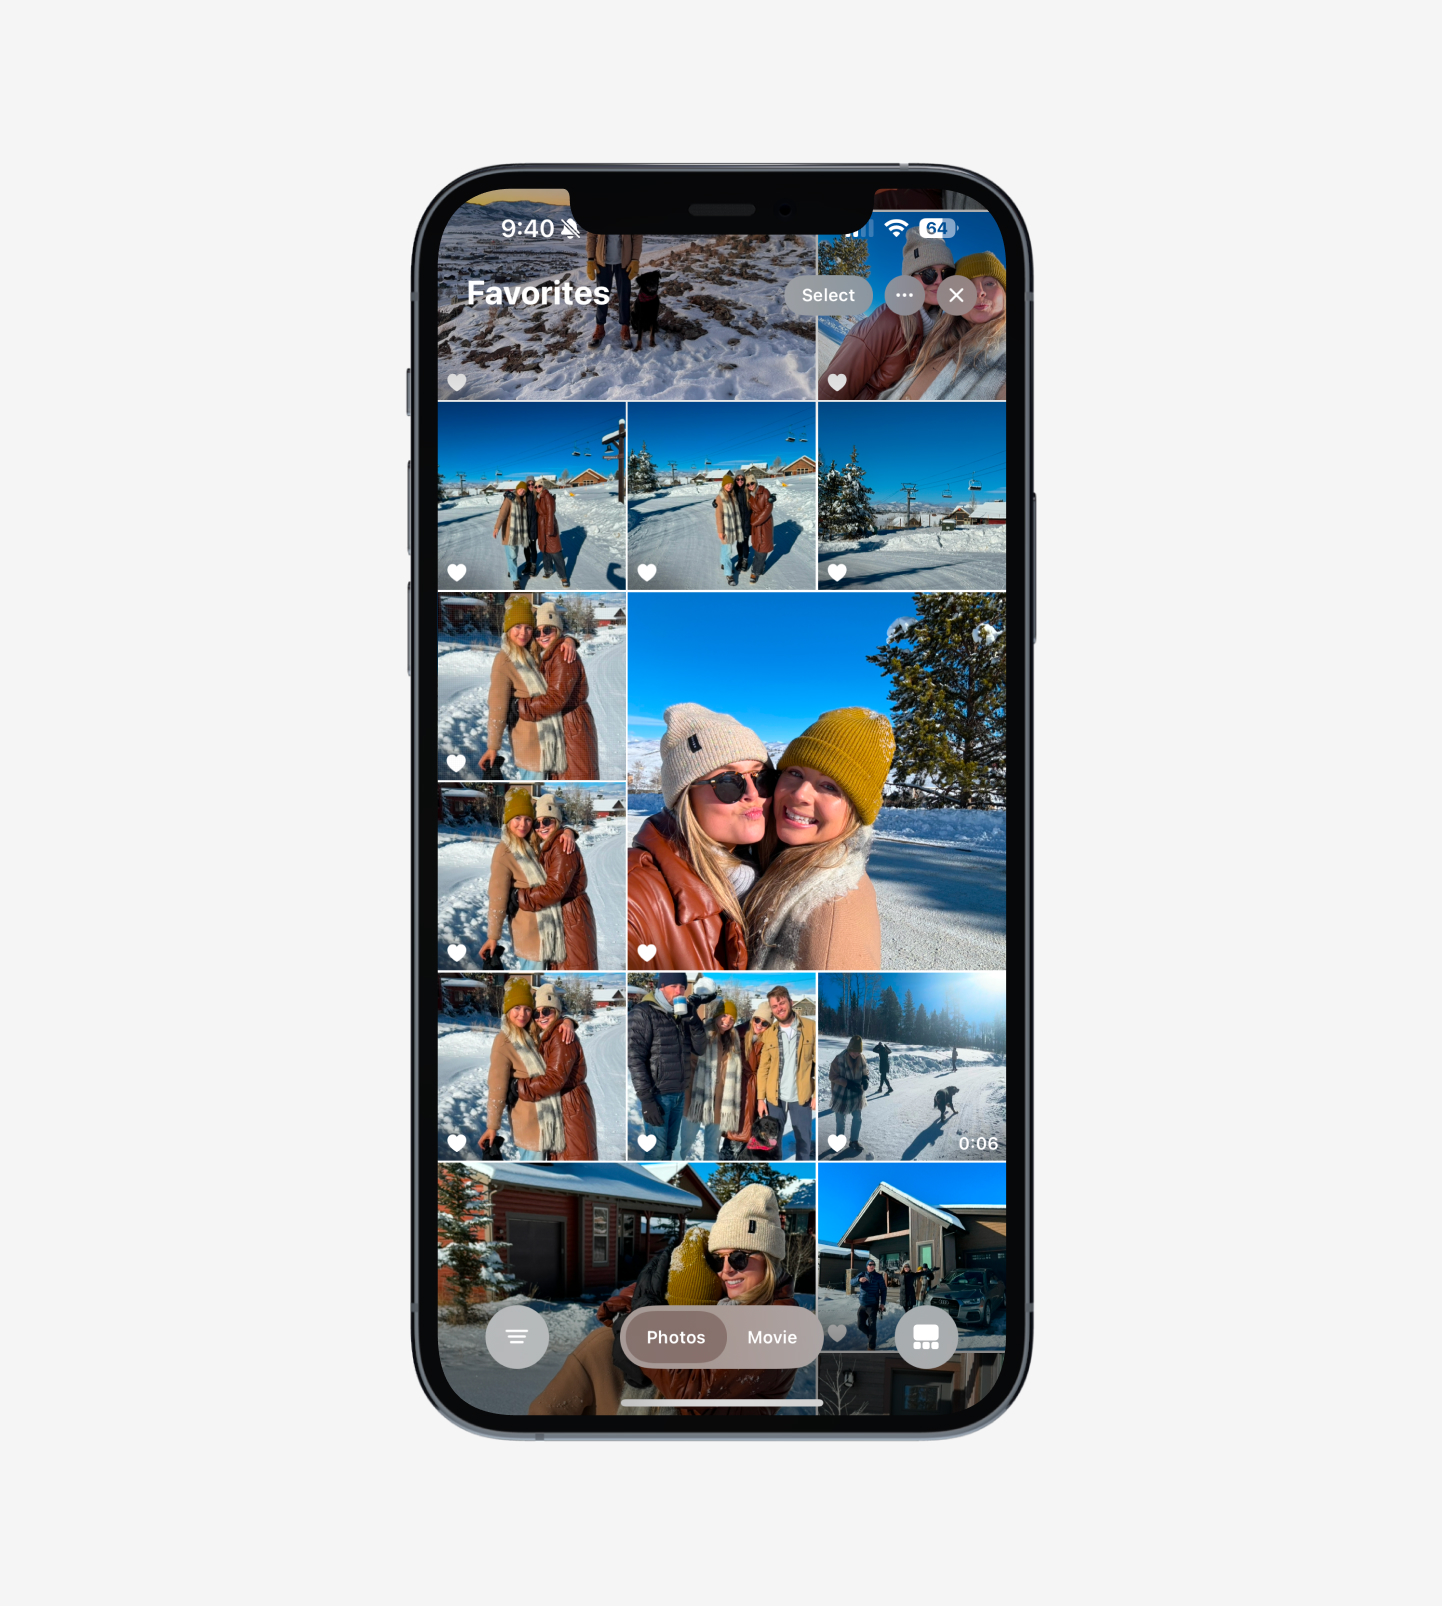
Trust us, your future self will thank you if you make a habit of
organizing your photos. Because as you set out to create a photo project, a clean and
well-sorted camera roll is key! Regularly select favorites, delete
clutter, and create categories on your phone. We also recommend
airdropping your photos to your desktop device. If you don’t have
airdop, there are other ways you can send photos to yourself and save
them on your desktop (email, Google Photos, etc.).
For color consistency between screen and print, make sure your images
use the sRGB color profile. Check our
how-to guide here
for changing the color profile of each image (don’t sweat it, it’s
easy).
Another in-house hack we like to share: You can upload photos to
galleries on your mobile device and then switch over to your desktop.
This eliminates the step of airdropping photos from your camera roll
and still allows you to create your project on the big screen.
Ultimately, you should find a process that feels easiest for you and
go with it!
Folders Are Your Friends
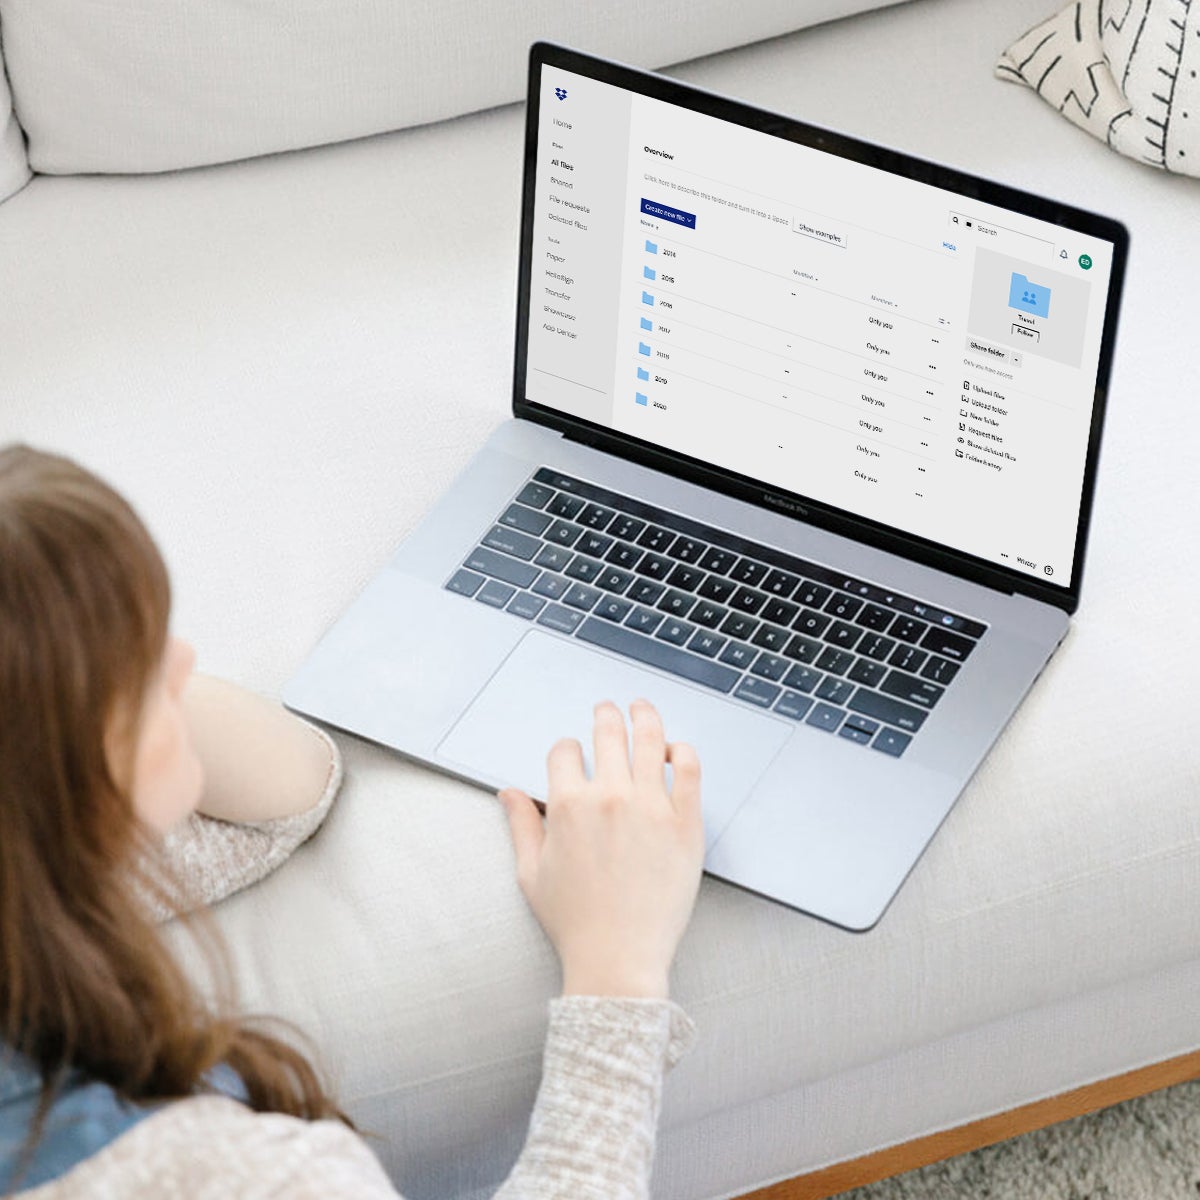
Once your photos are on your desktop, create folders to categorize and group them together. Organize by year, month, events, people, gift recipients — or a combination of categories! You can always duplicate an image, so it technically lives in more than one folder. This is perfect for creating project-specific folders which make book building a breeze. Within your folder system, we recommend making subfolders too, so you end up with something like: “2018 > August > Mona’s Wedding.”
Files to Convert

Our editor can upload .jpg, .png, .heic, and .webp formats, so always
remember to double-check and convert any files that are in any other
format before attempting an upload (the editor will simply skip over
those photos, which can be confusing!).
Desktop makes this oh-so-easy — in Preview on Mac, go to File >
Export. In the Format section, select JPEG, PNG, or HEIC and hit save.
Or you can set up a
"quick action"
on your computer to convert the files in bulk. (For Windows Explorer,
there are just a few
extra steps
to take.)
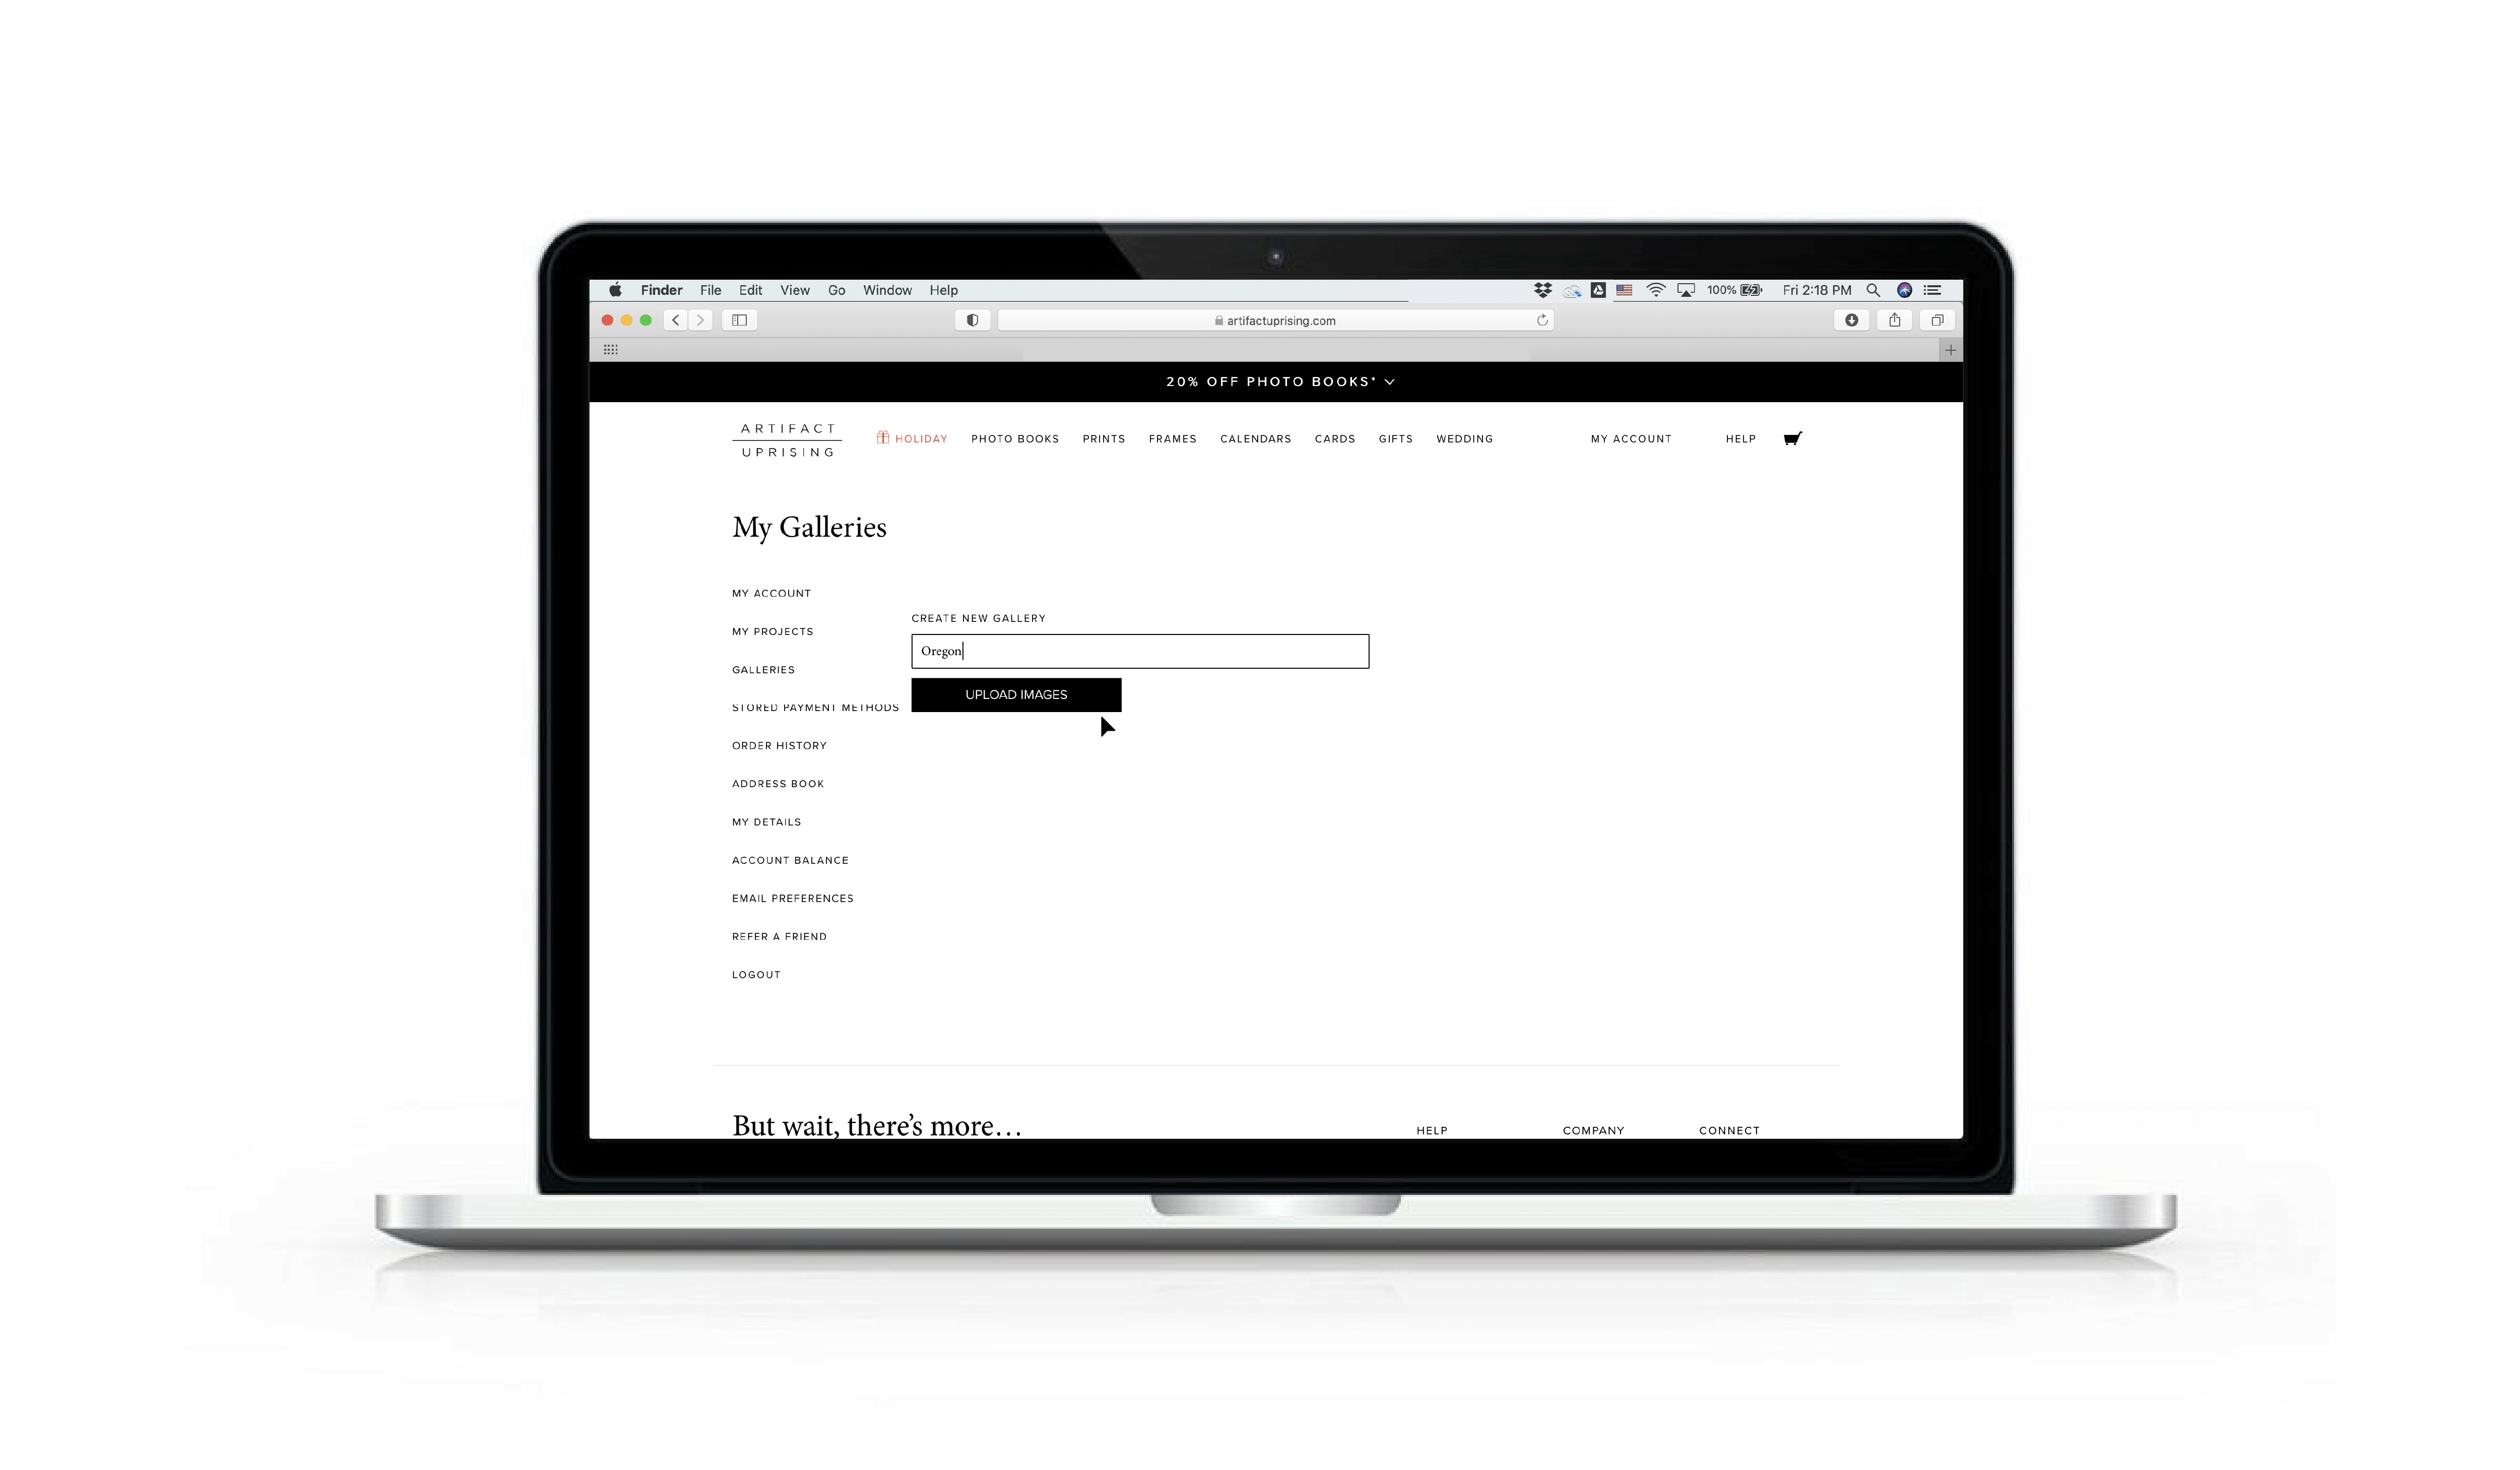
A Guide to Galleries
Label Everything
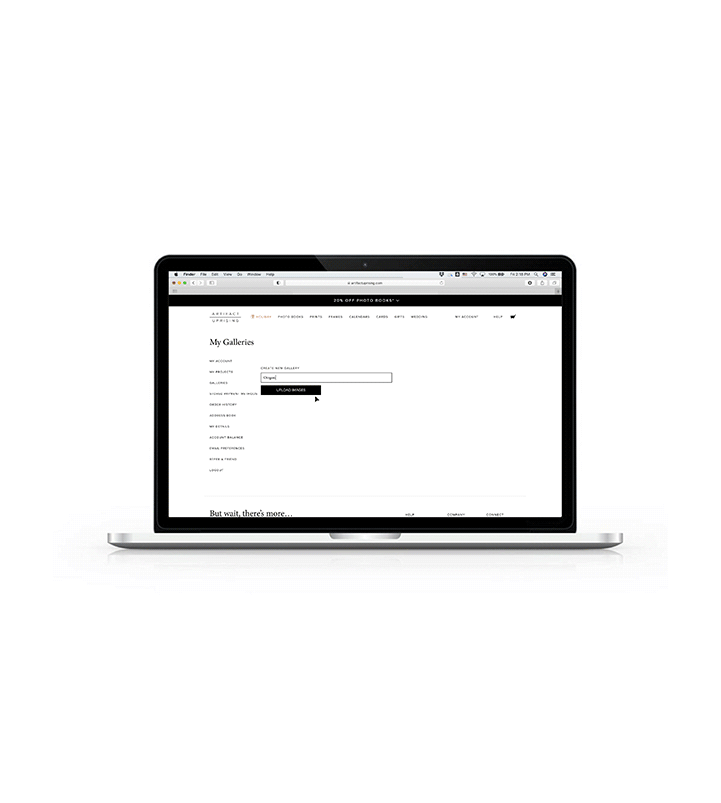
Under My Account and Galleries on our site, you can upload your
images. We recommend creating a gallery before starting a project.
It’s absolutely doable while in the editor, but we find it easier to
make the gallery first. Hit “Add Gallery“ to select images from your
desktop folders (or drag and drop!). Always give it a title, and then
hit “Get Started.” By labeling your gallery, you’ll easily locate
these photos again while in the editor and know what the photos are.
Pro tip: We love using labels like
“Mother’s Day Gift 2020” or “Alberto’s Birthday” for galleries that
will be used to create a gift. This makes it easier to stay organized,
especially when making multiple gifts at once.
Upload With Ease
You’ll want to remember a few helpful tips for uploading images into a gallery:
✓ Make sure your file sizes are under 40 MB each.
✓
Upload in smaller batches — think 50 at a time!
✓ A
gallery can hold up to 300 images, but we’d recommend keeping it
under 200 to make building your project easier. This can be done by
selecting favorites prior to uploading.
✓ If
you run into issues while uploading, check out our
Uploading Images FAQ
Note: If you are looking to upload images from Google Photos, you can do so when you’re in the editor. Head to “Add Photos” and select the Google Photos icon. This will connect to that account, so you can log in and select your images. For more information on this process, look to our article on Uploading Images via Google Photos.
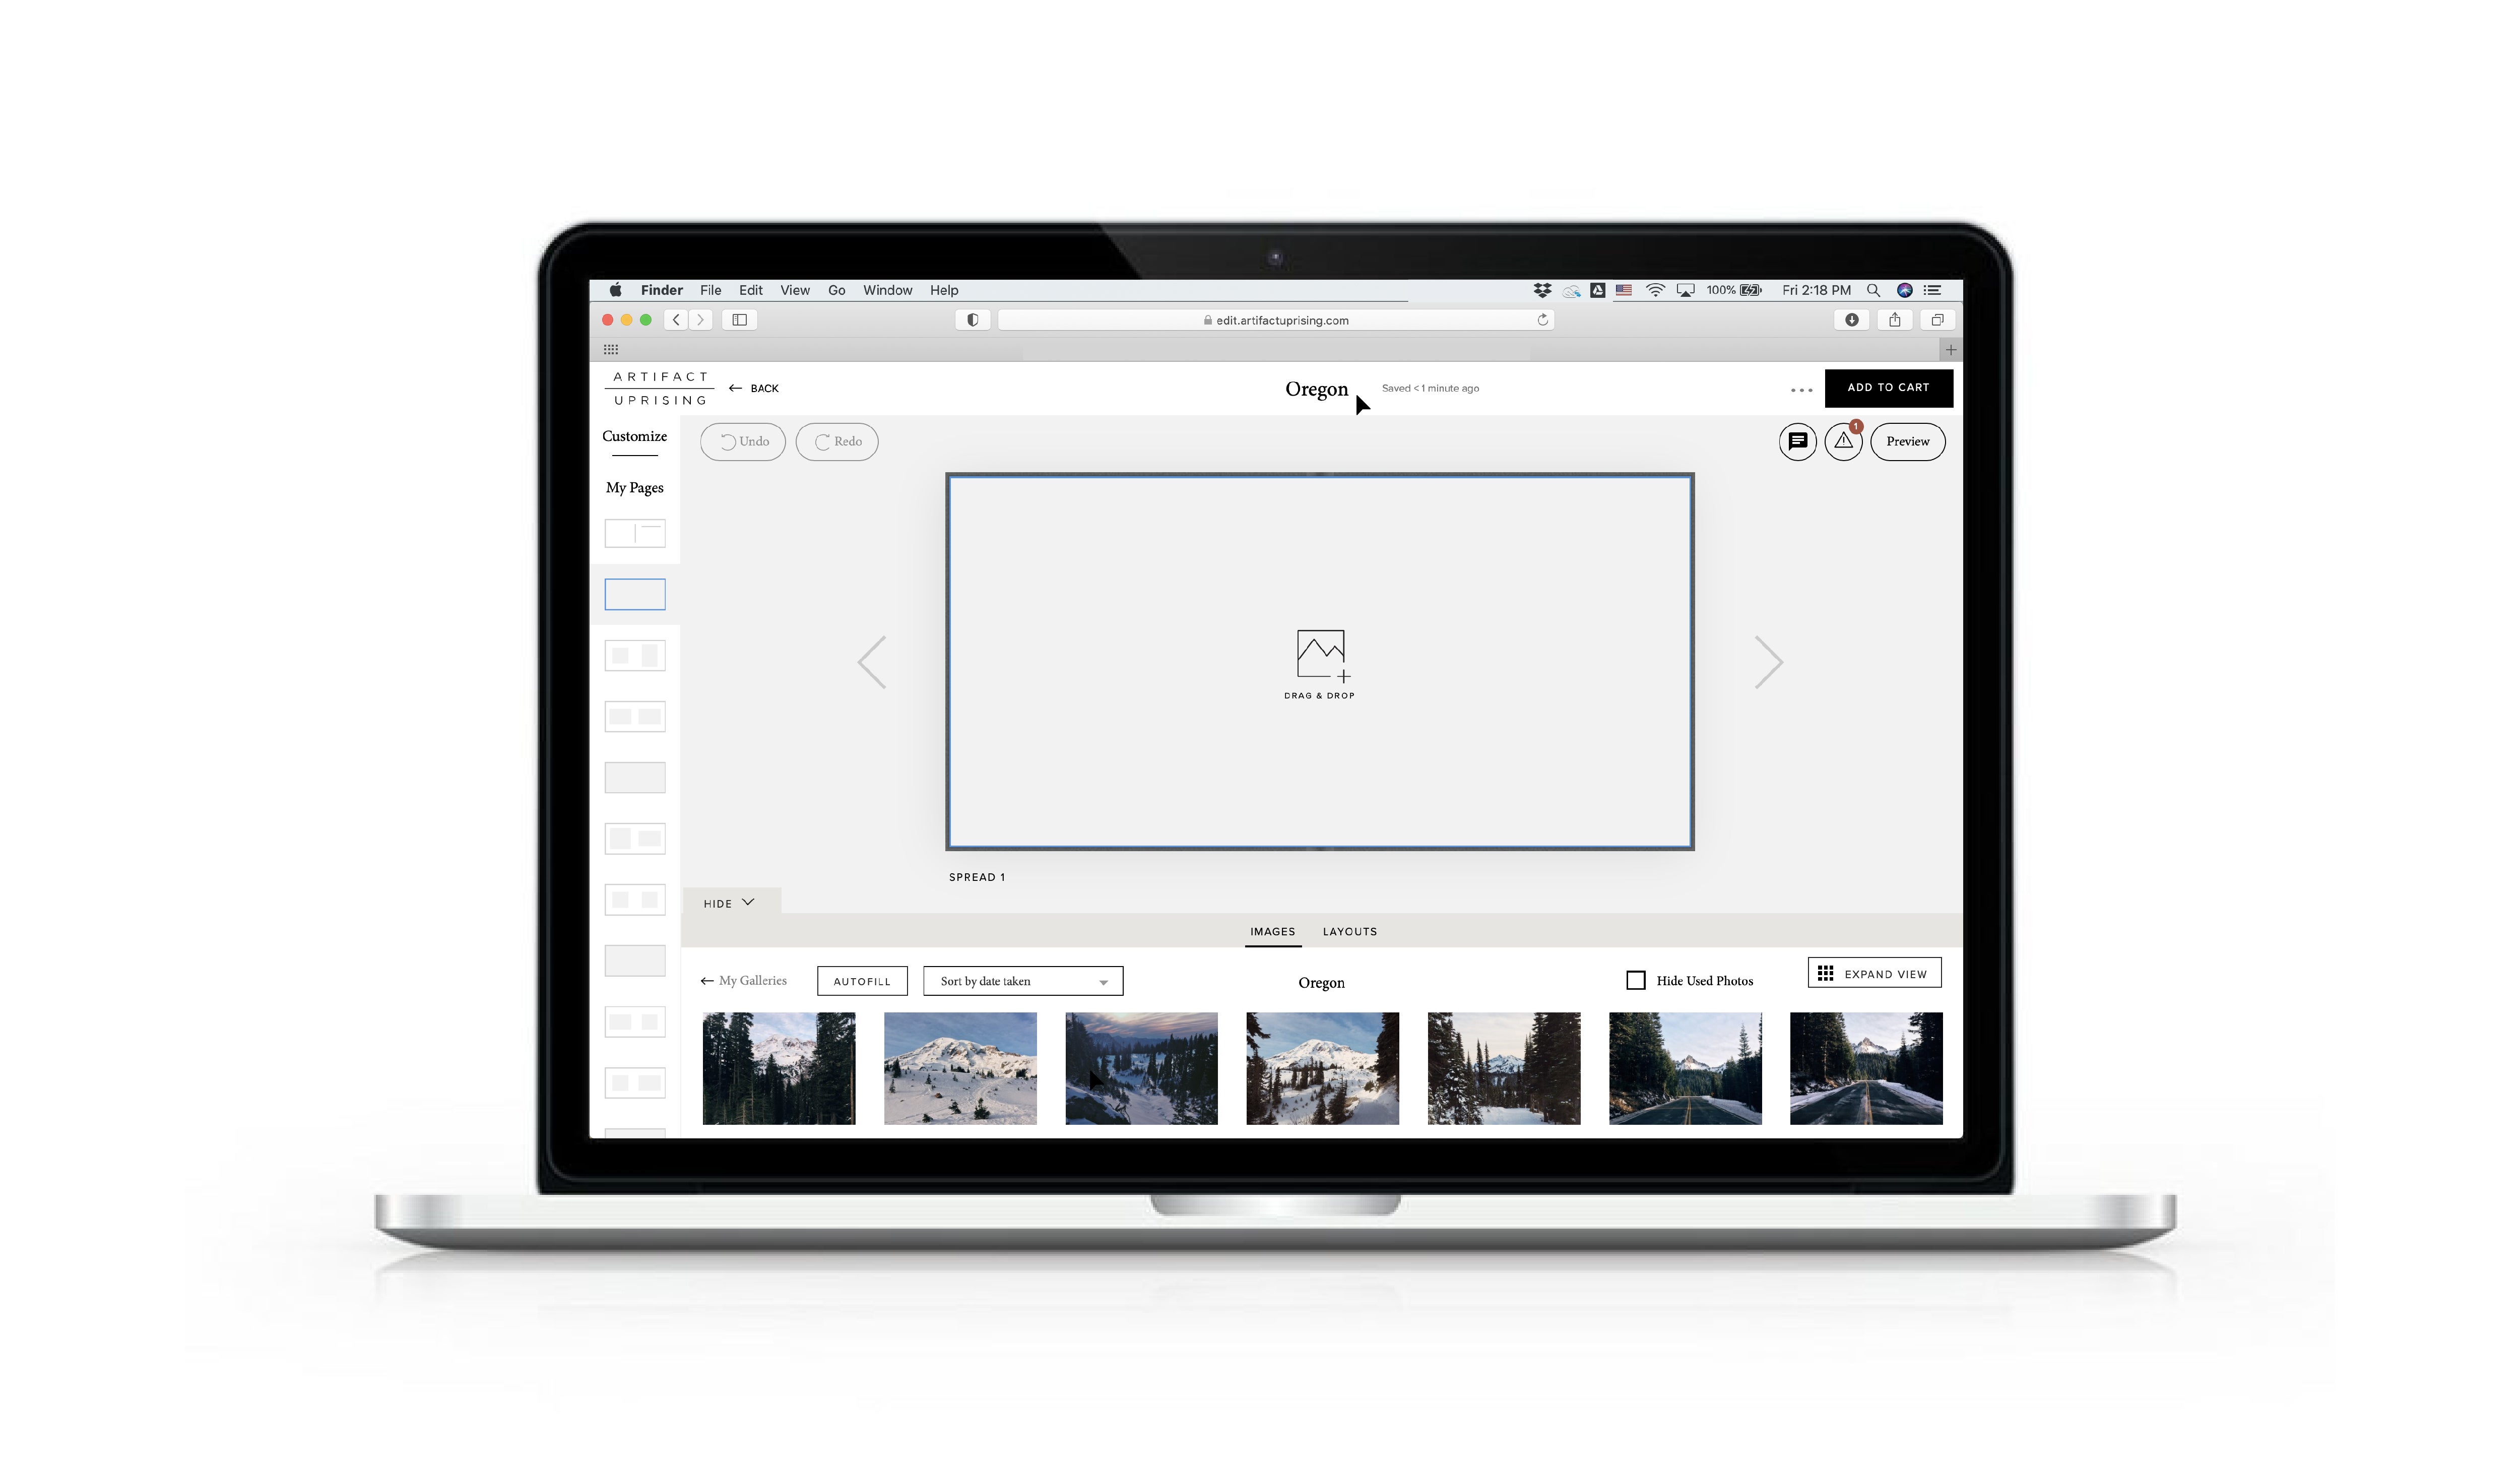
Keep It Chronological
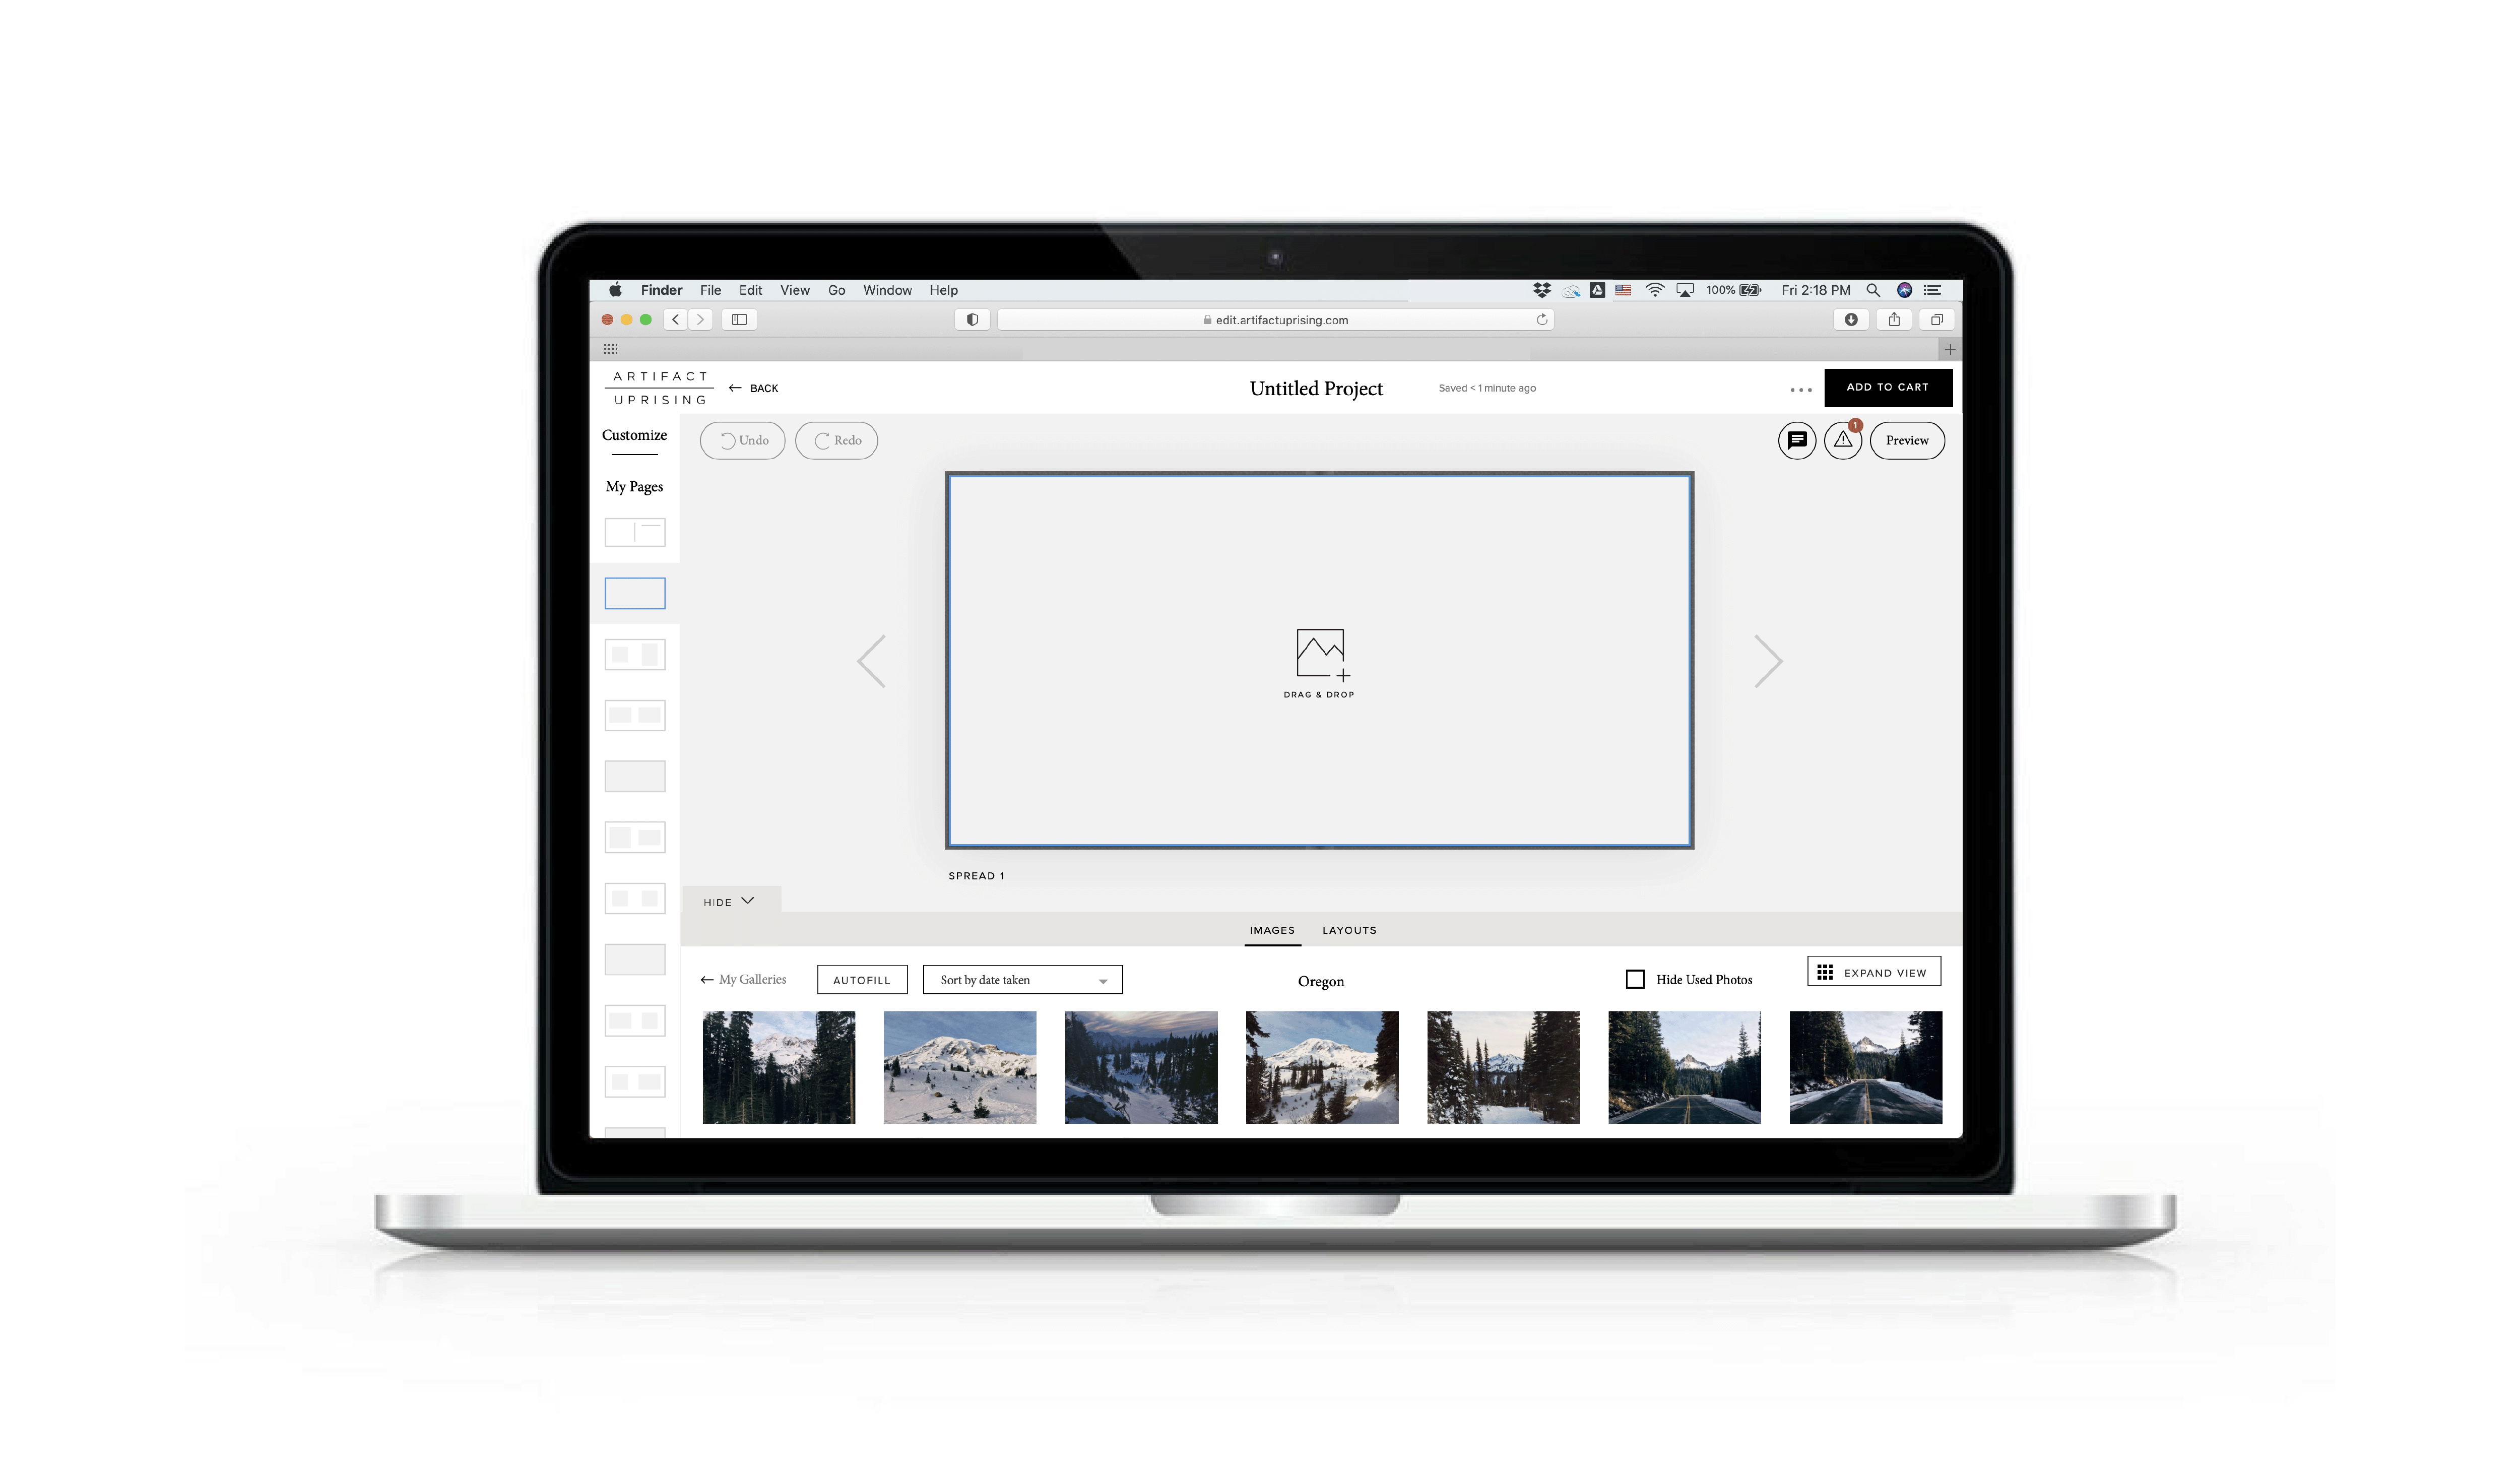
Don’t forget — when you’re looking at a gallery in the editor, you can sort the images by date uploaded, date taken, and more! So take advantage of that feature, especially with larger sized albums. The “Hide Used Photos” toggle will also help keep you organized, as you can see which photos are yet to be added.
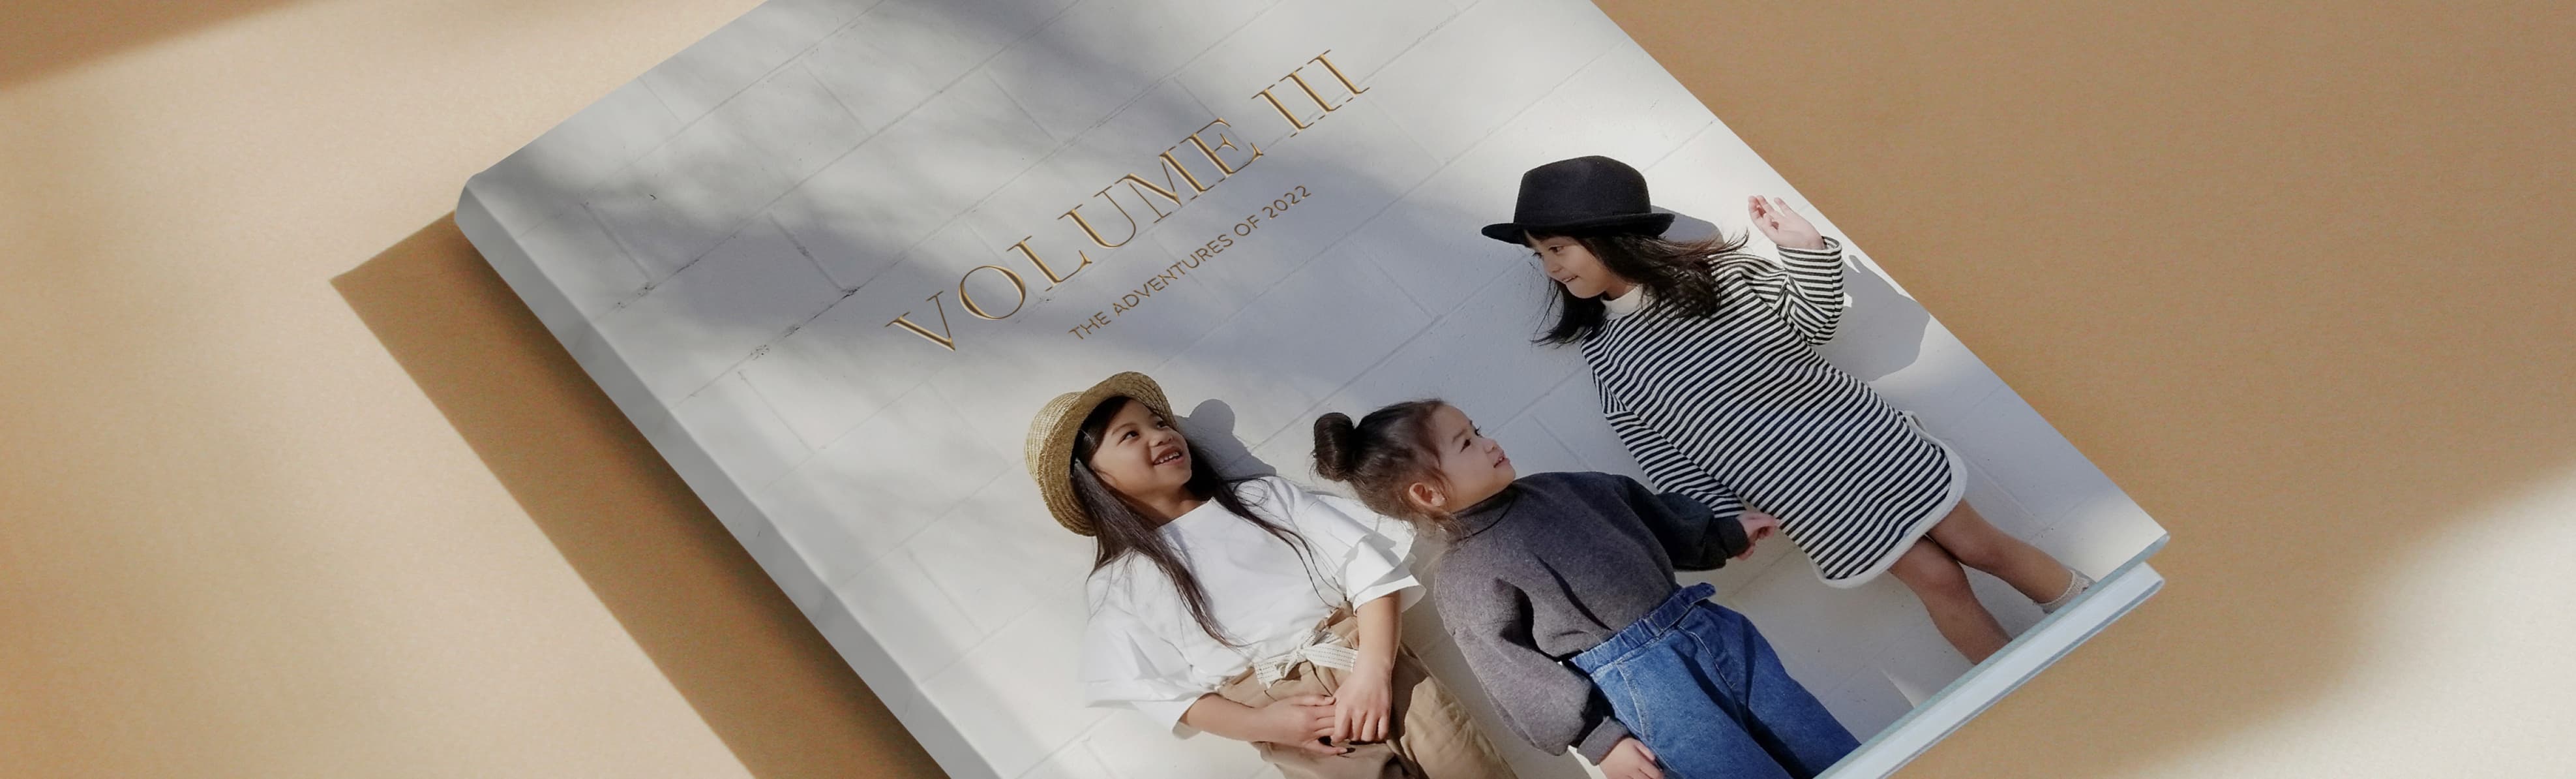
Choosing Your Project
Do Your Research
Before you officially start editing a project, we recommend doing a
little research by clicking around the site and playing around in the
editor. At this time, our editor doesn’t allow you to switch the type
of book you are working on or transfer your work to another product.
So if you create a Layflat Album for example, there isn’t an option to
move what you created into a Hardcover Photo Book.
Not to
worry — there are some details that you can edit no matter where you
are in the editing process. We’ll go into this in greater detail
below, but the left toolbar tab in the editor allows you to change
fabric color, foil type, product size, and more. We've also created a
few helpful comparison guides that can give you an at-a-glance idea of
which project is best suited for your story:
✓
Which Photo Book is Right For You?
✓
A Helpful Guide to Our Photo Frames
✓
A Guide to Types of Photo Prints
✓
Which Photo Calendar is Right For You?
Name Your Project
Much like labeling your galleries, one of the first things you’ll do when you start your project is name it! Whether the trip location, the year, or your gift recipient, use a name that will make it easy to locate in the My Projects section of your account.
Editing Made Easy
The Beauty of Autofill
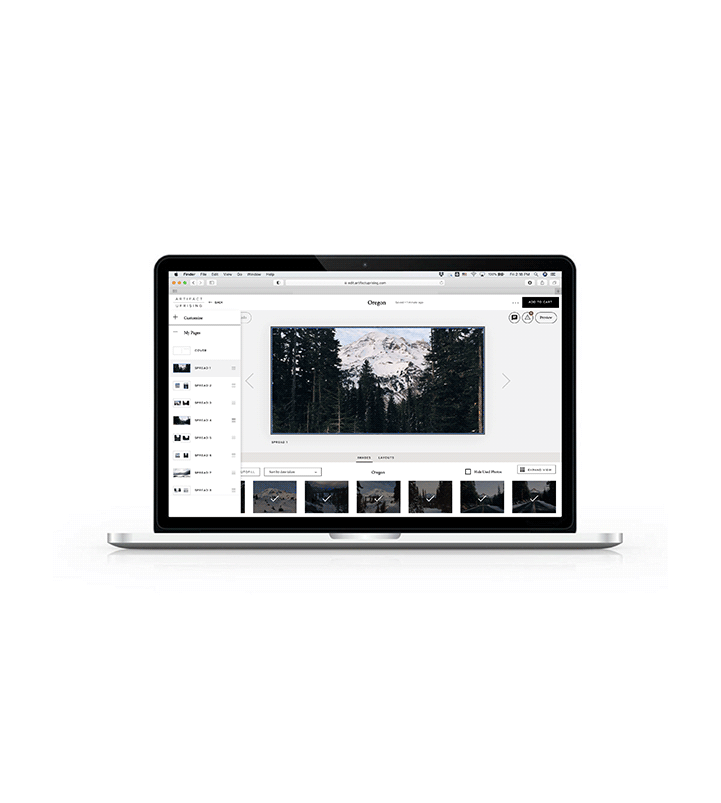
What can we say? We’re huge fans of the autofill feature. You can find this option under the My Photos toolbar in the editor. Say goodbye to blank-page anxiety by having us automatically fill in your project with photos from your gallery. From there you can make any necessary edits — easily shuffle the order of pages and swap photos in and out.
Finding the Right Layout
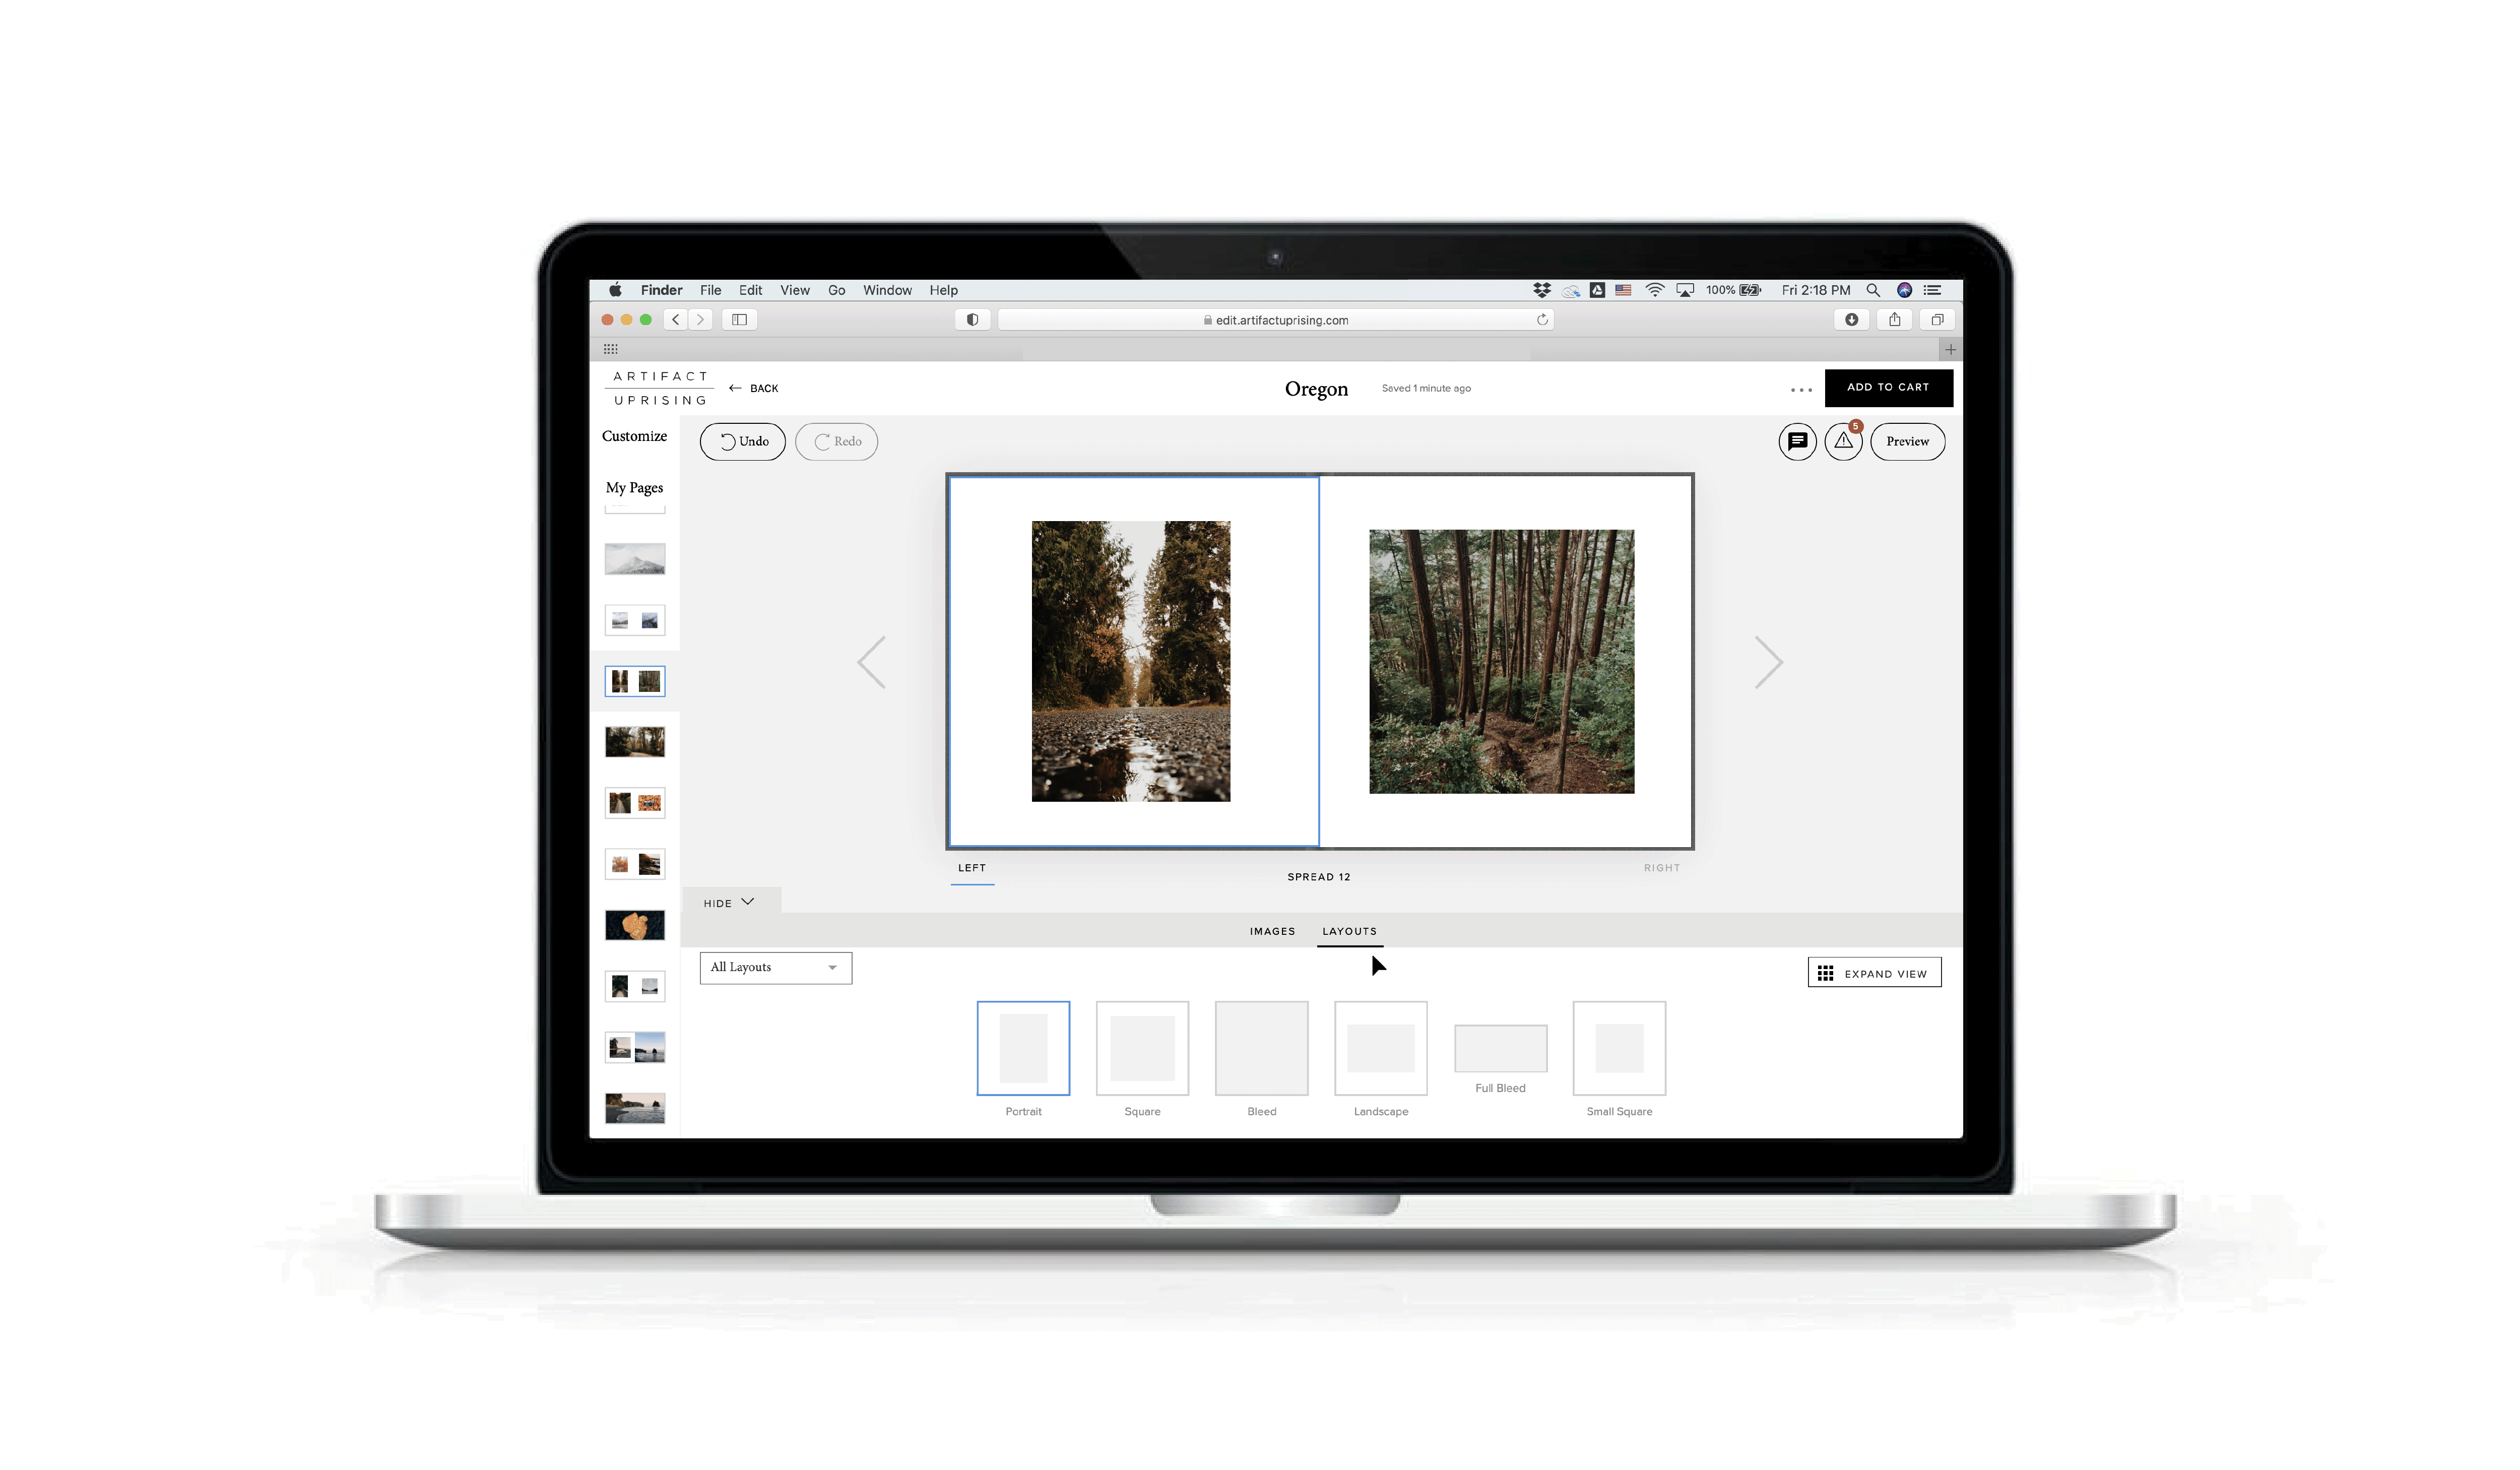
If you're creating a project that allows for multiple layouts, next on the right My Photos toolbar is “Layouts.” From full bleed to landscape and multiple squares, find a layout you love here. Use the “Number of photos” filter to narrow down options.
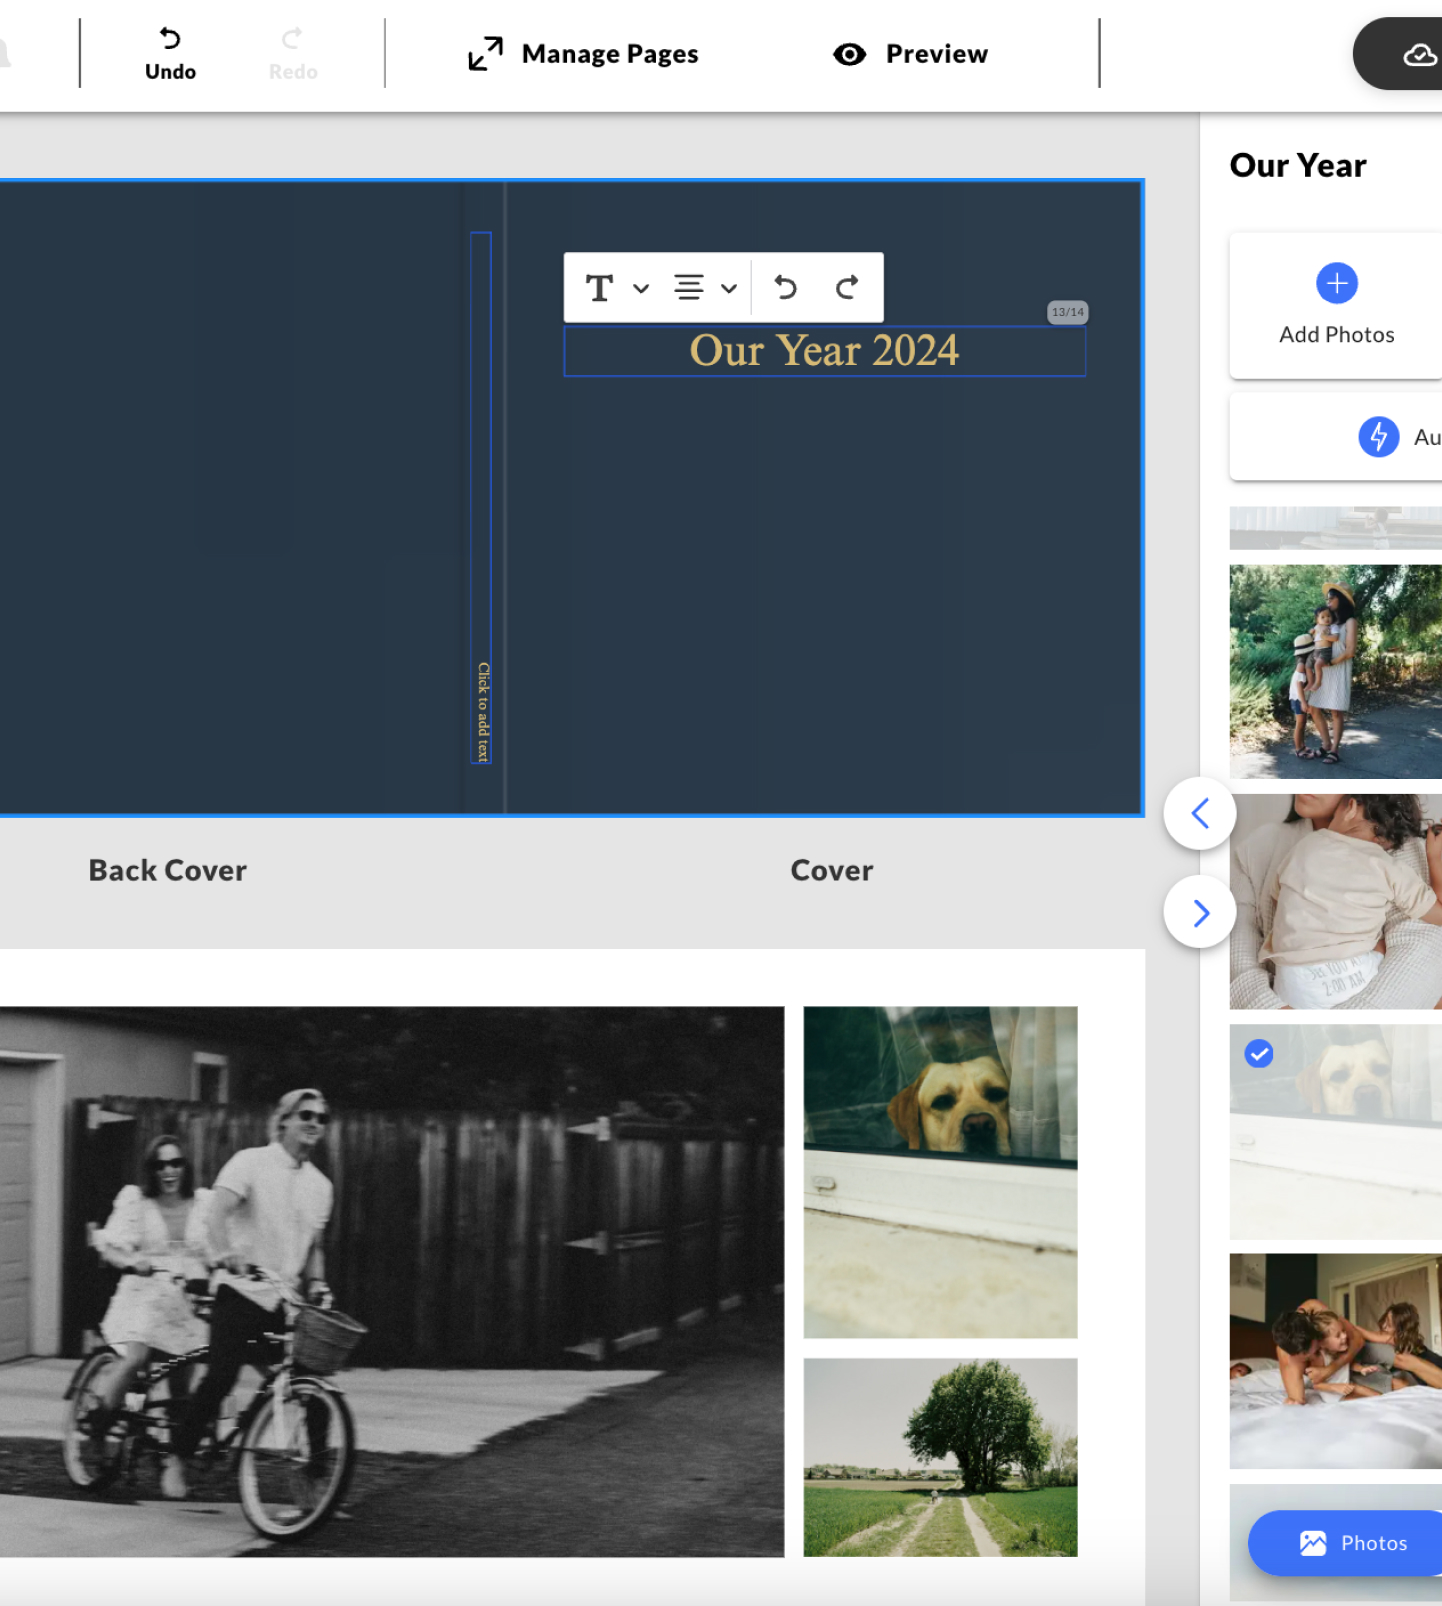
Adding Text
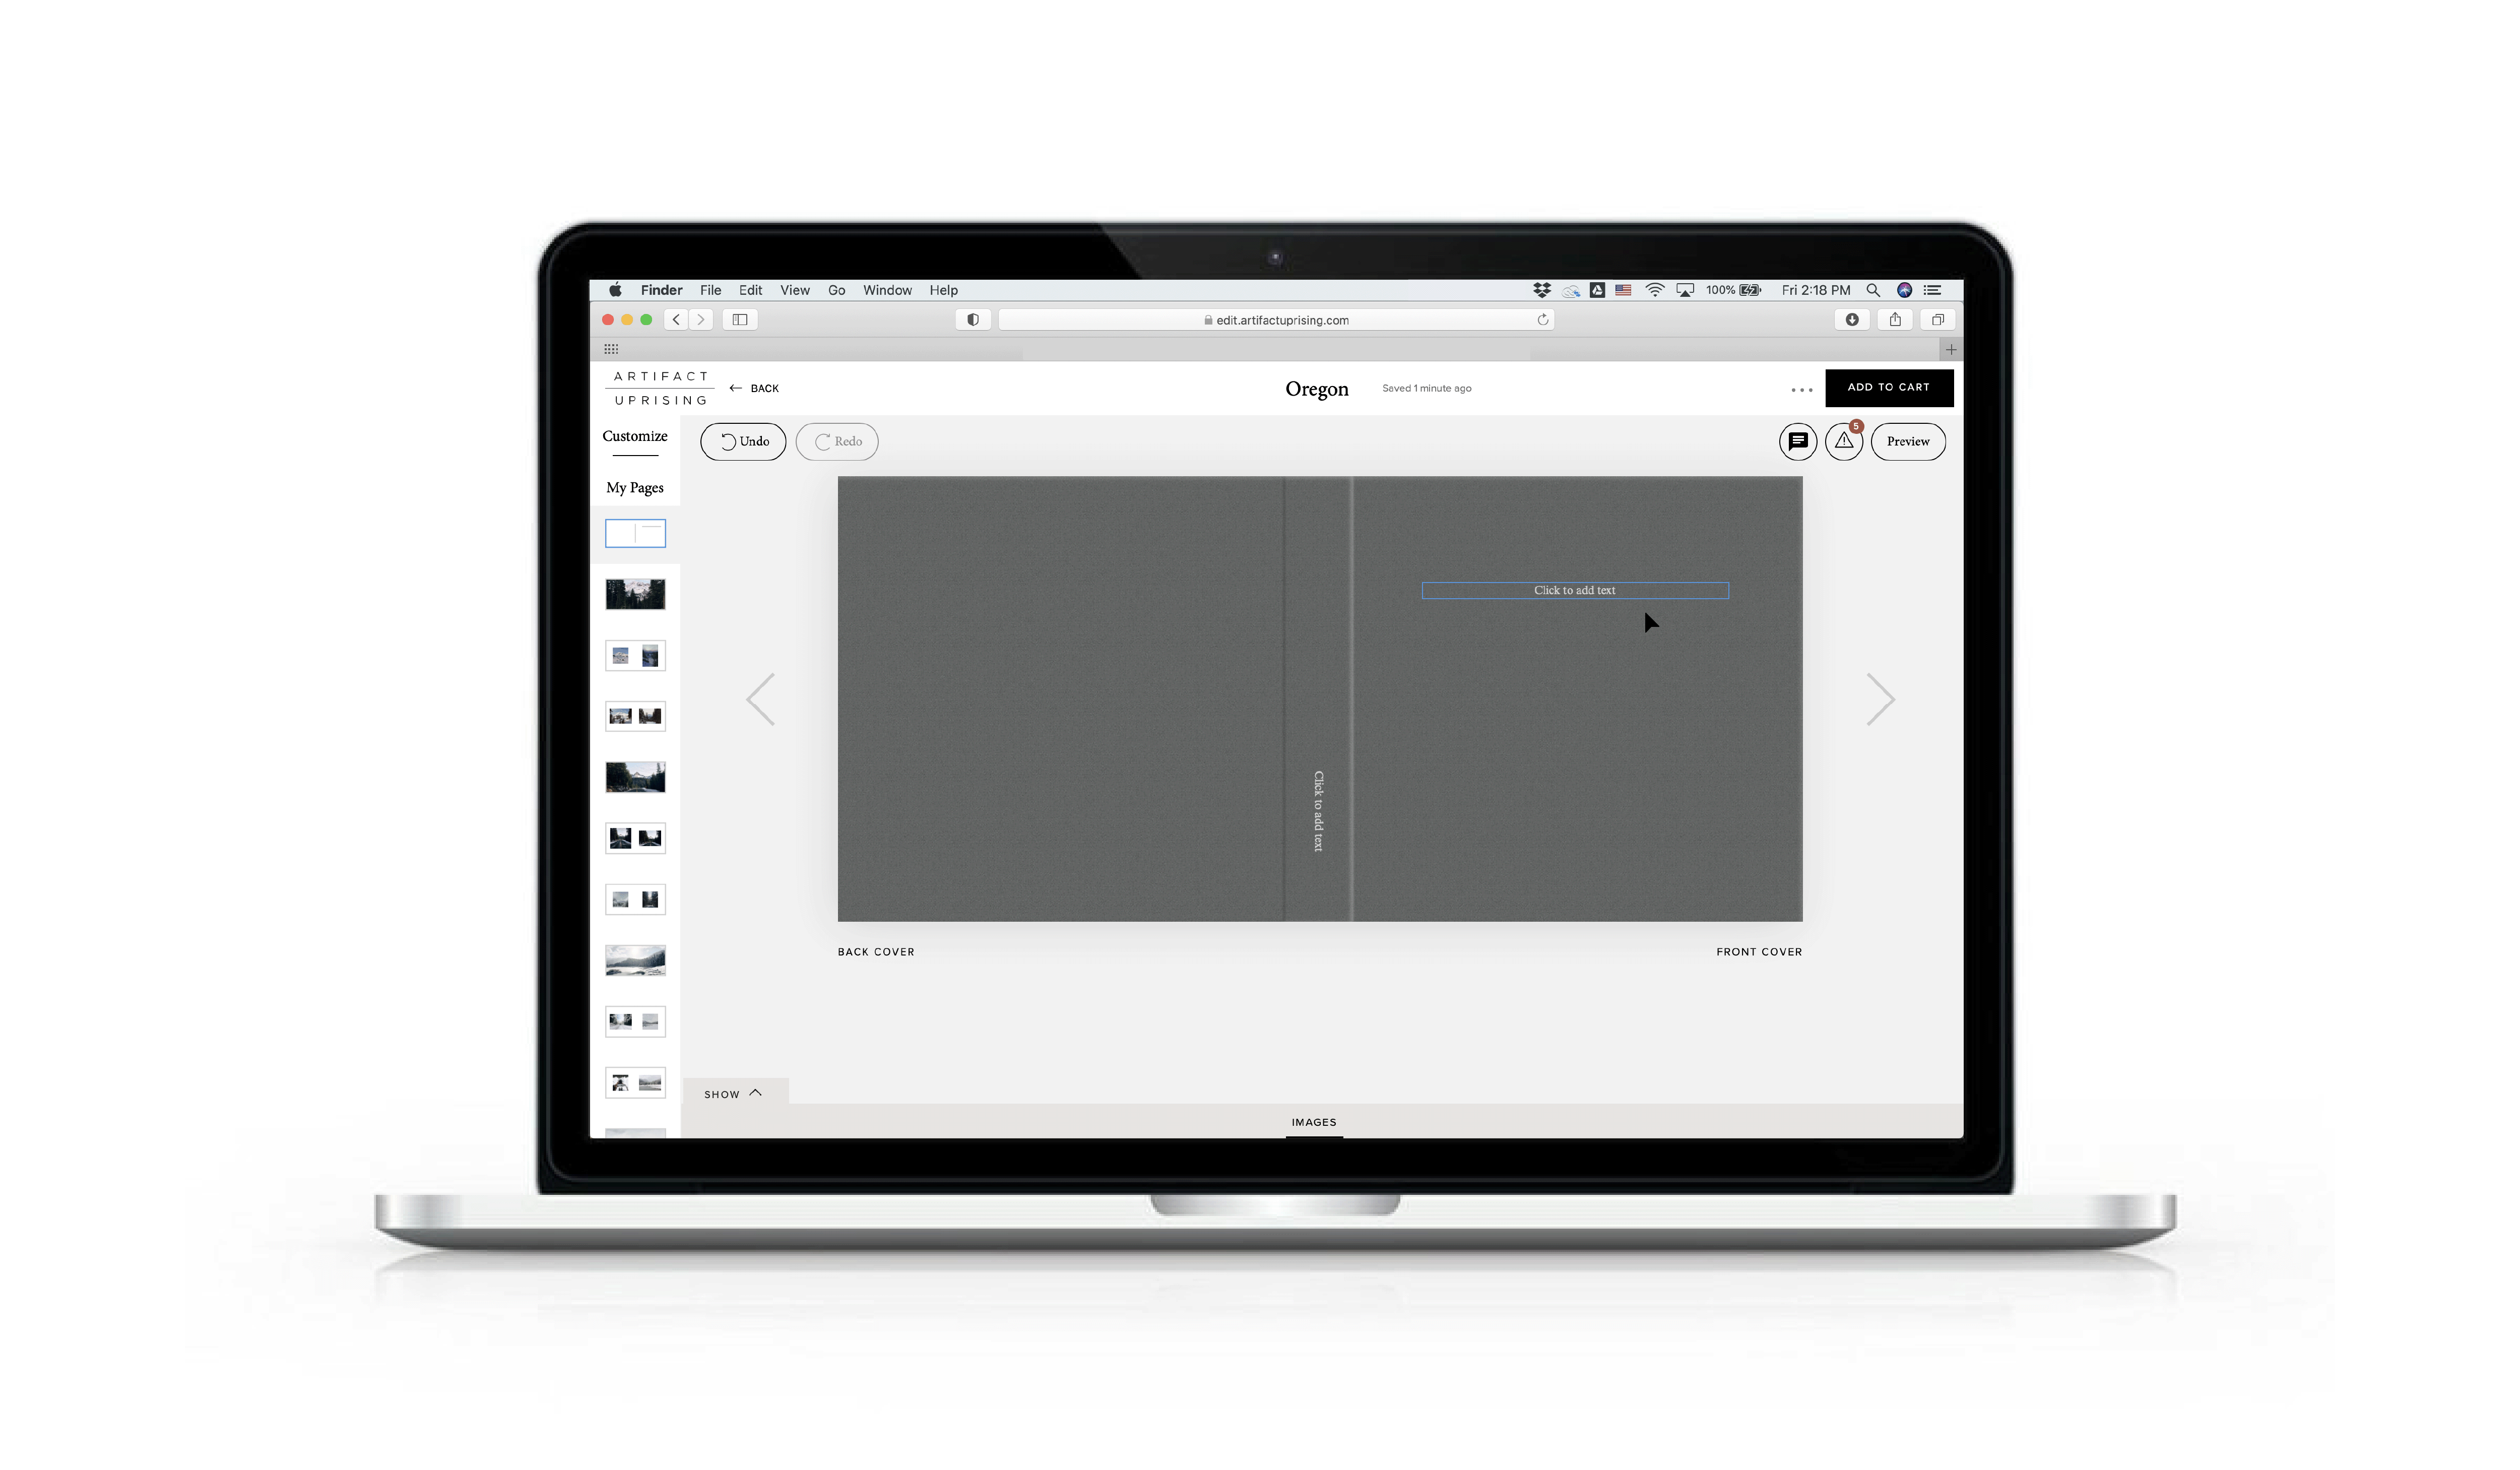
The final button in the right toolbar to know is “Add Text Box.” This
option lives under the Layouts tab. You can add text to nearly all our
photo books (Everyday Photo Book being the exception), as well as our
photo cards.
With the text box open, you can edit font,
size, color, and more.
Our text sizing is in pixels, not points (which most
of us are more used to). How does that play out? 14pt font is about 60
pixels, and many of the cover text examples we use are at least 120
pixels. So avoid teeny-tiny text by remembering there's a big
difference!
Note: If you click the “Add
Text Box” button and don’t add any text, that default text will not
print. It’s just a prompt — so don’t worry if you leave it blank!
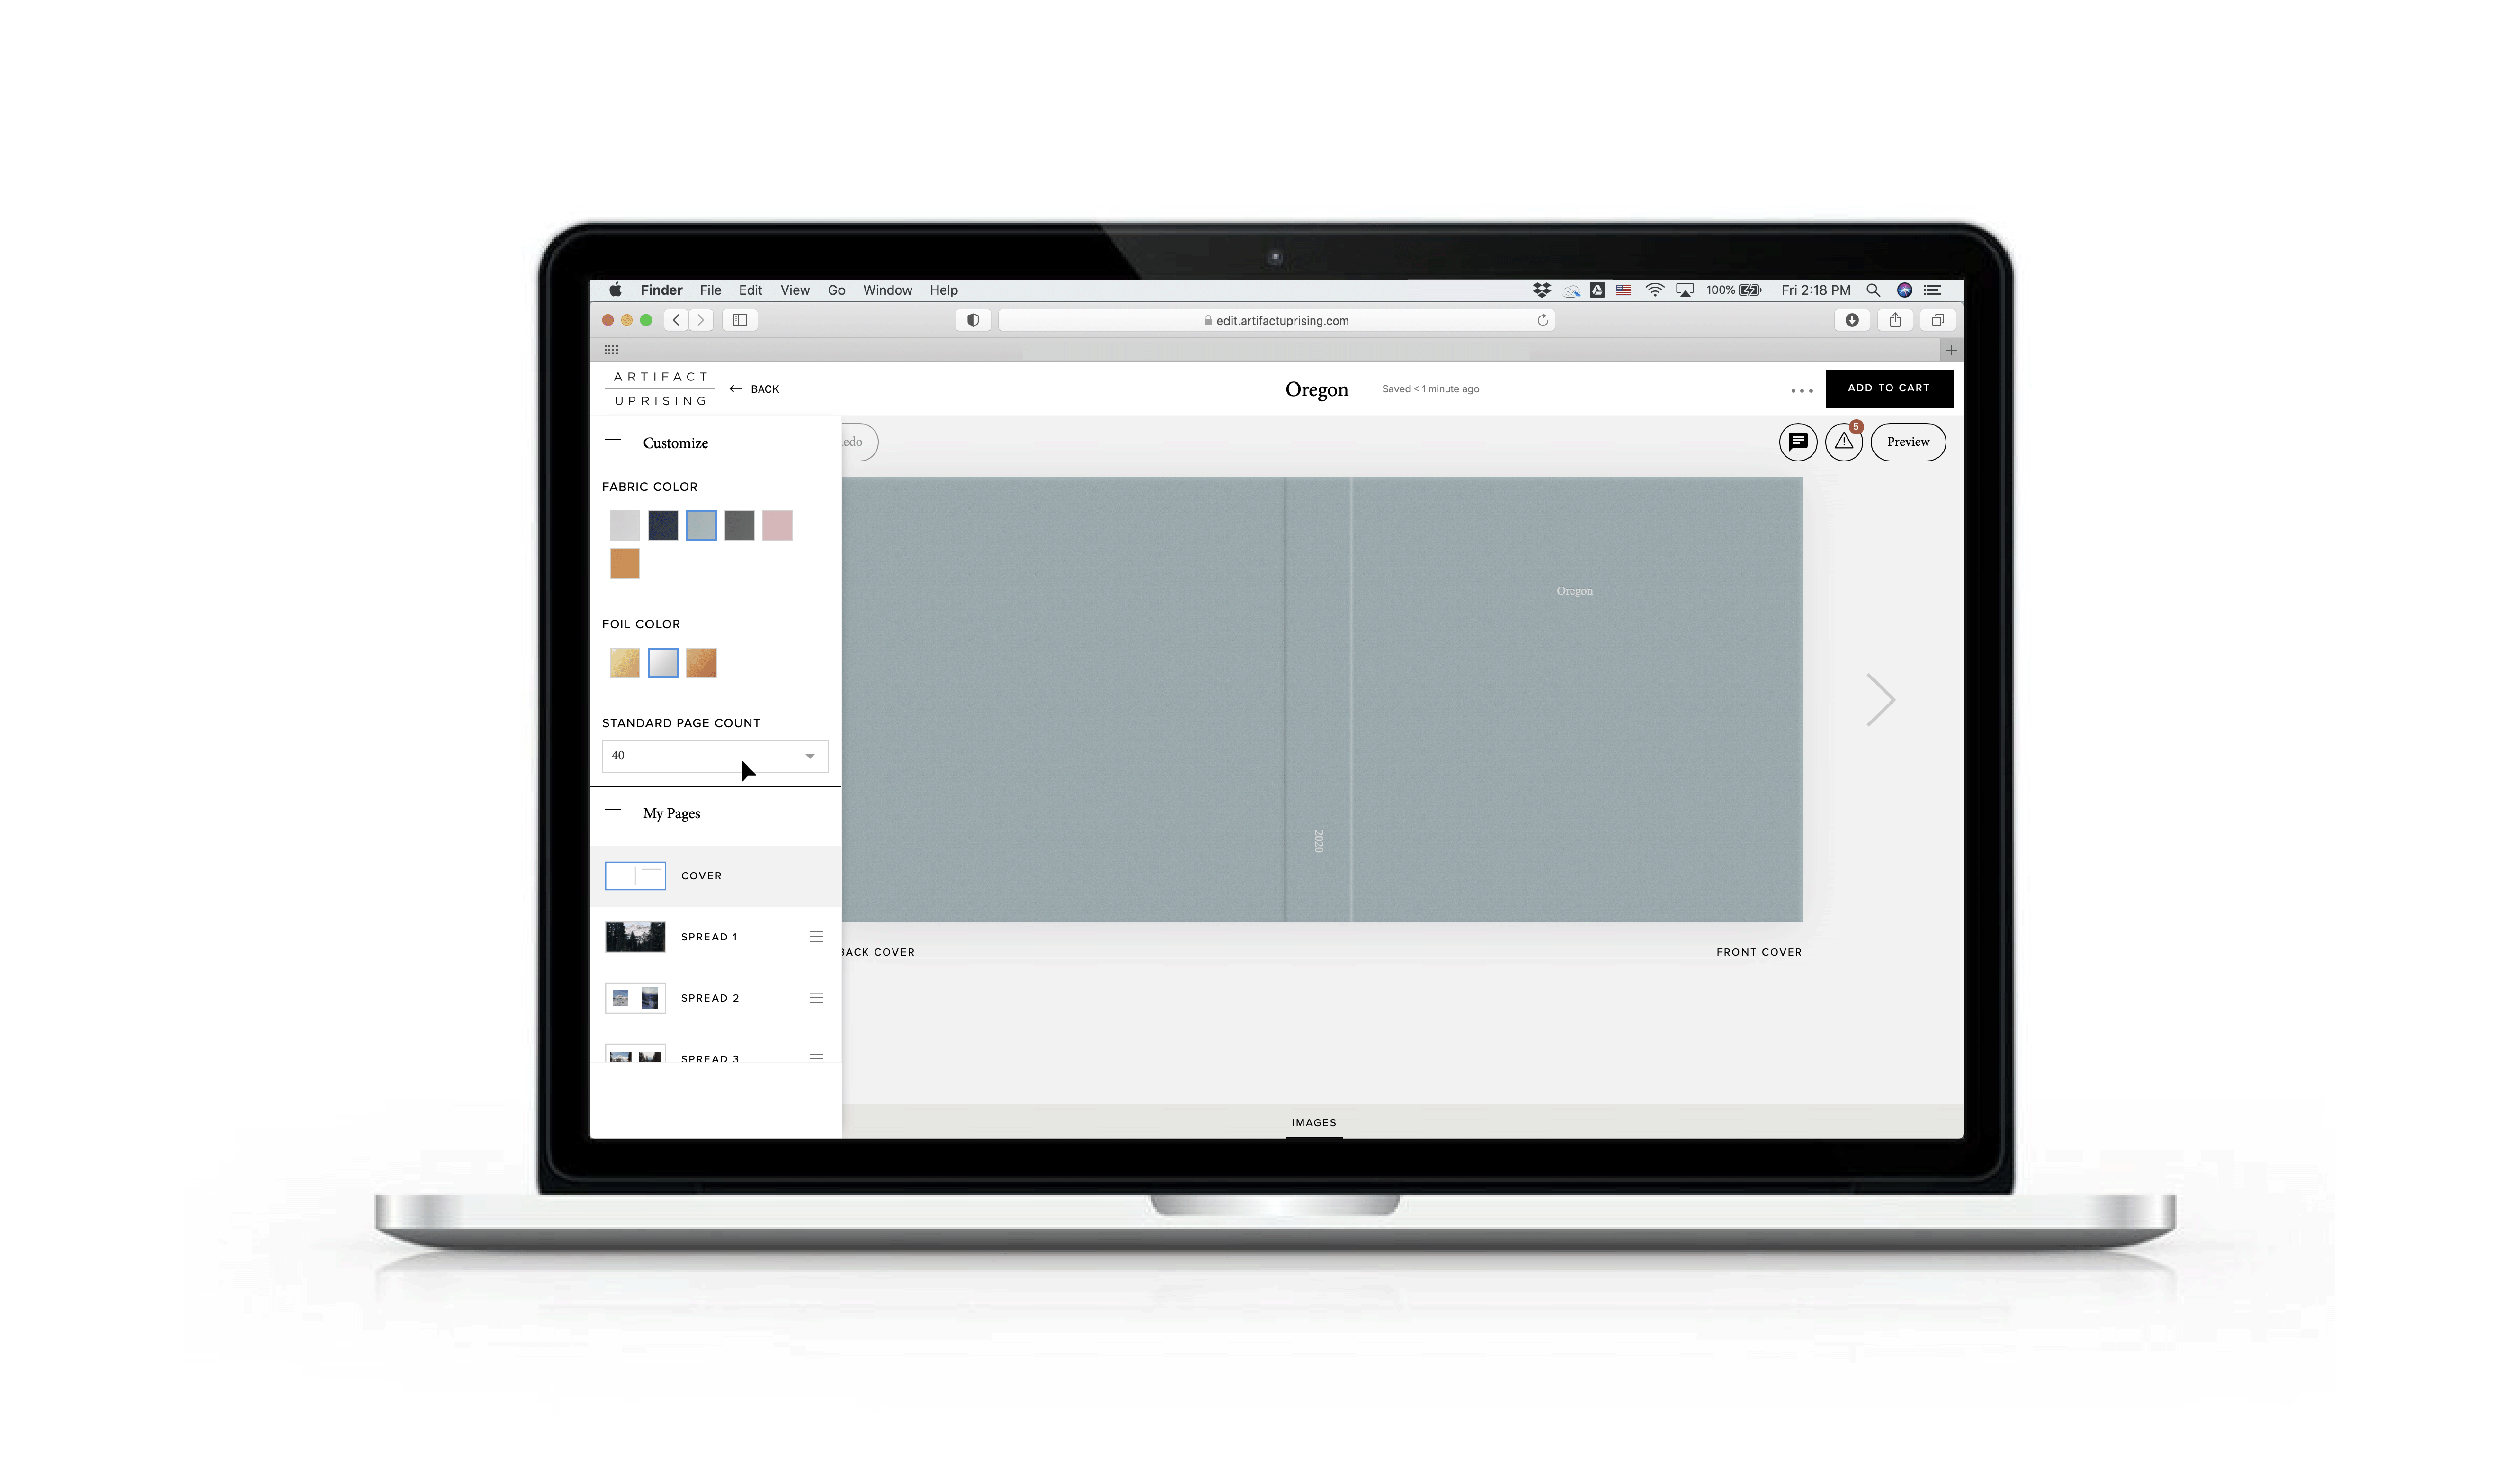
Some Things Can Change
Because we all change our minds every once in a while, the Customize tab is the best way to change size, paper type, color, foil, cover theme, and more (which you originally selected on the product page). You can find this tab in the top left corner of the editor.
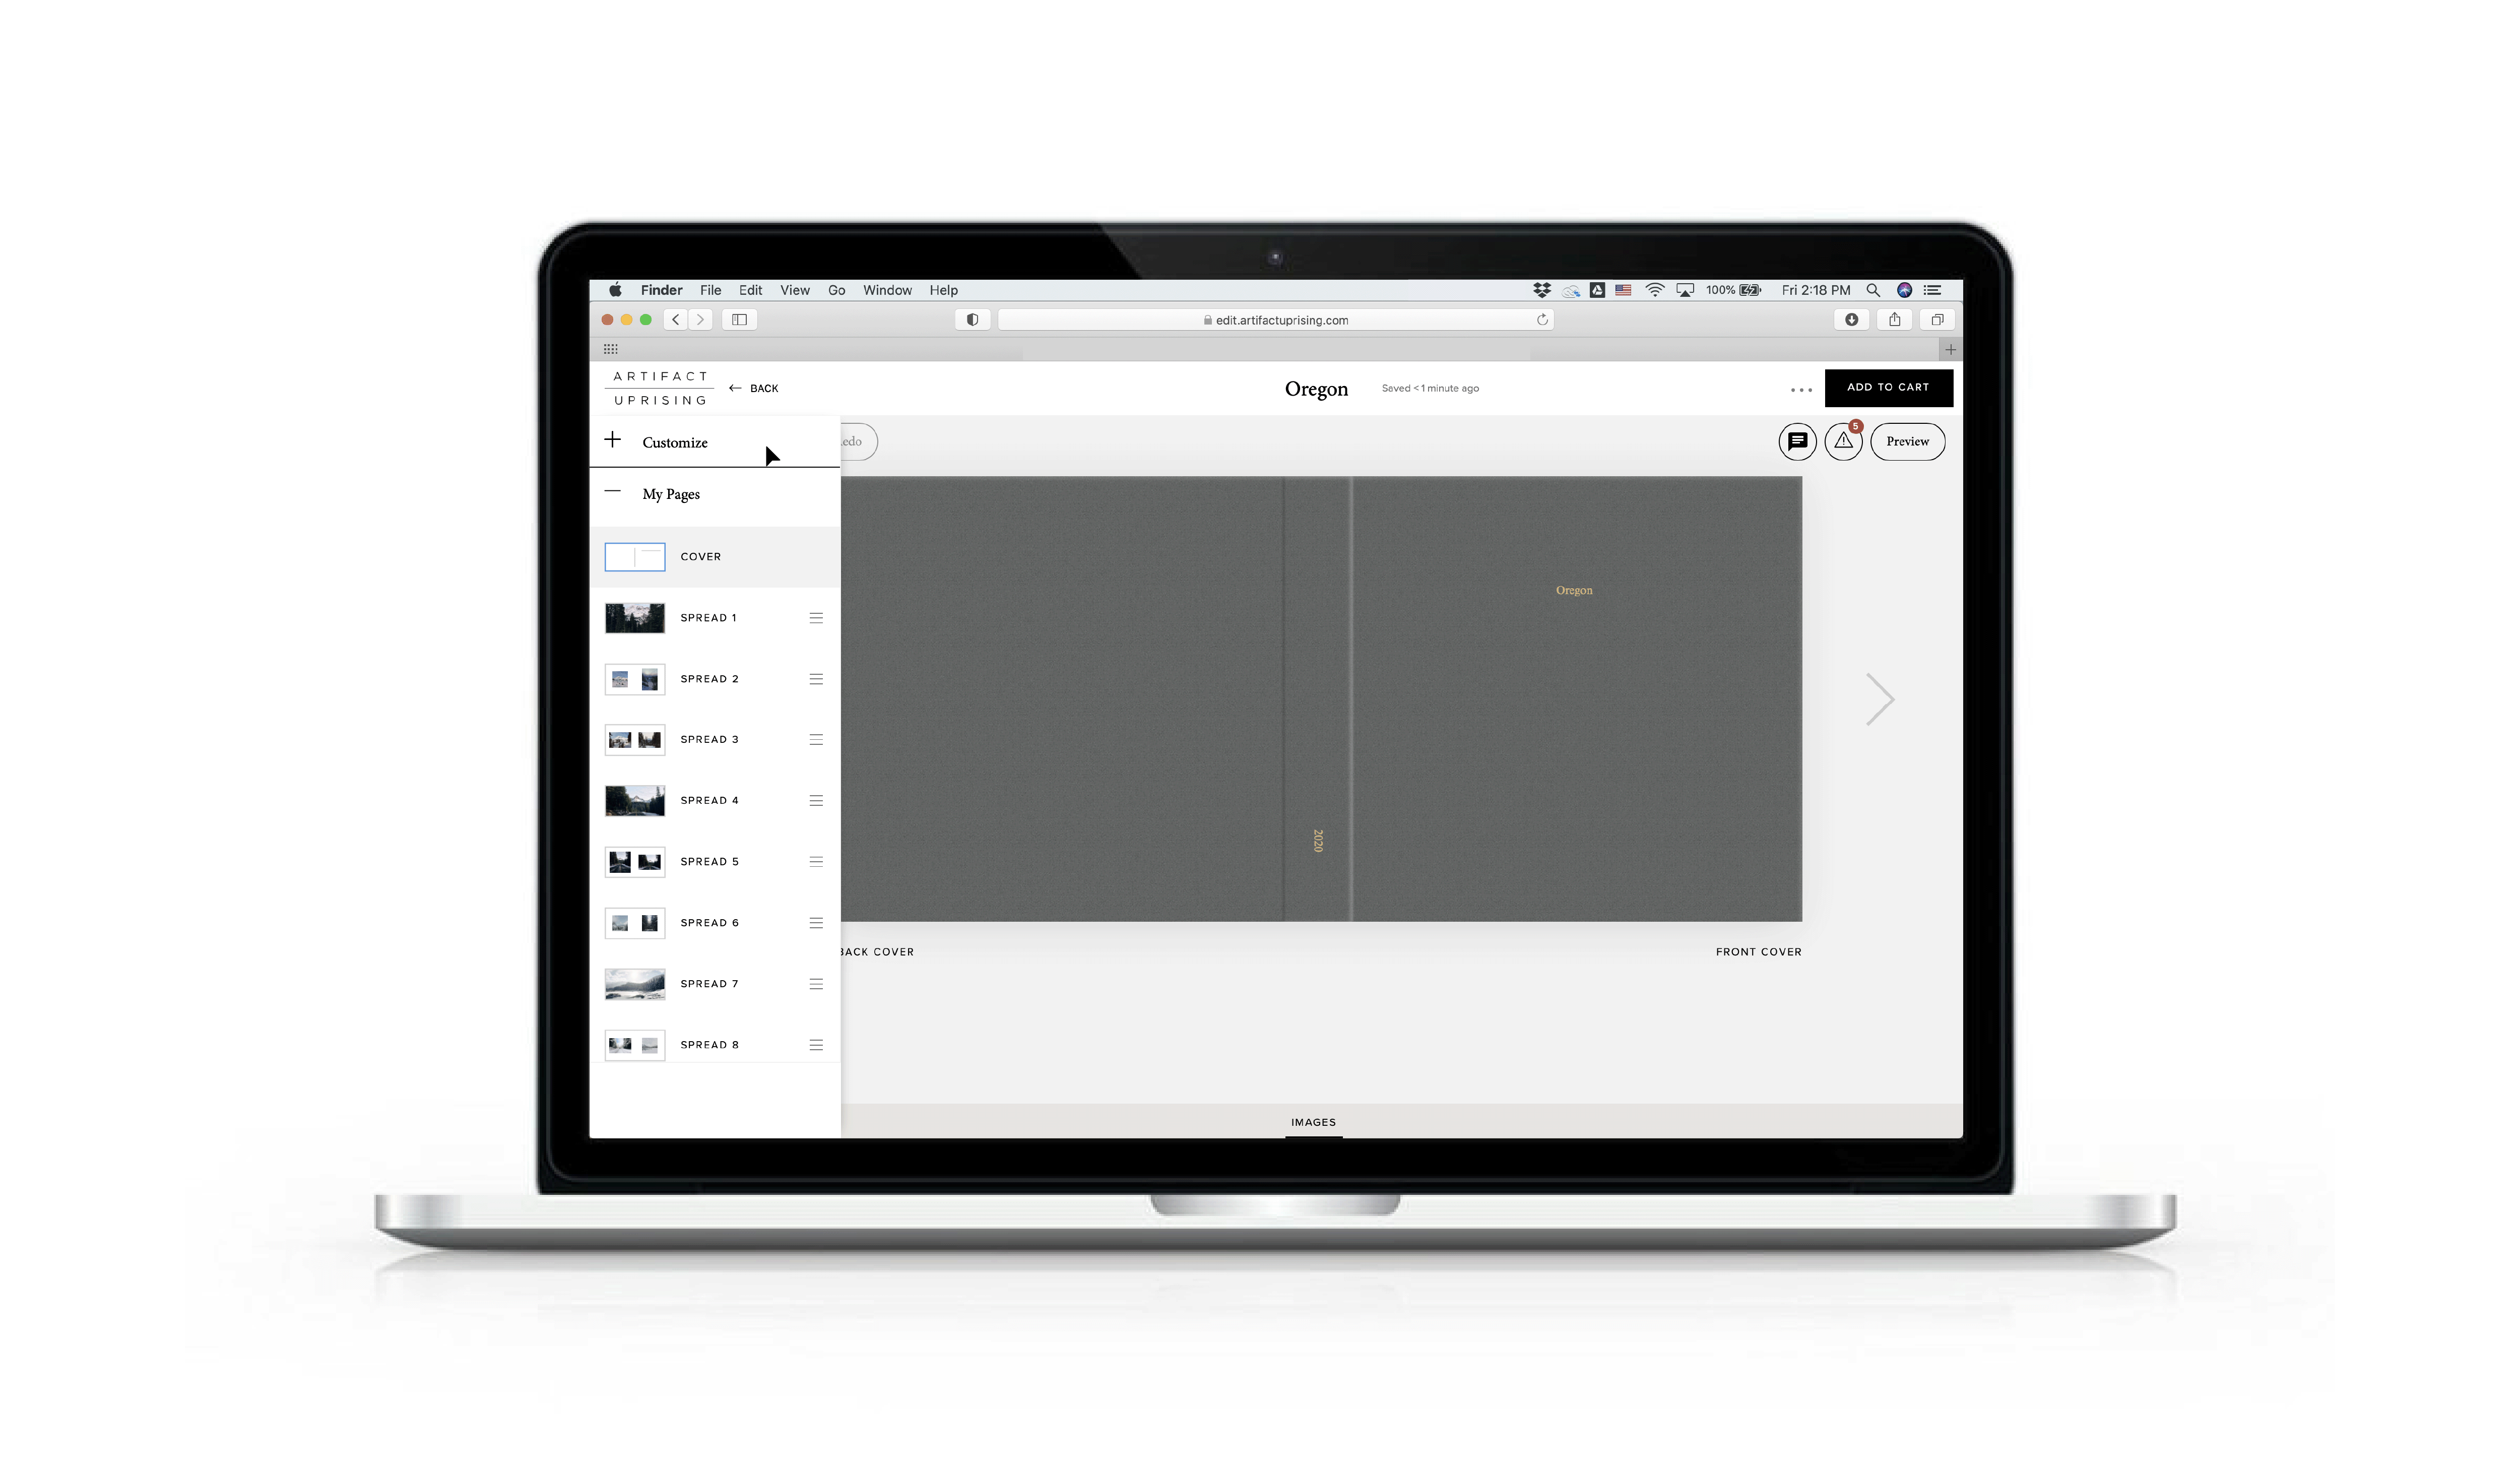
Adding Pages
When creating a photo book, you can change your page count using the
left vertical toolbar. Add individual spreads by selecting “+ Add
Pages” at the end of your page layouts. You can also use the three
vertical lines to move pages around or the trashcan icon to delete.
Selecting “Manage Pages” will expand this view, making it even easier
to drag, drop, and rearrange.
Note: As you’re adding pages and spreads, keep in
mind that additional pages beyond the page count you originally
selected will add to the price of your book!
Choosing a Custom Color
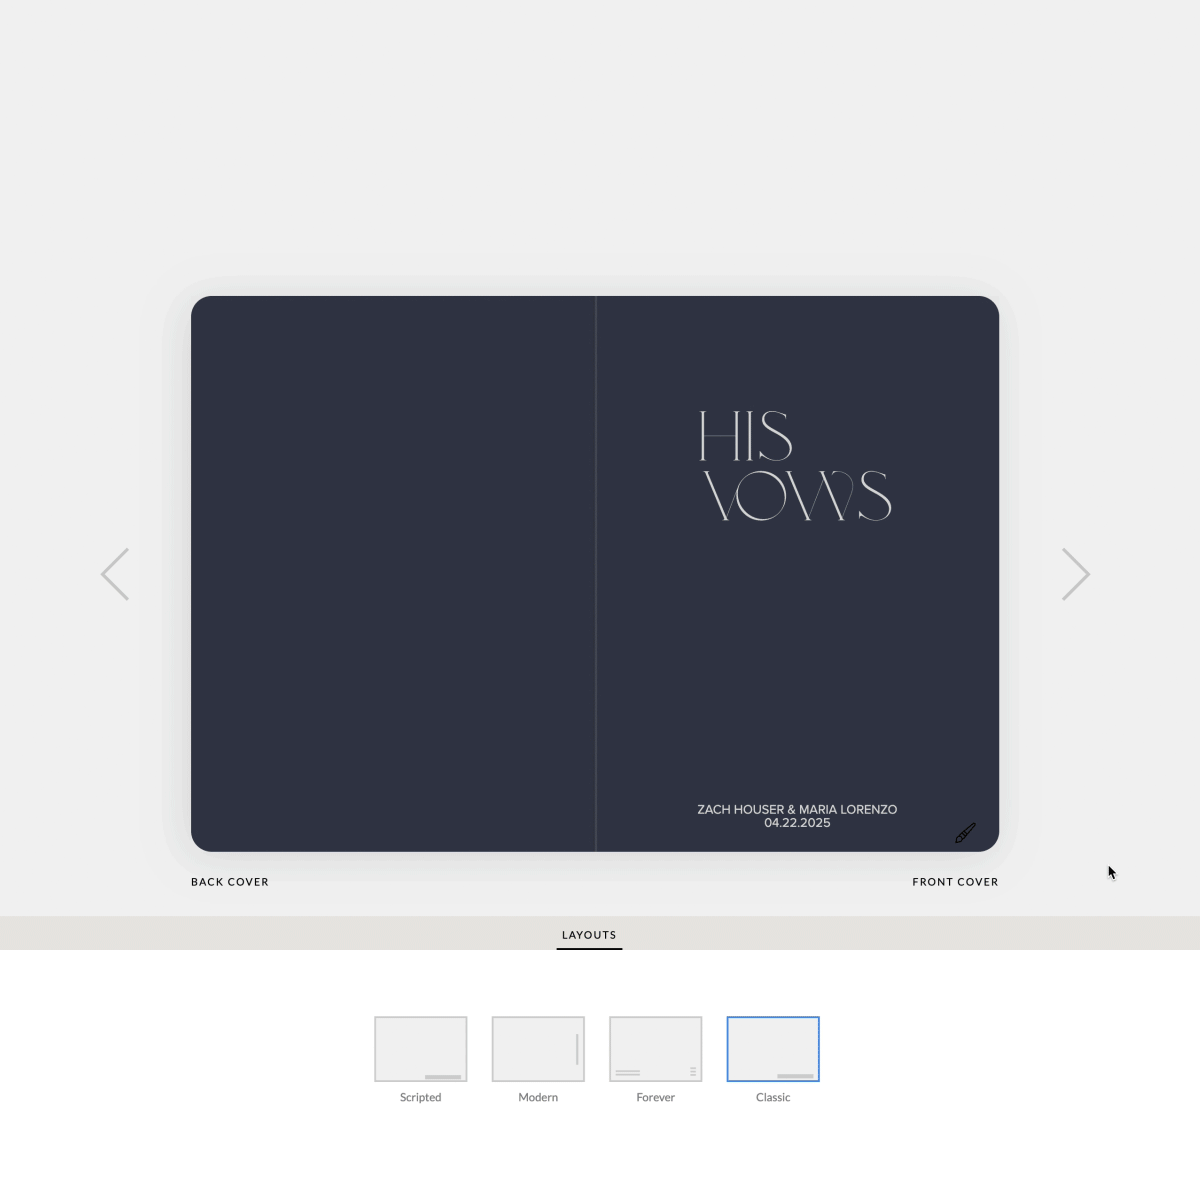
Some of our products, including many Photo Cards and the Vow Book, allow you to choose virtually any color. If you're creating something that allows for custom color, you'll see a paintbrush in the bottom right hand corner of the product in the editor display. When you click it, a menu will appear with color swatches to choose from, plus the option to enter a hex code if you want something else. Select a color and watch your creation change to match!
Using a Hex Code
Hex codes can seem intimidating, but it's easy to map code to color with a color code finder. This visual tool gives you a hex code you can enter for any hue you select from the spectrum.
Matching Hex Codes to Photos
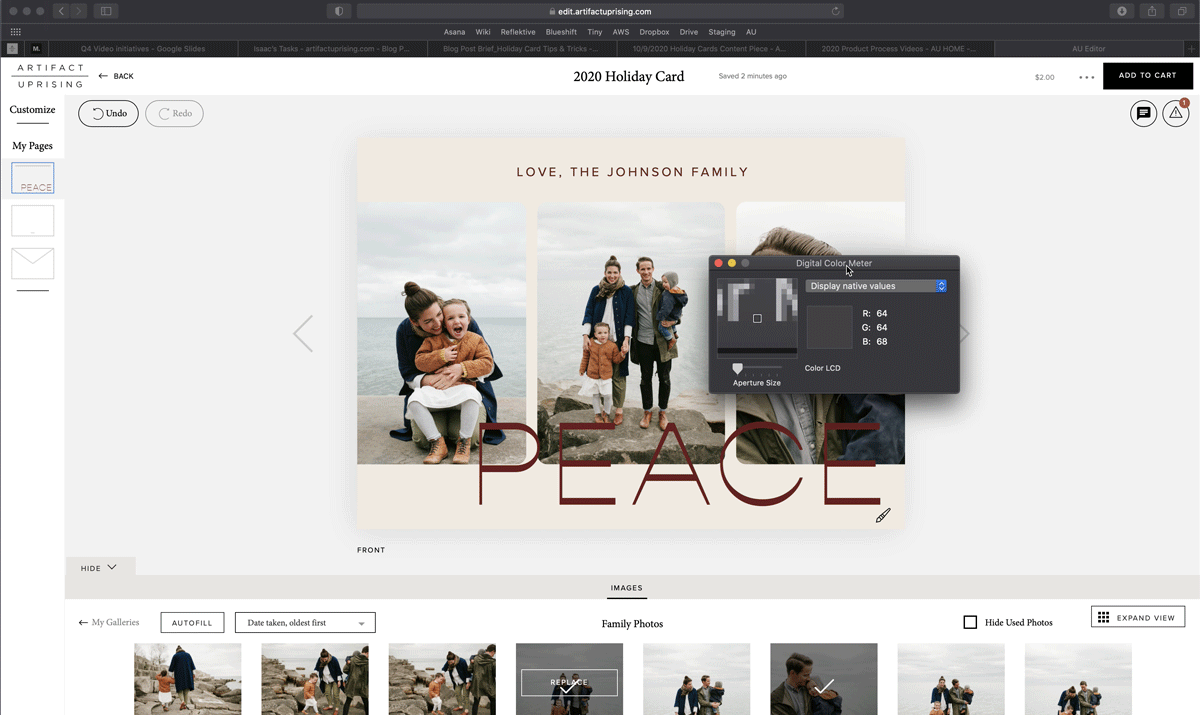
If you're on a Mac and want to match a color that's in a photo, the Digital Color Meter can help too. Press command + space bar at the same time to bring up search, then search for "digital color meter." Once the tool is pulled up, simply hover over any color on your screen to get the red, blue, and green values. You'll be able to enter these into the color finder to get your hex code.
Other Helpful Features

Other helpful features include the “Undo” and “Redo” buttons at the
top of the editor. You can also select “Edit Photo” to apply filters,
change brightness, rotate, or remove.
Pro tip: This is probably a good time to
remind you that since we print on uncoated paper, the ink absorbs a
bit more and can make your images appear
darker in print. Our favorite trick to account for the transition from screen to
print is to
drop your screen brightness down slightly (to about 50%)
and then make any adjustments to brightness or contrast from there.
The Final Steps
Get the Proof
While in the editor, ”Preview” is a good place to spot-check things, but always hit those three horizontal lines at the top center of the editor,and select “Email PDF Proof” in the right toolbar. This proof is the most accurate representation of what will be sent to our printers, so review yours before adding to cart.
Don't Forget to Duplicate
You can duplicate your project from the My Projects page under the farthest right column. This is also where you can clean up any abandoned projects that you don’t want anymore. (Just remember to rename any duplicated projects with a new helpful name!) Here are a couple of handy hacks you can try with this feature:
Making Changes Without Losing Work
Want to try changing a few things but afraid to lose your work? Simply duplicate that project to create an identical version you can take and play around with.
Making Multiples for Gifting
One photo project can go a long way — especially when it comes to gifting. Rather than creating a whole new book, make a few small tweaks to gift these photos to someone else. Think: your wedding album turned into a gift for your parents or your photo book of baby photos turned into a gift for grandparents.
Look for Low-Quality Image Warnings
The low-quality warning in our editor picks up on the dpi (dots per
inch) of the image, and if it's lower than 150 dpi, a warning pops
up. We recommend files be sized to 300 dpi for the highest-quality
printing. If you can’t replace an image with an original of higher
quality, we advise moving it into a smaller layout within the editor
to condense the pixels and help the image print more clearly.
This warning is set to prompt an image that may not print the most
clearly at the size chosen, but the orange warning itself will not
print. The photo will print pretty true to what you see on the
screen, with some loss of quality.
Check the Trim Zones
In every layout, the editor will automatically "trim" the edges of each page to show more accurately what will and will not print. Make sure you can see all the important details within your layouts in the editor—if you can't see it, it won't print!
Delete Those Blank Pages
Review your entire project, and make sure you don't see any
accidental blank pages! Every page you see in the editor will print,
even if it is left empty.
Note: Our photo books have minimum page counts, and you cannot
delete blank pages if the minimum has not been filled.
As always, we’re happy to help in any way as you create your project. If this article didn't answer your questions, drop us a line over at help@artifactuprising.com — we’d love to chat!