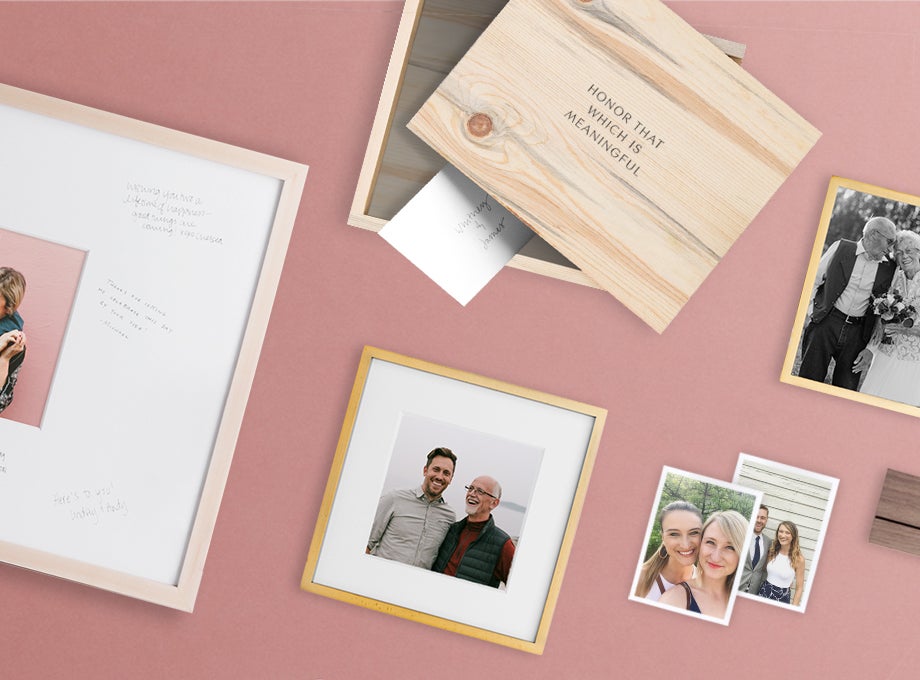


As you finalize your wedding details and prep for the big day, the most important part is remembering to take it all in. Creating a personalized photo Wedding Guest Book is a simple way to capture and celebrate the love and support surrounding you, and gives your guests a space to leave you with their best thoughts, memories, and advice for your new life together. Here, we’ve gathered five tips for creating a guest book that you’ll want to look back on often, together.
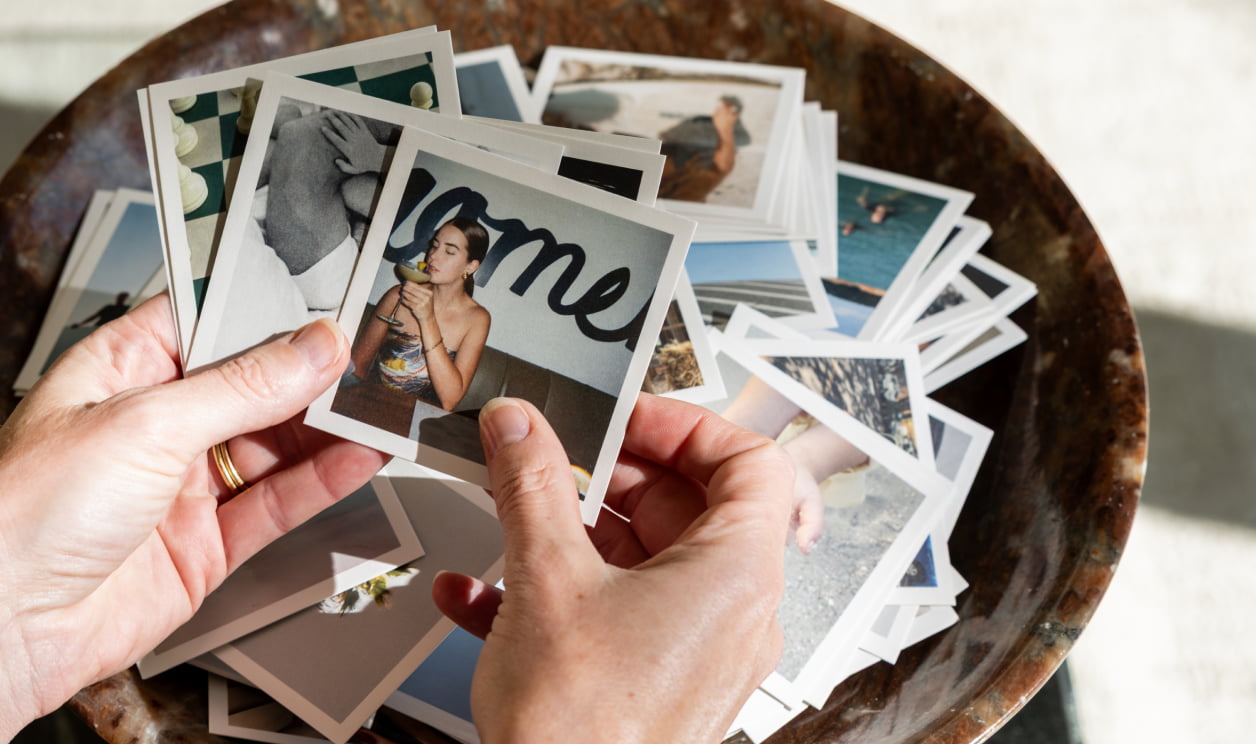
Between the two of you, friends, and family, we’re sure you have more than a handful of photos showcasing your relationship. Our tip: gather the images that make you feel something. They don’t always have to have perfect composition, but photos with emotion, experience, and milestones will be most enjoyed by your guests. Give your friends and family a deadline (they’ll be flattered you asked and happy to play a part) to share those photos with you via text, Dropbox, email, or Google Photos. Another great source to fill your guest book? Your engagement shoot. (We’ve got a full guide on that here)
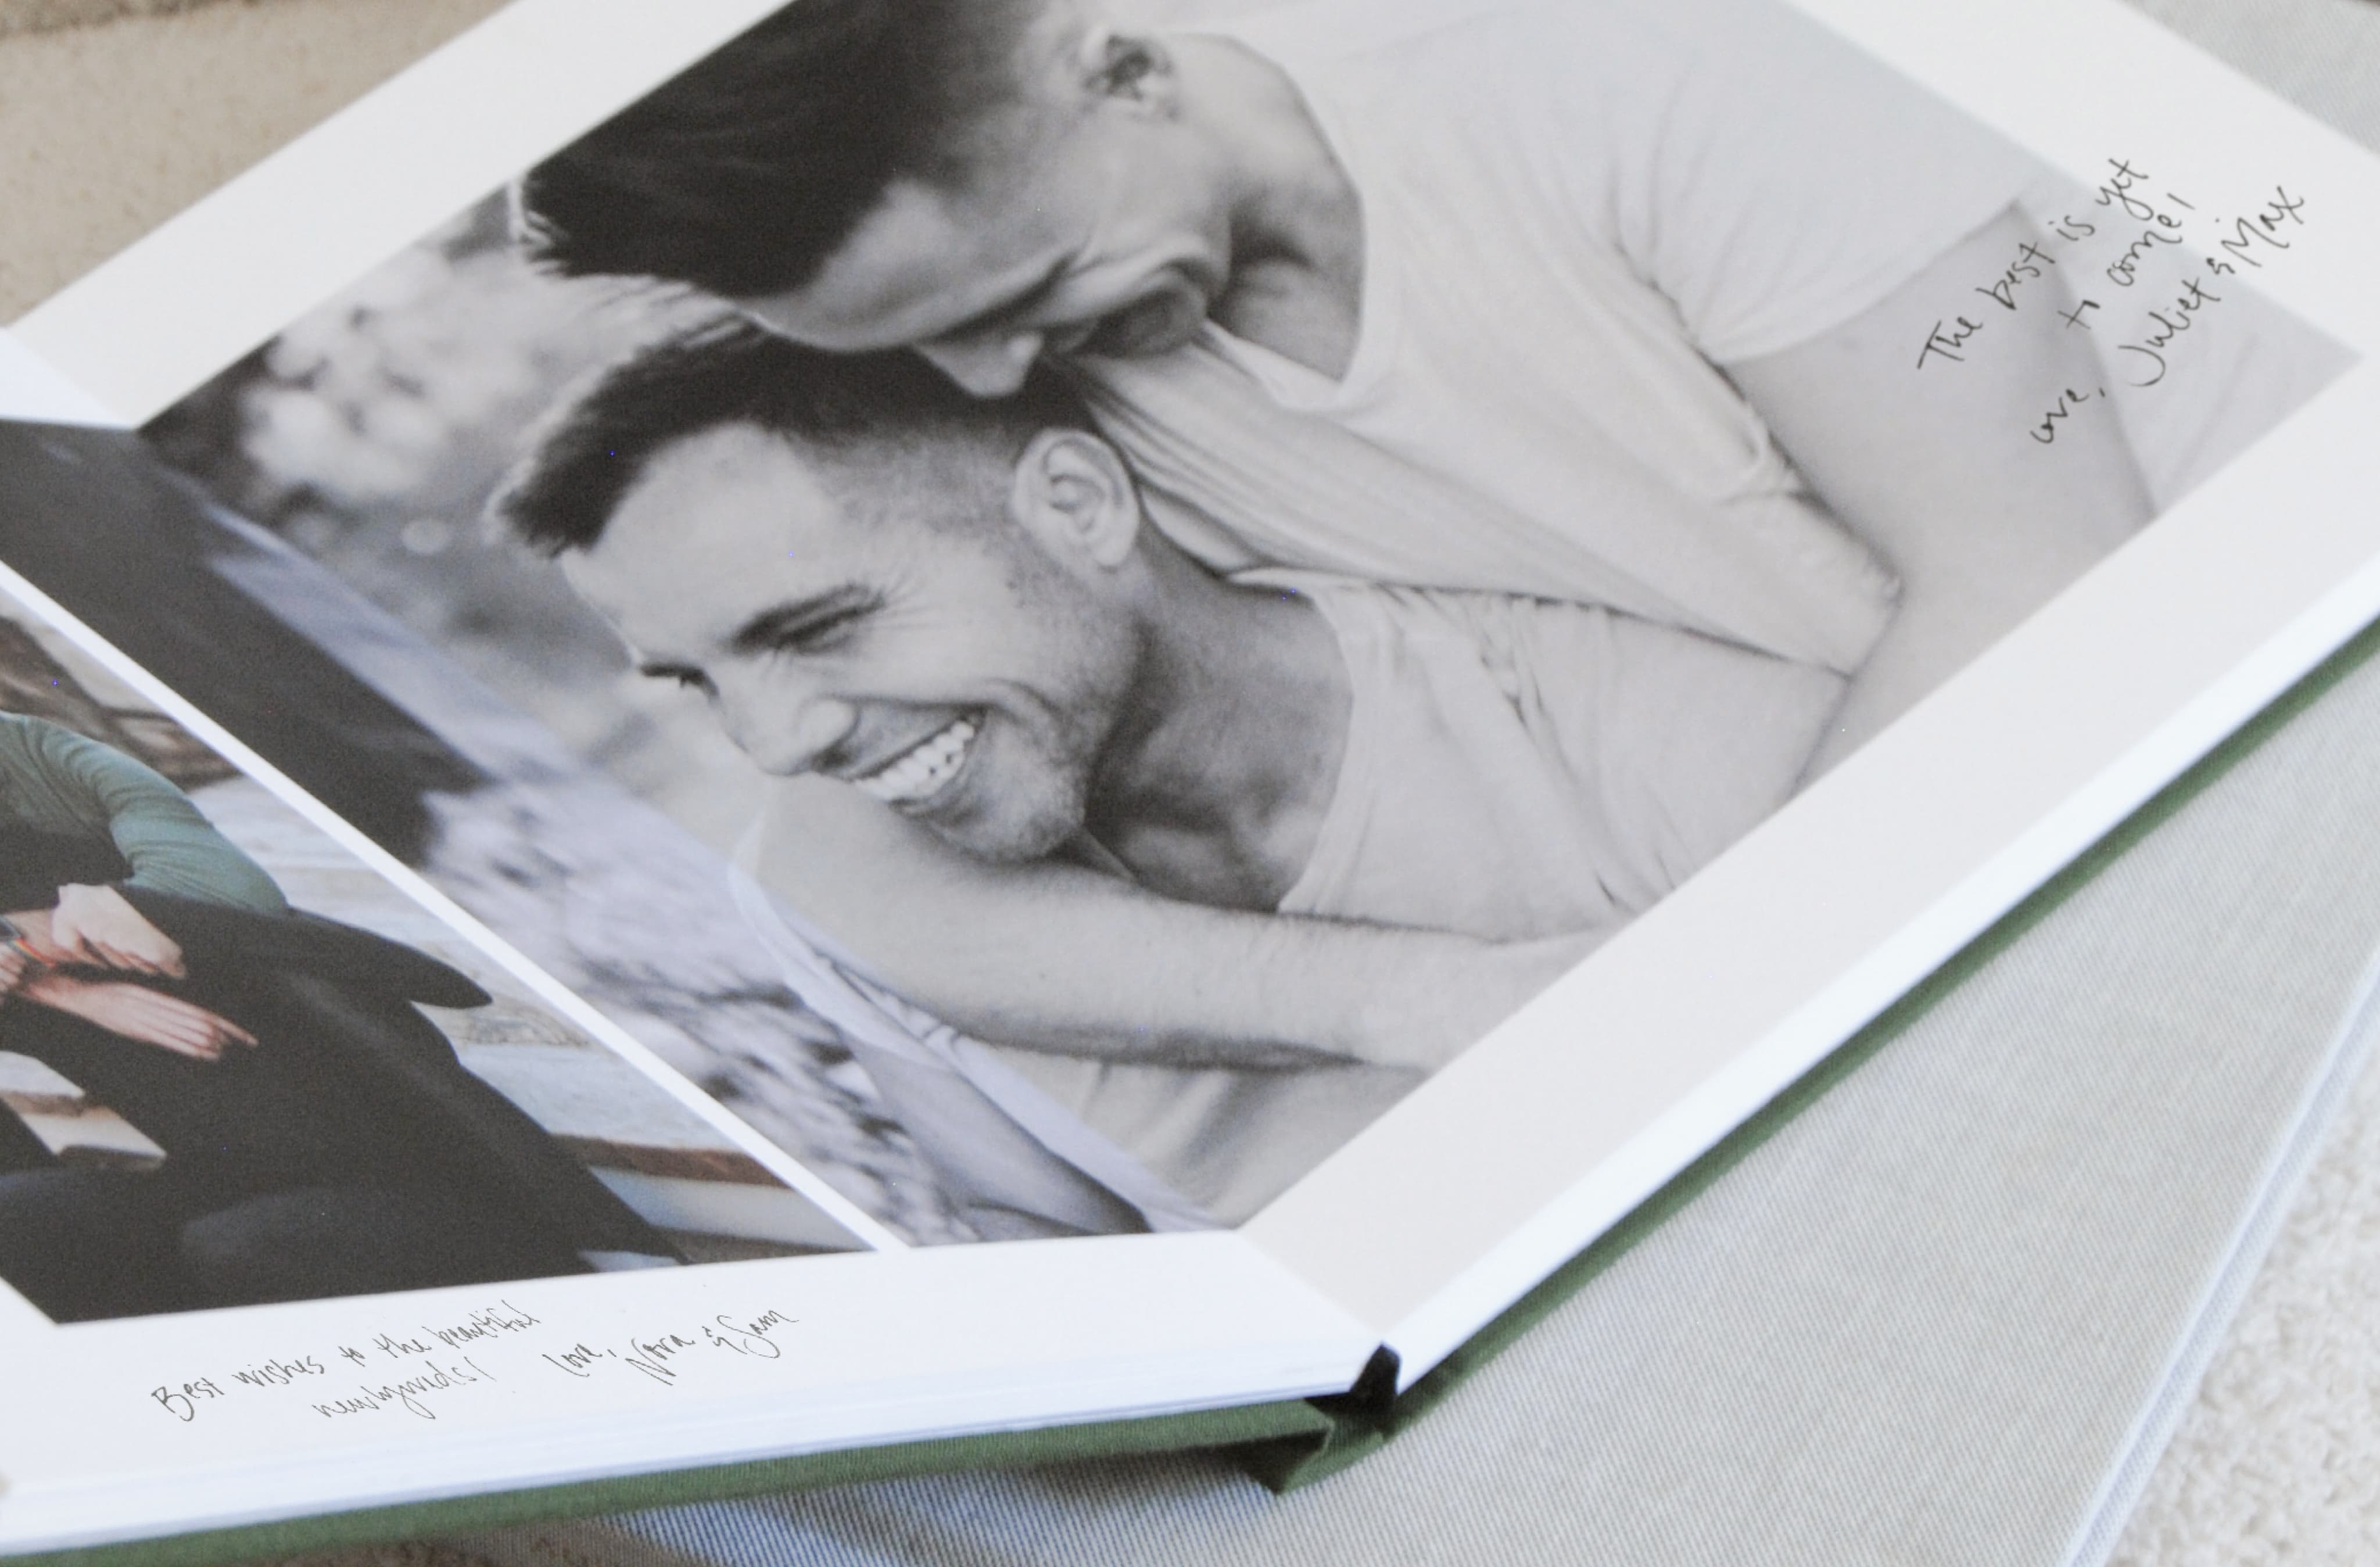
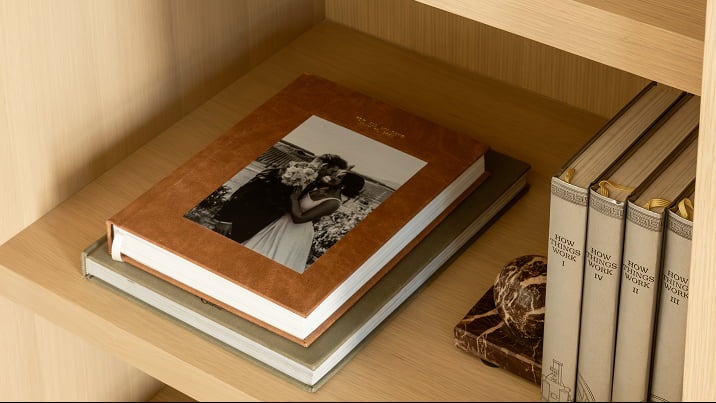
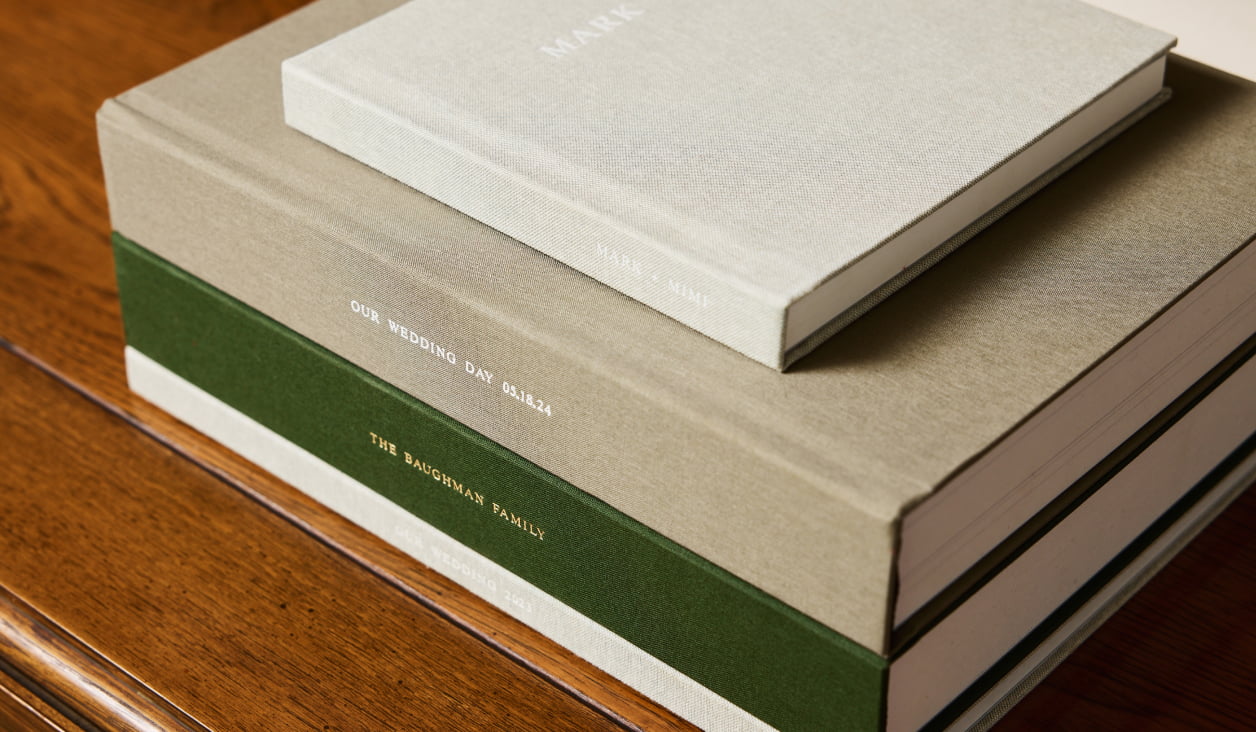
Wedding Guest Book | Fabric: Olive. Size: 10 x 10" Paper: Superfine
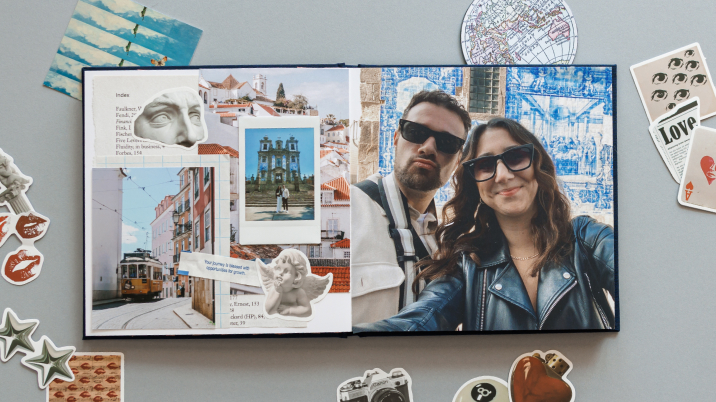
Balance your images with ample white space for your guests to leave their handwritten notes. If you want to showcase a full page spread on one side, choose a smaller image for the opposite side. The orientation of your photos next to one another plays an integral part in the overall look of your book, but consistency doesn’t have to be key. Showing variety within your spreads is sure to make your album feel carefully crafted. Be sure to keep in mind your guest count, and allow enough white space and pages for your whole party to sign.
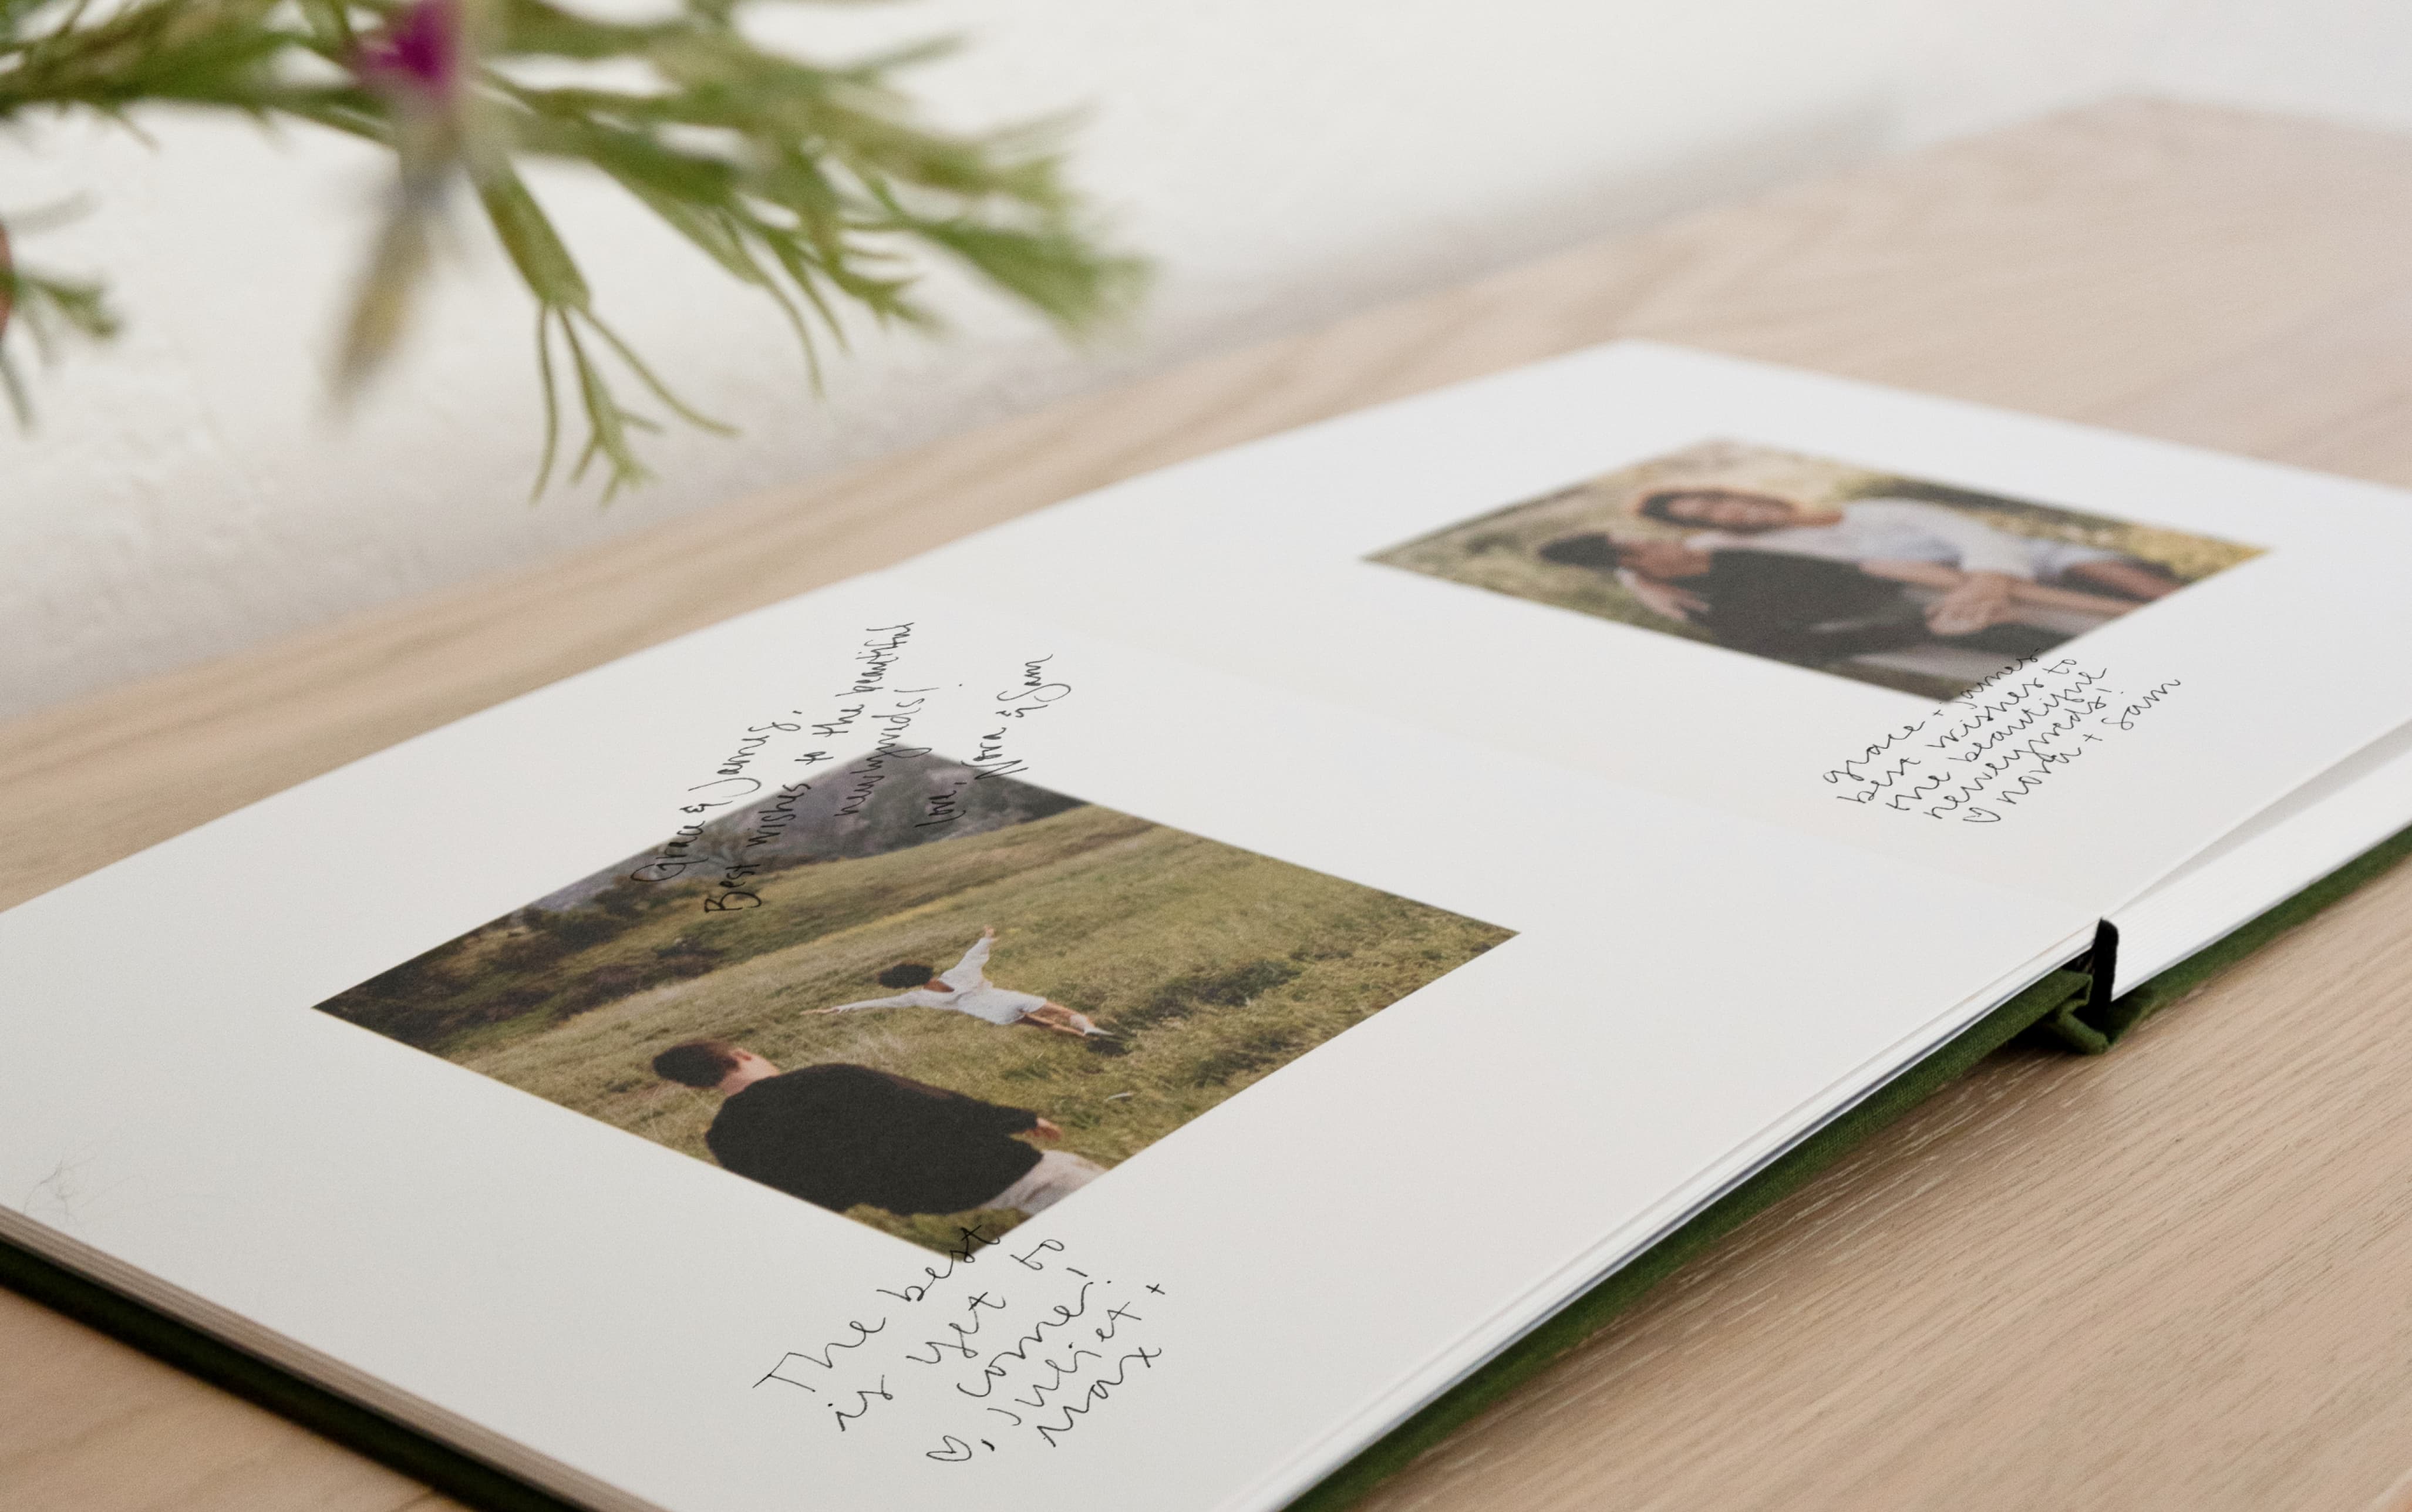
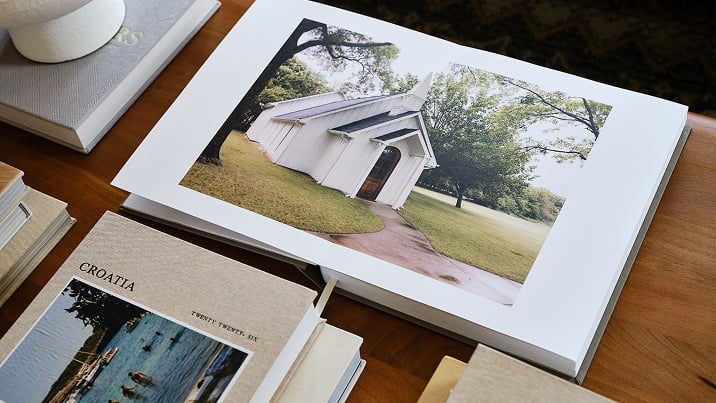
When building one of our Wedding Guest Books, you have two paper options for the interior pages: Lustre Photo Paper and Superfine Eggshell Paper. The Lustre option has a light sheen, similar to a traditional photo print, and the Superfine option has a textured, matte finish. While we’re fans of both options, we’ve found that the matte paper produces the best results for both your photos and the handwritten notes.

A fine-point pen is the best pairing for your Guest Book. After testing several options, our favorite is a quick-drying Slick Writer Pen, as they typically do not bleed. The width of the pen tip also leaves plenty of room for your guests to pass along their anecdotes, advice, and well-wishes. While ultimately, we always recommend a felt tip on the matte paper for best results, we have found that you can’t go wrong with either felt or ballpoint pens.

With a wide range of linen colors to choose from, your Guest Book can truly complement your wedding-day style and add a touch of elegance to your reception. Let the book double as a beautiful display of special moments together, while friends and family fill it up with treasured messages that will live on well after you say, “I do.” Feeling inspired for your big day? We would love to see your Wedding Guest Book creation and how you make it all your own. Share photos of how you incorporated it into your wedding day with tag #TellOn.
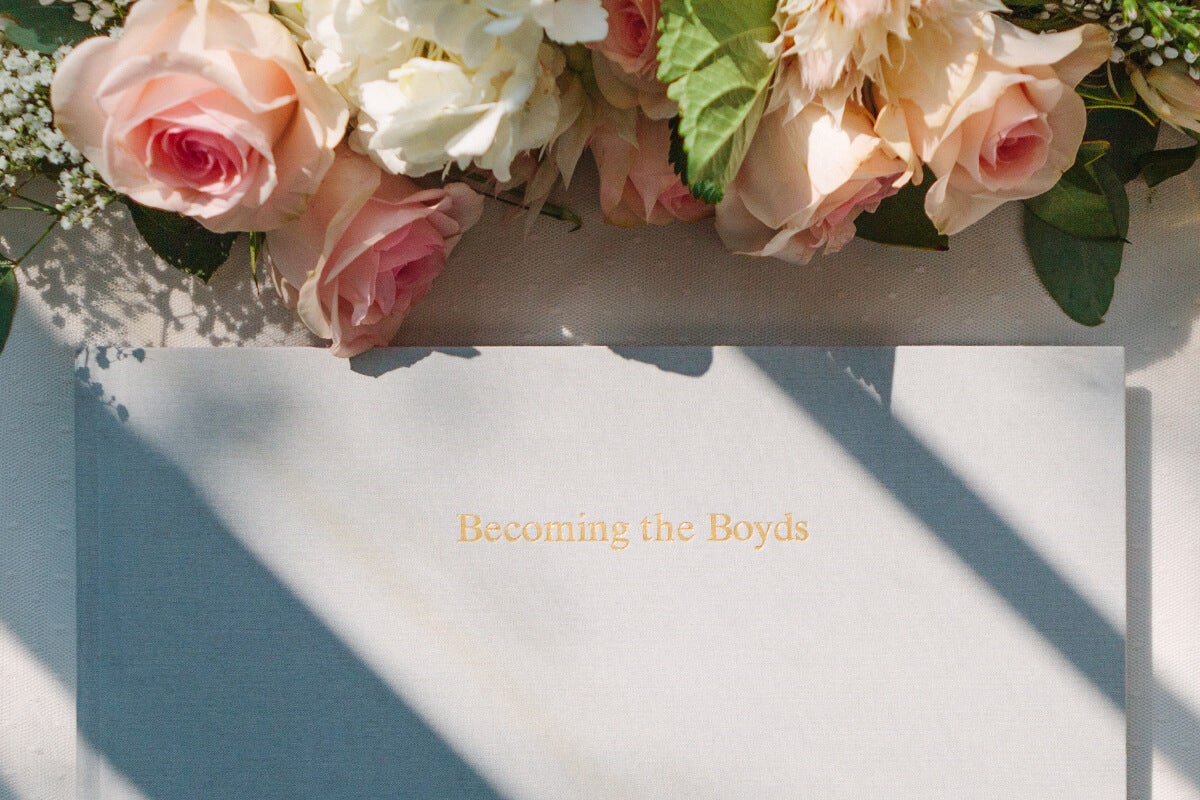
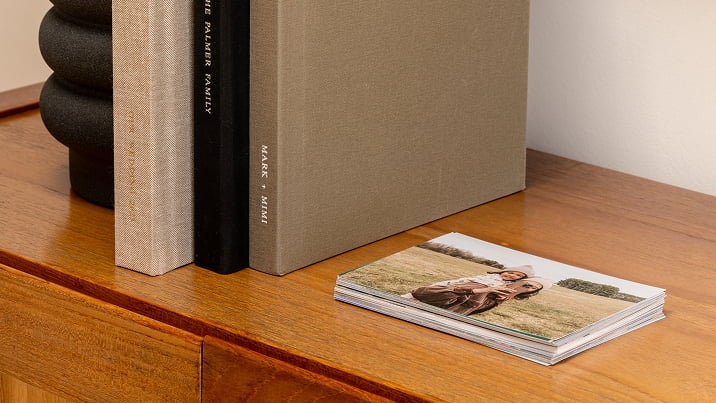
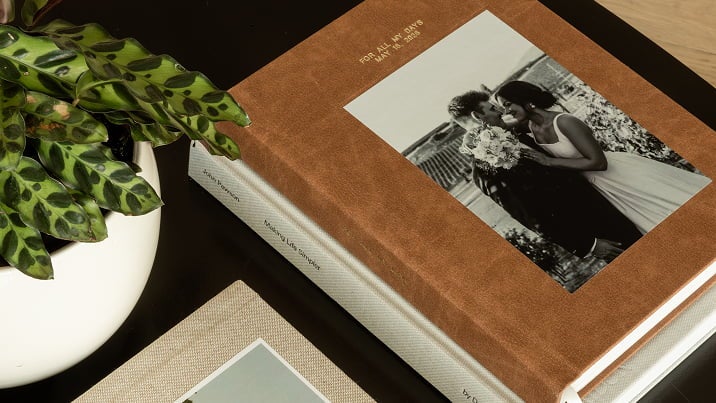
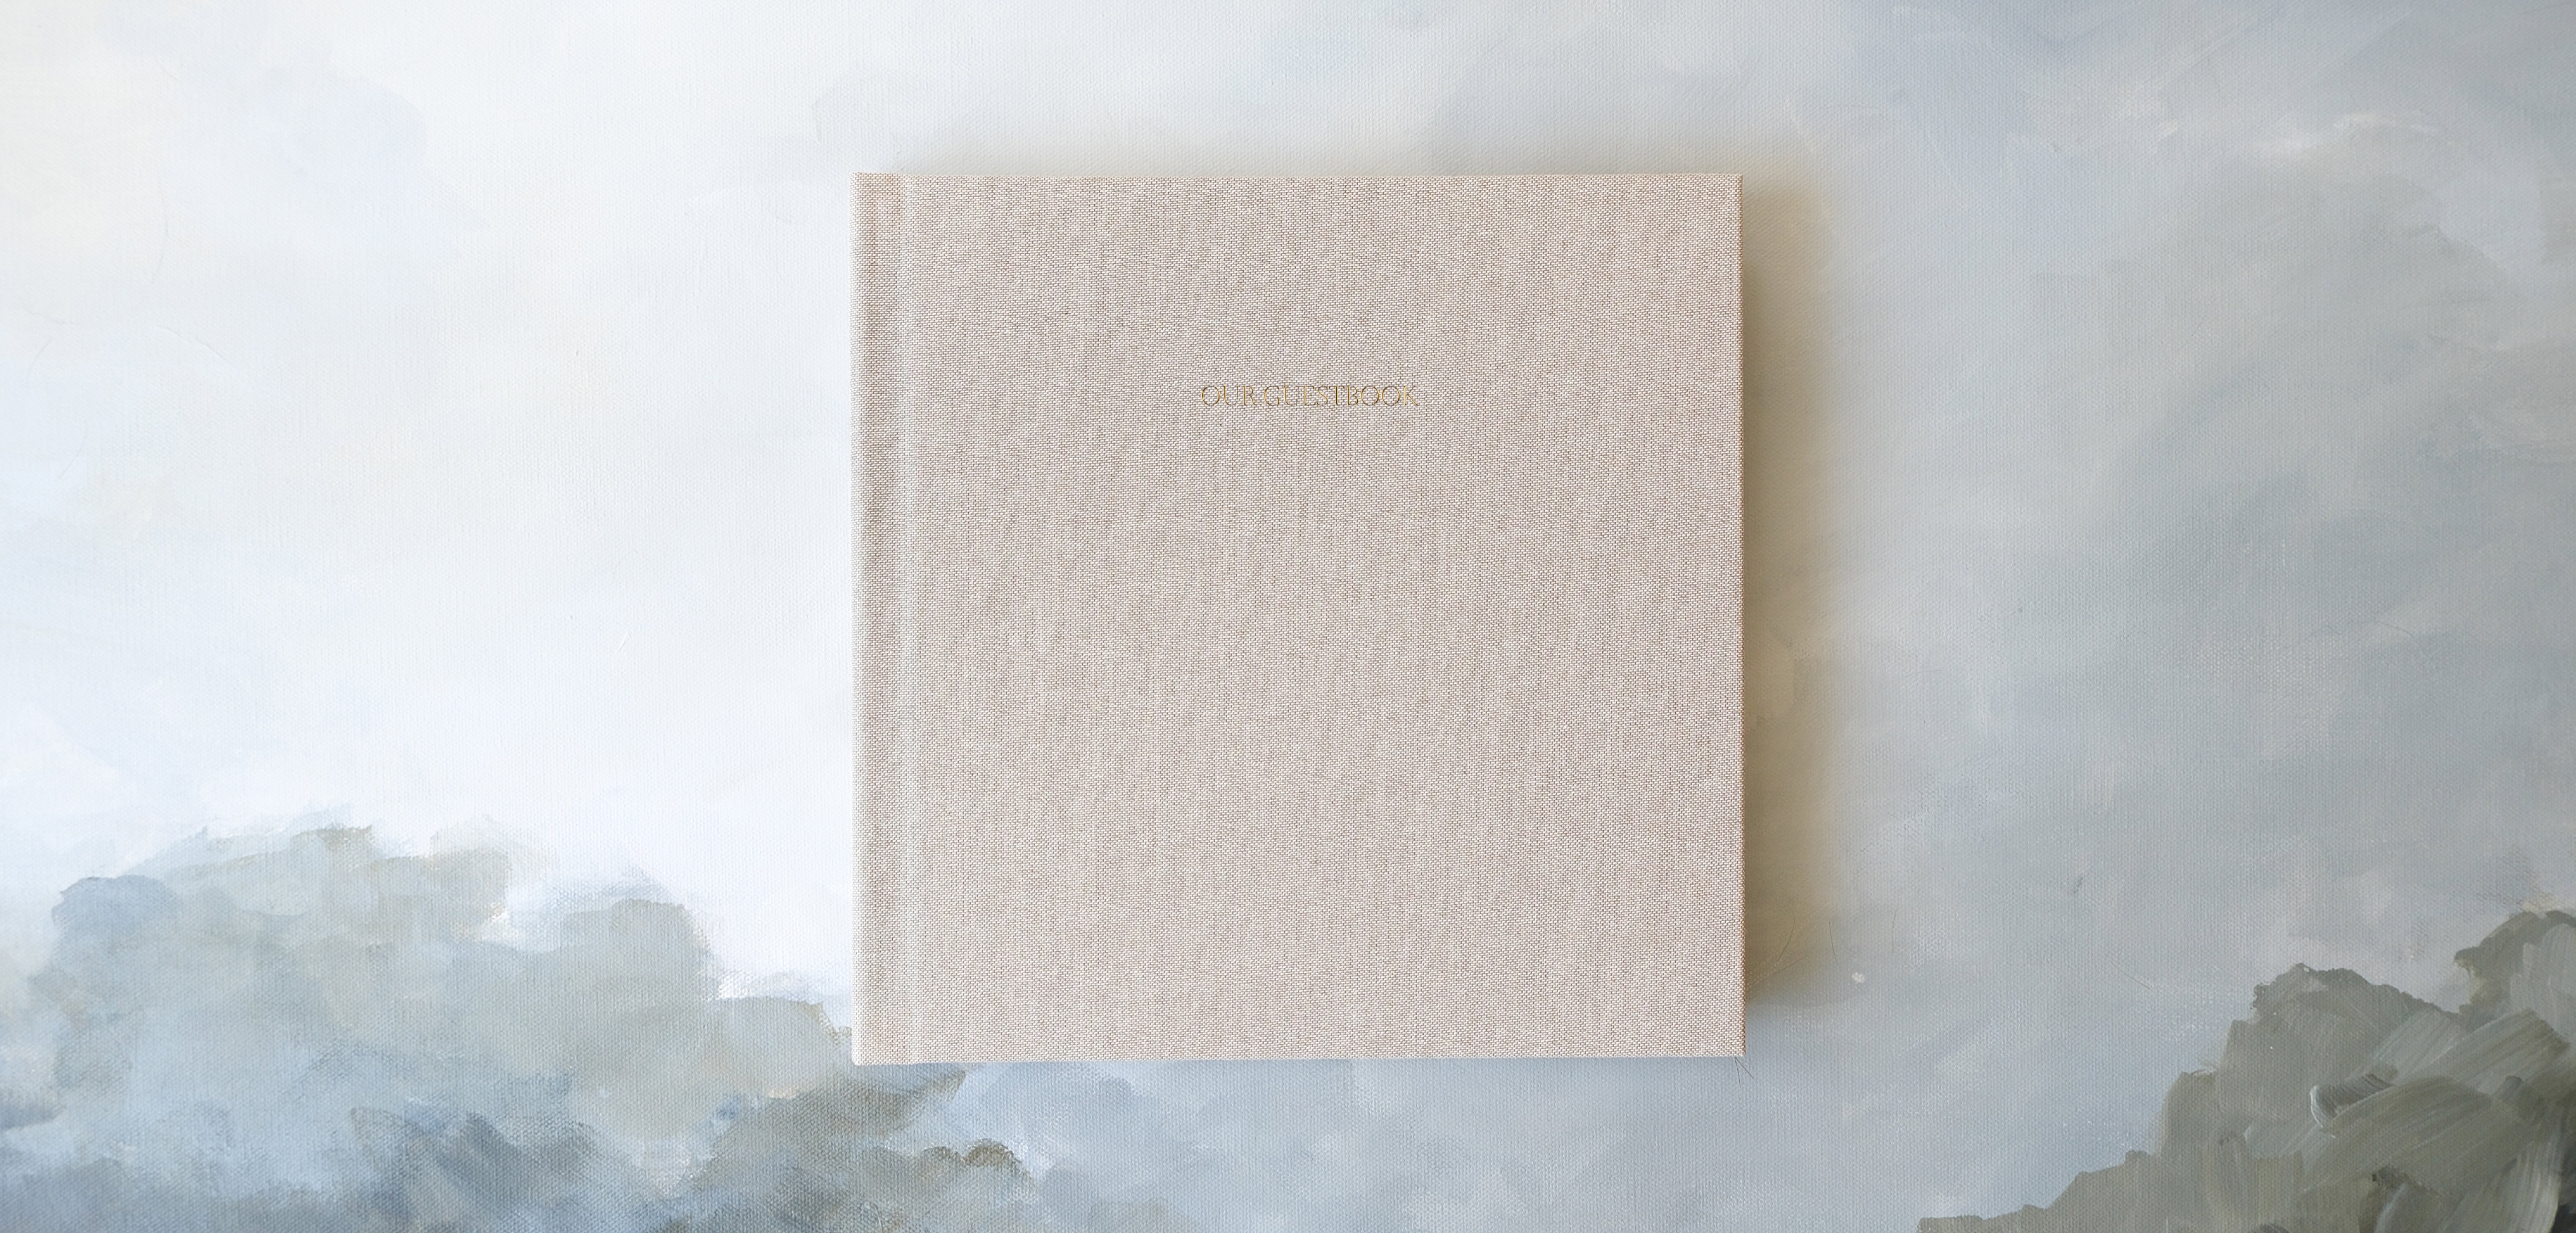
Wedding Guest Book | Fabric: Smoke. Size: 8.5 x 8.5" Foil: Gold