Preparing For Your Book
Step 01
Gather Recipes
Collect
The recipes you want to include may live in many forms and places. The first step for how to make a recipe book is taking time up front to collect them from family, friends, community-style recipe swaps, blogs, or your own list of creations. Collaborative albums and documents are easy ways to let multiple people contribute at once. Plus, don’t forget to give credit for each recipe where it’s due!
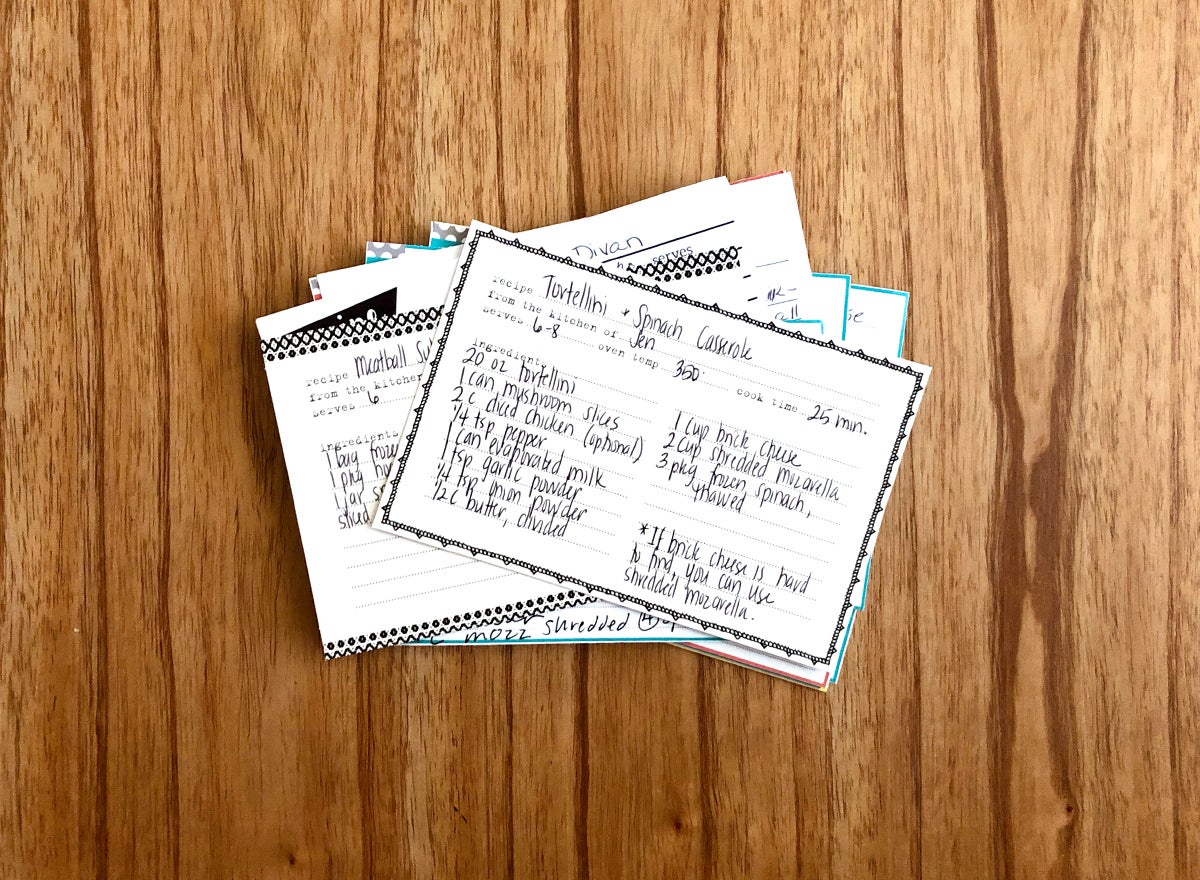
Transcribe
Chances are, you’ll have mustered up a mixture of recipe cards, notes in your phone, and browser bookmarks. To translate these into a book, you’ll want them all to be made digital in some way or another — by scanning a hand-written piece of paper, pasting into a word document, or transcribing from image to text.
Organize
Once you’ve got your list of dishes handy, wrap up your gathering process by making a rough table of contents. As you work through how to make your own cookbook, this will help you take inventory of your recipes and organize them into a logical order.
Step 02
Collect and Capture Photos
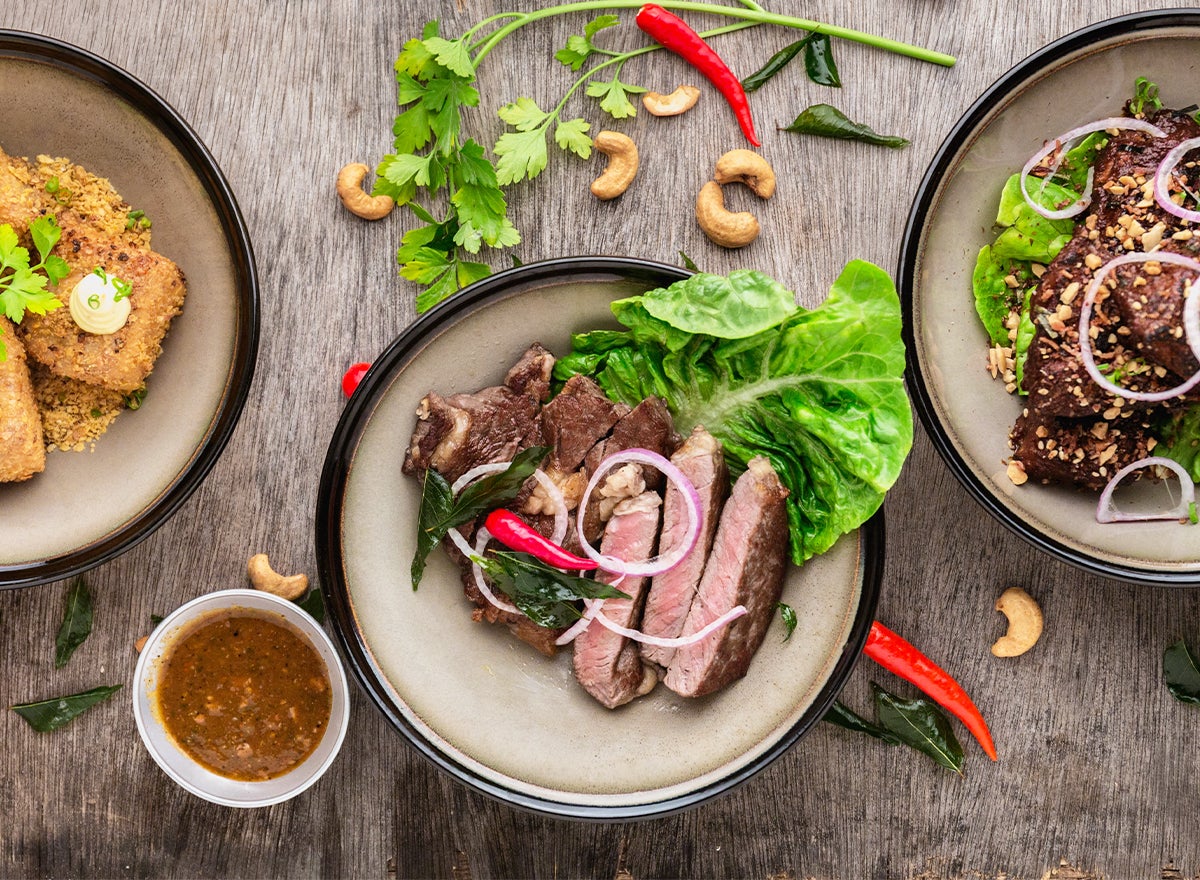
There are a handful of options for accompanying your recipes with a visual. You can have the original chef send you a photo they’ve taken, find a royalty-free photo online, draw a basic illustration, or take a fresh photo yourself.
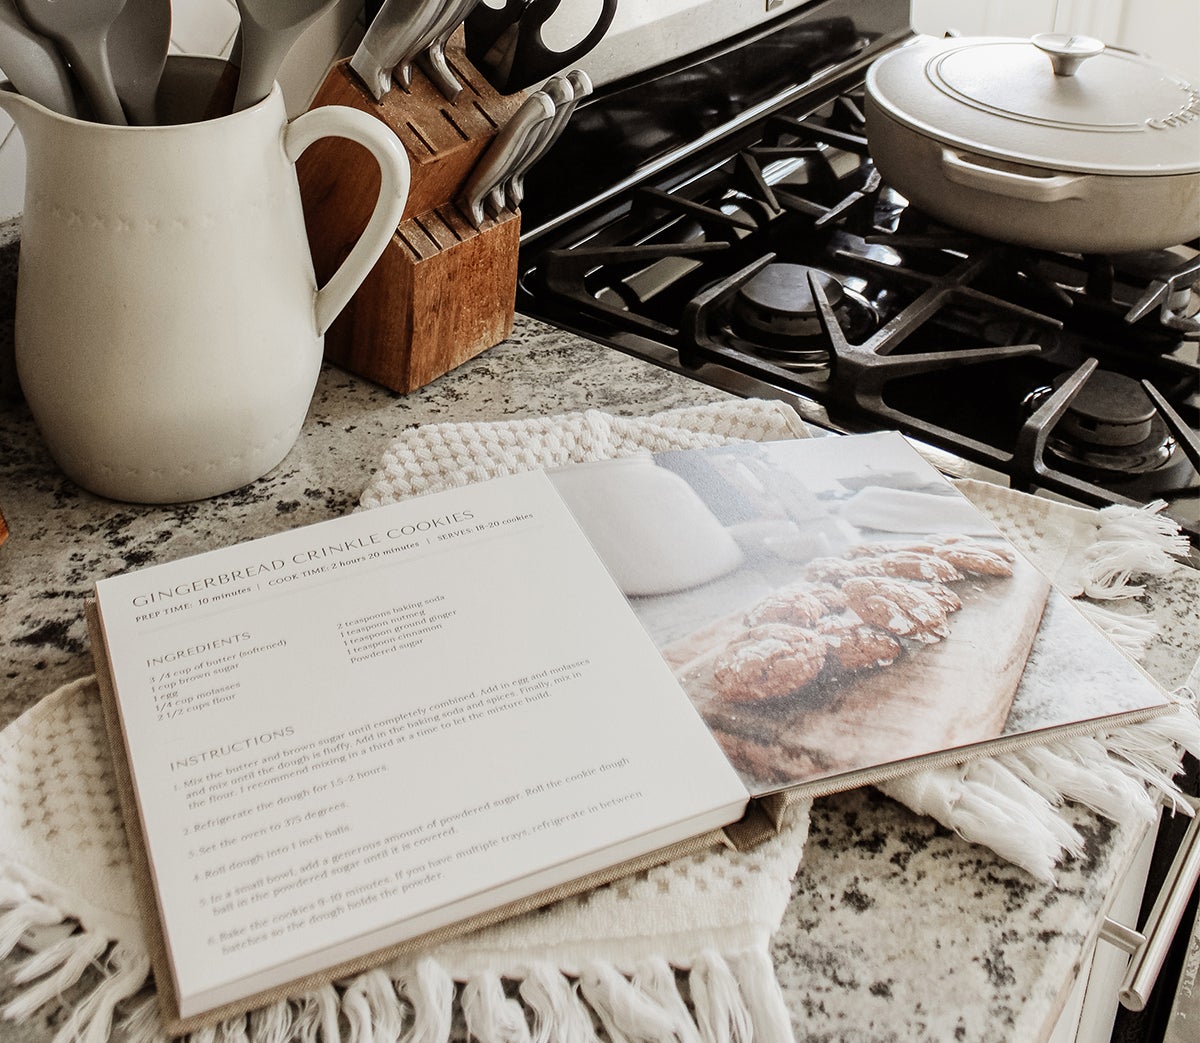
For the latter, cooking and photographing each dish over time is all part of the creativity process, so have fun with this step! One of our favorite pointers for how to make a family cookbook is to involve the kids or your spouse in the kitchen, allowing for their artistic input when styling in your shots. After all, we can all use new family activities! Whether you keep it messy and authentic or carefully staged (on new tableware for the occasion, perhaps?), we find this step to be the most hands-on and imaginative.
Step 03
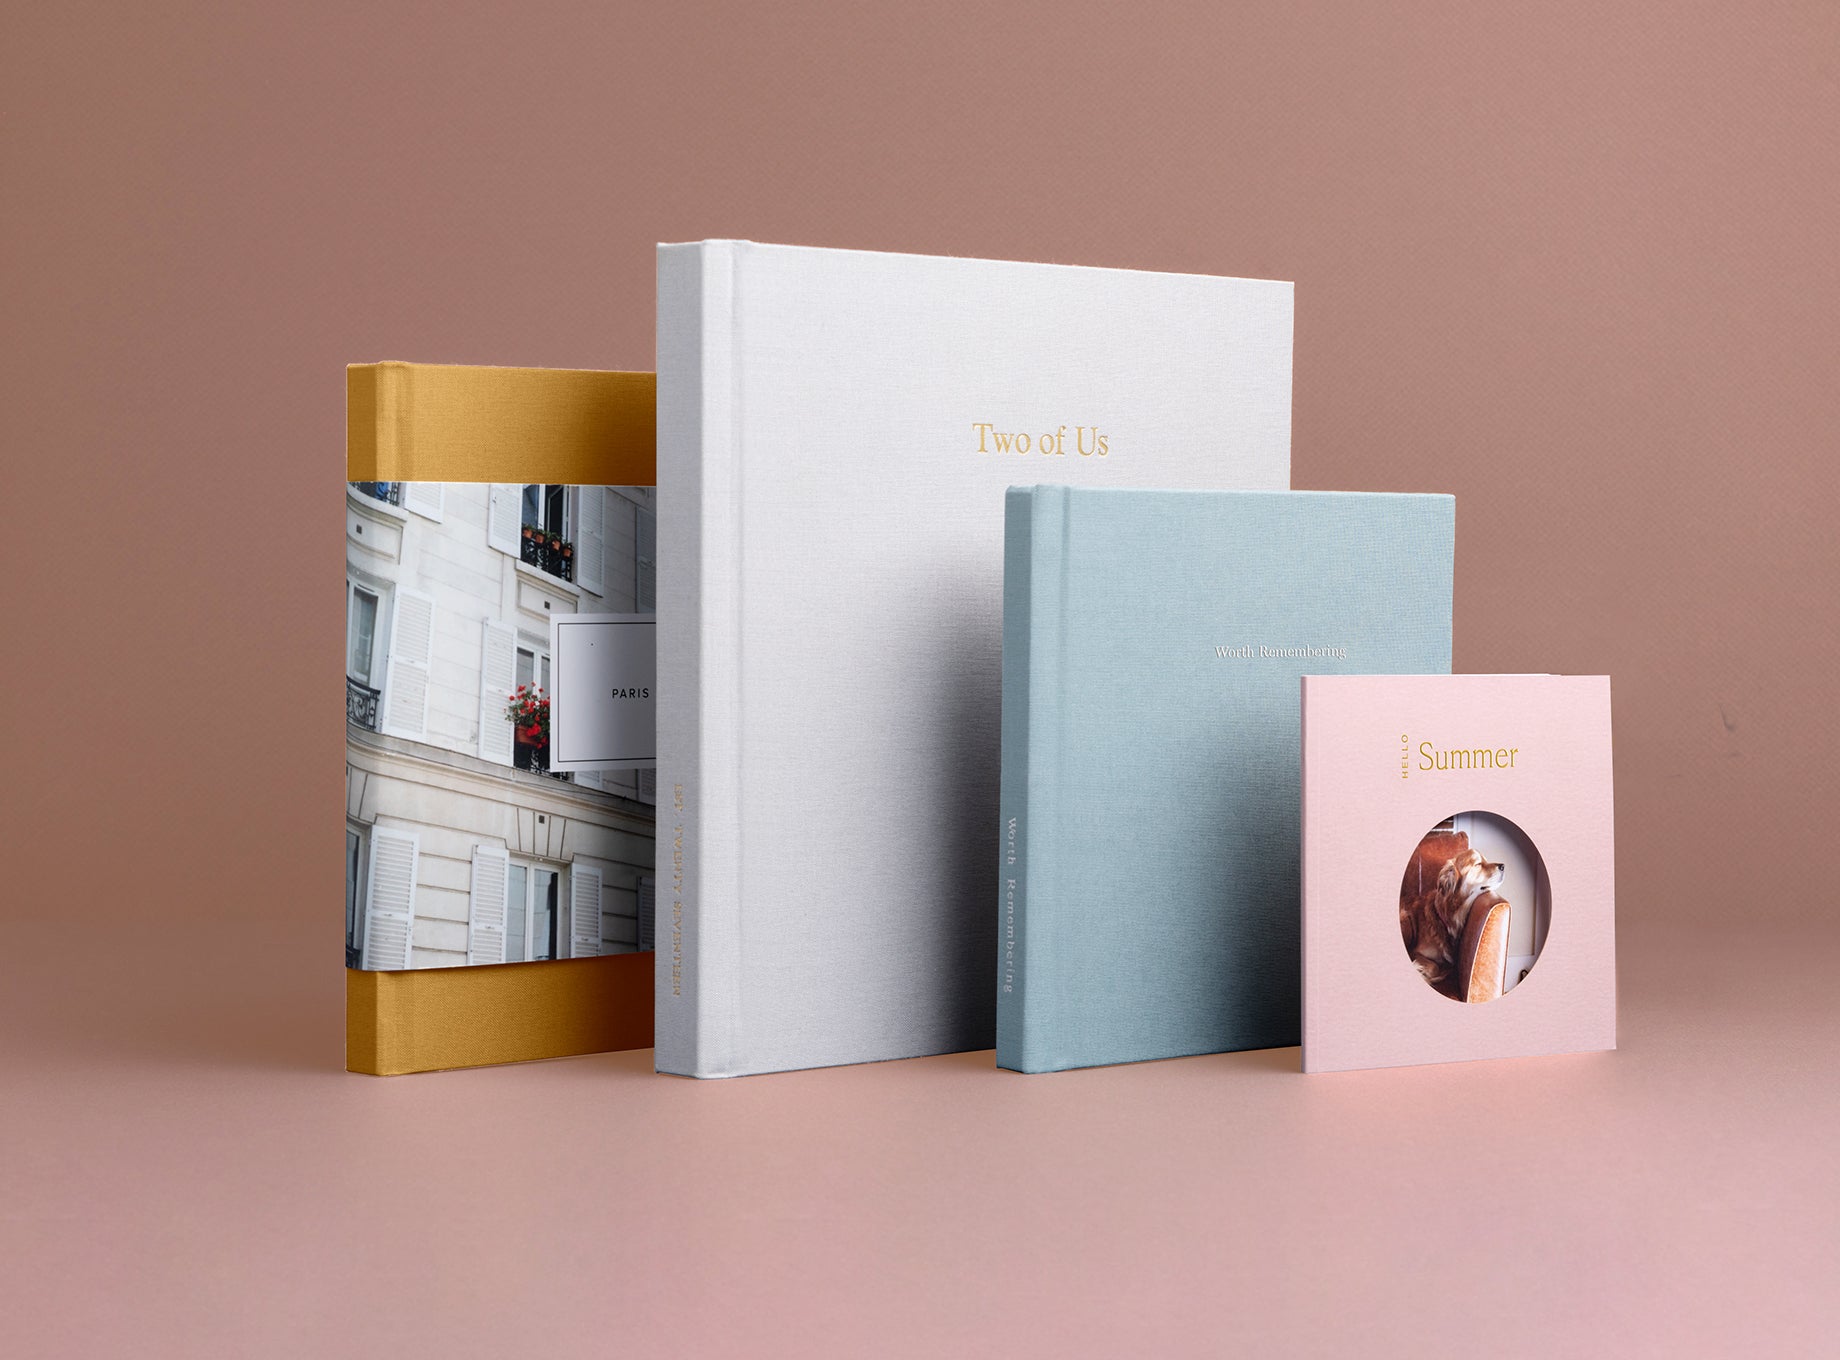
Choose Your Book
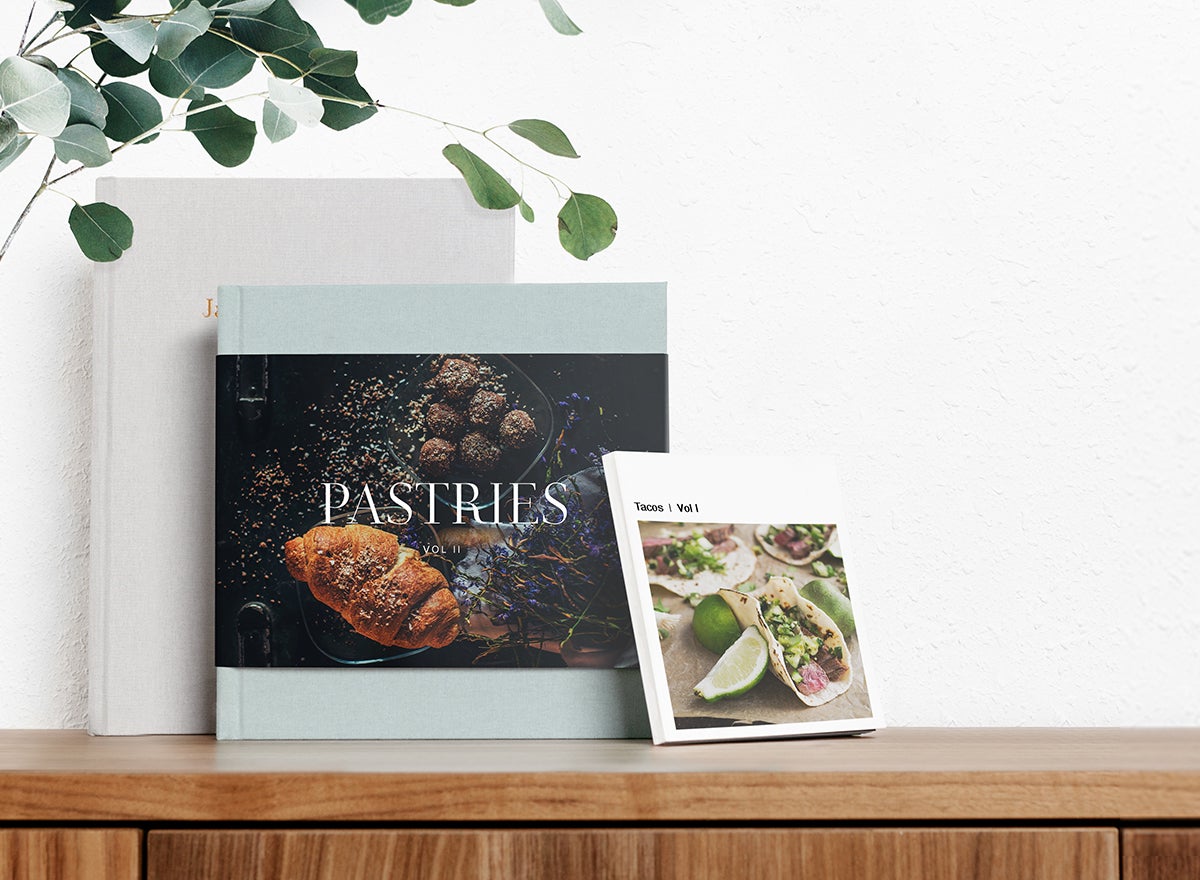
With so many photo books to choose from, every vision has match. For the most user-friendly cookbook, we recommend the Everyday Photo Book or Layflat Album, whose pages will lie flatter and stay open without assistance — so you can follow steps without contact from messy, mid-meal hands. If you have more than 45 dishes to include, you may want to consider a Hardcover Photo Book or Softcover Photo Book, which offer higher page counts.
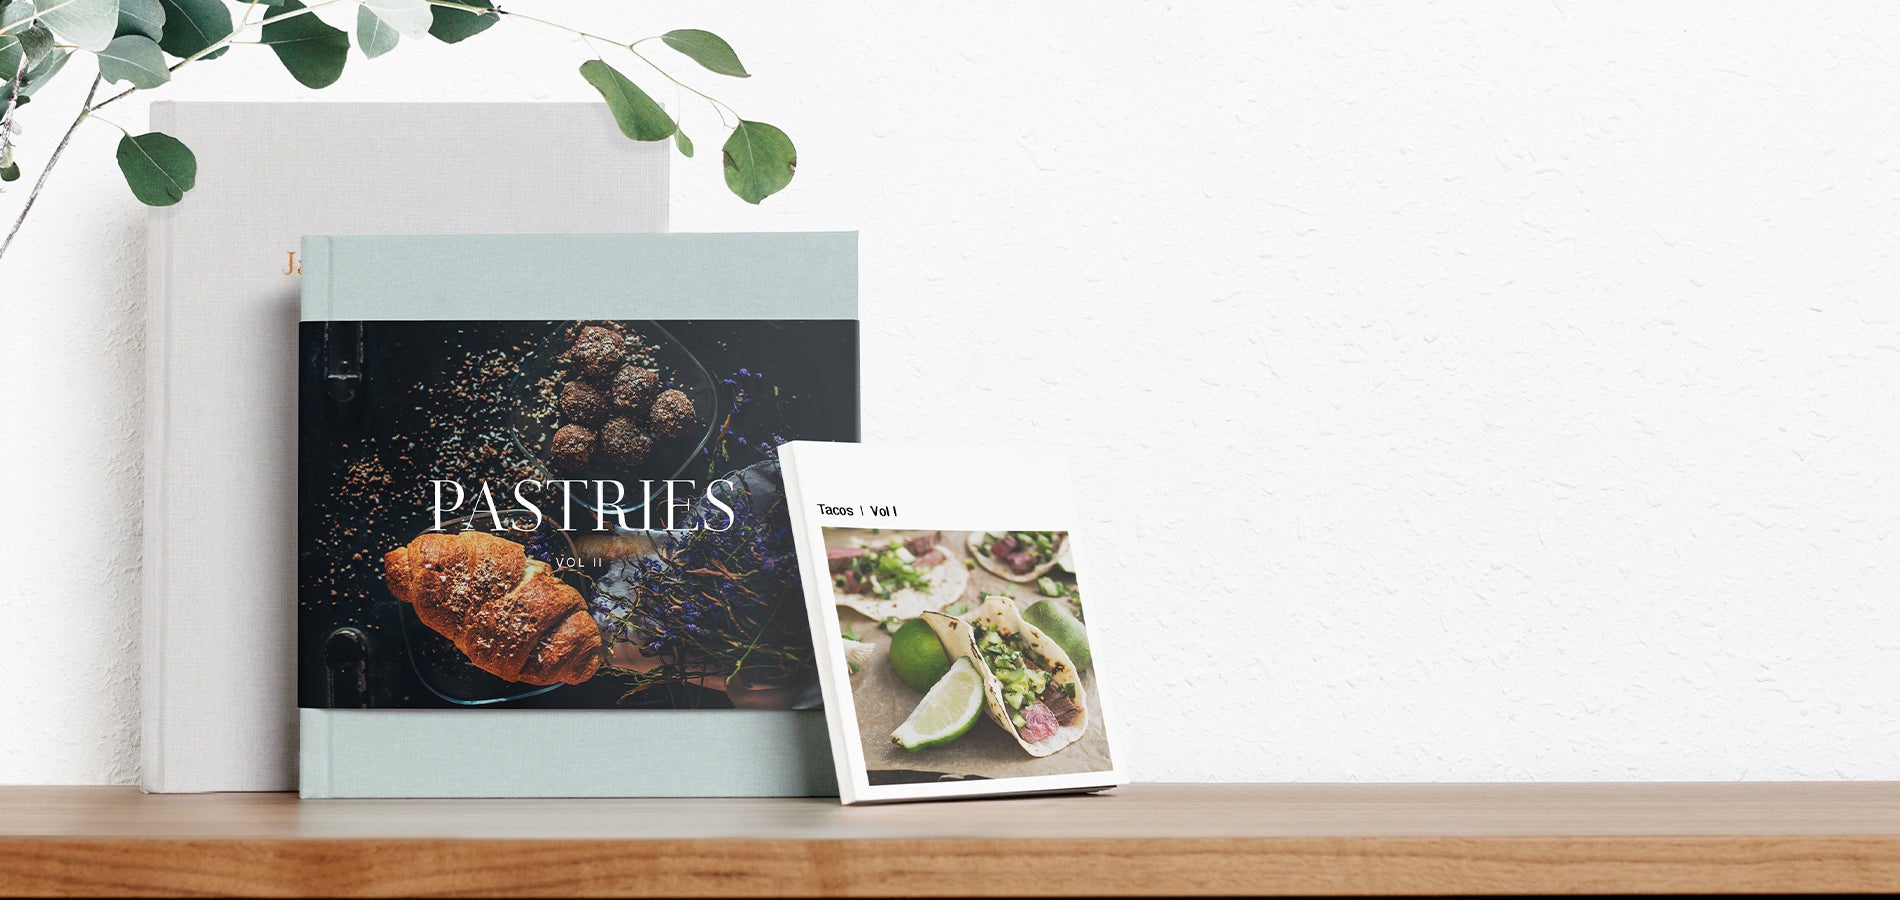
Customize your creation to your liking with its fabric color, foil stamping, and other personalization options. No matter which book you choose, the end result will look and feel professional.
When it comes to your DIY recipe book, the title can be as literal or as clever as you please. Let simplicity guide you here — and feel free to use the these ideas as a jumping off point:
- Jones Family Recipes
- Supper & Sweets
- Quarantine Cookbook
- My Favorite Paleo Plates
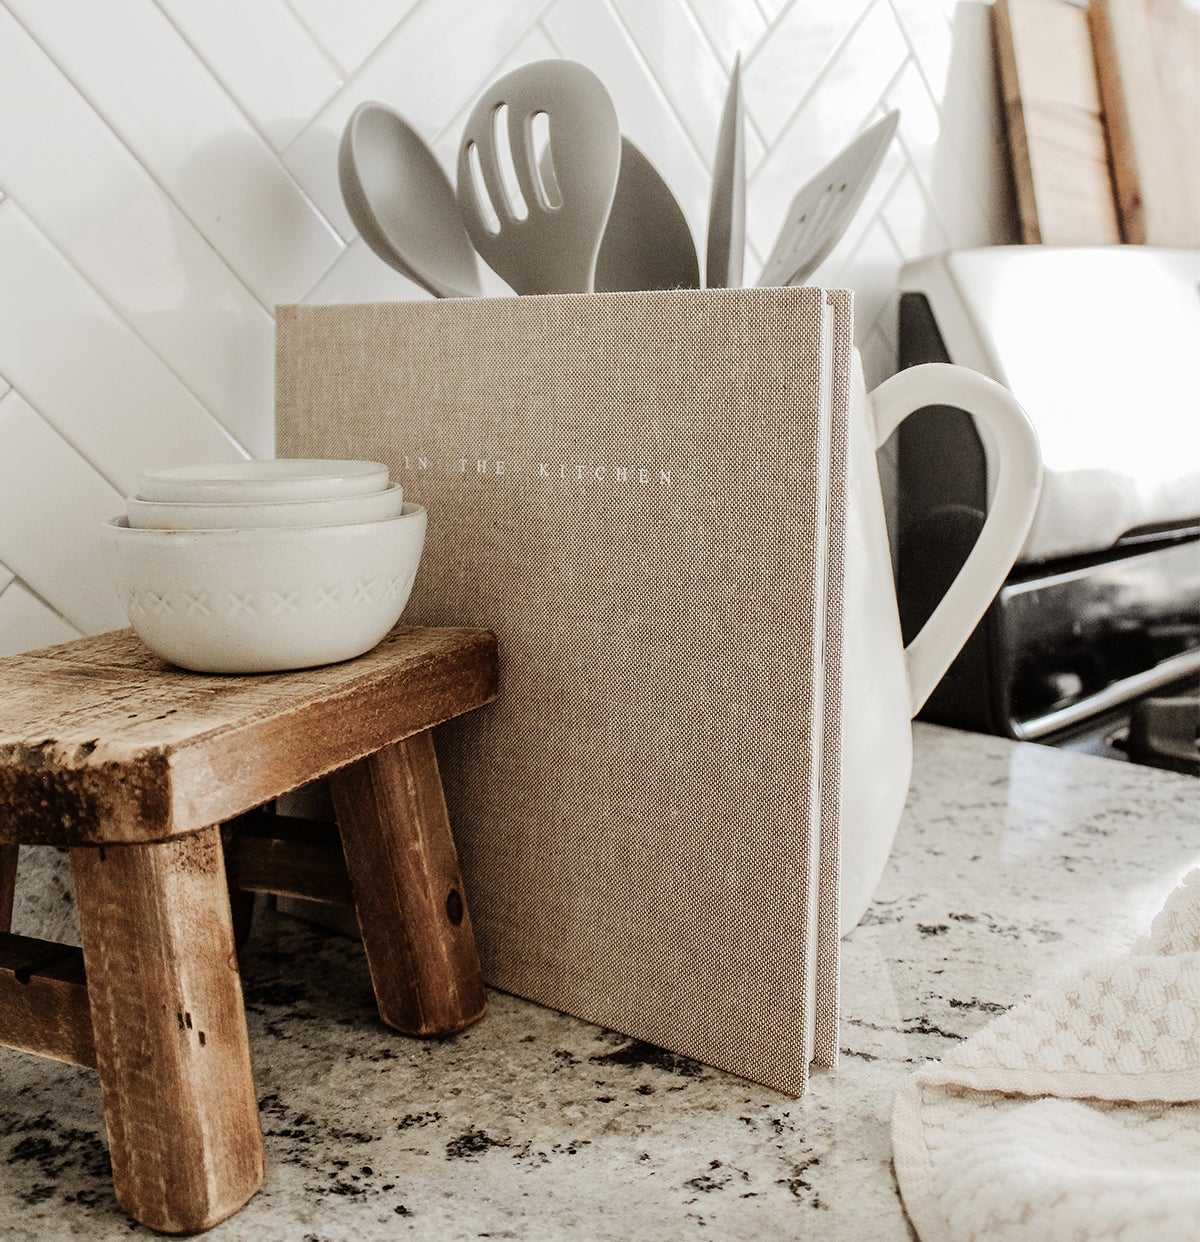
- Days in the Kitchen
- A Taste of 2020
- Lunches for Littles
- Grandma’s Greatest Plates
- Cooking At Home
- Plates & Bakes
Step 05
Pen an Opening Note
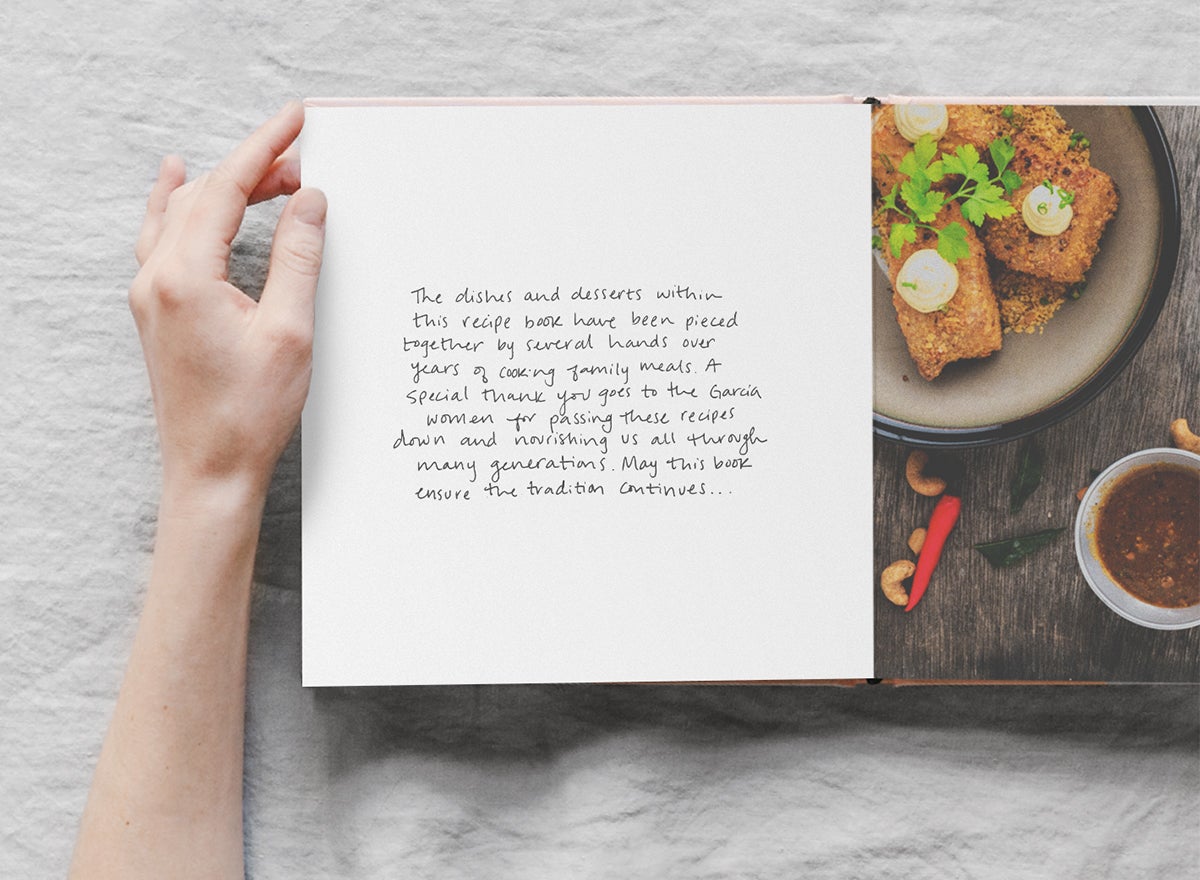
Including an introductory note can help set the tone for your book or dedicate it to someone special. This is a great place to highlight the backstory around the recipes inside, tip a hat to contributors, and inspire the reader. If your book were a meal, itself, think of this intro as a place setting!
Laying It Out
Step 06
Think Through Format

Next: laying it all out. When it comes to plotting your book, we recommend using one page (great for when a recipe doesn’t have a photo) or a full spread per recipe (your recipe on one side and photo on the other). As you mentally plot your format, start dropping in placeholders or text notes into the spreads to guide your creation. Don’t feel confined to one format for the whole book — some recipes may warrant more space or emphasis than others! The most important rule of thumb in any DIY recipe book is that it’s clear.
Step 07
Place the Recipes
Once you have a rough understanding of your book layout, the next step in learning how to make your own cookbook is to place the recipe text into the pages. If they take the form of photos (from the “gathering recipes” step), then the hard part here is done! If they’re still plain text in another doc, you have a few options:
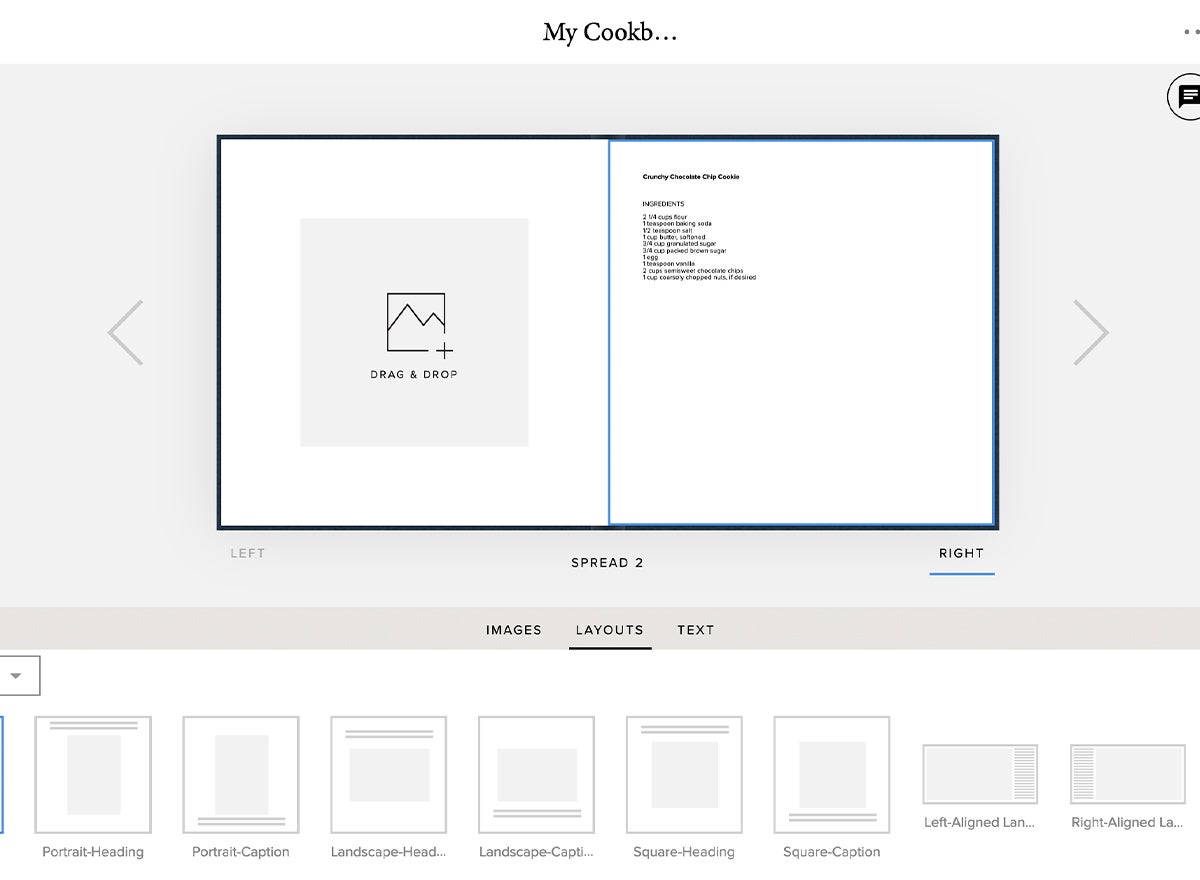
Paste
Paste the text into the text box layouts.
Screenshot
Take a screenshot of the text in your working doc (this allows for more visual formatting flexibility than simple text in our book editor — plus it's as easy as cmd+shift+4 on a mac!).
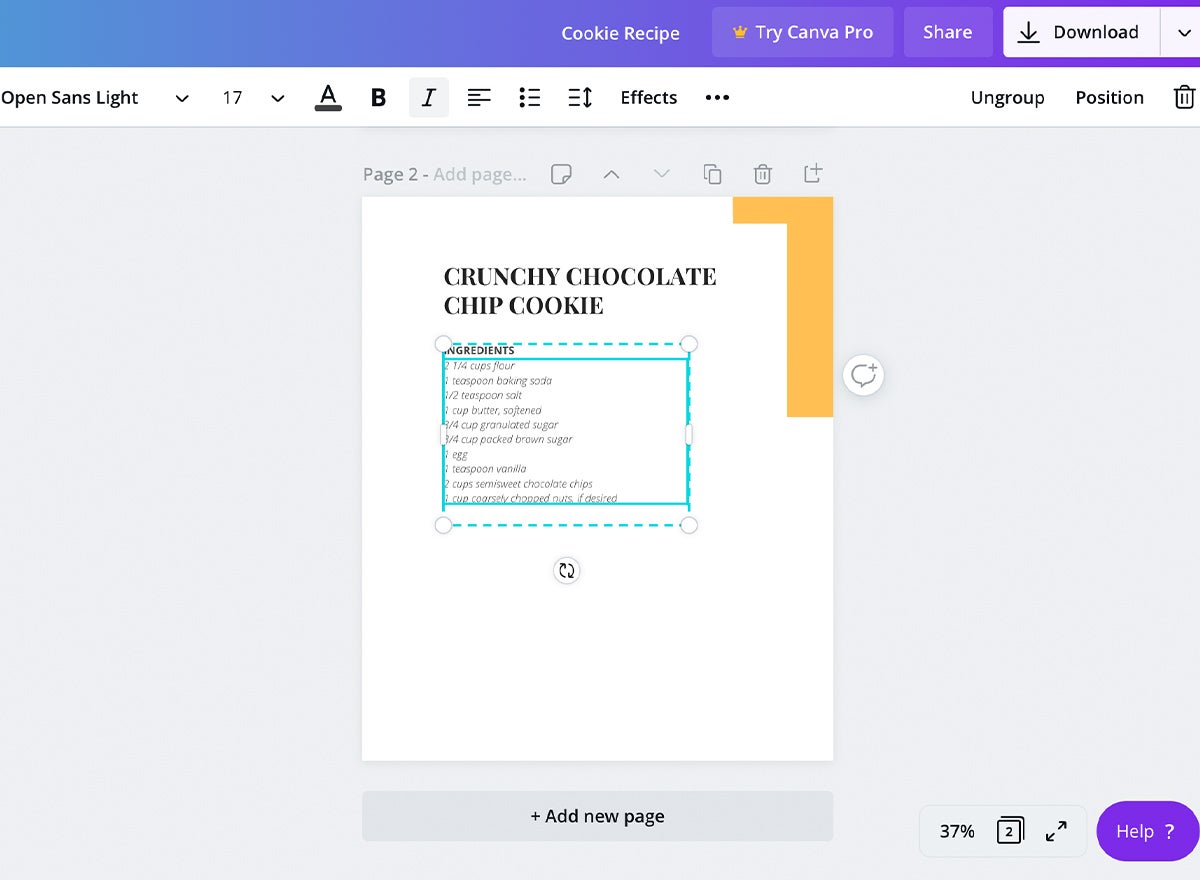
Design
Export a totally custom design as a PNG or JPG file from Photoshop, InDesign, or in the free program Canva.
Step 08
Add the Filling
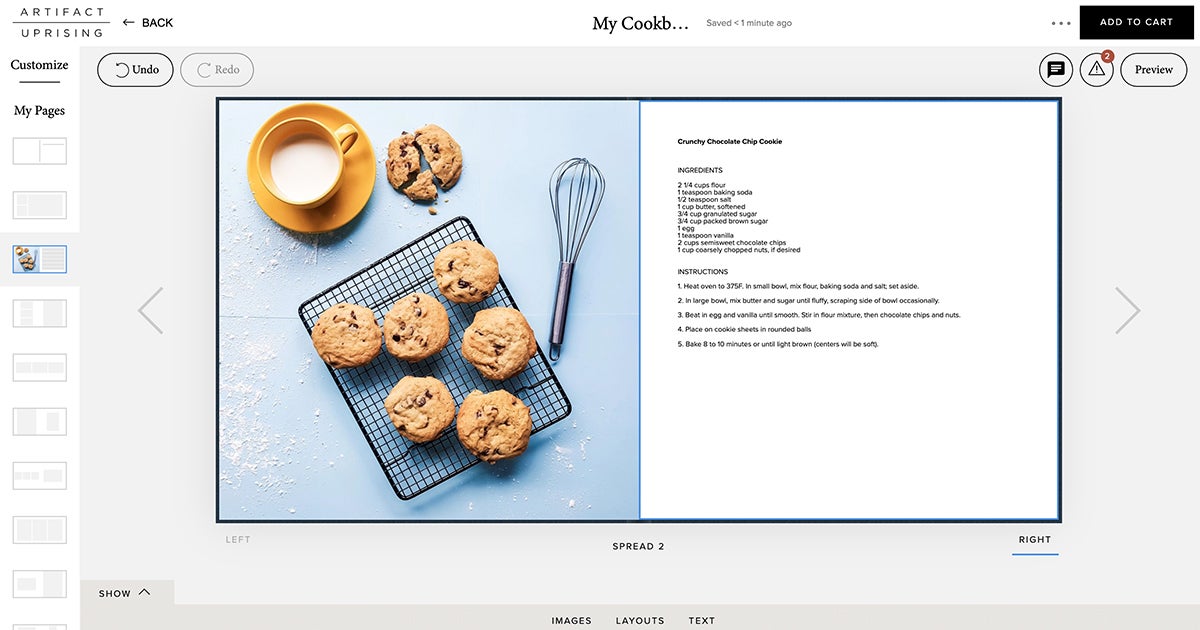
Whether each recipe has an accompanying image or you’ve made visuals for just a handful of them, it’s now time to drop those in. Again, these images can be simple photos you’ve taken on your phone, or more advanced graphic files you export from any of the programs we named in the previous step.
Bringing It to Life
Step 09
Print and Share
Each step in creating a DIY cookbook is fun in its own right, but we believe printing and sharing it to be the best part! Thinking about making it a gift? Print one for yourself and have duplicates on hand to give to family, contributors, or friends. (You can even make it together.)
Who wouldn’t love cooking up a new creation that you came up with, or seeing their own recipes “published” in a homemade book that lives on? Recipe books serve as a simple way to connect with each other from your own kitchens, every time you make a meal.